


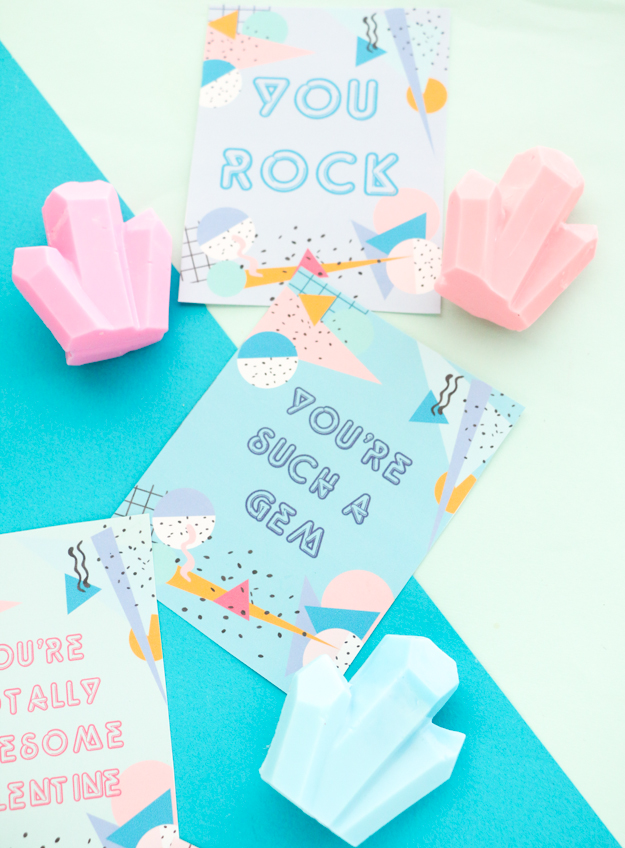
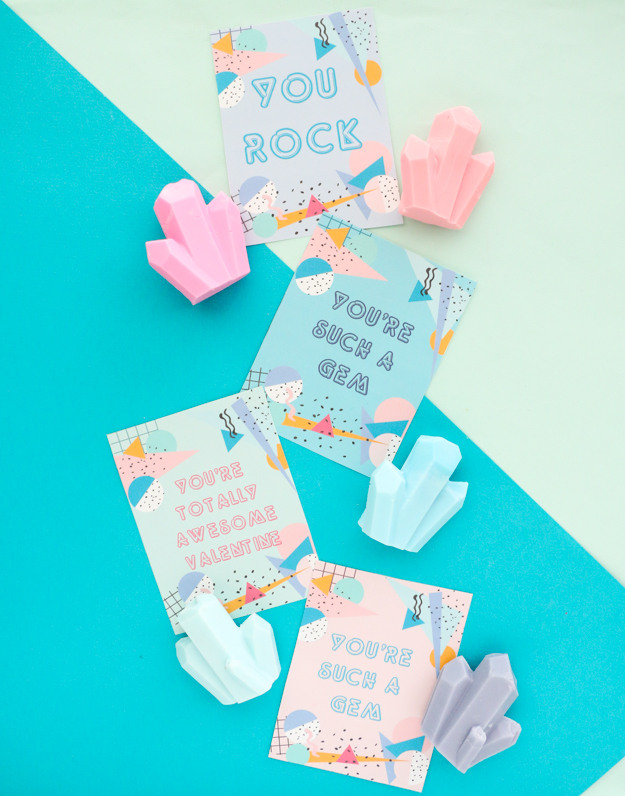
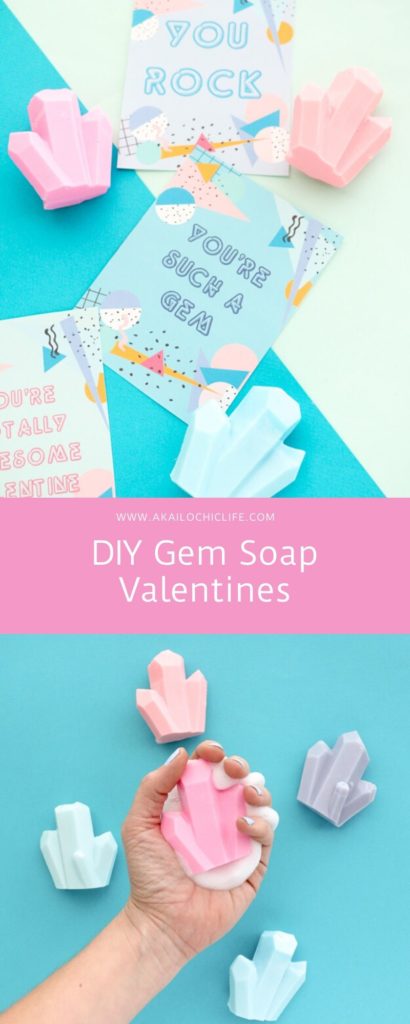
Remember those plaster gem photo holders I made last week? Well, after making those plaster gems and seeing how easy they were to do, I figured I might as well give the mold a try with a little soap making. And oh my goodness did the soap gems turn out cute! So cute in fact that I thought they would make the perfect valentine’s gifts. So I drew up a few pastel 80’s themed printable valentines for you to download and use to gift your own DIY gem soap valentines. If you have been intimidated by soap making but wanted to give it a try, I definitely recommend this project because it is probably one of the easiest soap tutorials. Just melt, pour, and let cool.
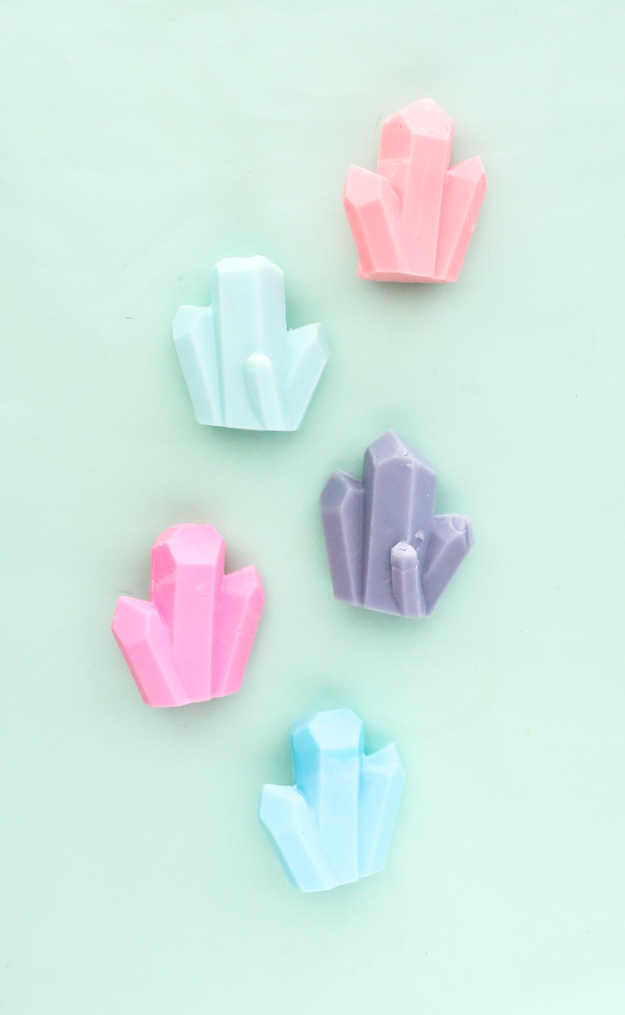
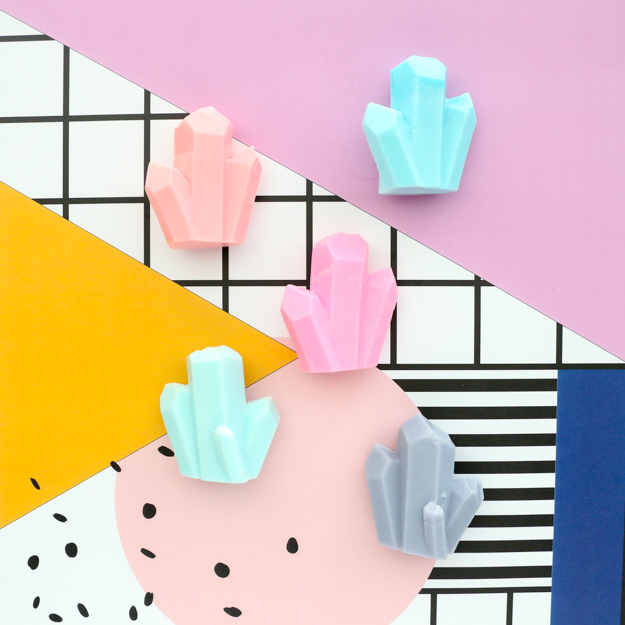
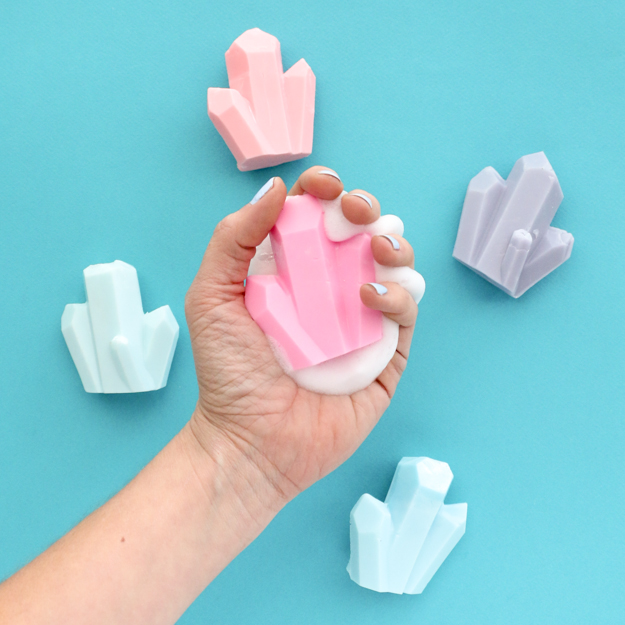
Are they not just the most amazing soap gems ever?! Definitely a must try!
DIY gem soap valentines materials:
–Silicone gem mold
–White melt and pour soap base (you can find this at the craft store or online)
–Soap colorant (again it is at the craft store)
-rubber band
–Glass measuring cup (must be able to go in the microwave)
–Valentine printable
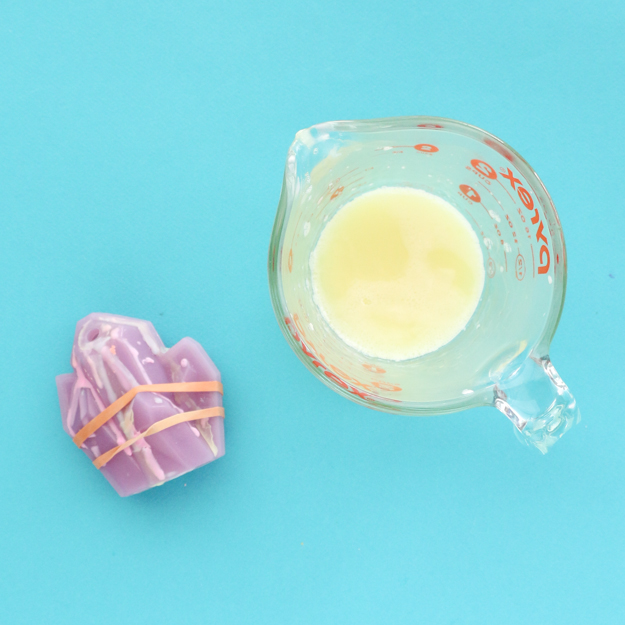
Begin by cutting up appx. 1 cup of the white soap base into 1/2″ cubes. No need to be precise here, you just want the soap to melt evenly, so small chunks work best. Add the soap to your measuring cup and microwave for 30 seconds – 1 minute or until the soap just melts. Add a few drops of your soap colorant and stir with a spoon. Next, wrap the rubber band around the soap mold as an extra precaution to keep the soap from leaking out. Then just pour the melted soap into the hole at the top of the mold.
To get the best, most complete soap gem, you will want to then place a piece of tape (or your finger as long as the soap isn’t too hot) on the hole and tip the mold upside down. If your finger is covering the hole, hold the mold upside down for about a minute for the soap to begin to firm up, then you can let go and just lean it against the measuring cup to firm up the rest of the way. This will help pull all the soap to the top of the mold and remove any air bubbles from the top of the gem.
After the soap has cooled for an hour, you can remove the rubber band and unmold the soap. Use a sharp knife to level the bottom of the gem and remove any extra soap.

Then just repeat as many times as are needed. To make the process go quicker, you can also place your mold in the fridge for 15 minutes to get the soap to firm up faster.
Now, just print out your valentines, place the soap in a clear bag and staple the valentine to the top!

As I mentioned this is one of the easier soap tutorials, so if you have been curious, then I would definitely recommend giving this one a go. Once you get the hang of these DIY gem soap valentines, check out our other soap tutorials!


February 6th, 2018 at 2:14 pm
These are great. Another time of year if they were green soap, they could be cactuses. Cacti?
February 12th, 2018 at 3:29 pm
[…] A Kailo Chic Life […]
February 10th, 2020 at 7:38 am
[…] These Gem Soap Valentines are the perfect valentines […]