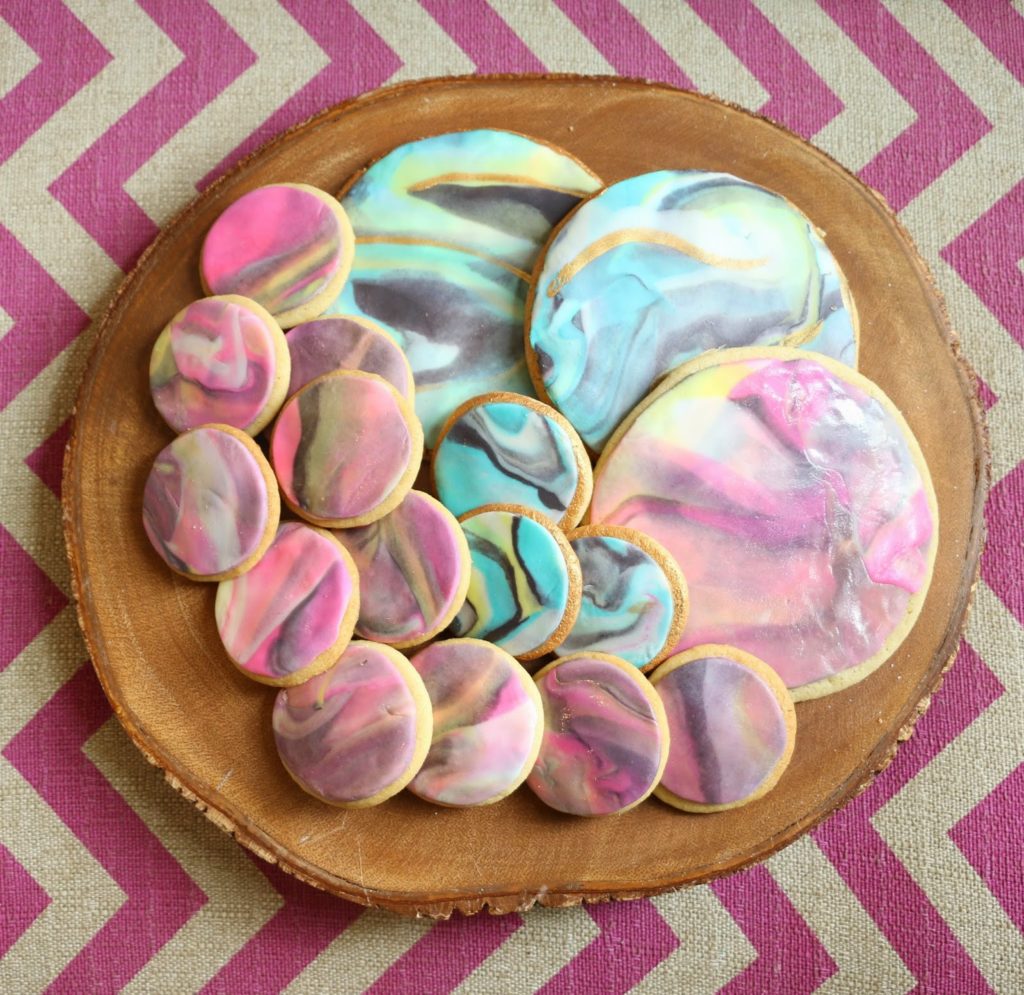
The weekend is here and Earth is right around the corner, so why not celebrate with some fancy marbled cookies!
I had the idea for these cookies after I saw a blog post about color block dipped cookies, and thought they looked awesome. I had never considered applying craft techniques to my baked goods before. So that got my brain churning to think of some other awesome but easy thing I could do to decorate some sugar cookies and I thought, why not marble fondant like I would marble polymer clay and make some marbled sugar cookies!
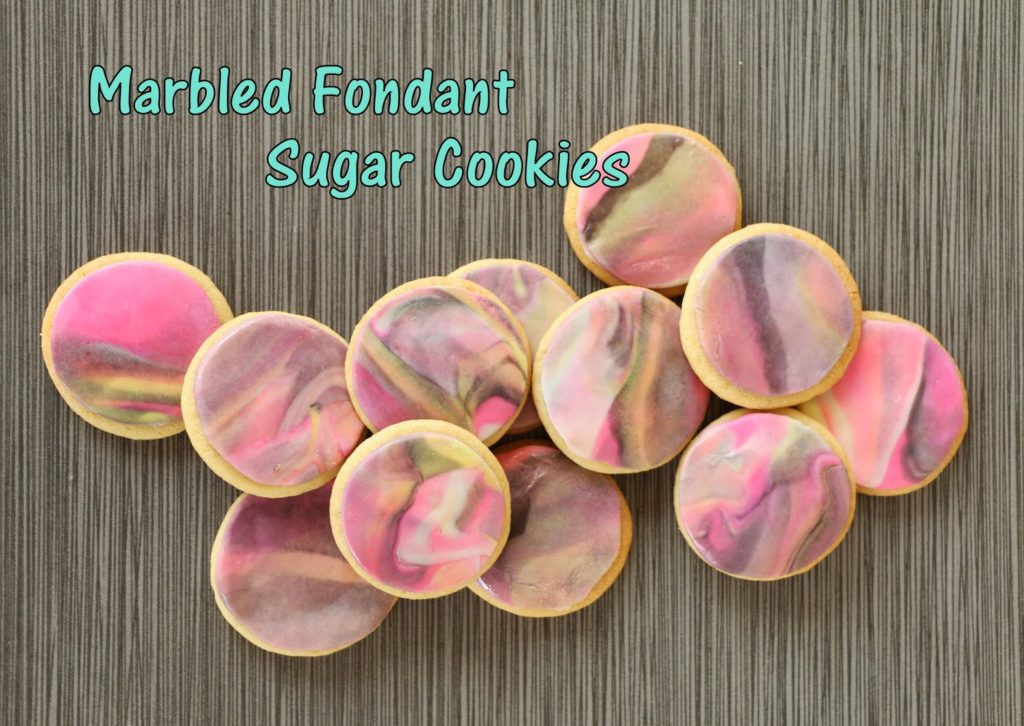
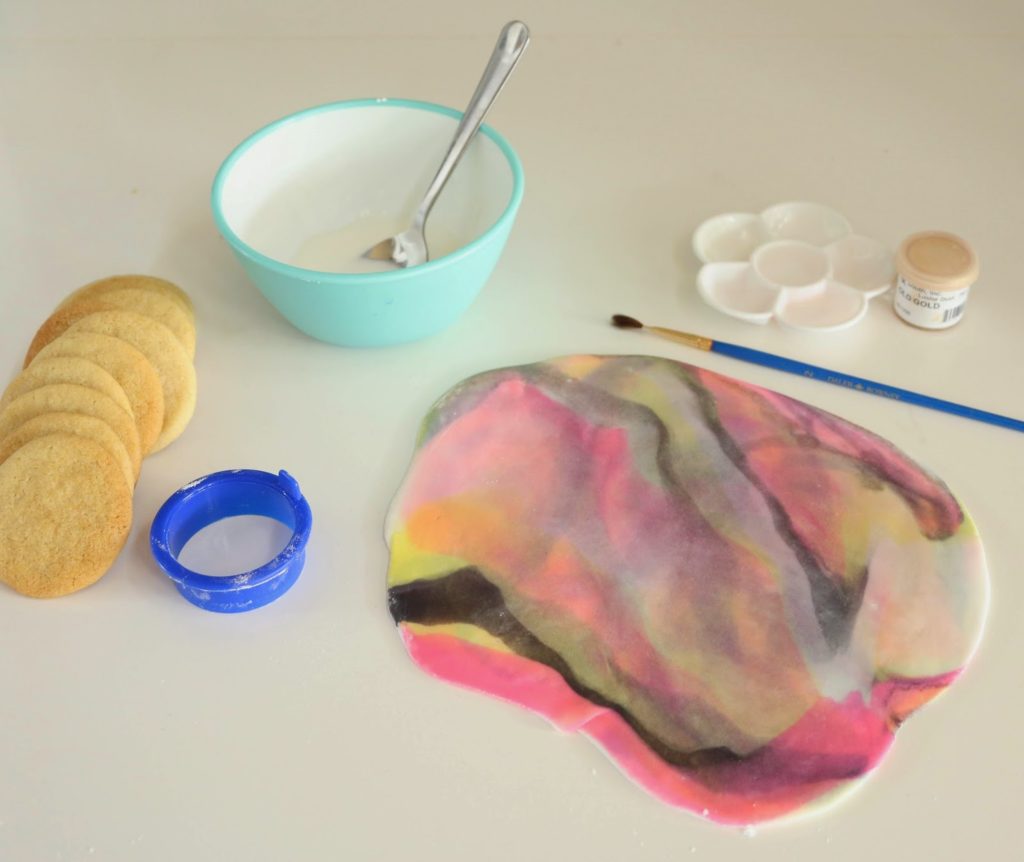
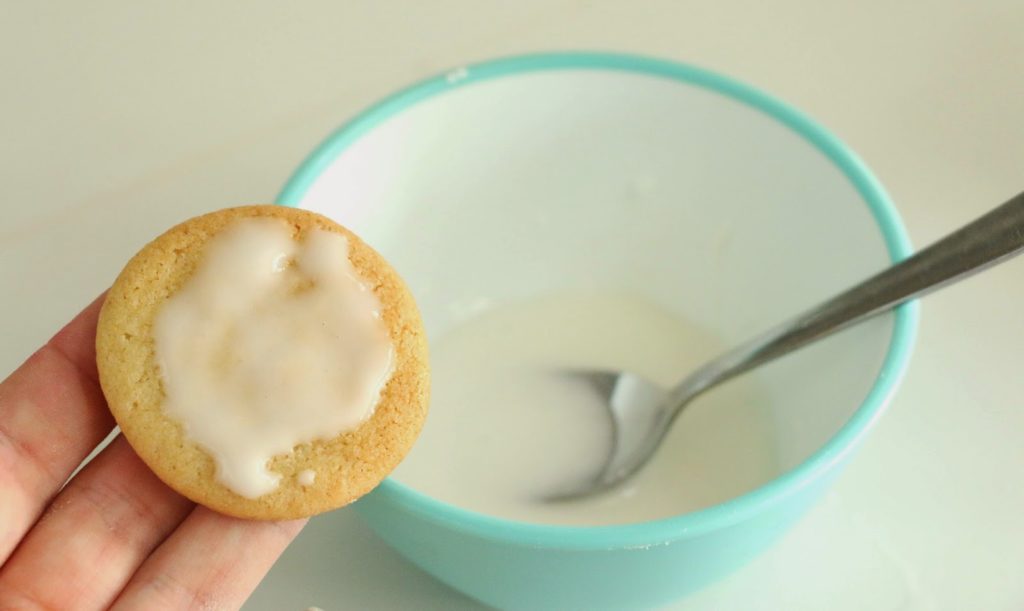
If you have never marbled clay before, the process is fairly simple. All you need is some premade white fondant, food colors in your choice of colors (you will need white and black fondant, and then two other colors of your choice to create the marble look), some simple powdered sugar and water frosting to act like the glue, and some rolled, cut, and baked sugar cookies.
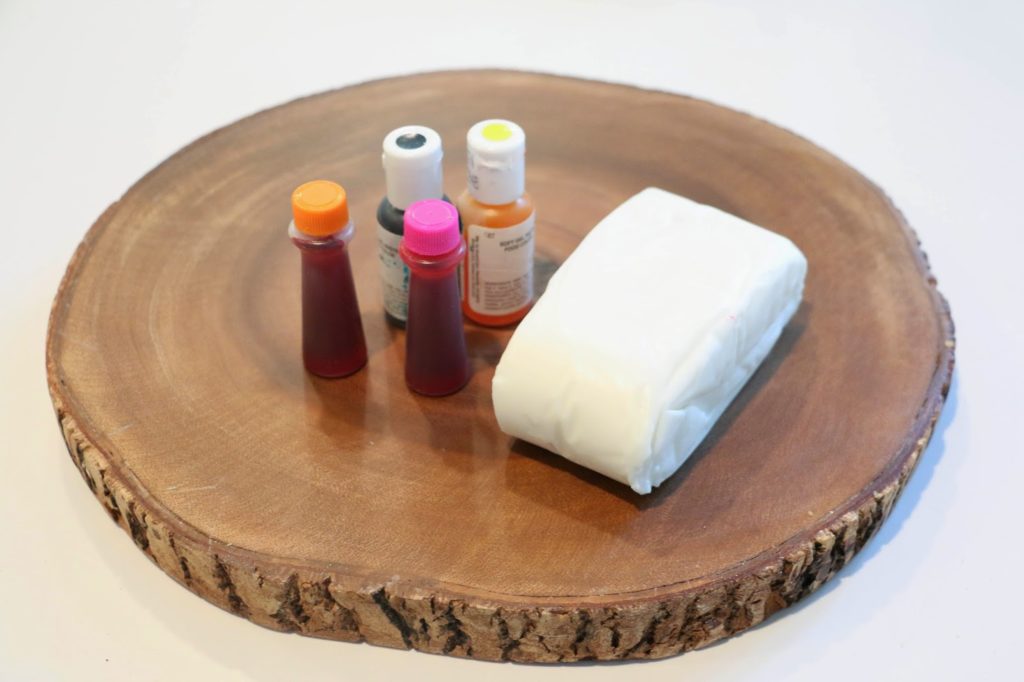
You can save yourself the step of creating different fondant colors by purchasing some fondant in colors that you like (I know some craft stores have boxes of different colored fondant, and Michaels Craft Store has the Duff line of baking supplies that has small tubs of already mixed bright fondant colors).
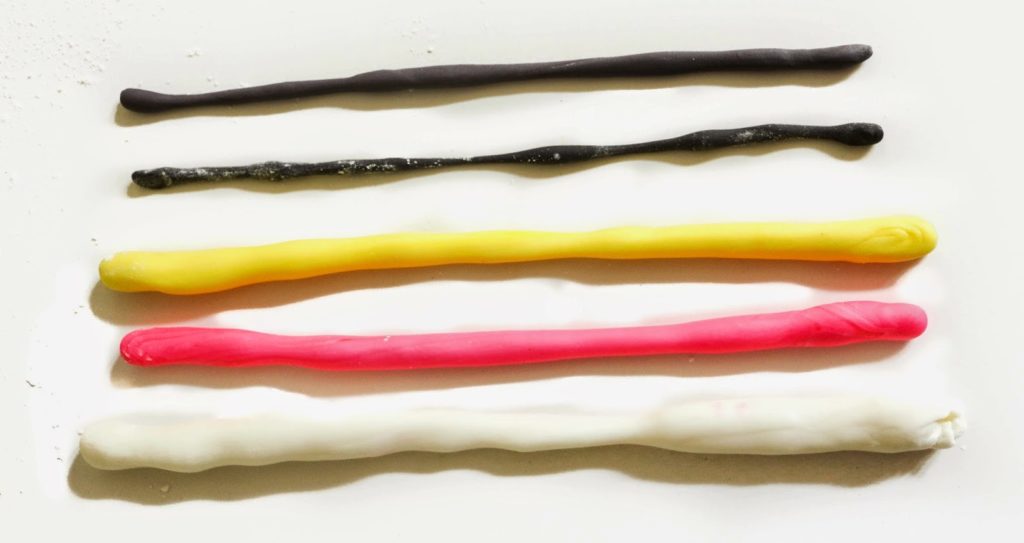
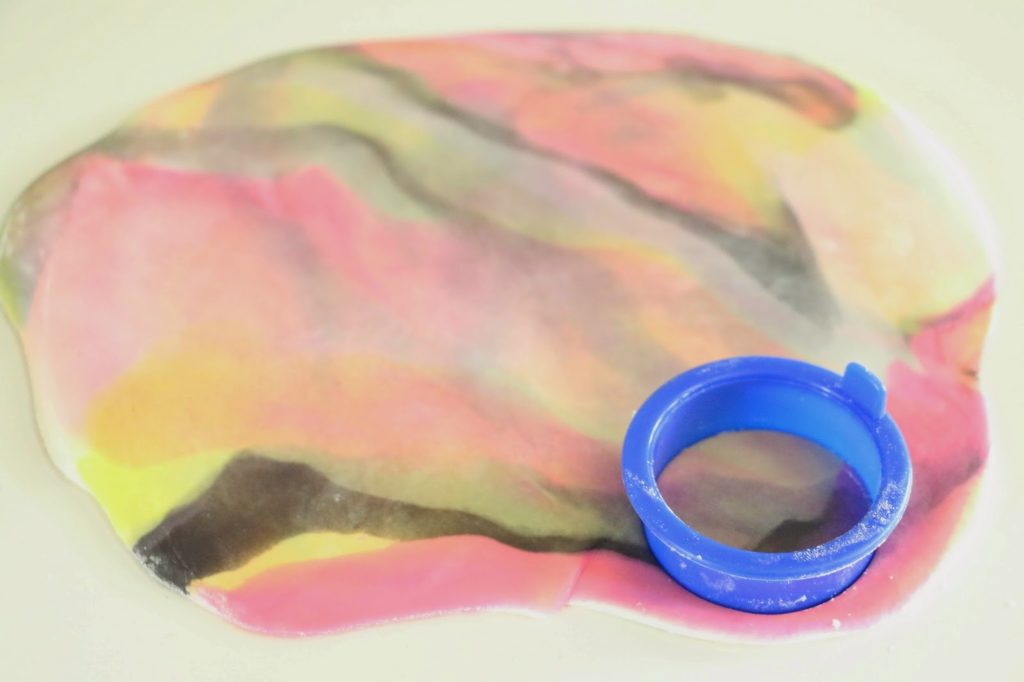
Once you have your supplies, you will need to take your colored fondant (use powdered sugar or corn starch to keep the fondant from getting sticky) and roll it into little logs/snake shapes like your kids do when they are playing with play-doh. That is pretty much the only things my kids know how to do. Well, that and smush the stuff into every fabric surface they can find. But, I digress. You will need a large log of white, two medium sized logs in the colors you chose, and one or two small black logs.

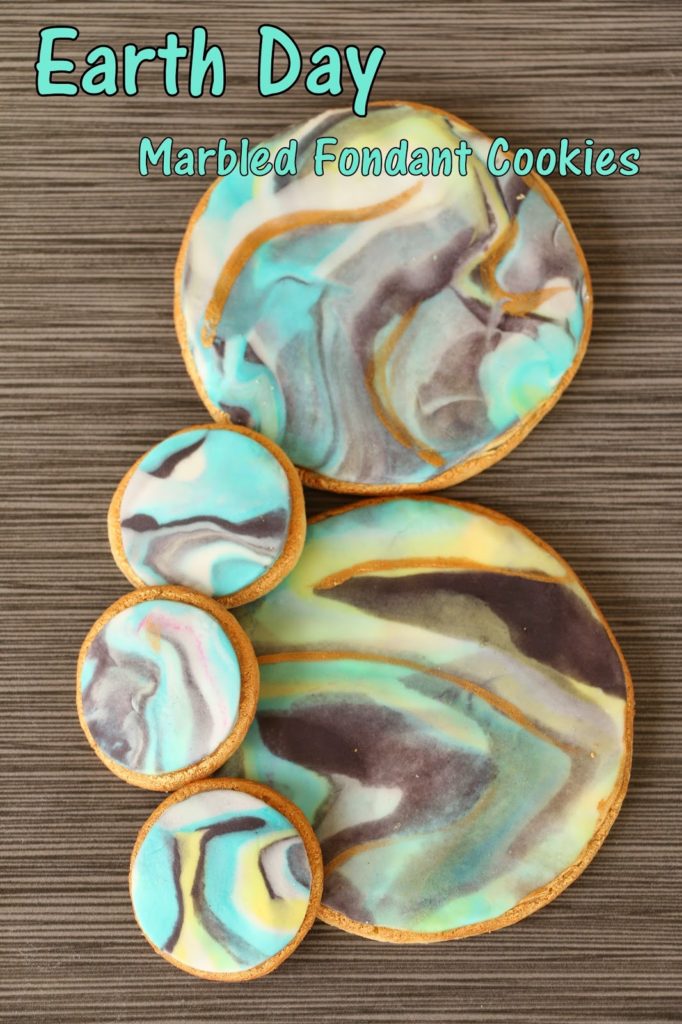
As an optional last step, you can use edible luster dust in gold ( I got mine at my local specialty baking store) with a little almond extract or a clear alcohol like vodka to create a little edible gold paint to adorn the cookies edges and give them a little gilded touch.
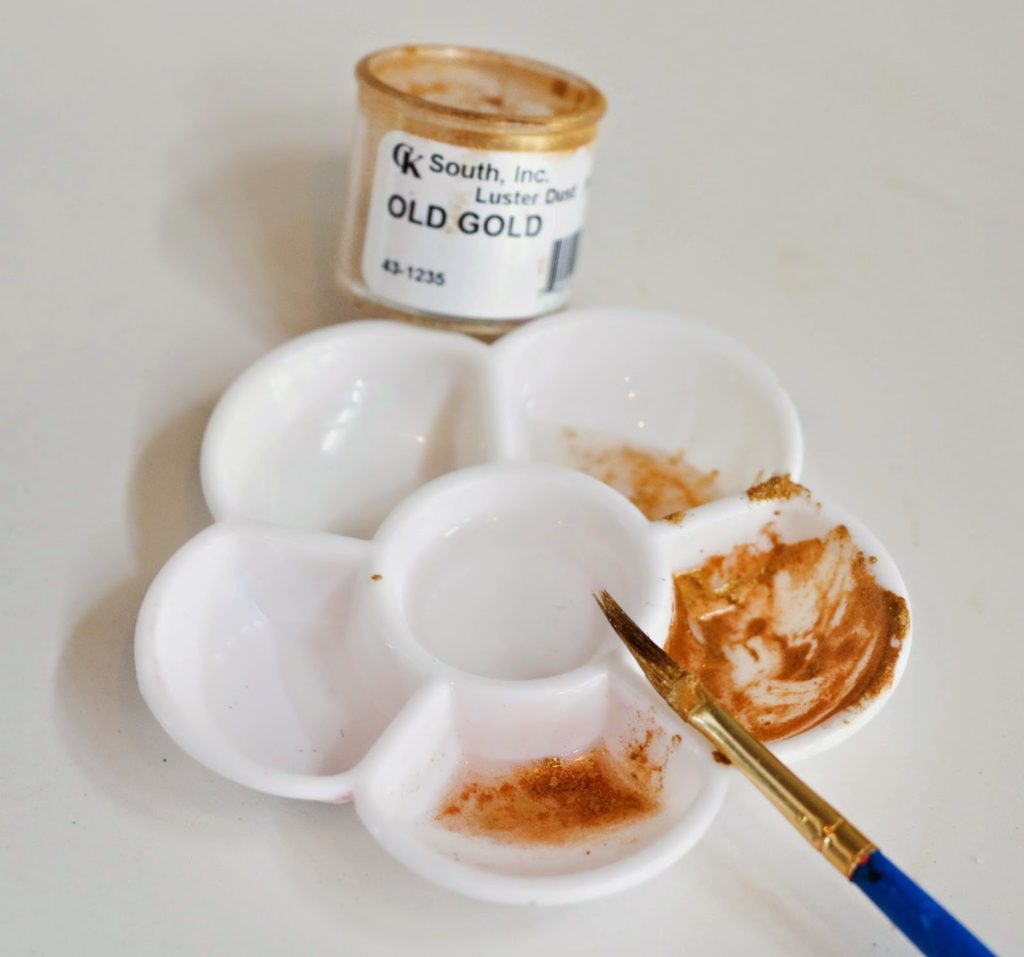
I didn’t do that on these cookies, but I did on the blue ones that I made which brings me to my next idea…. and the reason I mentioned Earth day at the beginning of this post.
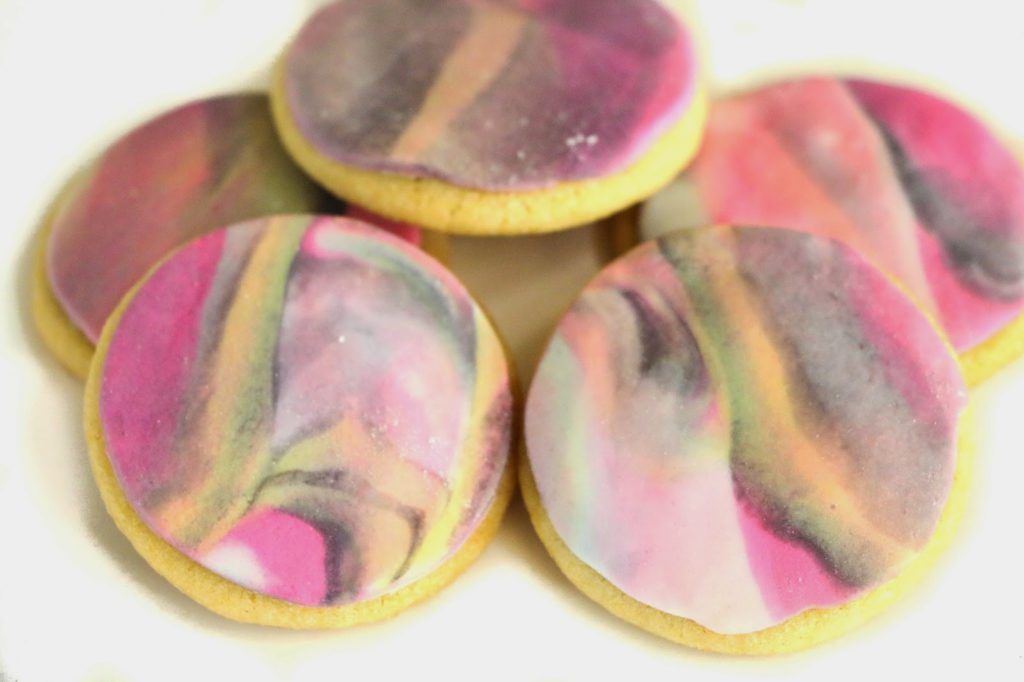
Well, in addition to the pink marbled cookies you saw above, I made some blue and green marbled cookies that reminded me of Earth, so I though what a better way to celebrate than to eat marbled fondant Earth cookies.