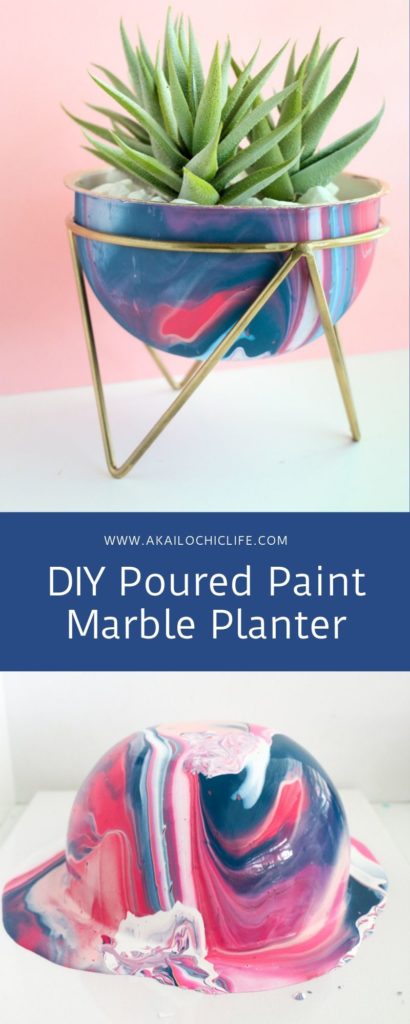
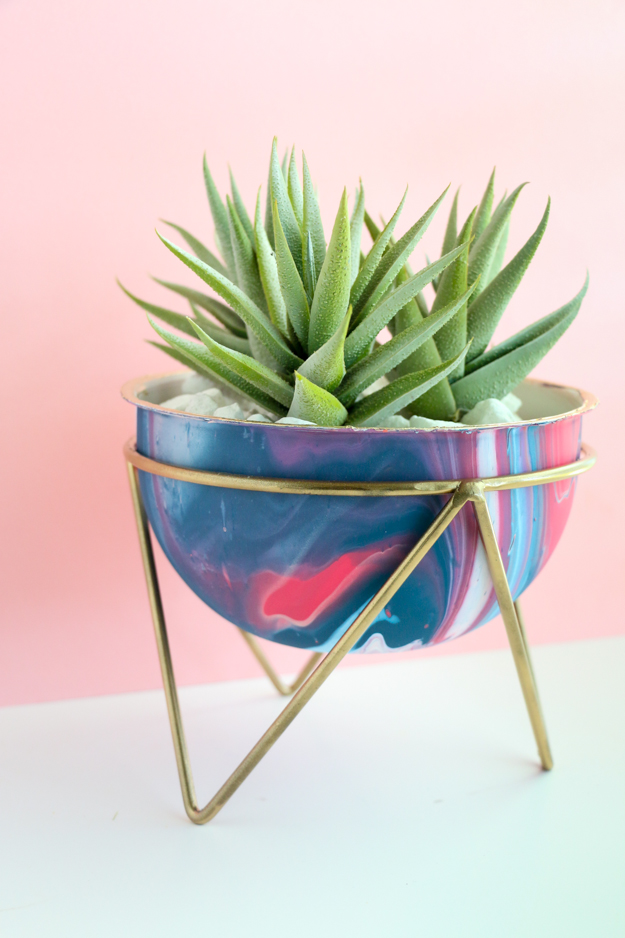
If you follow me over on Instagram, you have like seen a few of my paint pouring marble design adventures. With the new year, I have been trying out new crafting techniques and mediums and and paint pouring was at the top of my list. After seeing so many Nifty and Buzzfeed DIY videos with the technique, I knew I just had to try it for myself. And while the marbled paintings are amazing, I of course wanted to apply the technique to something other than just a canvas. Enter the modern stand planter I found at Joann craft stores. This little planter (after my coupon) was only $8! And while it is super cute in black and white, a little paint made it 100% more colorful and fun.
Materials:
- Metal stand planter
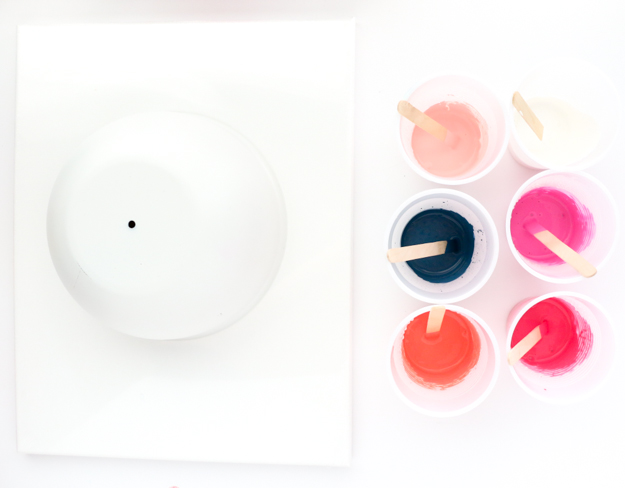
- Acrylic craft paint (I used DecoArt Americana Acrylics in bright salmon, cotton candy, warm white, carousel pink, wedge wood blue, and dragon fruit)
- Disposable plastic cups
- Popsicle sticks for mixing
- Plastic covered surface to contain the extra paint
- Gold spray paint
- Gold acrylic paint for the rim (optional)
Begin by spray painting the stand gold. Then let dry as you work on the bowl part of the planter.
For this you will want to add about 1/2 to 3/4 of each bottle of paint to a plastic cup. Then add about 1-2 tsp of water to each cup. Use your popsicle sticks to mix the paint and water to create a thin pourable paint mixture.
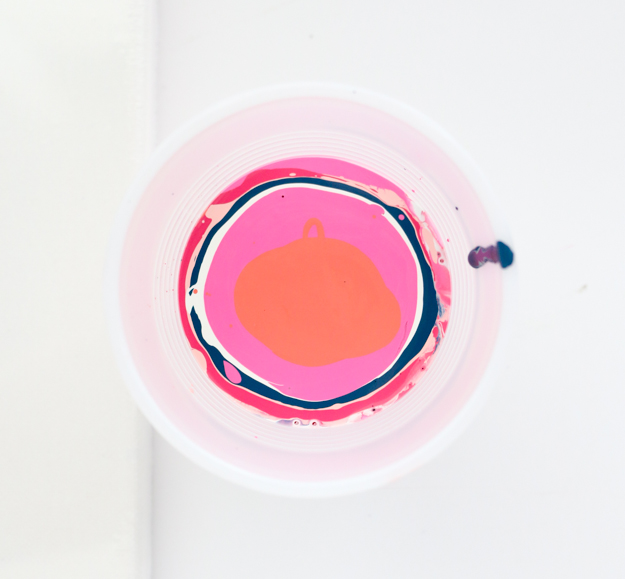
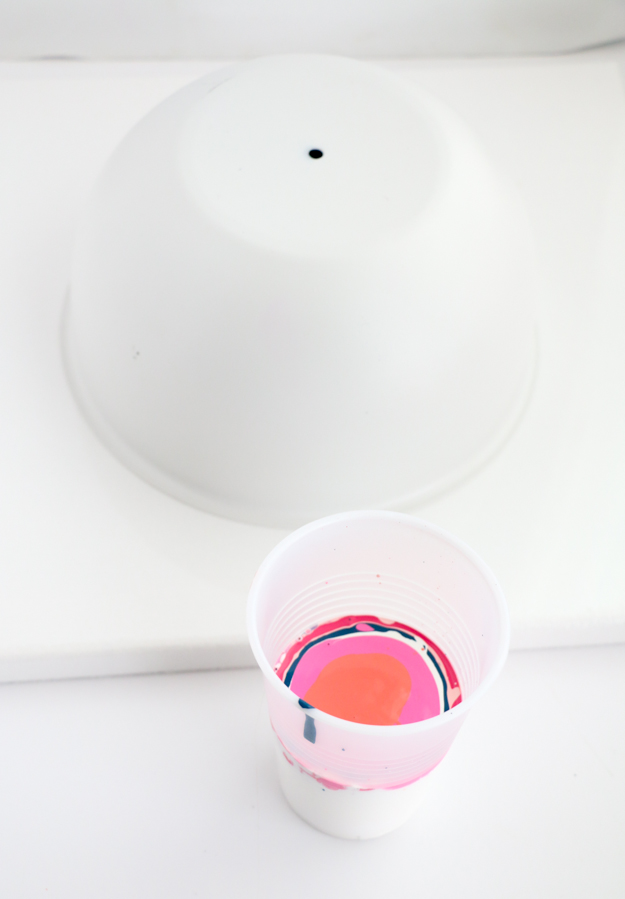
Once you have all your paint mixed, start with the cup that has the white paint and pour in about 1/3 of the blue paint. Then add your next color to the center of the blue paint, and repeat with all your colors creating a layered mixture. Continue adding the paints into the cup until you have emptied all the colored paint cups. You should have something that looks a little like this.
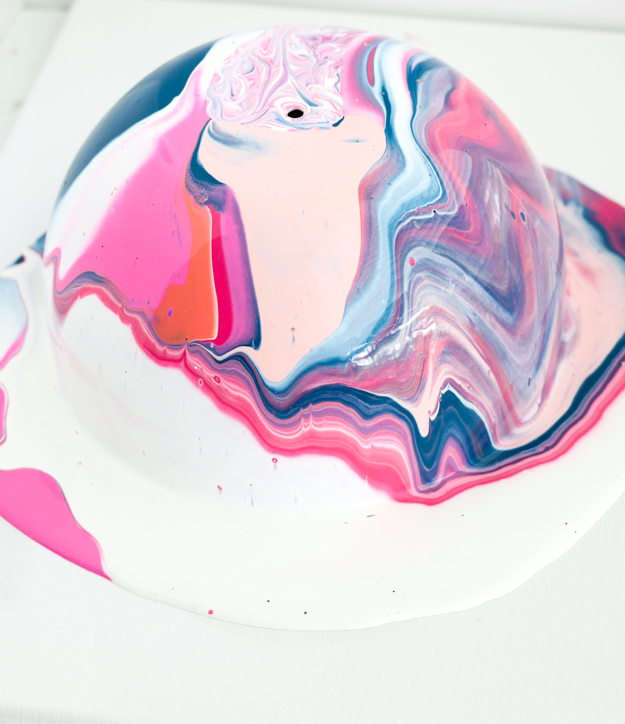
Now, turn your bowl planter over onto your protected surface and pour your paint in a circle motion over the planter letting the paint drip down the sides of the bowl.
As the paint drips down the sides, it will begin to form the marbled pattern. If there happen to be any spots where the paint doesn’t flow, use your finger to gently move the paint in that direction. As you can see, the top of my bowl didn’t have any paint, so I used a bit of the extra paint in the cup to fill in the space (hence the more swirly marbled look there). To avoid too many gaps, it is best to make sure you use a bunch of paint (about 1/2 -3/4 of each tube) so that there is enough to fully cover the bowl.
Now, just let your bowl dry overnight. I placed a fan a few feet away from my bowl and let it dry that way to speed up the process. Once fully dry, use a utility knife to cut around the edge of the planter to separate it from the excess paint. Then add a gold rim if desired.
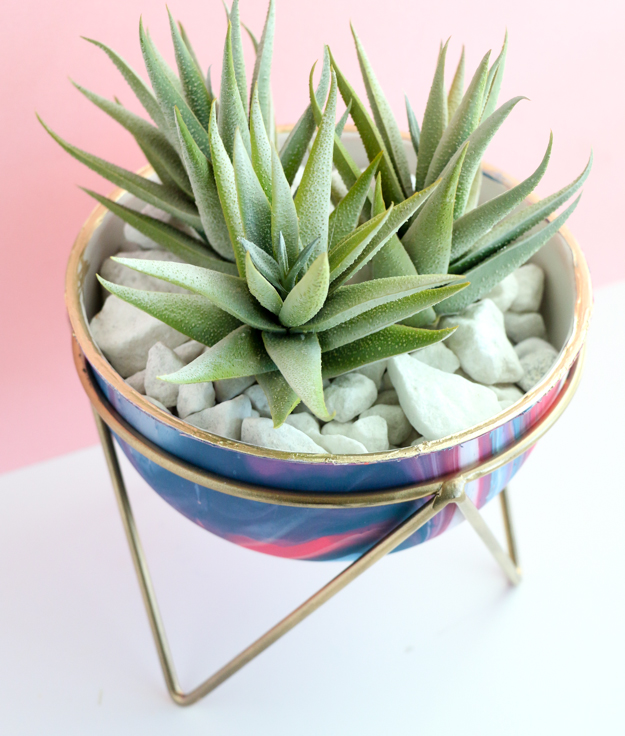
Your planter is now ready to fill with dirt, rocks, and succulents!
I promise once you try this technique you will be hooked and want to play with different color combos and things you can pour the paint on! My only advice would be to start with white as your base color, make sure to use coordinating colors that mix well (ie. you don’t want to use red and green and then get an ugly brown color when they mix), and add in at least one dark color like navy or black to give the marble pattern a little depth. Otherwise, have fun and be sure to share your projects with me on social by tagging them with #mykailochic.



January 19th, 2018 at 10:06 pm
[…] marble trend, I’m happy to say, is here to stay. Oh the colors on this gorgeous DIY Poured Paint Marble Planter on A Kailo Chic […]
January 23rd, 2018 at 2:10 pm
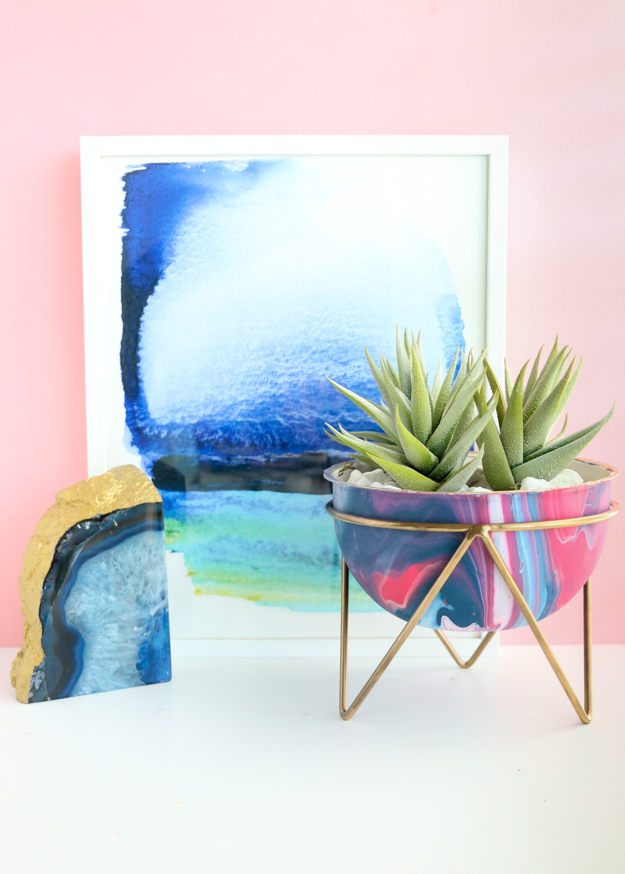
This looks like a fun project, oh, the possibilities! I like the way you’ve displayed the planter, too, in front of that gorgeous, framed watercolor painting.
January 26th, 2018 at 8:37 am
[…] Marbled DIYS will never not be […]
February 1st, 2018 at 7:09 am
Hi! Have you ever used a pouring medium with this or anything other than paint and water? It’s so pretty!
February 1st, 2018 at 12:30 pm
Thanks! I did try a marbling pouring medium once, but didn’t notice a different between it and plain water and I’d rather save the money because pouring medium is $$$.
March 17th, 2018 at 5:12 pm
[…] POURED-PAINT-MARBLE-PLANTER […]
July 24th, 2018 at 6:42 am
That is the coolest thing ever!!! Can’t wait to try it.
Thanks so much for the idea!
April 11th, 2019 at 11:45 pm
[…] Marbled Planter : Đột nhiên những thứ trần tục nhất trông thú vị hơn nhiều. Sơn đổ cho […]
January 14th, 2020 at 7:34 am
Very pretty! Maybe sitting the bowl on something while poring would make it easier to remove from the paper.
July 25th, 2020 at 9:00 am
[…] DIY Poured Paint Marble Planter […]