This post on my DIY Vinyl Confetti Decorated Office is sponsored by JOANN. Thank you for supporting the brands that keep the lights on and the craftiness coming!
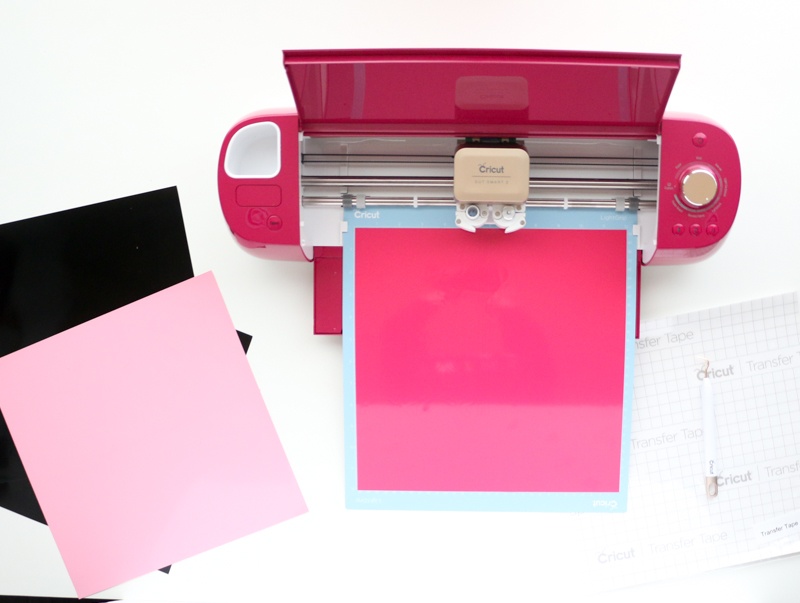
I am so excited to share a little office refresh I did recently with the help of my friends over at JOANN and the new, exclusive Cricut Wild Rose bundle. You all know I love a good vinyl cutting machine. Almost as much as I love pink! So when I heard about the new Cricut® Explore Air™ 2, Wild Rose Edition, I grabbed one immediately! What’s even better is the Wild Rose bundle comes with over $100+ dollars of added vinyl (10 pieces of permanent vinyl, removable vinyl, new shimmer vinyl and printable vinyl!) and tools. I had everything I needed to give my desk and office chair a vinyl makeover upon opening the box. Score!
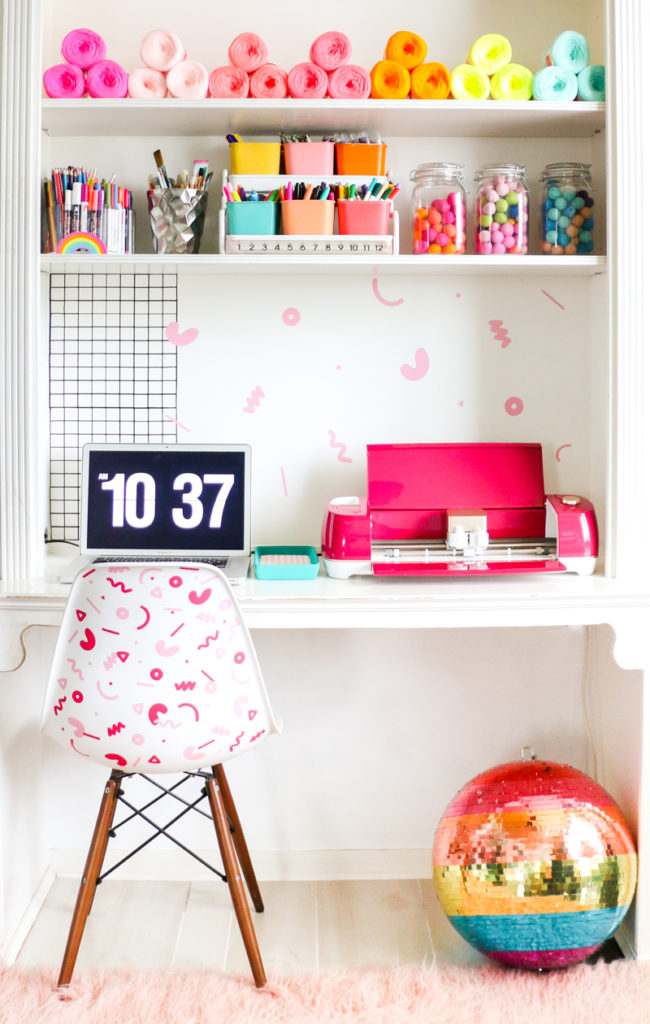
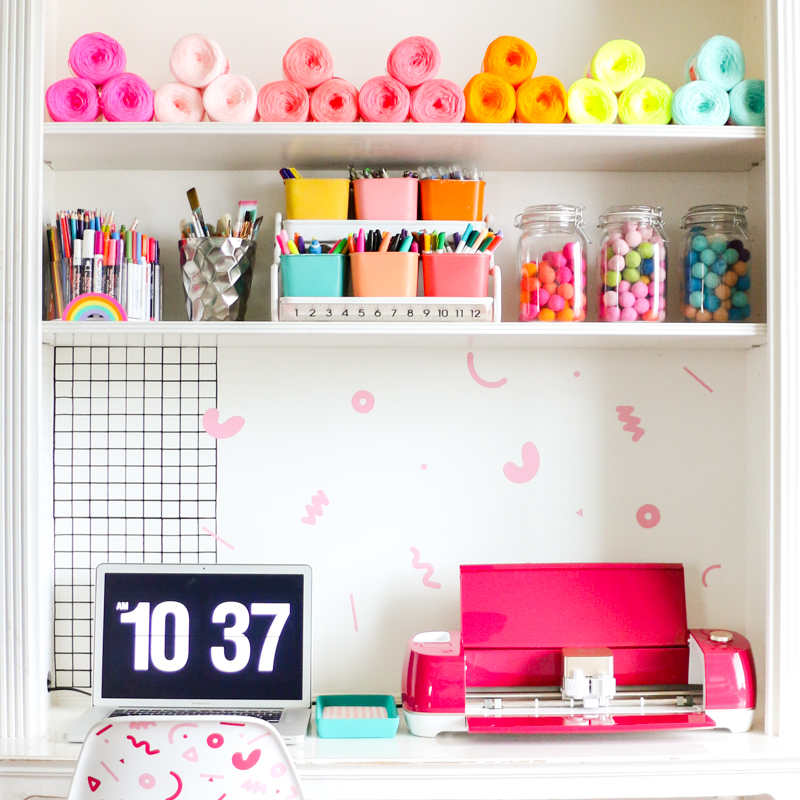
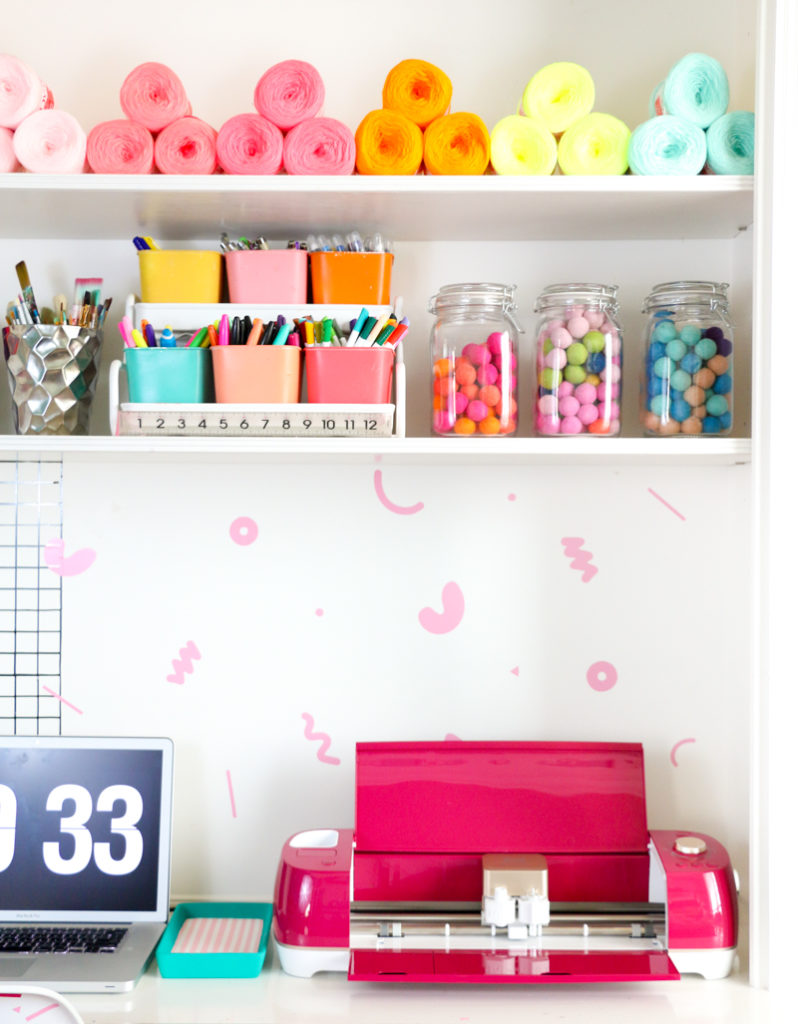
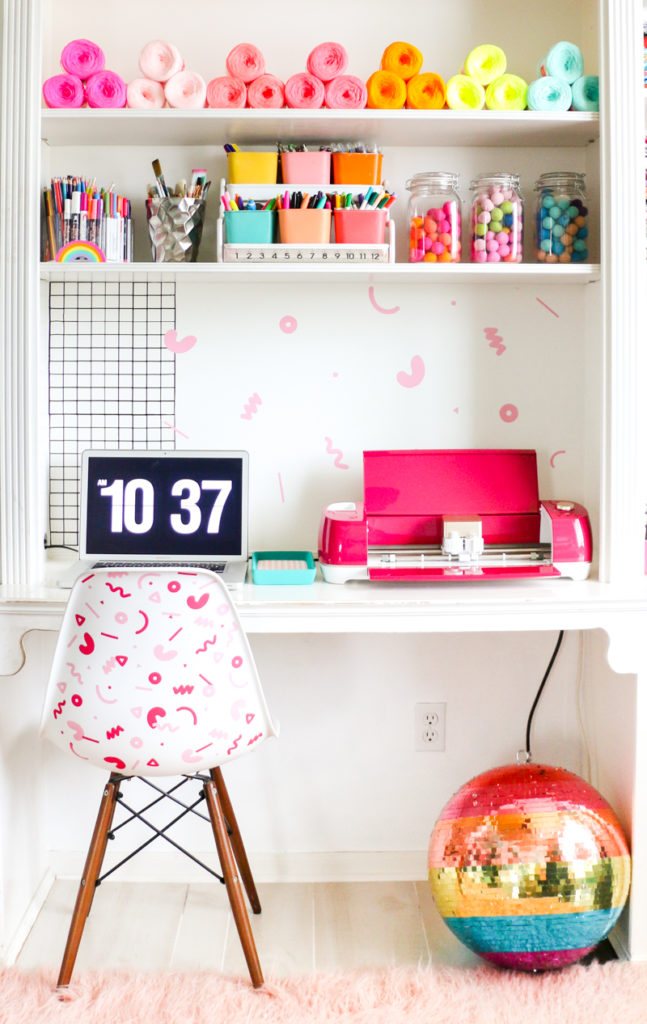
When we moved into this house, I took over the “study” for my office. Lucky me, there were already built-ins along one wall. This space instantly became by desk and the storage for all my craft supplies. Over the years, the space has become inundated with craft supplies. After the holidays this past year, my lovely and super awesome assistant helped me clean out my office and get rid of unused supplies. She even added tons of jars to group all my remaining supplies together. But despite the major clean out, the space wasn’t really my style. It wasn’t inspiring. So I decided to use three sheets of permanent vinyl that came in the Cricut Wild Rose Air 2 Bundle to create a space that inspired me to get stuff done!
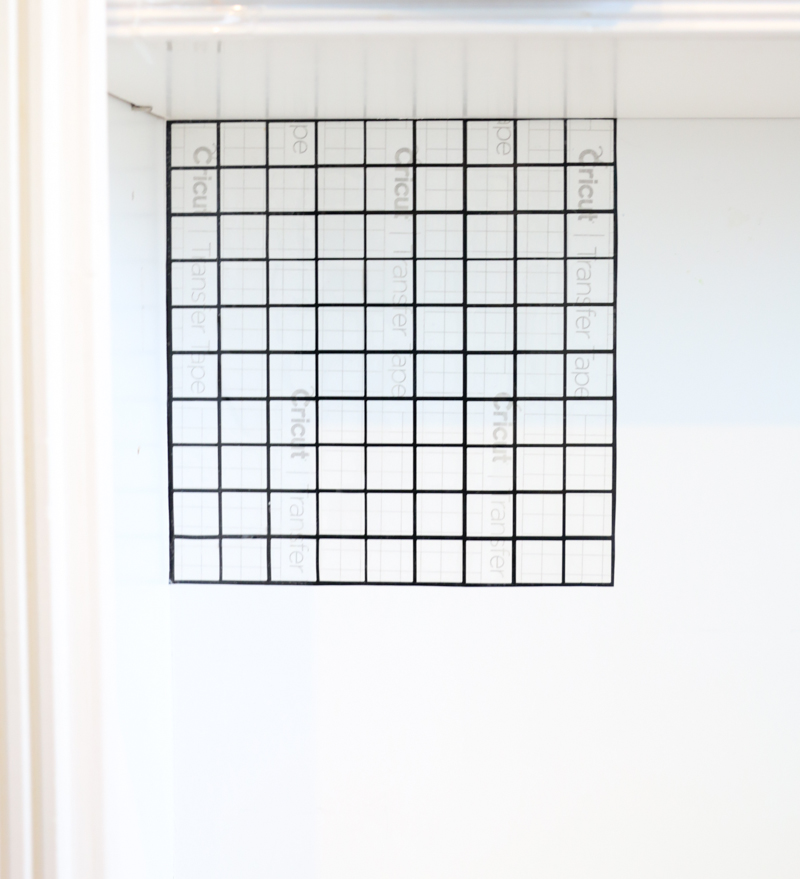
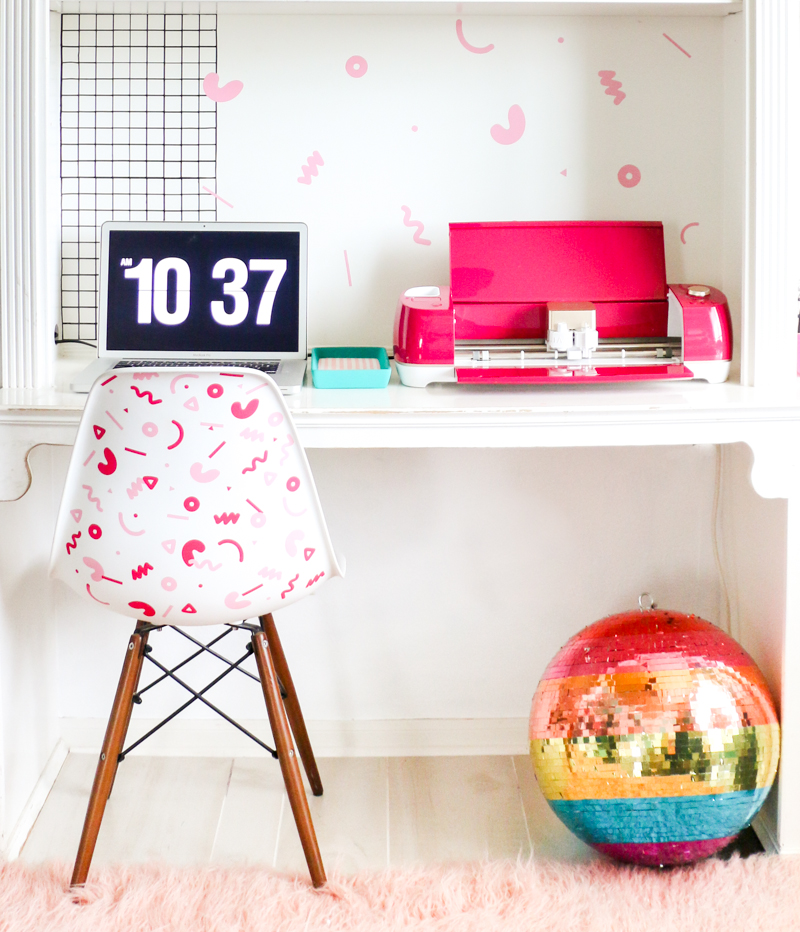
As you can see I used black, light pink, and dark pink to cut out a black and white grid pattern and fun geometric shapes to create a DIY vinyl confetti decorated office. And I am going to share how I did it, so that you can go grab a super cute pink Wild Rose Air 2 Bundle and recreate the look in your own space.
Materials for the DIY Vinyl Confetti Decorated Office:
– Cricut® Explore Air™ 2, Wild Rose Edition bundle (exclusively sold at JOANN)
– These geometric shapes (1 and 2)
– Computer
That’s it! You can do this all with just the bundle and your computer because everything you need comes in the bundle!
Instructions
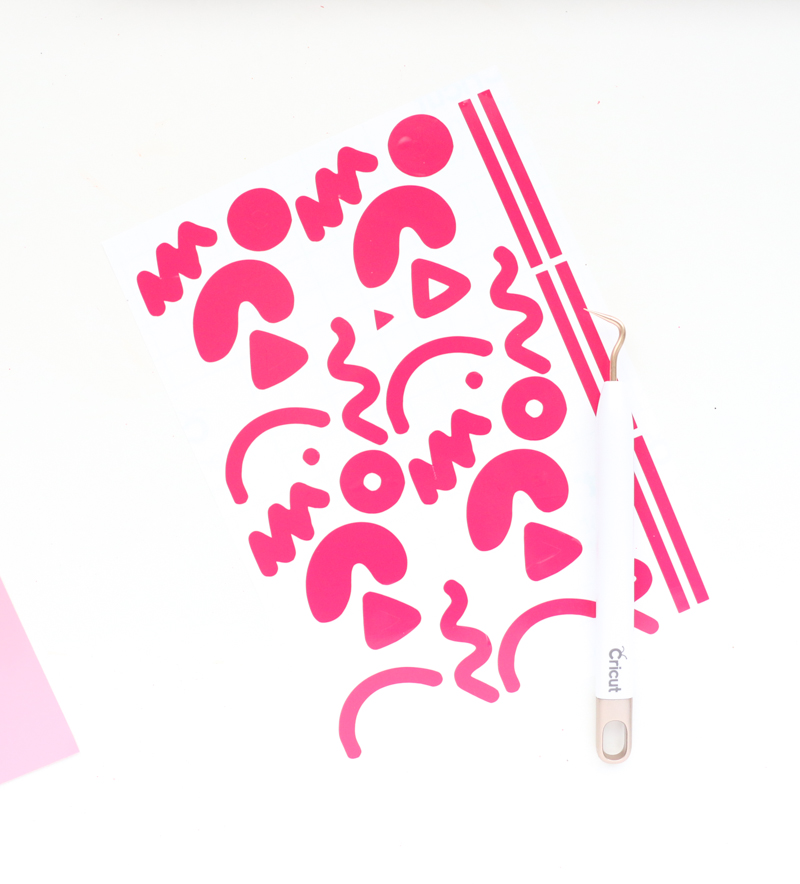
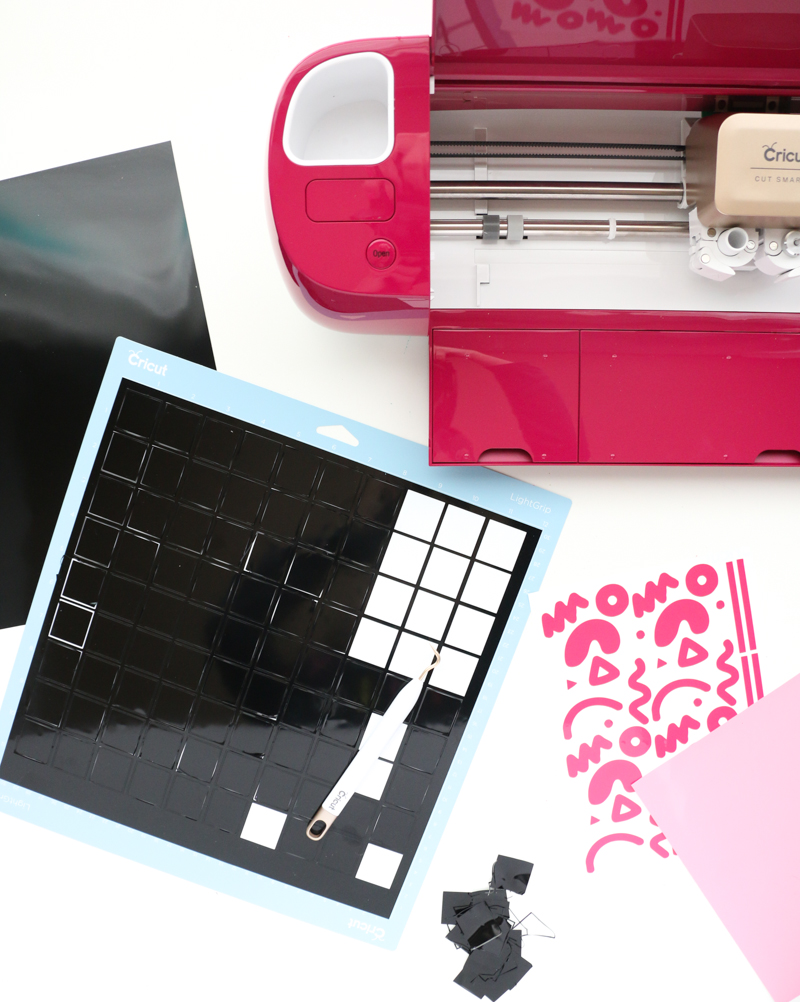
Begin by placing your colored permanent vinyl on the cutting mat that comes with the bundle. Then cut out the geometric shapes using the vinyl setting. Next, peel away the negative space to reveal your vinyl “stickers”.
Next, cut out a grid pattern. This is a fairly simple pattern, so I didn’t include the cut file, but let me know if you need it!
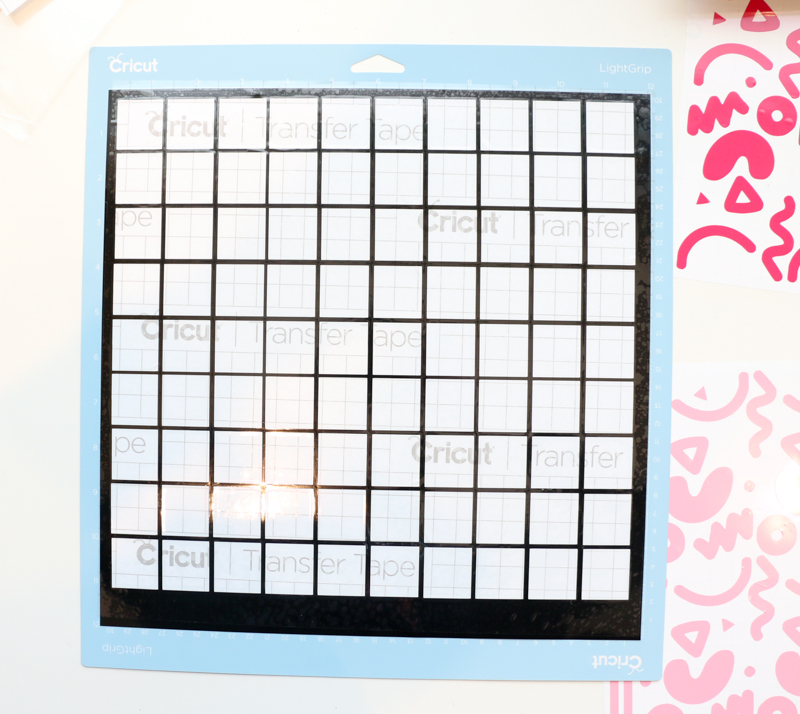
Once cut, remove the negative space to reveal the grid pattern, then use the transfer tape sheet that comes with the bundle and place it over the grid pattern.
At this point you can trim around the edge of the vinyl sheet to get all the sides to be the same width. Then peel away the paper backing and place the vinyl on the wall where you want your pattern.
Next, use the squeegee that comes in the bundle to press the vinyl onto your surface (the wall of the built ins behind my desk in my case). Then peel away the transfer tape sheet.
The vinyl “stickers” once cut are as easy to apply as real stickers. Just peel them off and place them on your wall and all over the back of your plastic chair.
The Results
I love the pop of color that this permanent vinyl addition brings to my office. It is defintely inspiring me to get all my work done and the view while I do isn’t so bad now! Who knew just a few pieces of vinyl could make such a colorful difference. Go grab your own Cricut® Explore Air™ 2, Wild Rose Edition at JOANN and get crafting on your own colorful office!
March 8th, 2019 at 8:28 pm
Where did the large disco ball come from ?
March 11th, 2019 at 9:06 am
I made it by covering a regular disco ball with metallic vinyl squares that I cut.
March 31st, 2019 at 5:02 am
[…] -Read More – […]
April 7th, 2019 at 7:04 am
You did it very well. Thank you for sharing it
April 15th, 2021 at 2:33 pm
[…] That little section of the wall right behind your desk is what you get to look at all the time when you’re sitting down and working so it makes sense to want to make it look beautiful and cheerful. A simple way in which you can do that is with paper or stickers. You can print out these confetti shapes on colored vinyl and then use them to decorate the wall. It’s super easy and all the details can be found on akailochiclife. […]