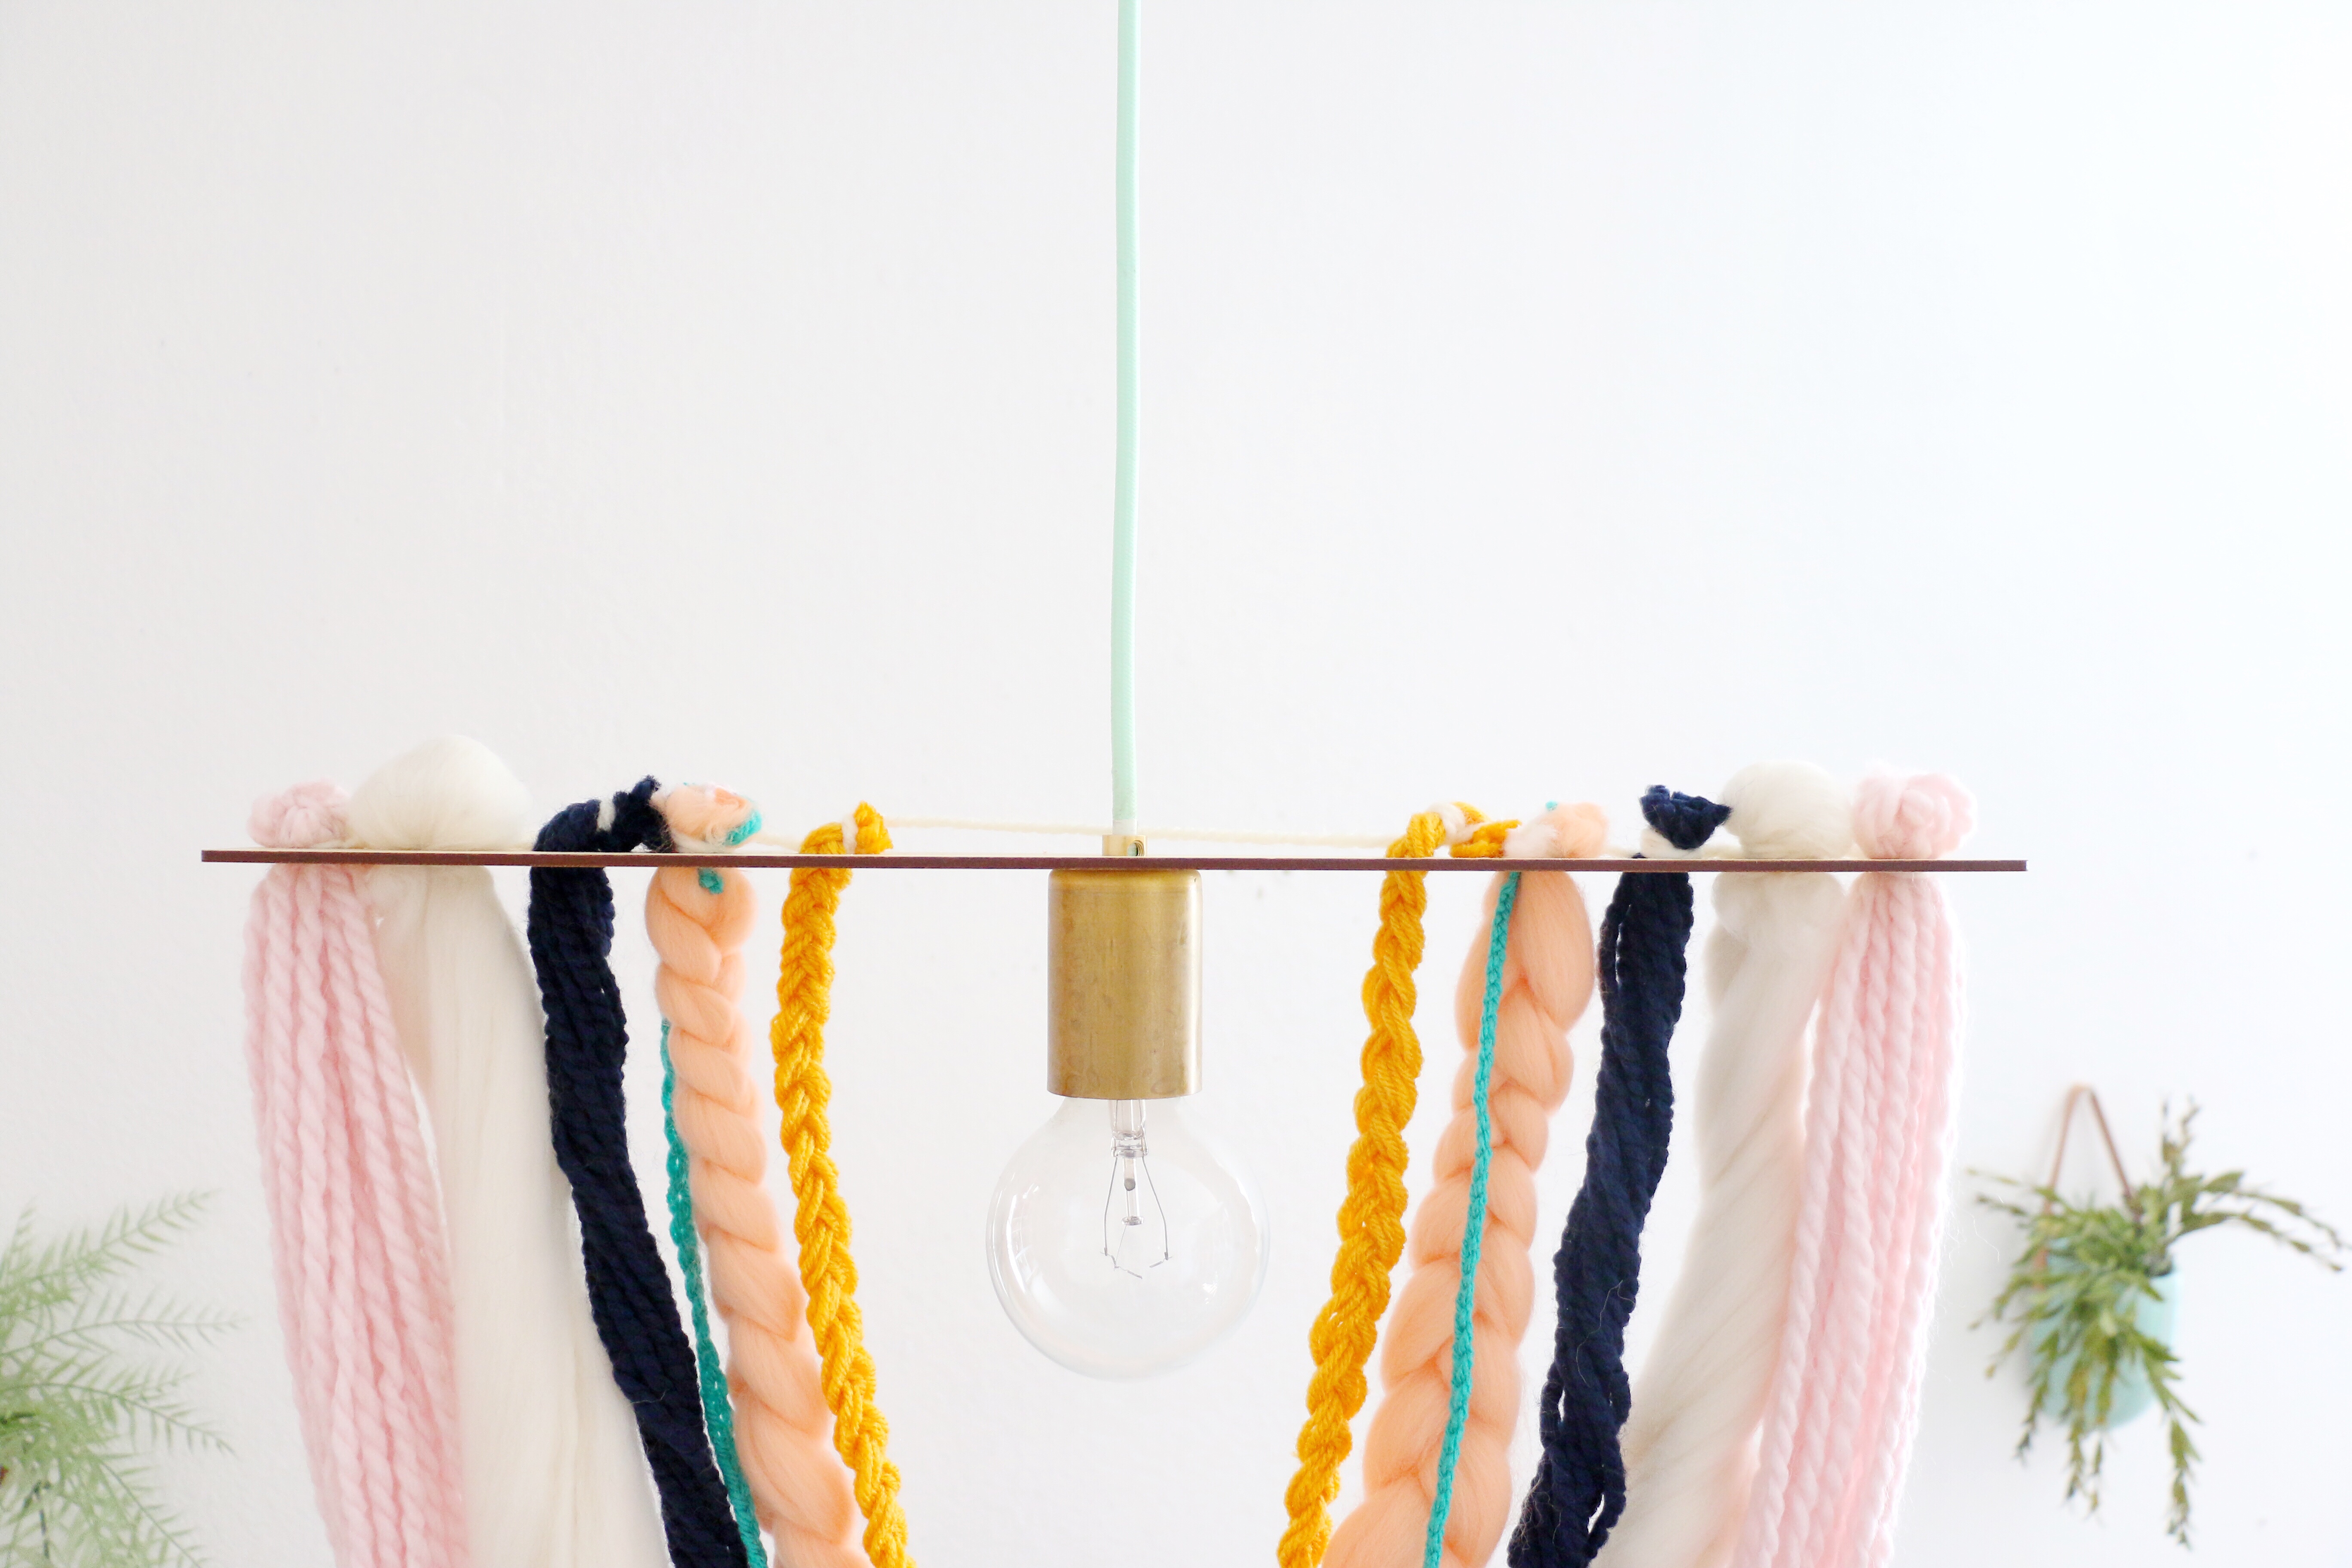
A few weeks ago I shared a neon pink and orange fringe pendant light that I made using my Glowforge laser cutter. At that time I told you guys how many more ideas I had for light fixtures using the Glowforge. Well today’s the day I’m sharing one more DIY light fixture! This DIY yarn hanging pendant light combines my favorite elements of wall weavings and fiber art. It is an amazing statement pendant light perfect for any space. Just look at the braided roving and chunky yarn hanging from the natural wood box. And that mint and gold pendant light – it’s just too good!
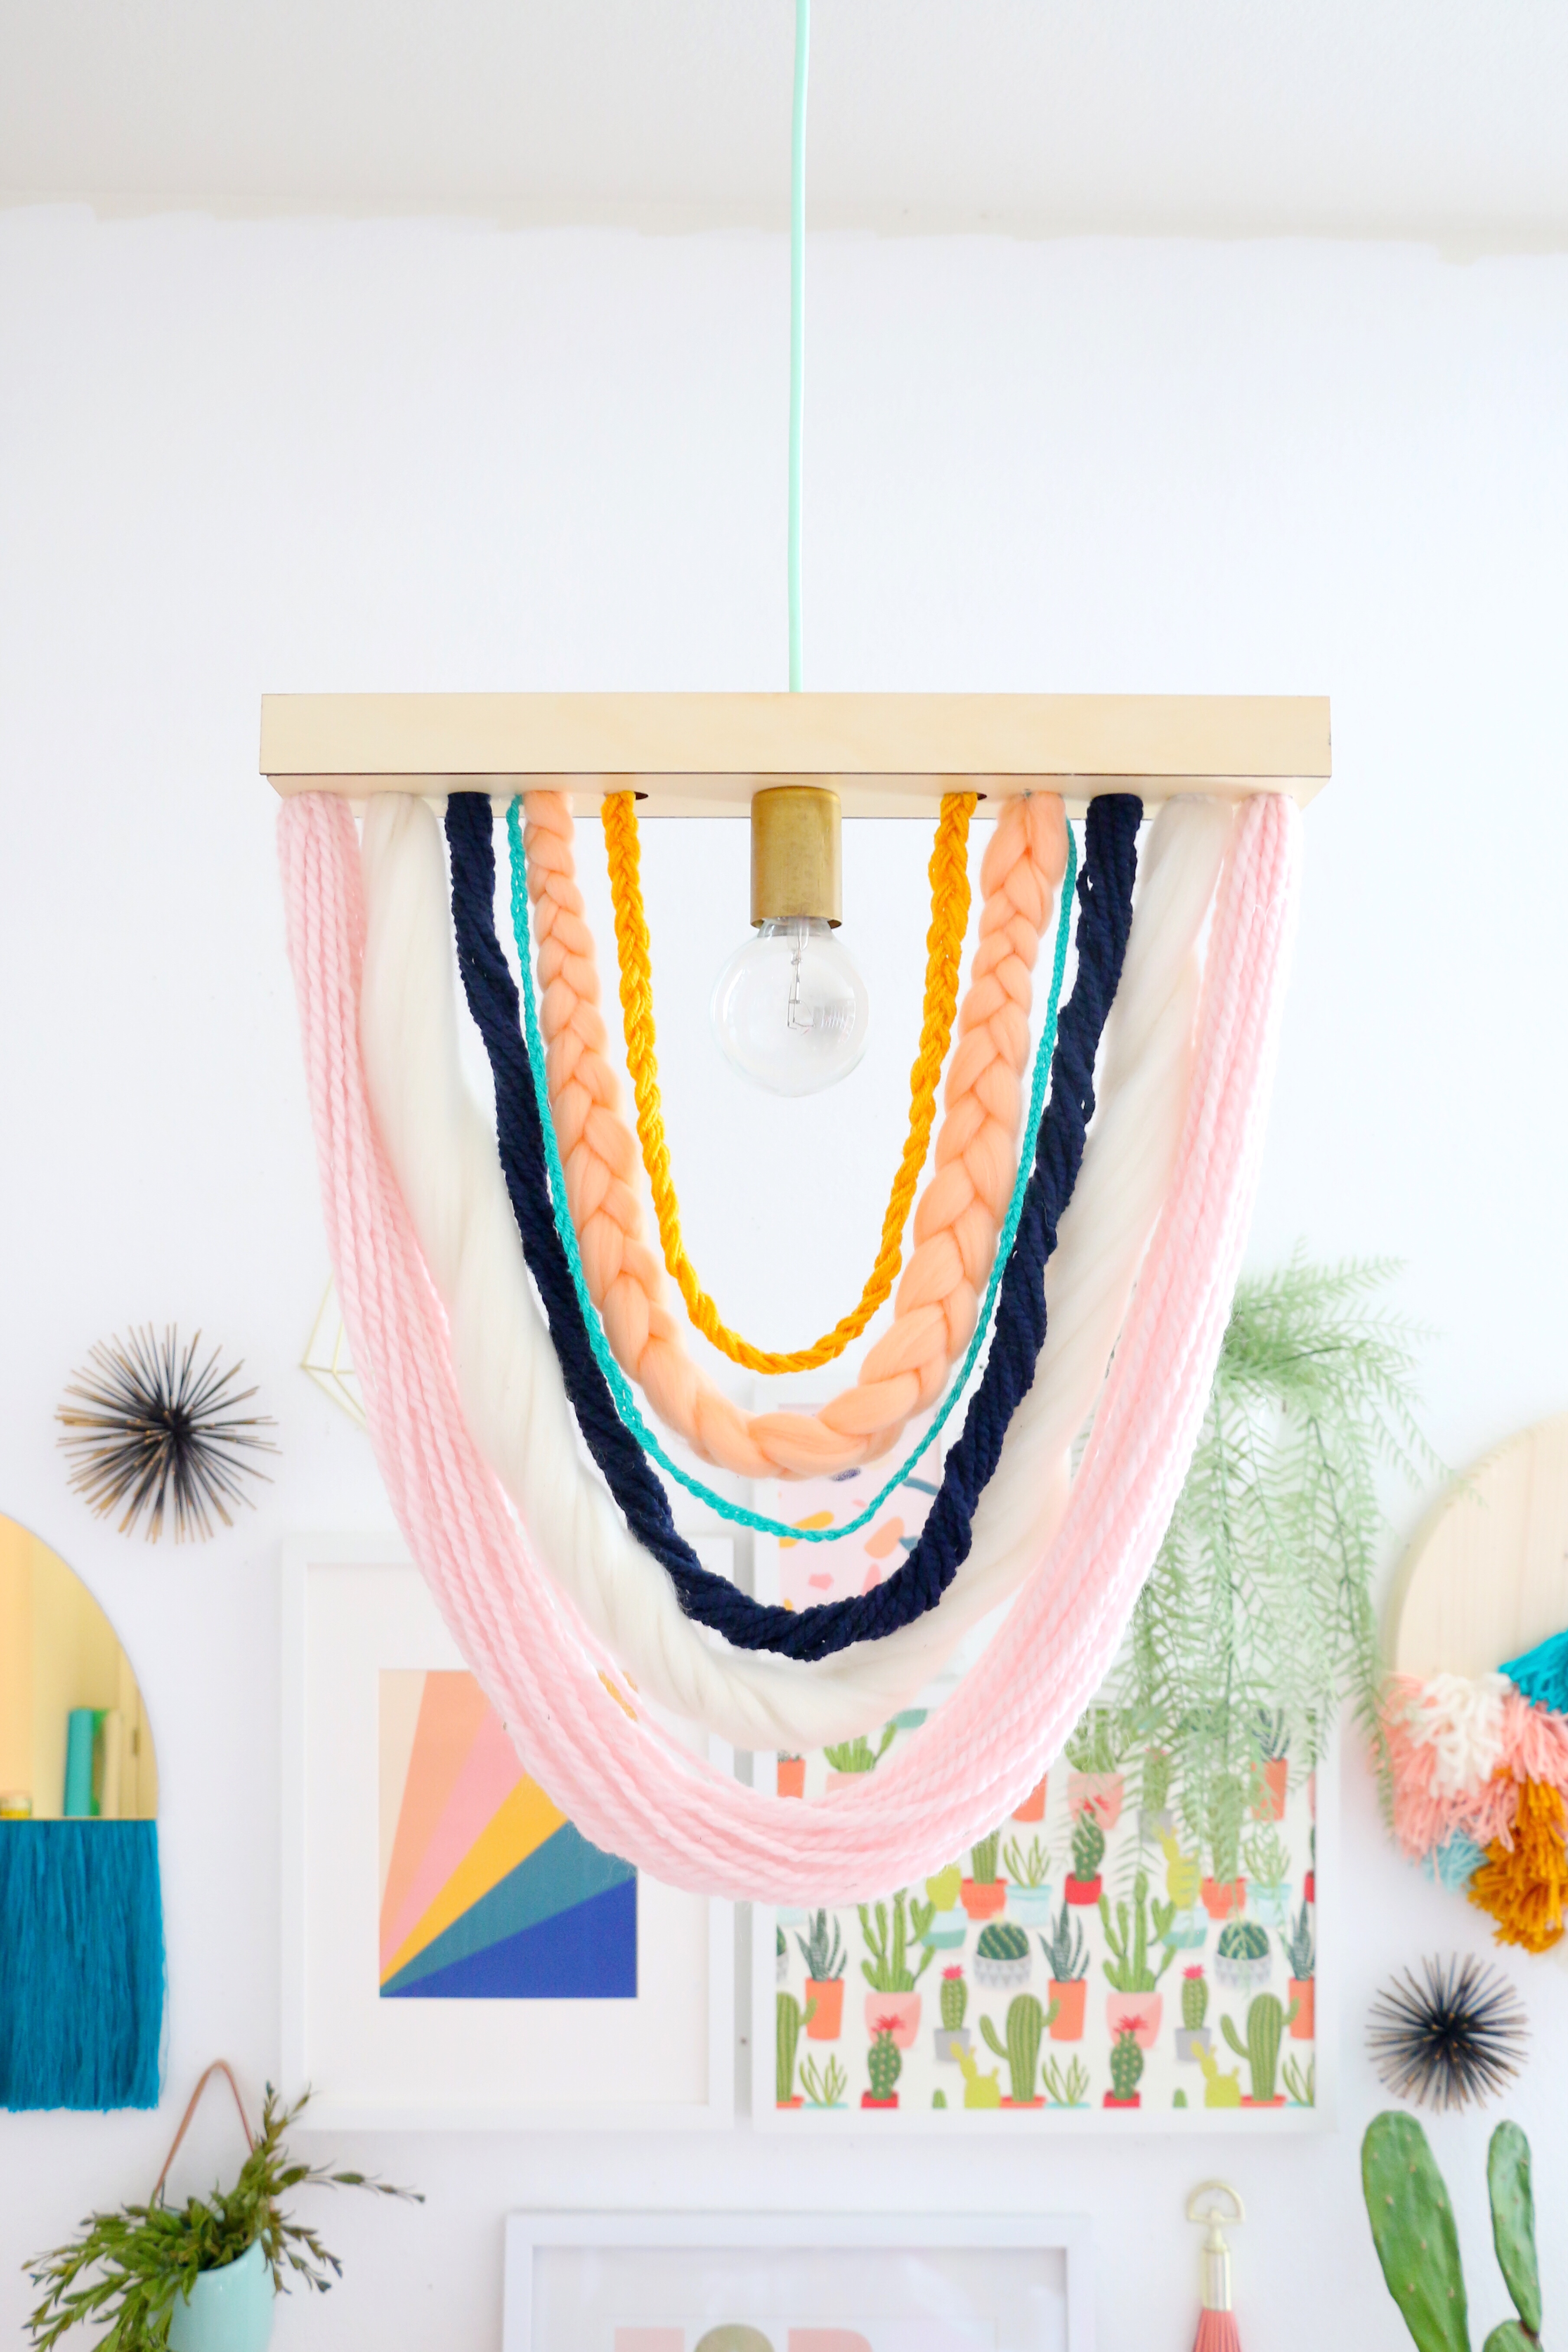

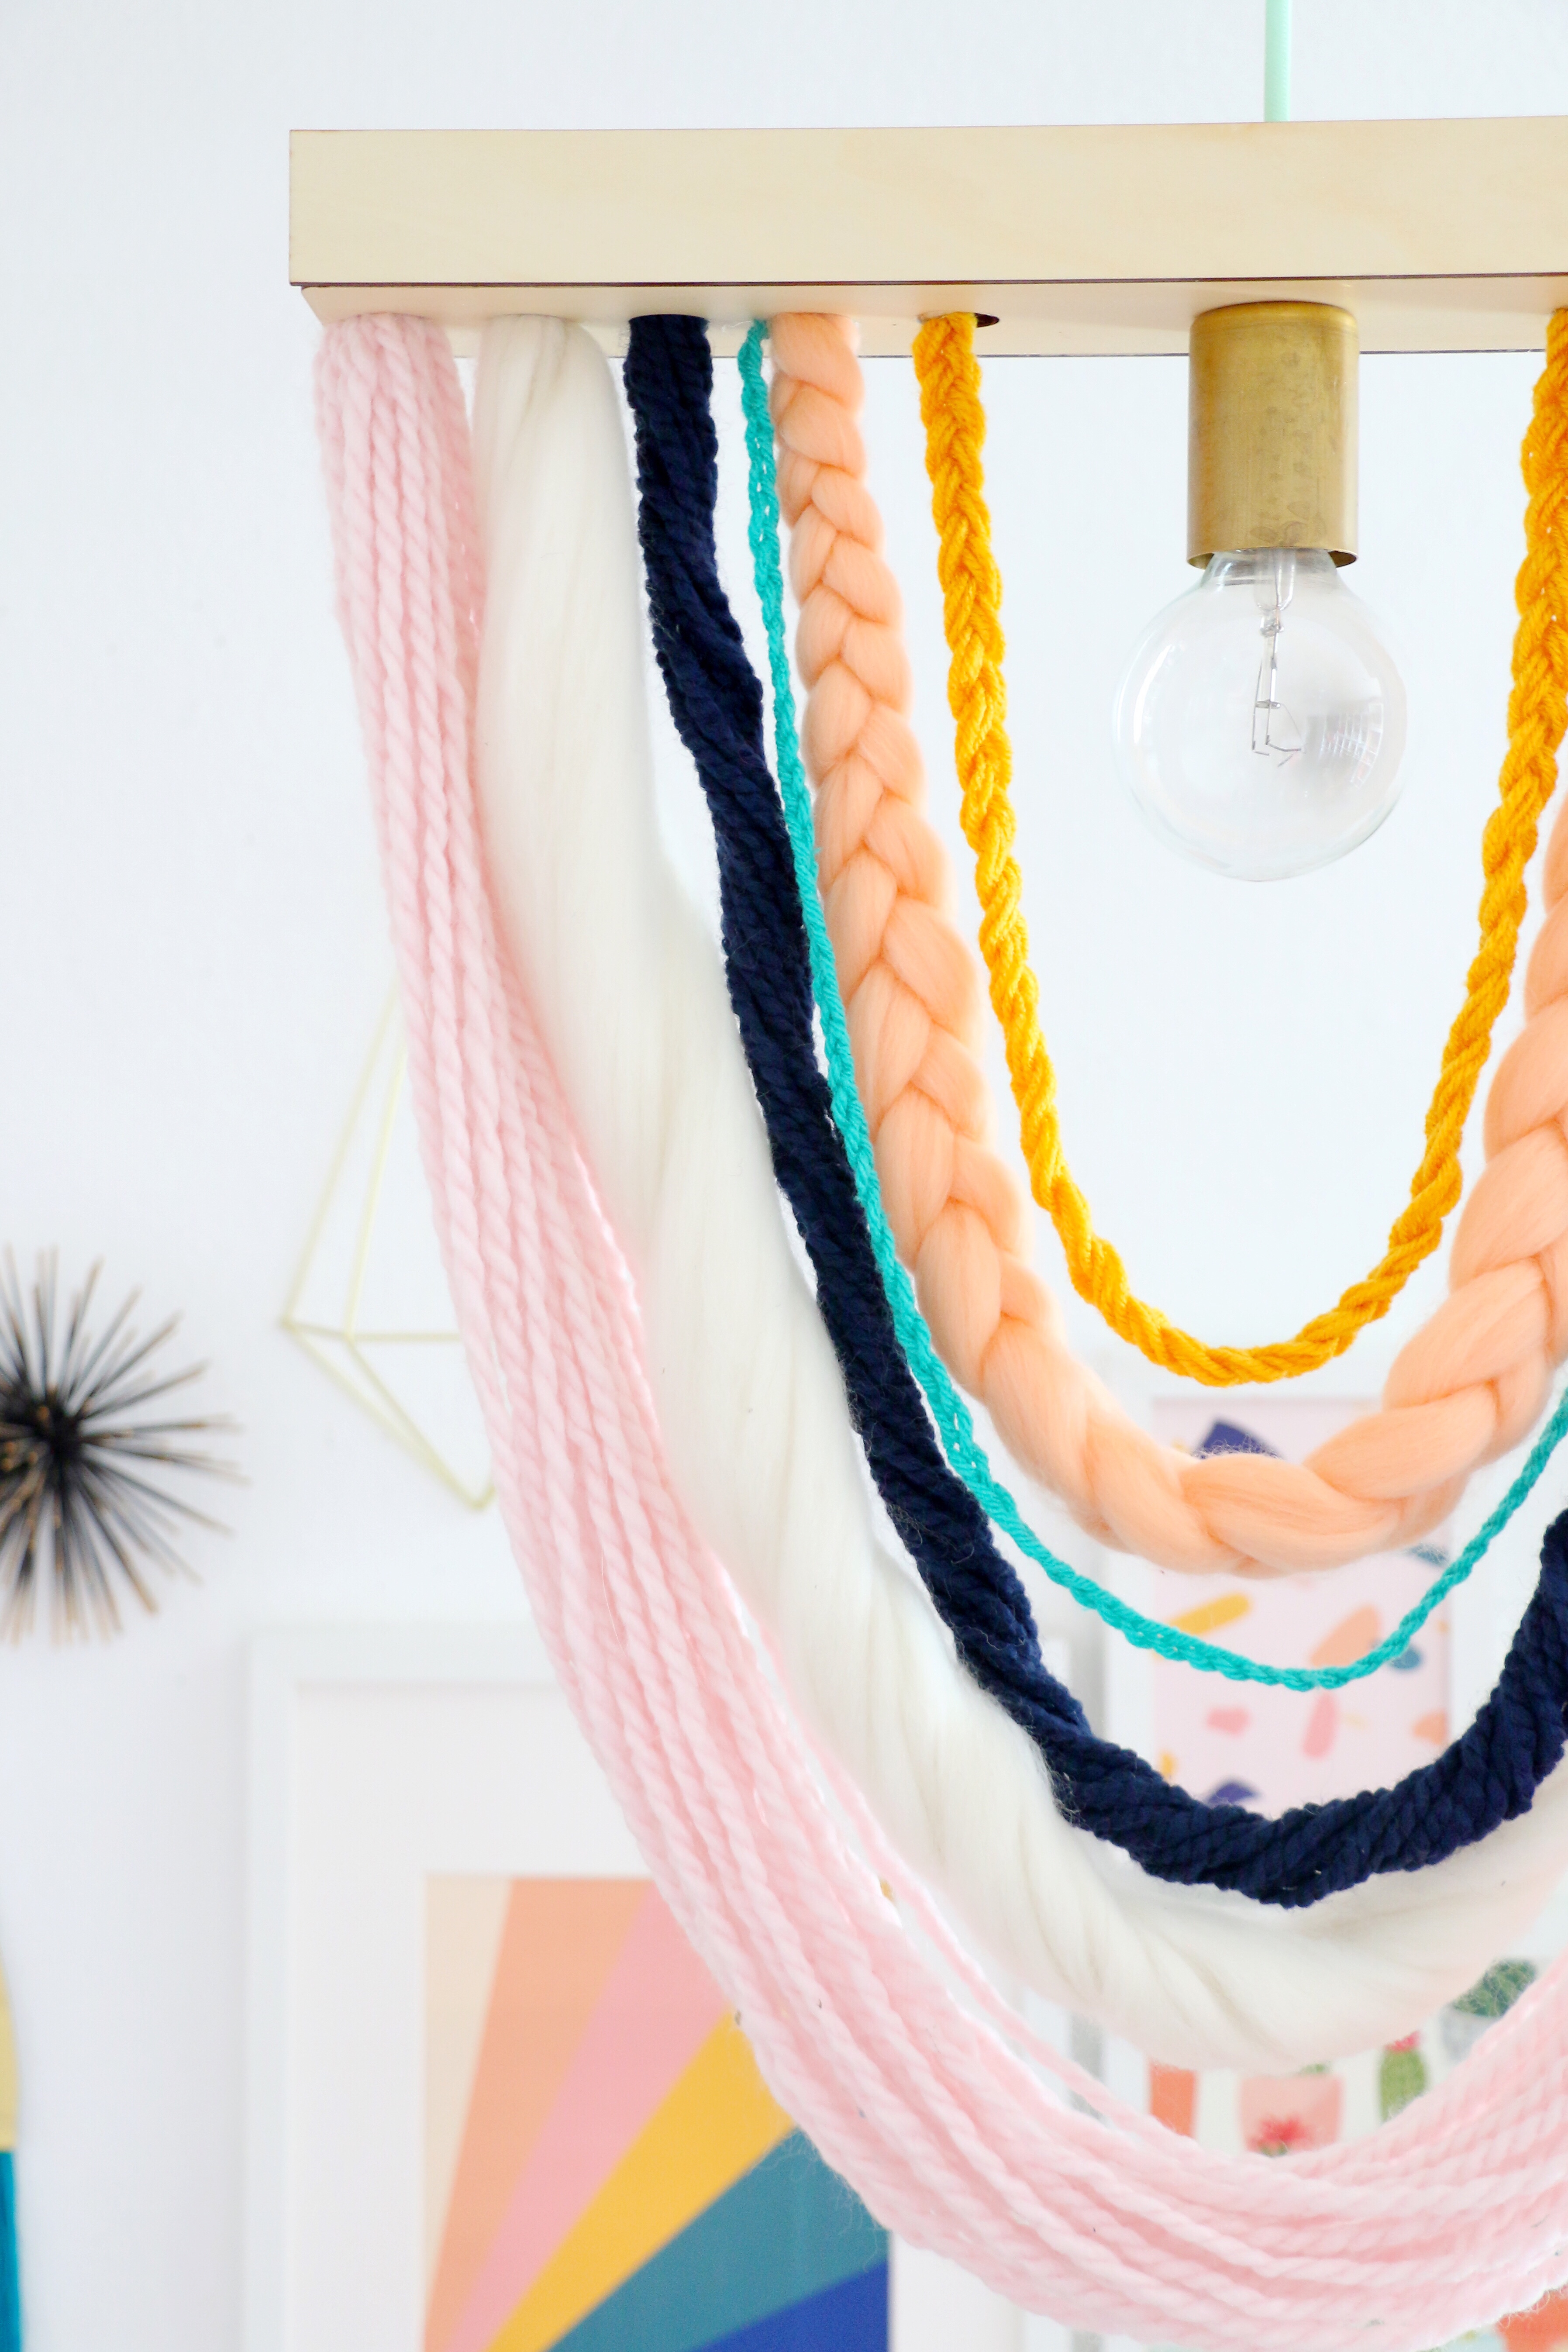
Isn’t she a beaut?! Even though I used my Glowforge to cut the wood, you could totally replicate this light fixture with just basic woodworking tools as well. The Glowforge just makes it so much easier and quicker to cut the wood to the perfect shape and size.
Materials to make a DIY Yarn Hanging Pendant Light:
– 1/4″ plywood cut to the following sizes: 2- 20″ by 1.5″, 2- 20″ by 3″, 2- 3.5″ by 1.5″
– Yarn and roving in various colors and thicknesses
– Hot glue
– Wood Glue
– Clamps
– 1/2″ drill bit and drill
– Glowforge to make art the cuts (optional)
Instructions
Begin by cutting your wood to size. If you are using a Glowforge, you can cut all the pieces needed for this fixture from one 12″ by 20″ piece of basswood plywood. Once you have your rectangles cut, use the drill to drill 4-5 holes spaced 1/2″ apart on each end of one of the 3″ by 20″ pieces of plywood. Then drill a 1/2″ hole in the middle of this piece as well.
Next, drill a 3/8″ hole in the middle of the other 3″ by 20″ piece of plywood.
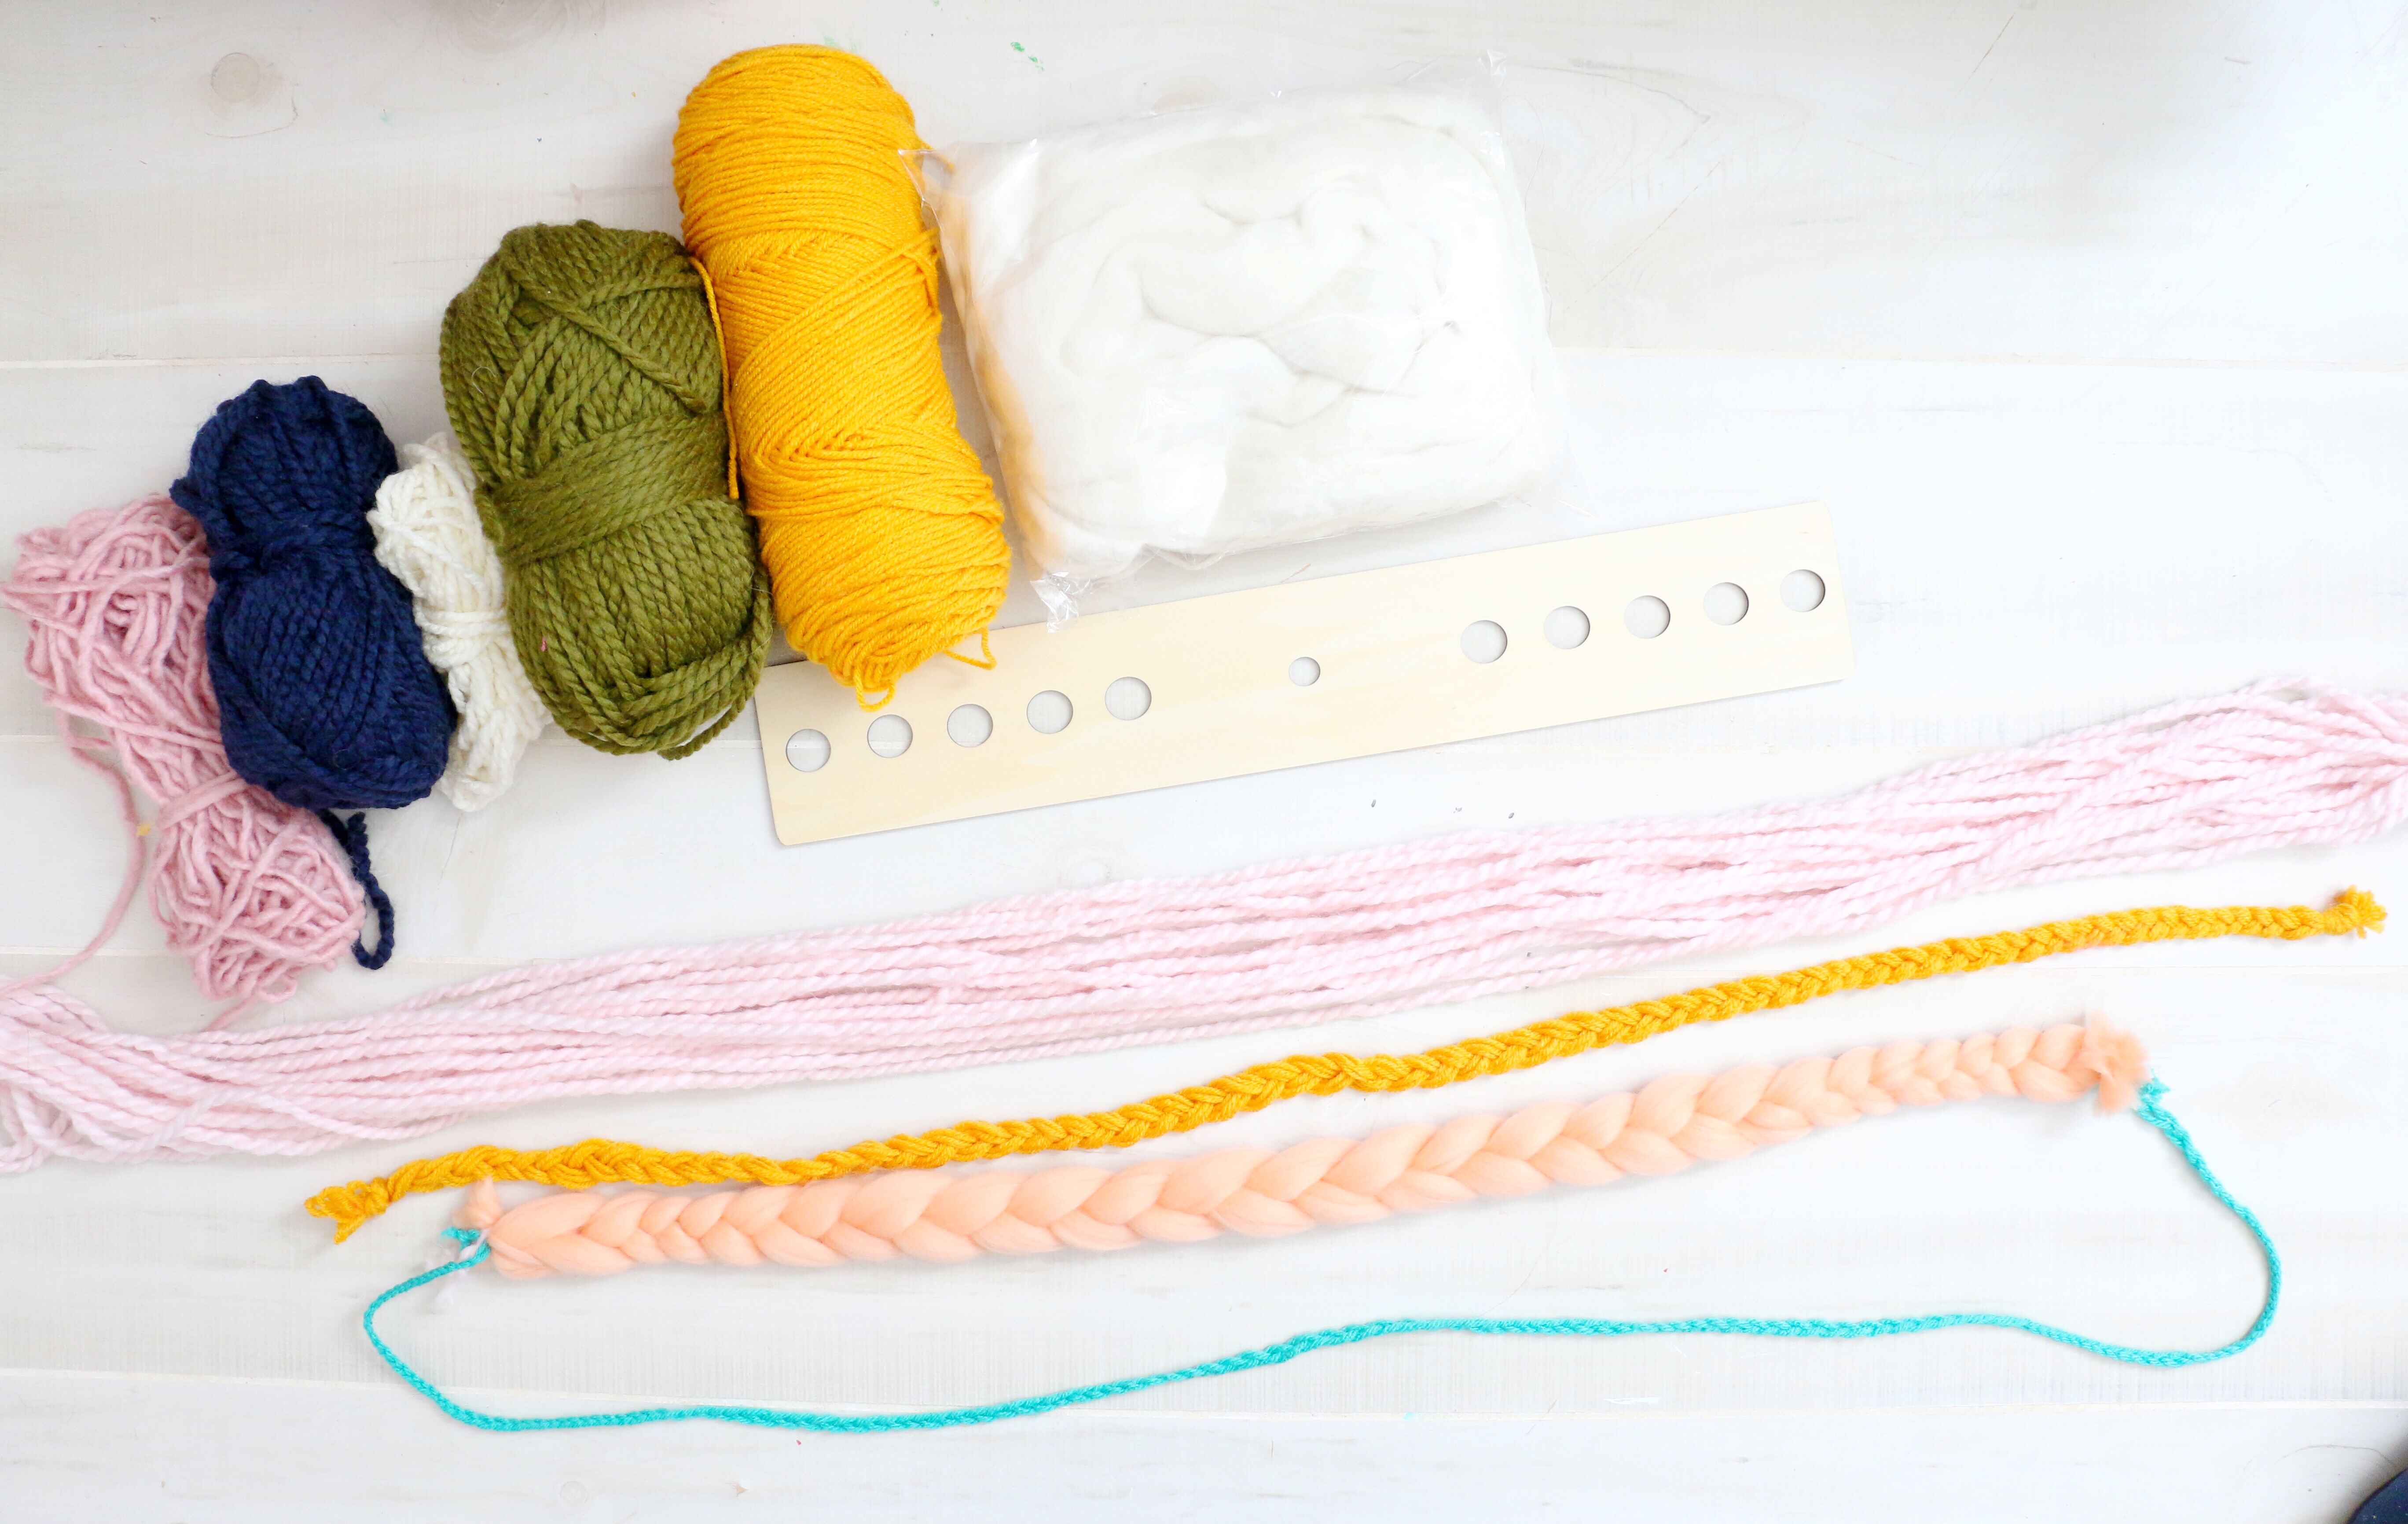
You will end up with something like this for the bottom piece of the pendant light box. Now it’s time to make your braided, twisted, and multi layered yarn and roving strips.
Once you have a yarn piece for each hole, thread the yarn through the hole and hot glue into place.
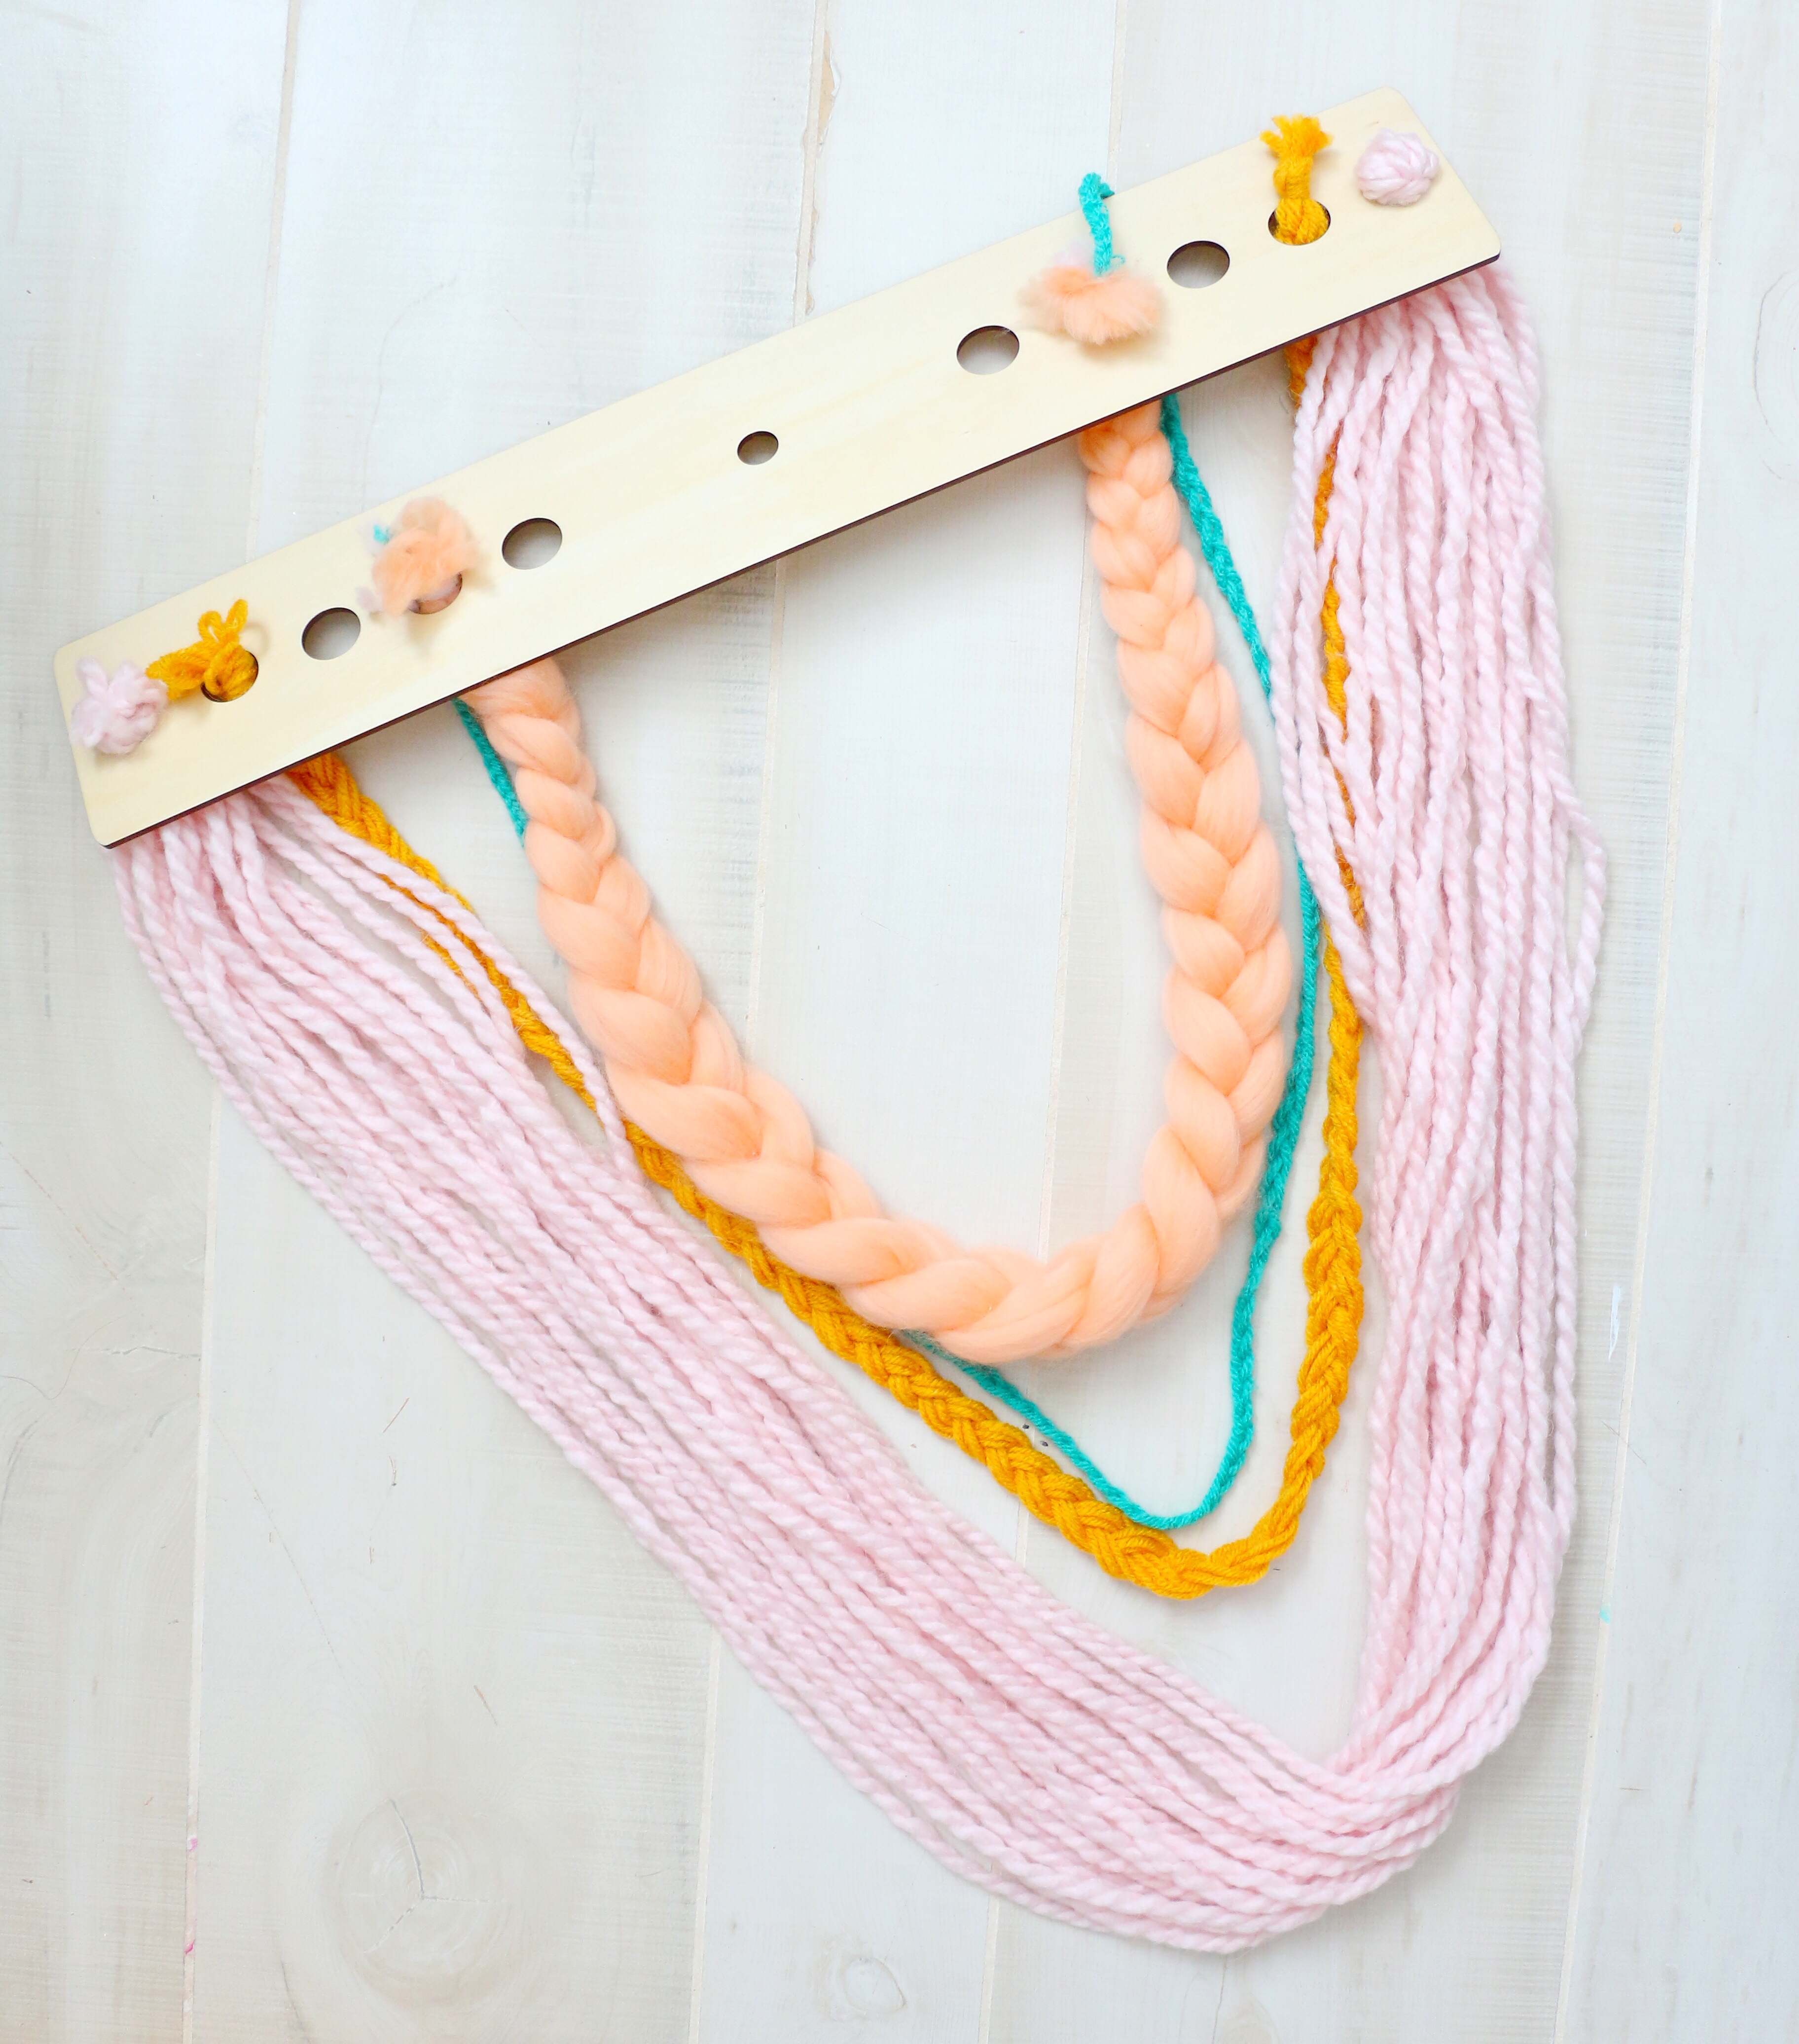
Once you have all your yarn secured in place, it’s time to add your pendant light kit. Thread the cord through the middle hole and use the strain relief to secure the cord on the top portion of the plywood. Now glue on the other pieces of plywood to box in top of the light fixture and hide the yarn ends. Thread the end of the light kit cord through the piece of plywood at the top of the box and then glue on the sides and top to form a box around the yarn ends.
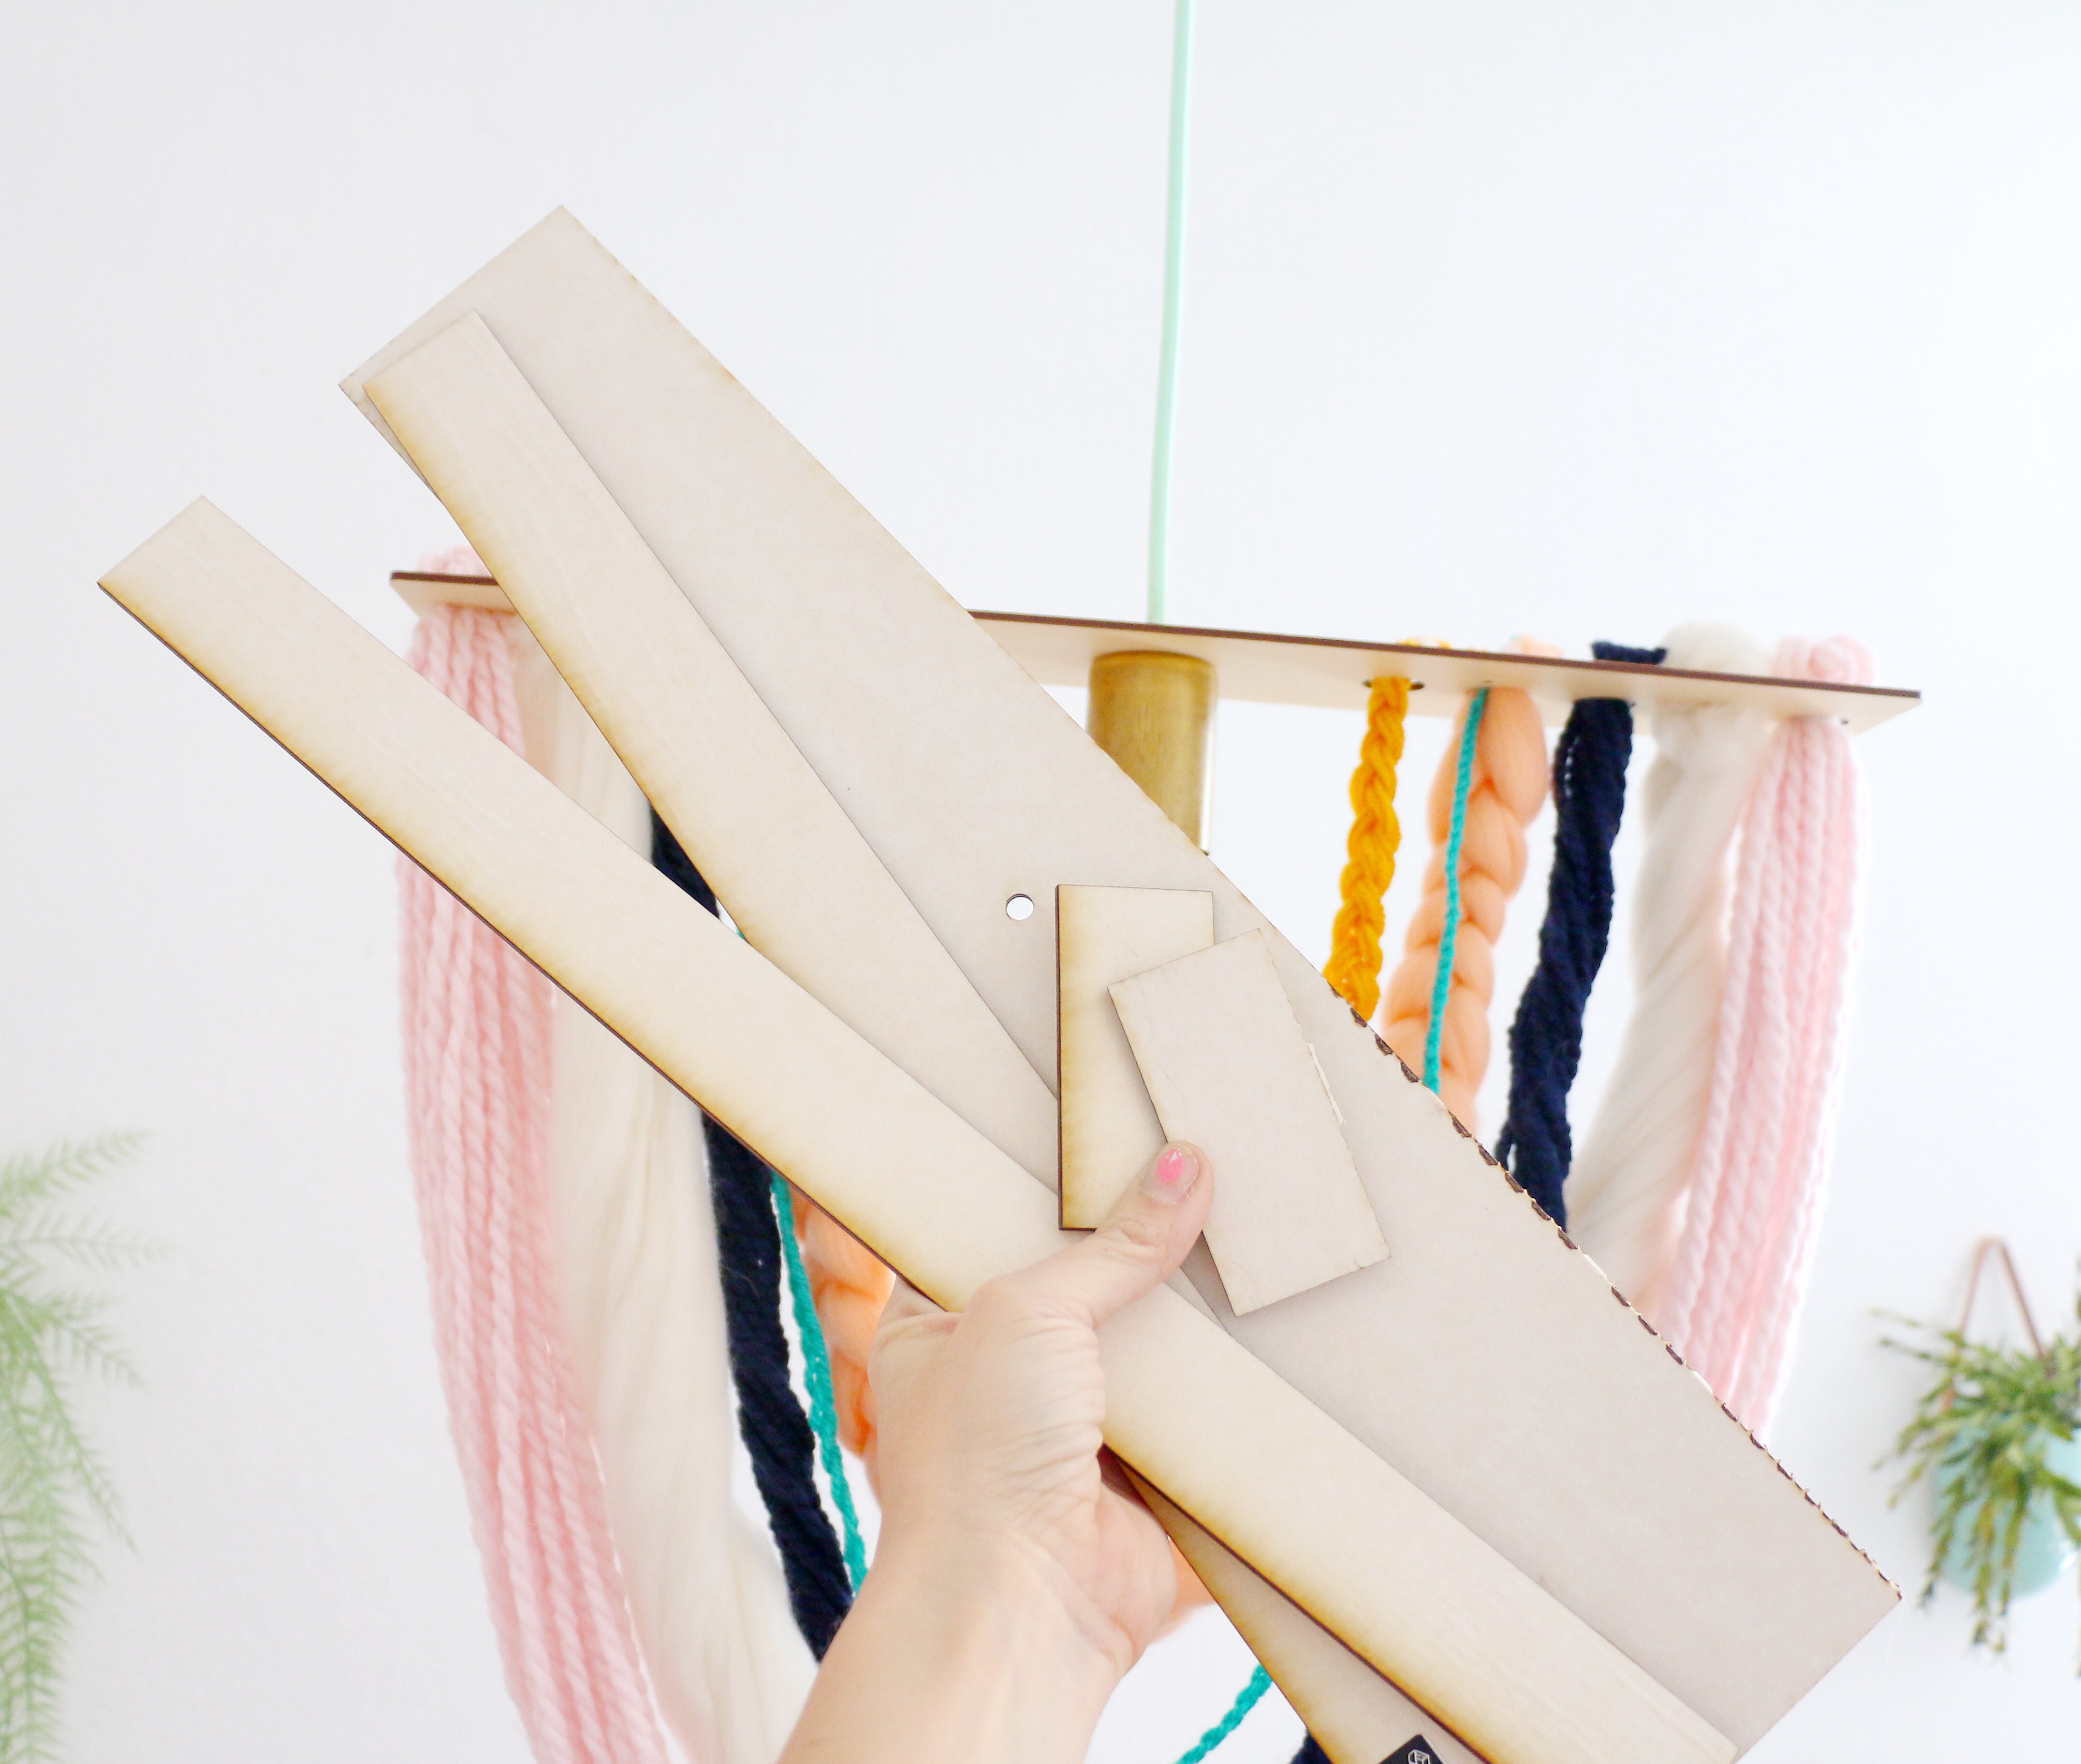
Use the wood glue to glue the plywood pieces together and then use the clamps to square up the plywood and hold it in place while the glue dries overnight.
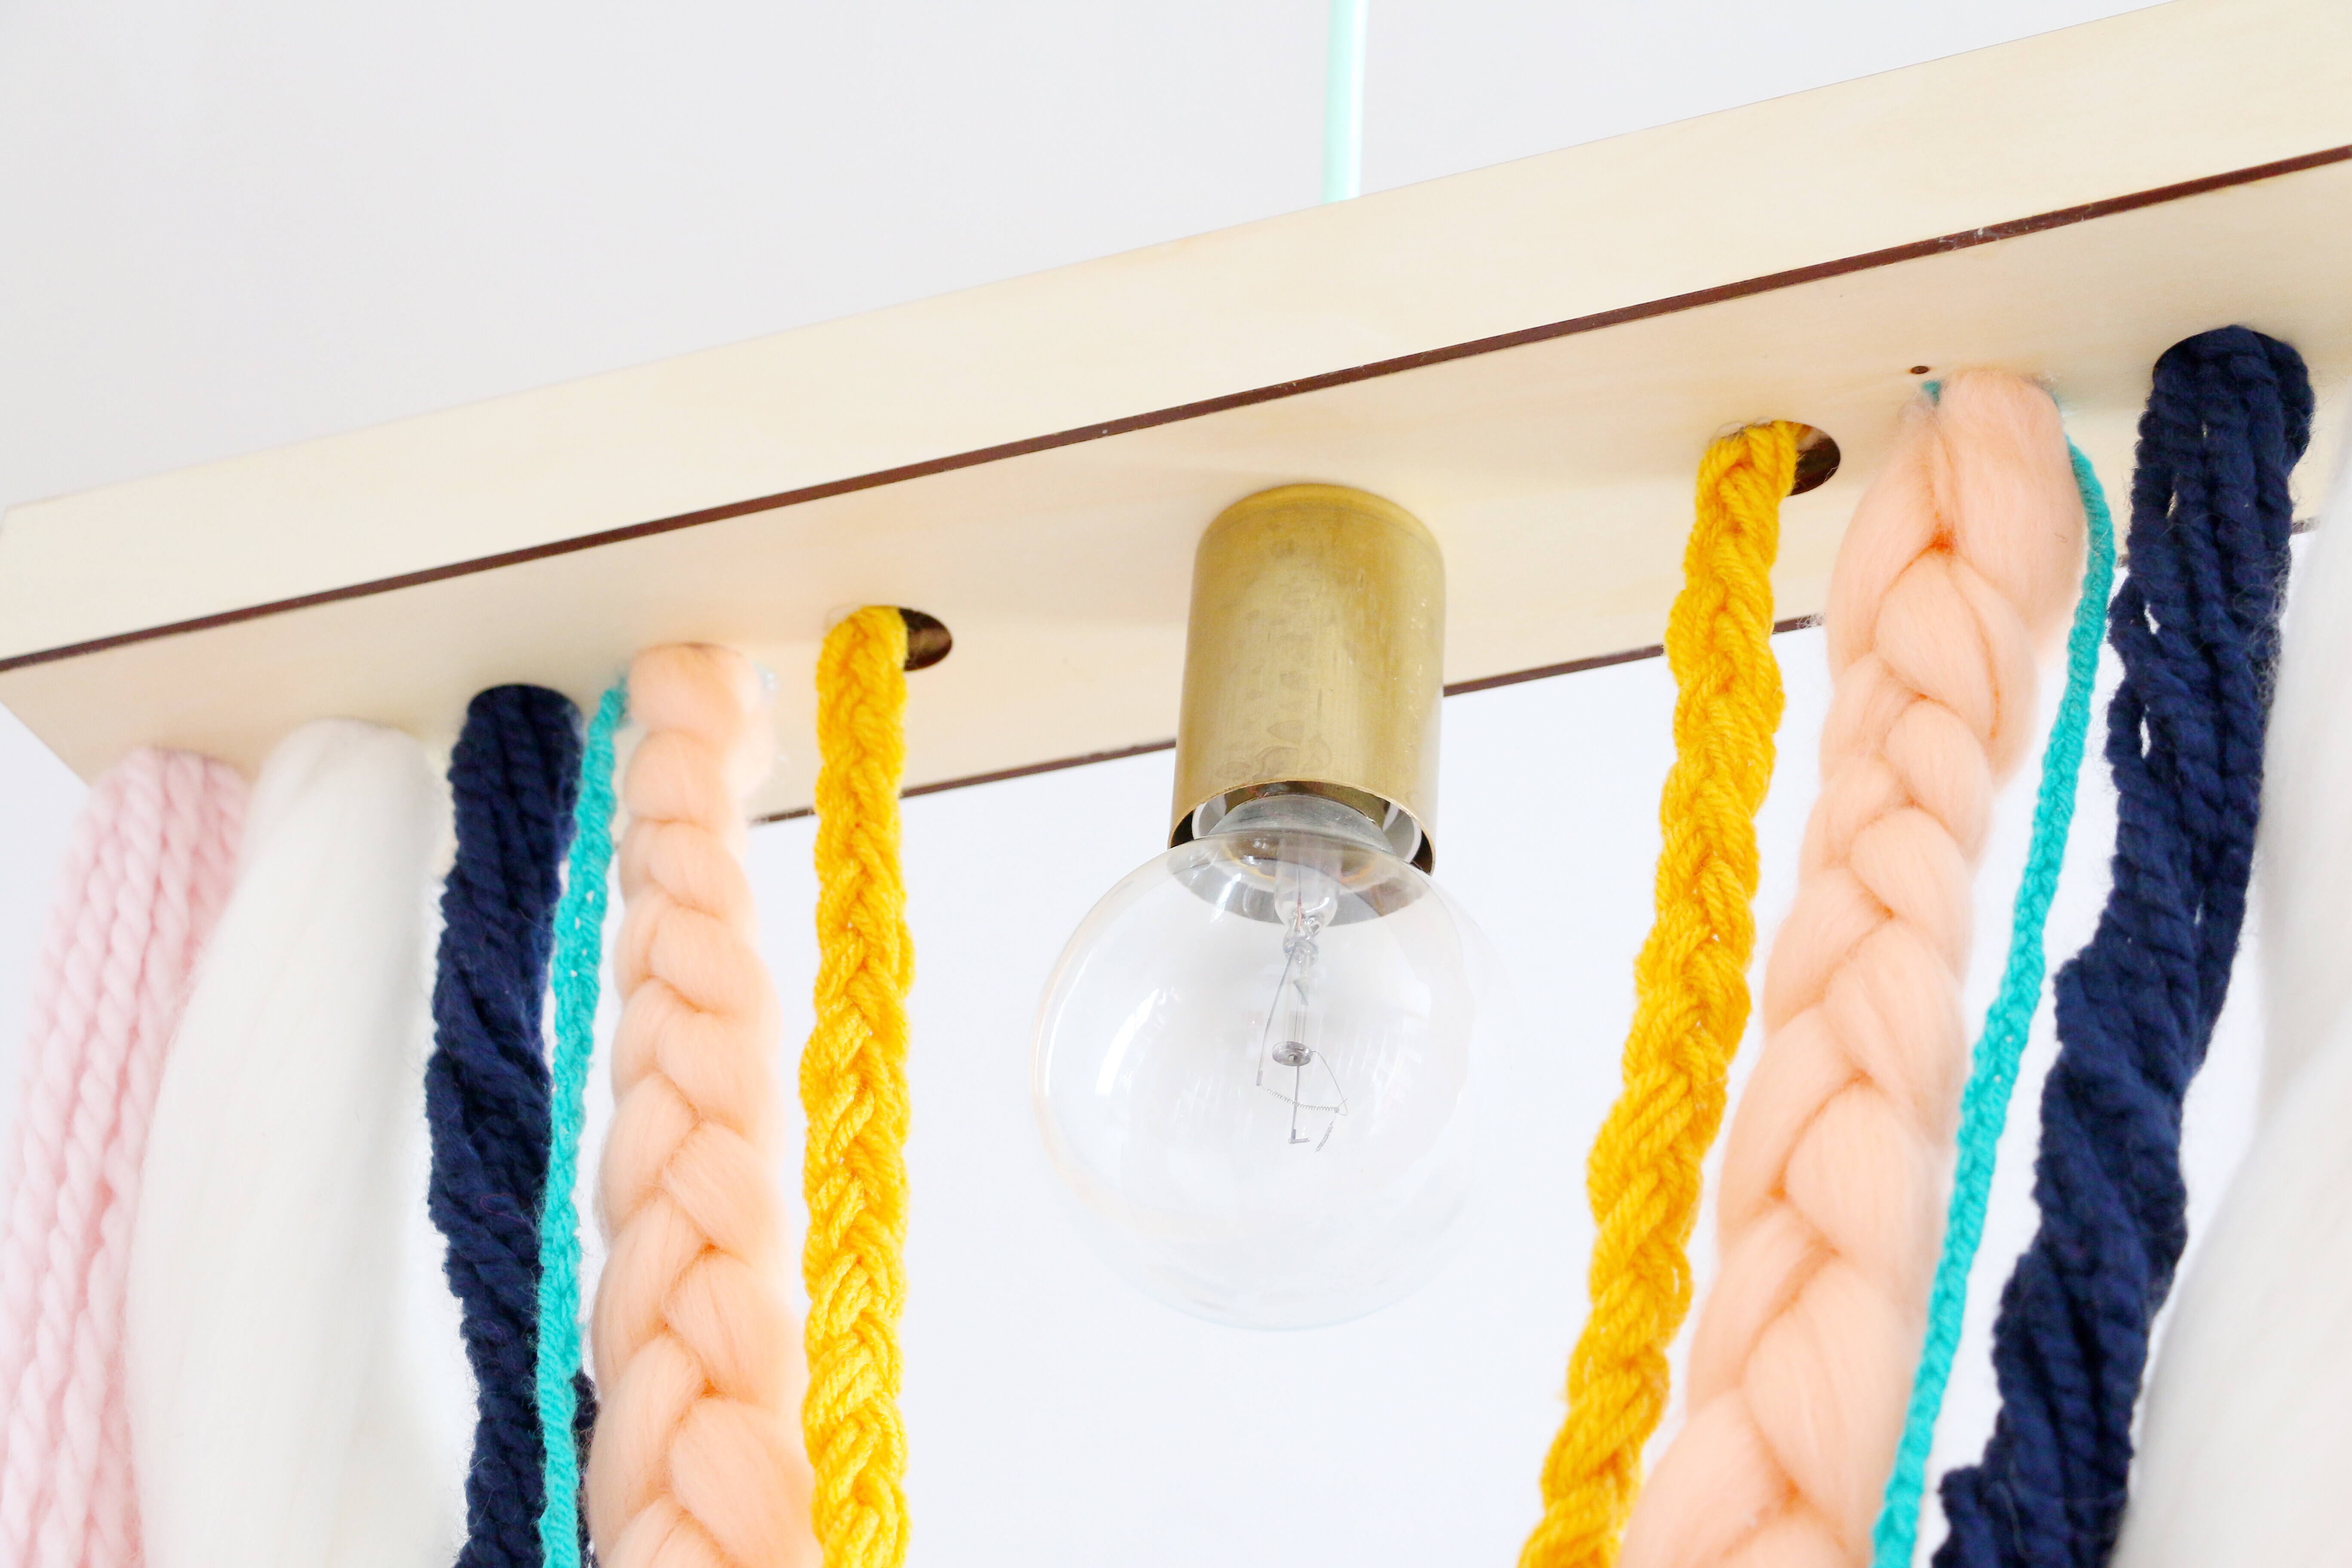
Once the glue is dry, you can wire your cord ends to your ceiling mount or just plug it your fixture and use a hook to hang it from the ceiling depending on which light kit you used.
The Results
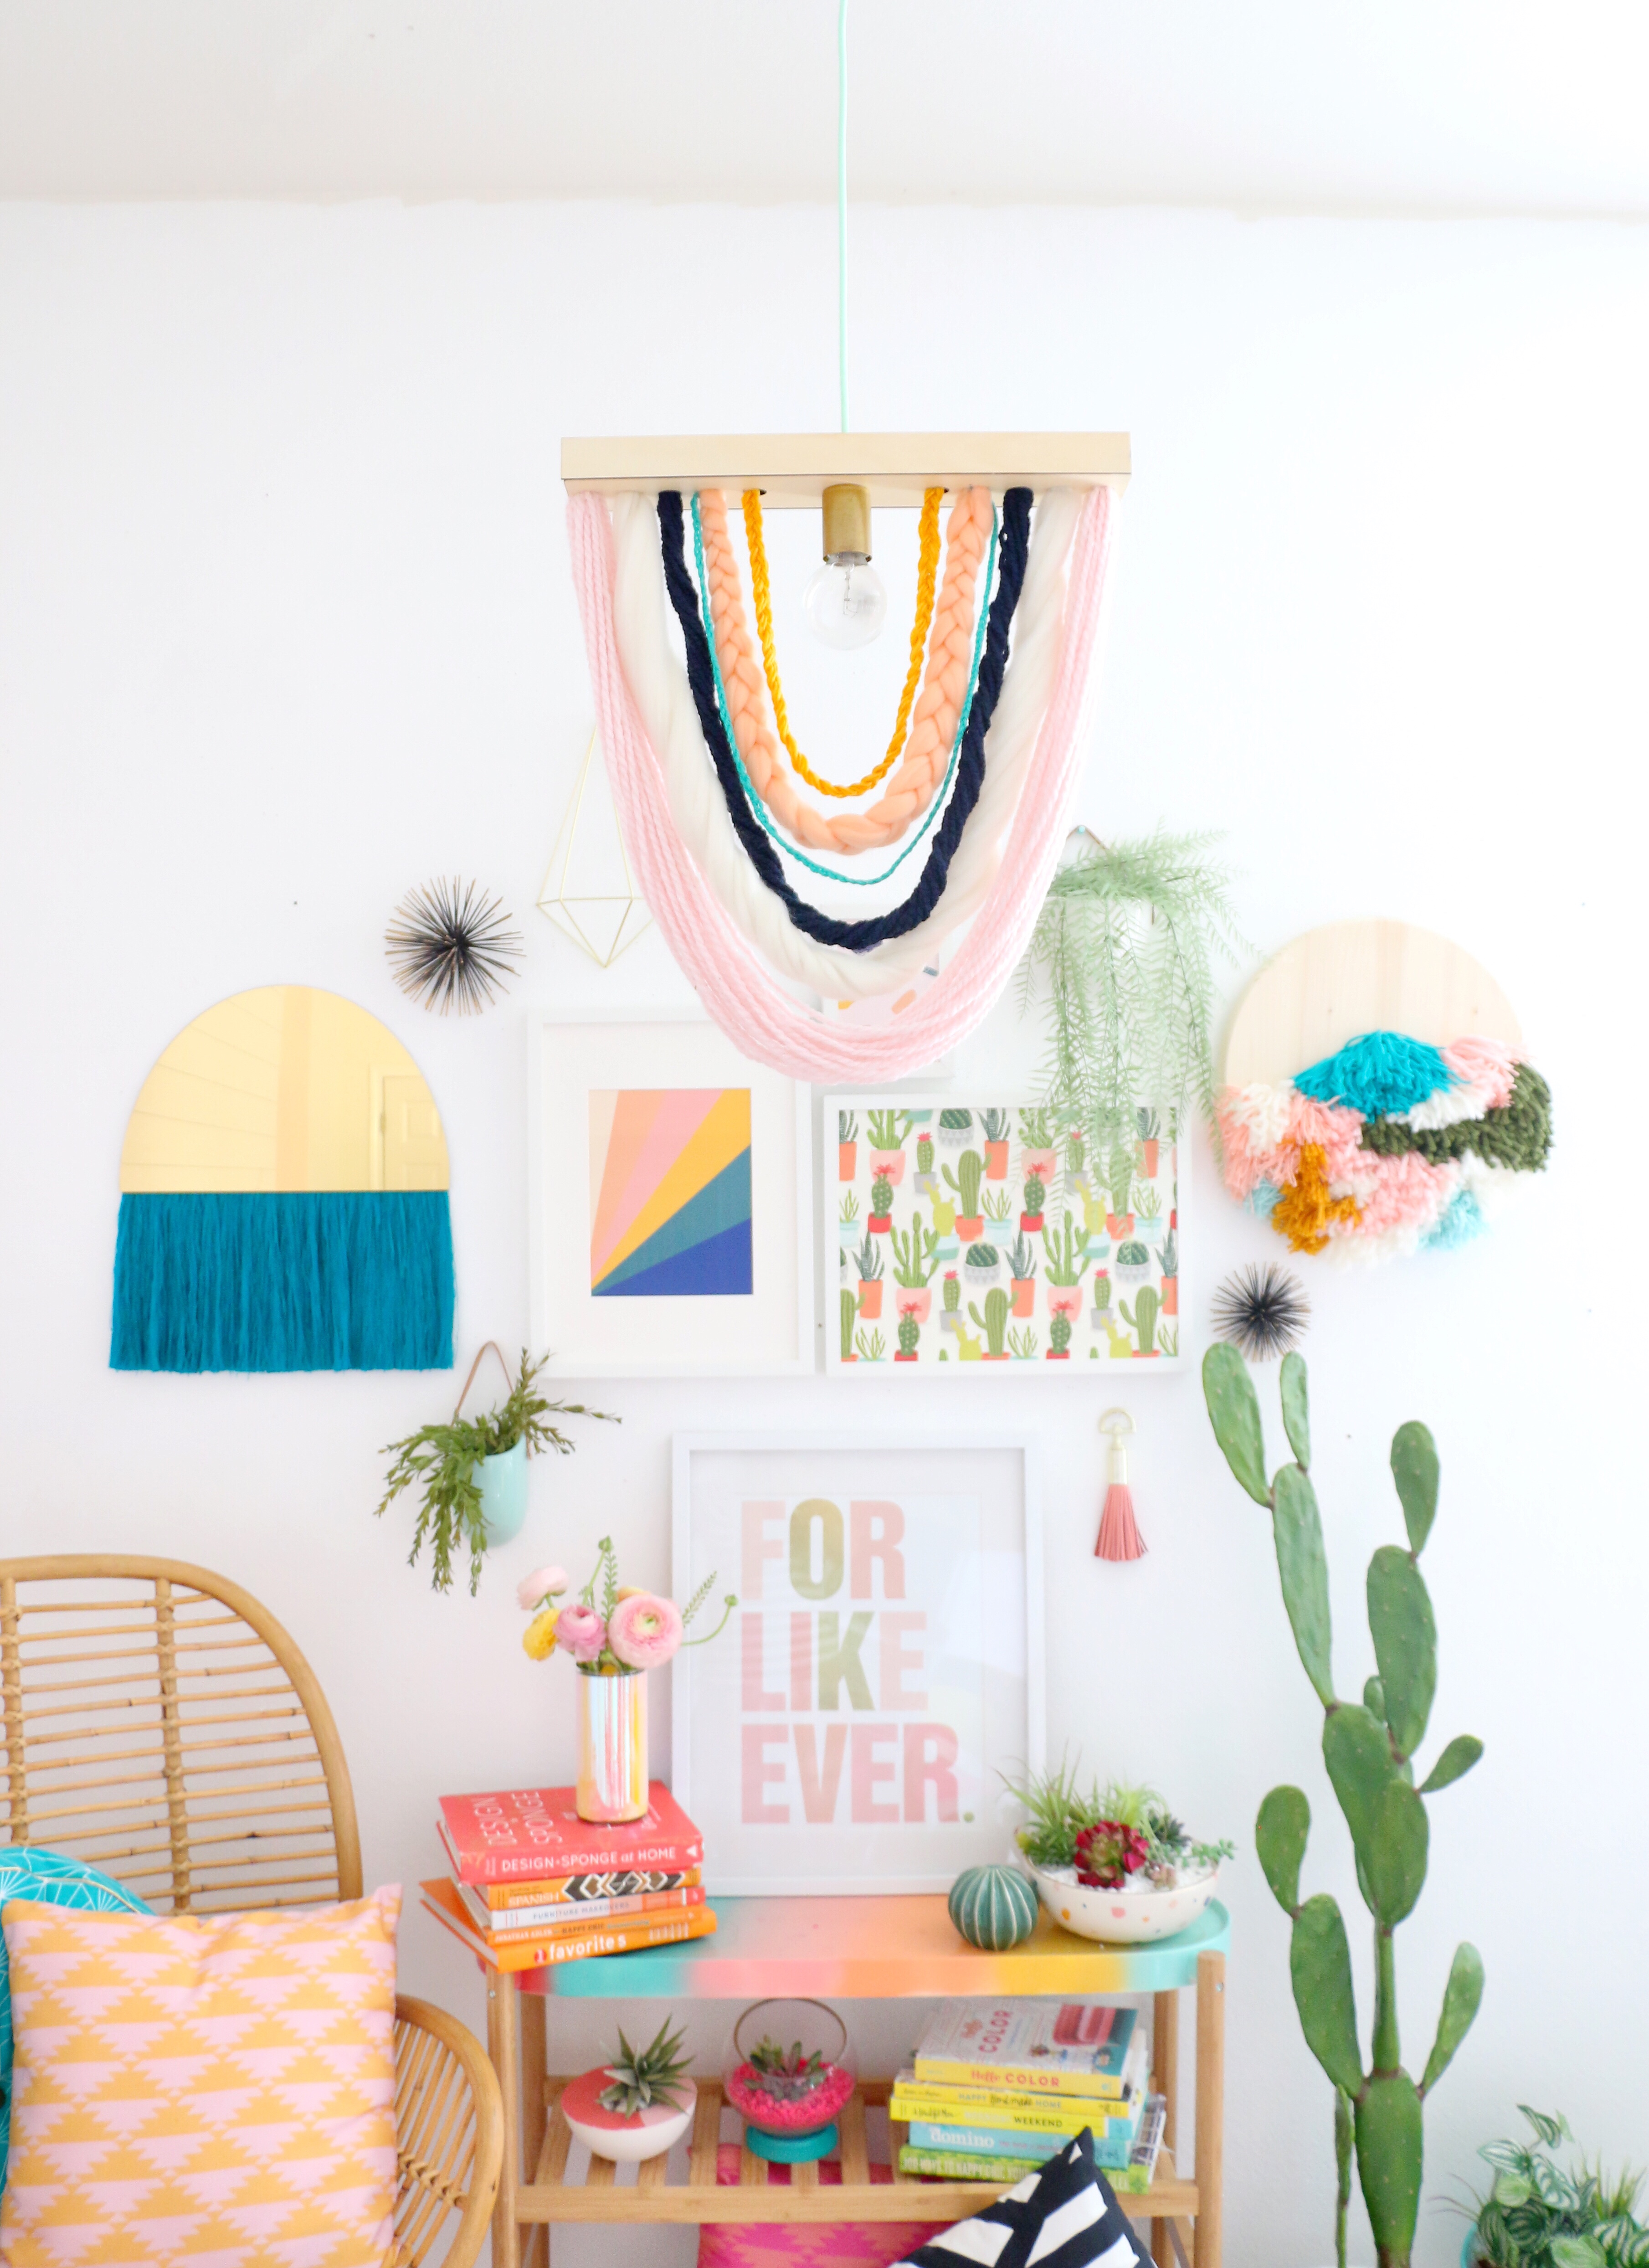
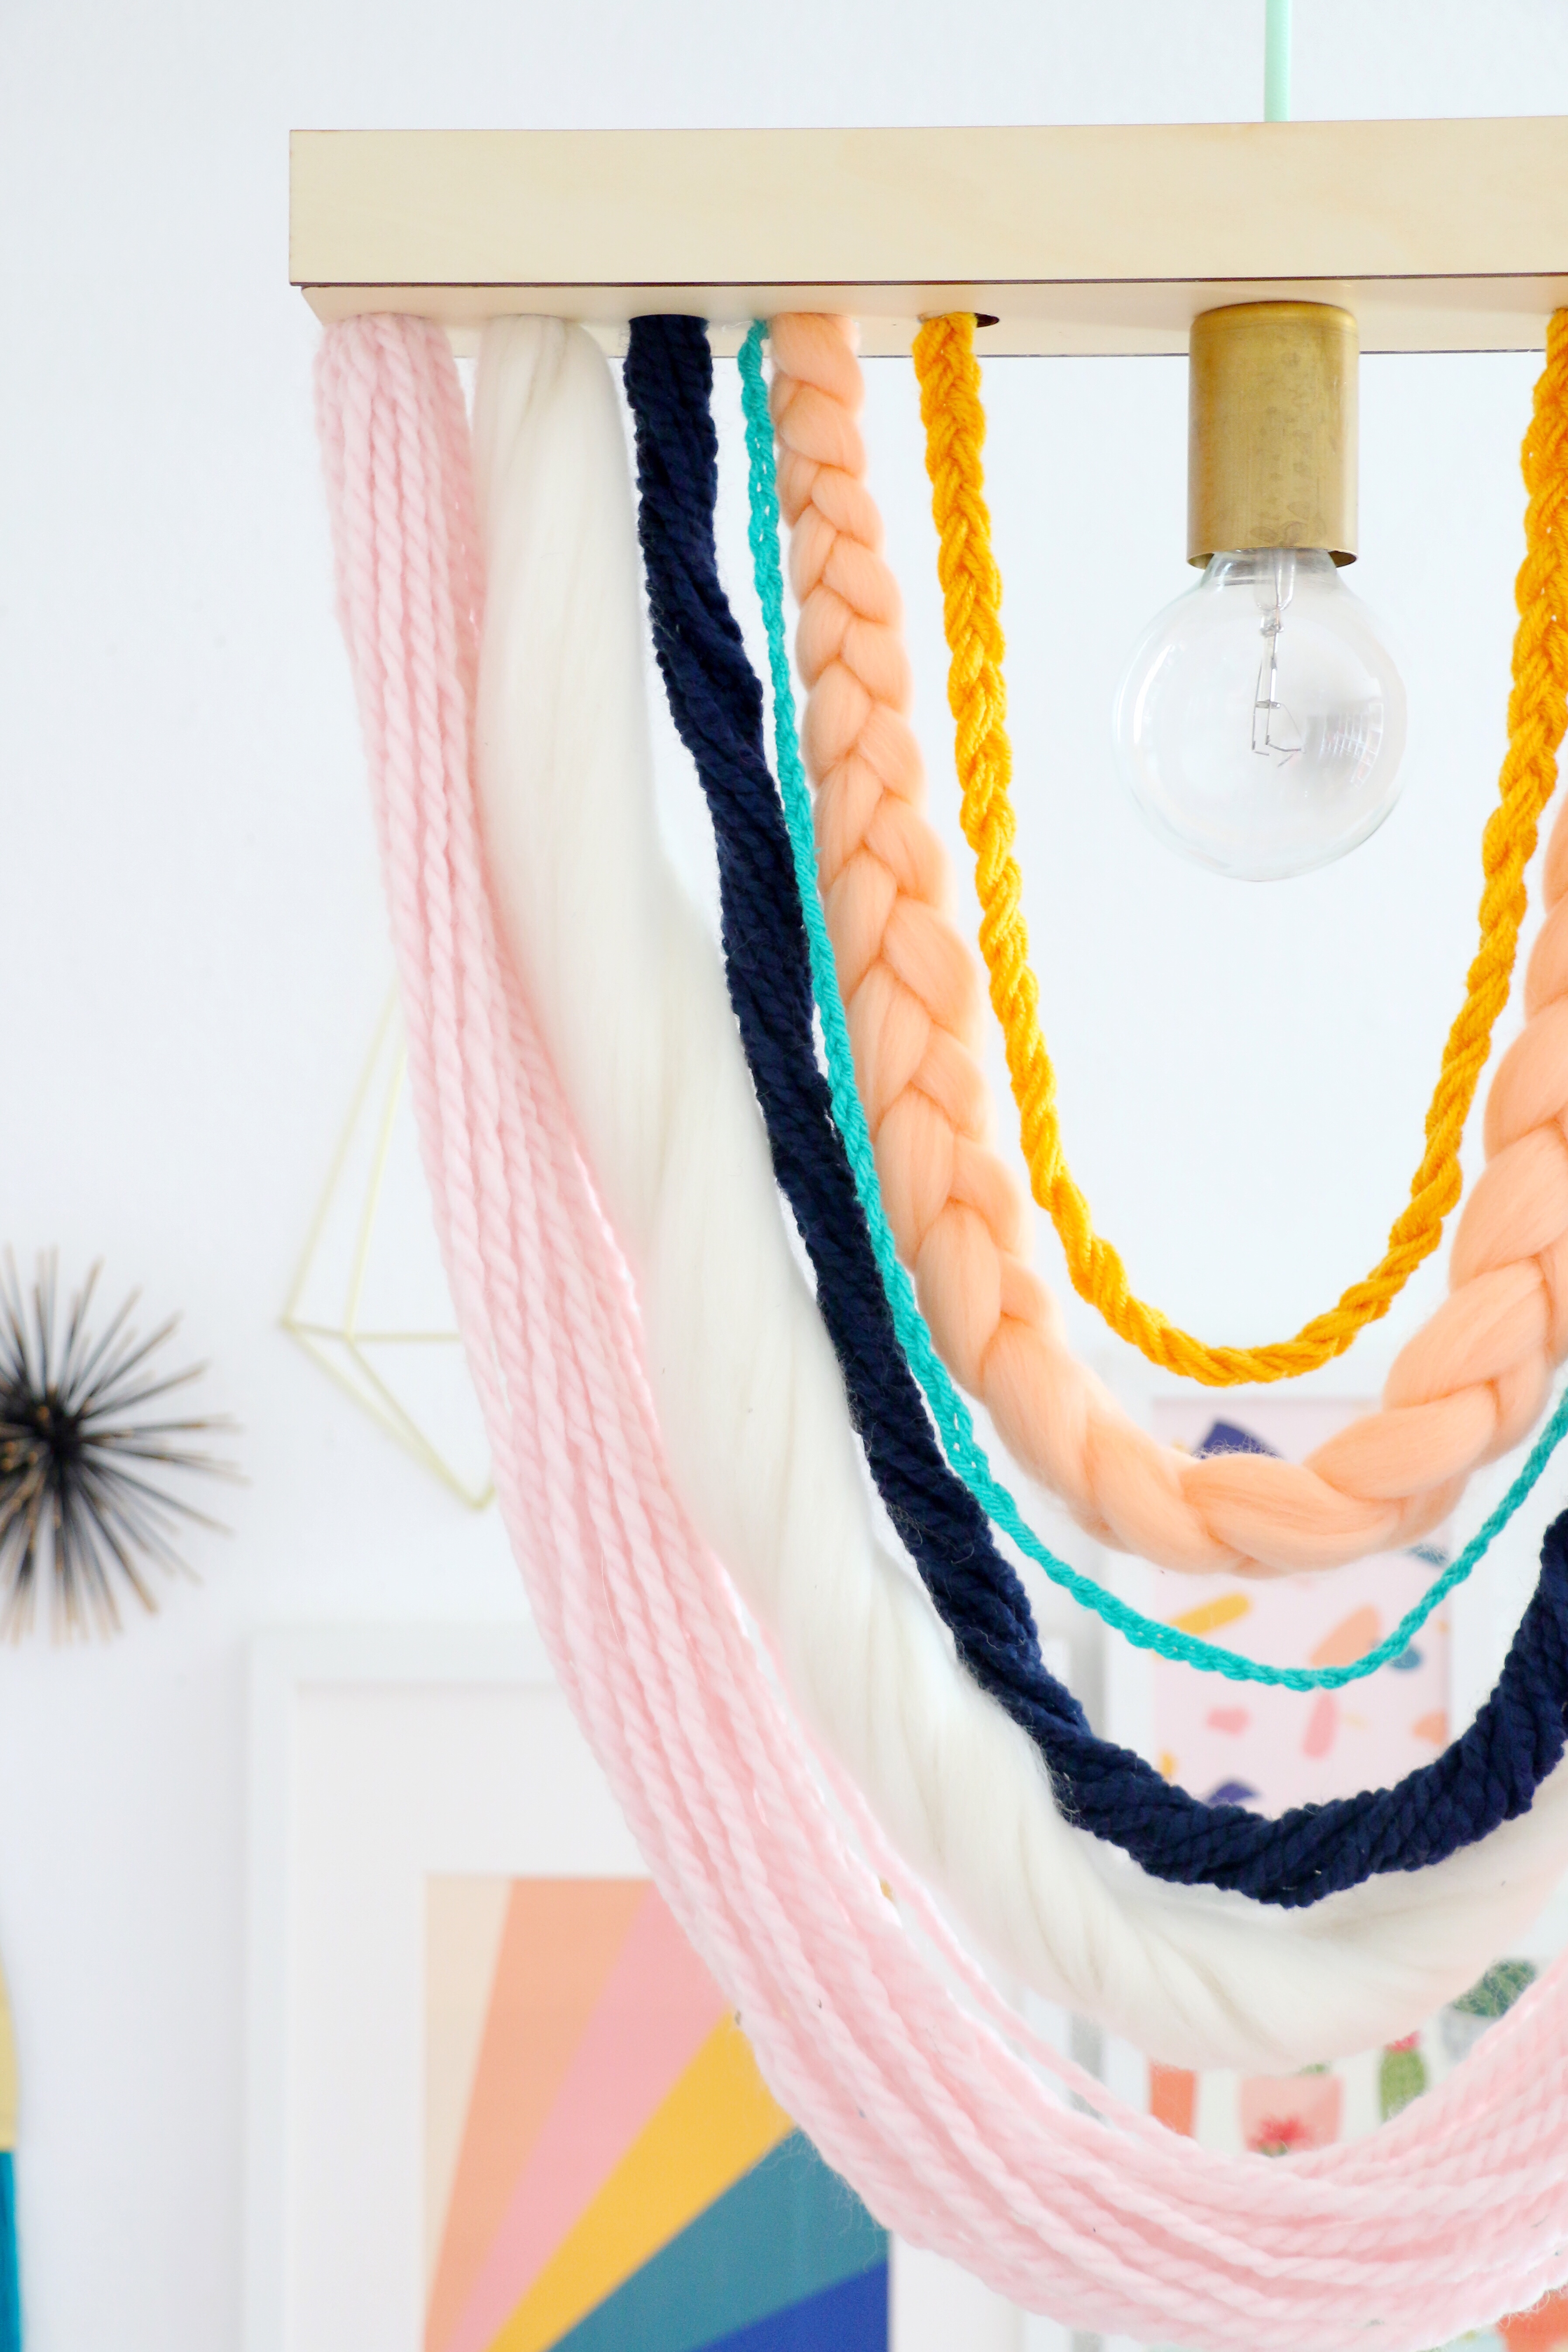
That’s it! While it may look complicated, this light fixture actually comes together relatively easily. Especially if you have a Glowforge laser cutter. If you don’t have one, you can still make the light, it just might take a bit more cutting work!
Now my question is, would you all want me to sell the precut wood for this fixture in my shop?

March 22nd, 2019 at 1:01 am
Yes!! Please sell the kits! ❤️
March 22nd, 2019 at 6:01 am
[…] gingham sweater -sewrellaDIY yarn hanging pendant -kailo chic liferainbow pom pom wreath -canary janewoven fabric easter basket […]
March 30th, 2019 at 12:11 pm
[…] -Read More – […]
December 25th, 2019 at 12:01 am
[…] Dir die garnverzierte Lampe genauso gut wie mir? […]
December 25th, 2019 at 12:02 am
[…] you like the yarn decorated lamp as much as I do? […]