Laser Cutting
Hey, hey, hey! I’m back at the laser cutting again. This time I used gold mirror acrylic to create my own fringe laden mirror! I am so serious when I say that my Glowforge is my favorite crafting tool ever now. Have you checked them out yet? You can get a discount by using my referral link here.
Now I know they come with a mighty hefty price tag, especially if you are just going to use it to craft for yourself. So I want to encourage you to look at all my crafts that I make with it as inspiration for products that you could actually make and sell if you bought one for yourself. If you do the payment plan, then you really only need to sell a handful of crafts with it each month to make back your money. Plus you can get comissions for any machine someone buys using your link (hence the referral link above, that not only gets you a mighty discount, but gets me a little money to help pay for my machine!).
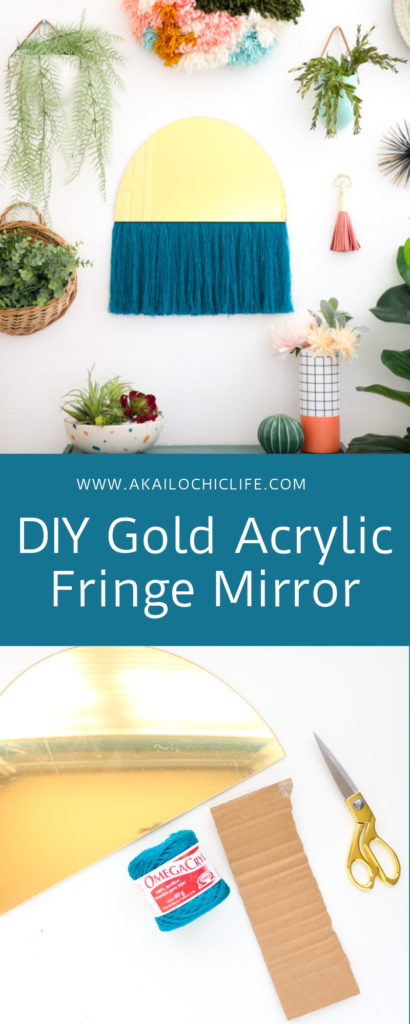
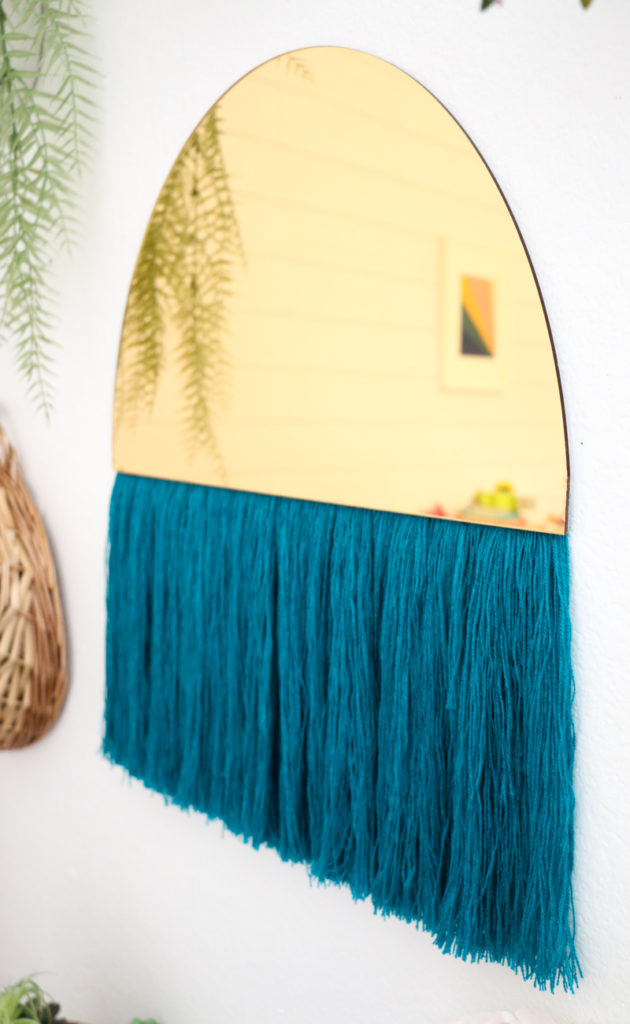
Anyway, enough talk about why you should buy a Glowforge and more talk about this amazing DIY gold acrylic fringe mirror! Just look at all that fringe-y goodness paired with the metallic acrylic. So good!
First things first, the gold mirror acrylic actually functions as a real mirror. There is just a gold tone to it since it is gold mirror. But you can laser cut the mirror acrylic right on your Glowforge with no extra equipment needed. So it’s an awesome material to use to make mirrors for your home! The mirror acrylic also comes in different colors, just google search “mirror acrylic sheets” to find all the retailers selling the different colors. But for this project, I knew I wanted to stick to my favorite metallic color, gold!
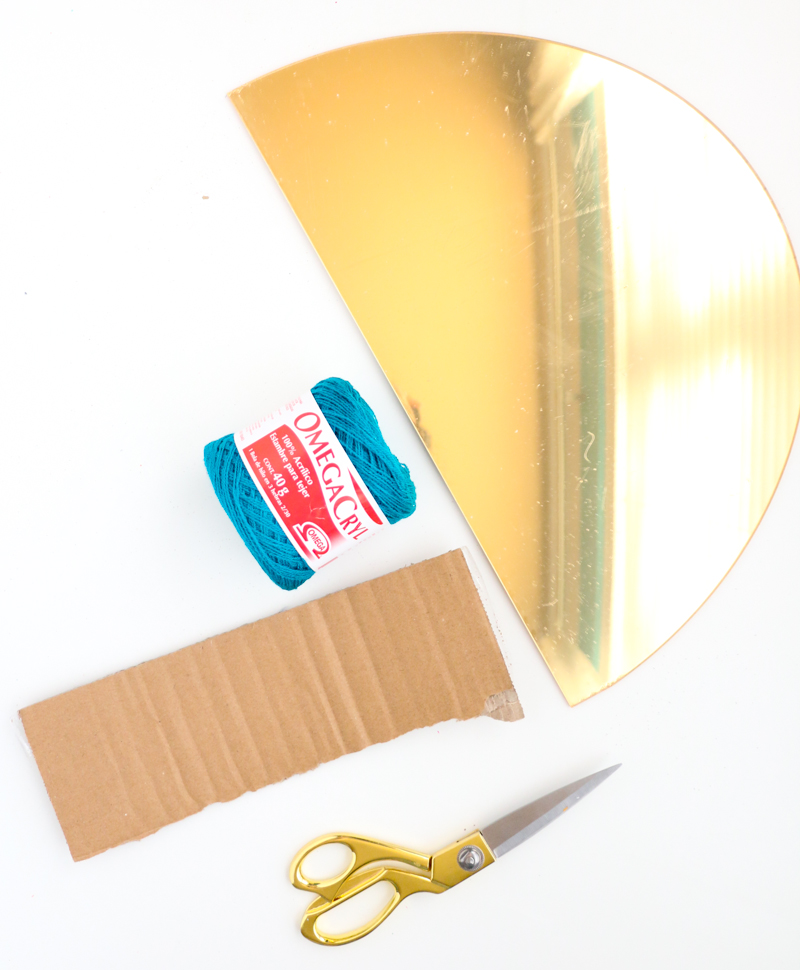
Materials to make your own DIY gold acrylic fringe mirror:
- Gold mirror acrylic
- Glowforge laser cutter
- Omegacryl yarn
- Glue (hot glue or tacky glue works great!)
- Scissors
- Tassel maker (optional, I just used a piece of cardboard)
Instructions
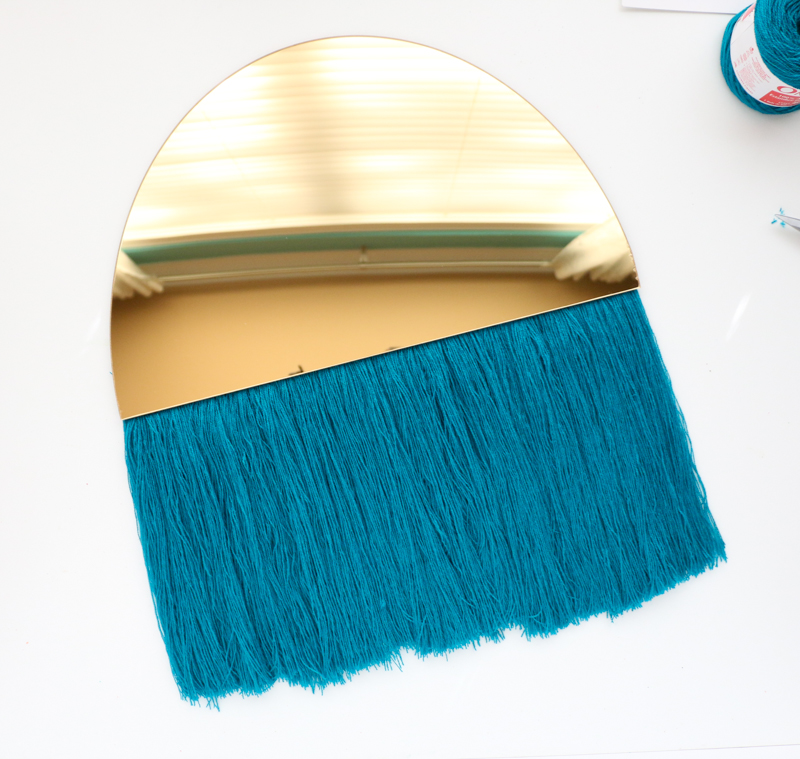
Begin by cutting out your acrylic on the Glowforge. I just made a simple half circle shape in illustrator and then saved it as a pdf. Next I uploaded the file to the Glowforge app and centered the image on the acrylic and cut it out using 170 speed and full power. It is important to note when working with mirror acrylic to flip your acrylic mirror side down on the Glowforge and to mirror your image in the design program to avoid it making singe marks on the mirror. Once my acrylic was cut, it was time to make enough tassels to fill the bottom of the mirror.
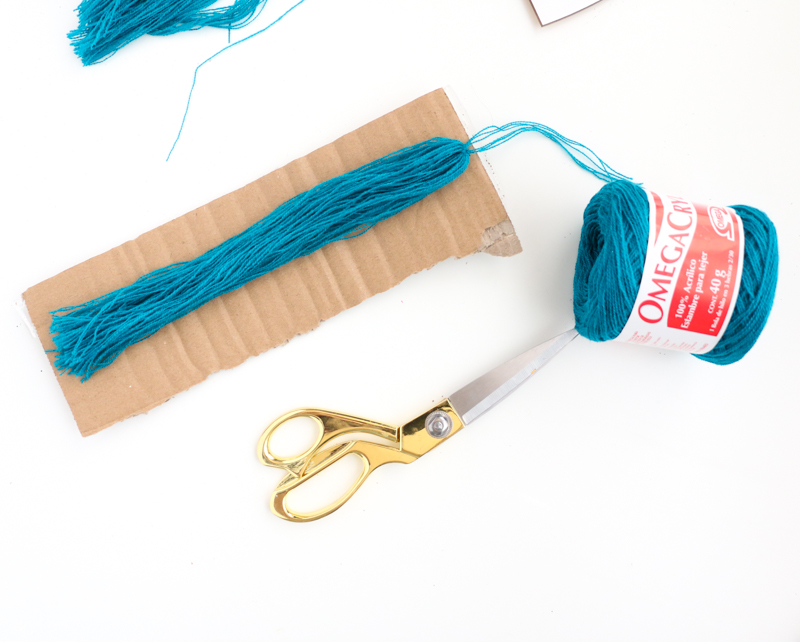
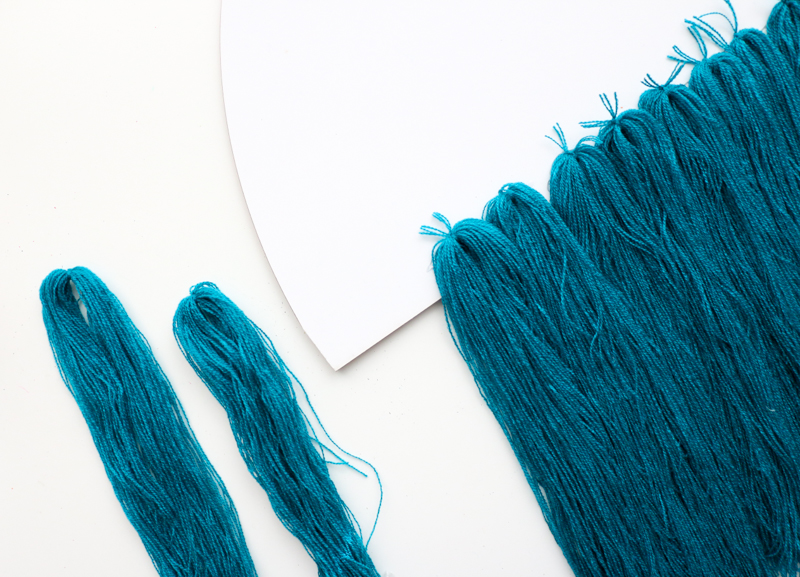
To make the tassels, just wrap the yarn around a piece of cardboard 20-30 times, then tie a piece around the yarn around the top and cut the bottom threads to release your tassel from the cardboard.
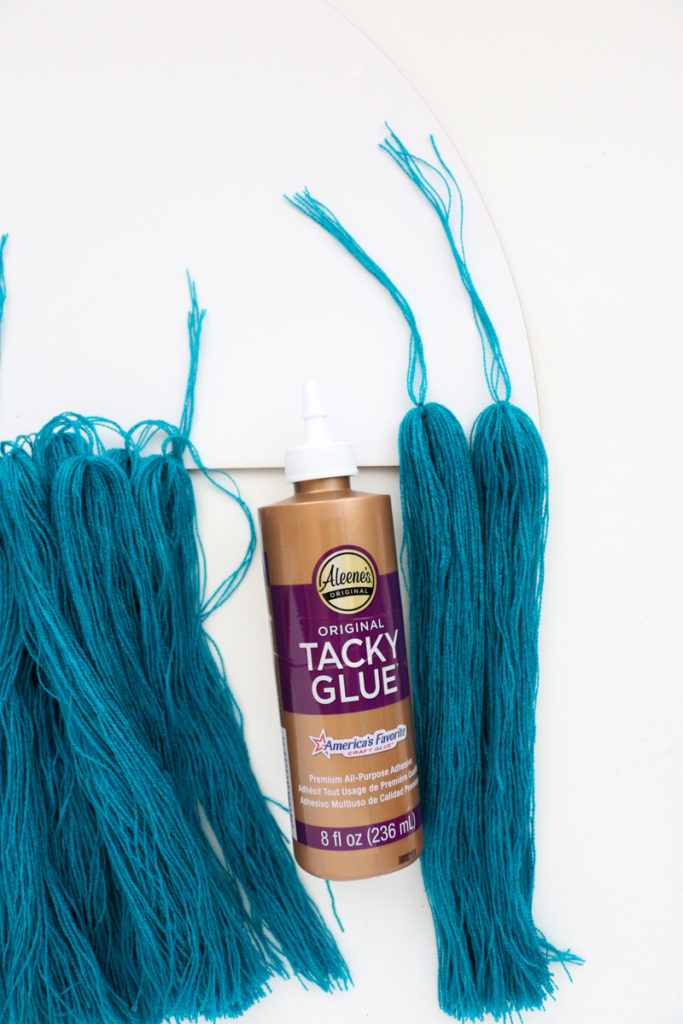
Once all the tassels are made, use the glue to attach them to the back of the acrylic and then trim them even once they are all attached. To hang your mirror, simply use adhesive wall mounting strips.
The Results
Isn’t it so pretty?! Of course you can vary the look of your DIY gold mirror acrylic fringe mirror by changing out the color of the acrylic and the yarn. Also, if you want to make this but don’t have a Glowforge, you can always use a square or rectangle piece of acrylic precut from the gold mirror acrylic sellers to make a more geometric version.



March 29th, 2019 at 5:54 pm
[…] -Read More – […]
February 9th, 2021 at 10:24 am
Hi! Can you share the amount of yarn you needed to accomplish this look? I love how full the tassels look and want to make sure I get enough material to do so!
February 24th, 2021 at 7:39 am
I think I used two rolls of the omegracryl yarn for this.