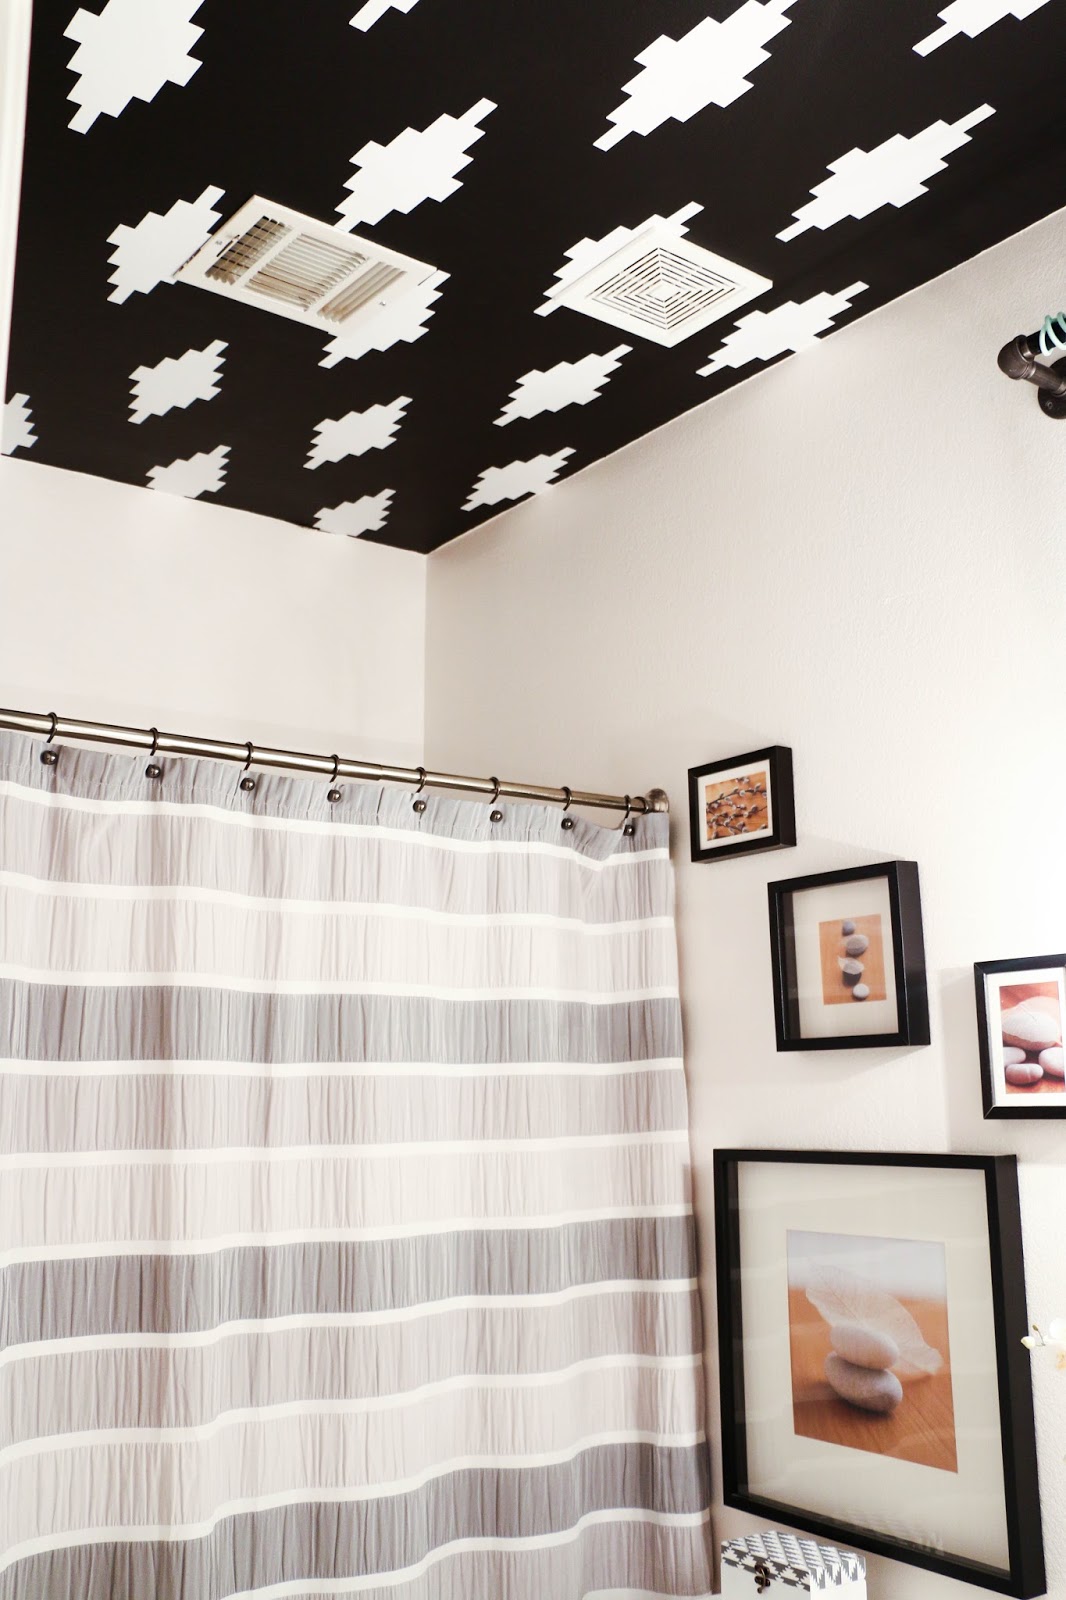
As I promised yesterday in my post about my guest bathroom’s black and white tribal ceiling post, today I am going to show you the vanity and the DIY industrial light fixture I made.
To make my light, I purchase supplies from
Color Cord. I went with a mint cord because I thought it would play nicely off of the starkness of the black and white. Here is a list of the items I purchased from Color Cord.
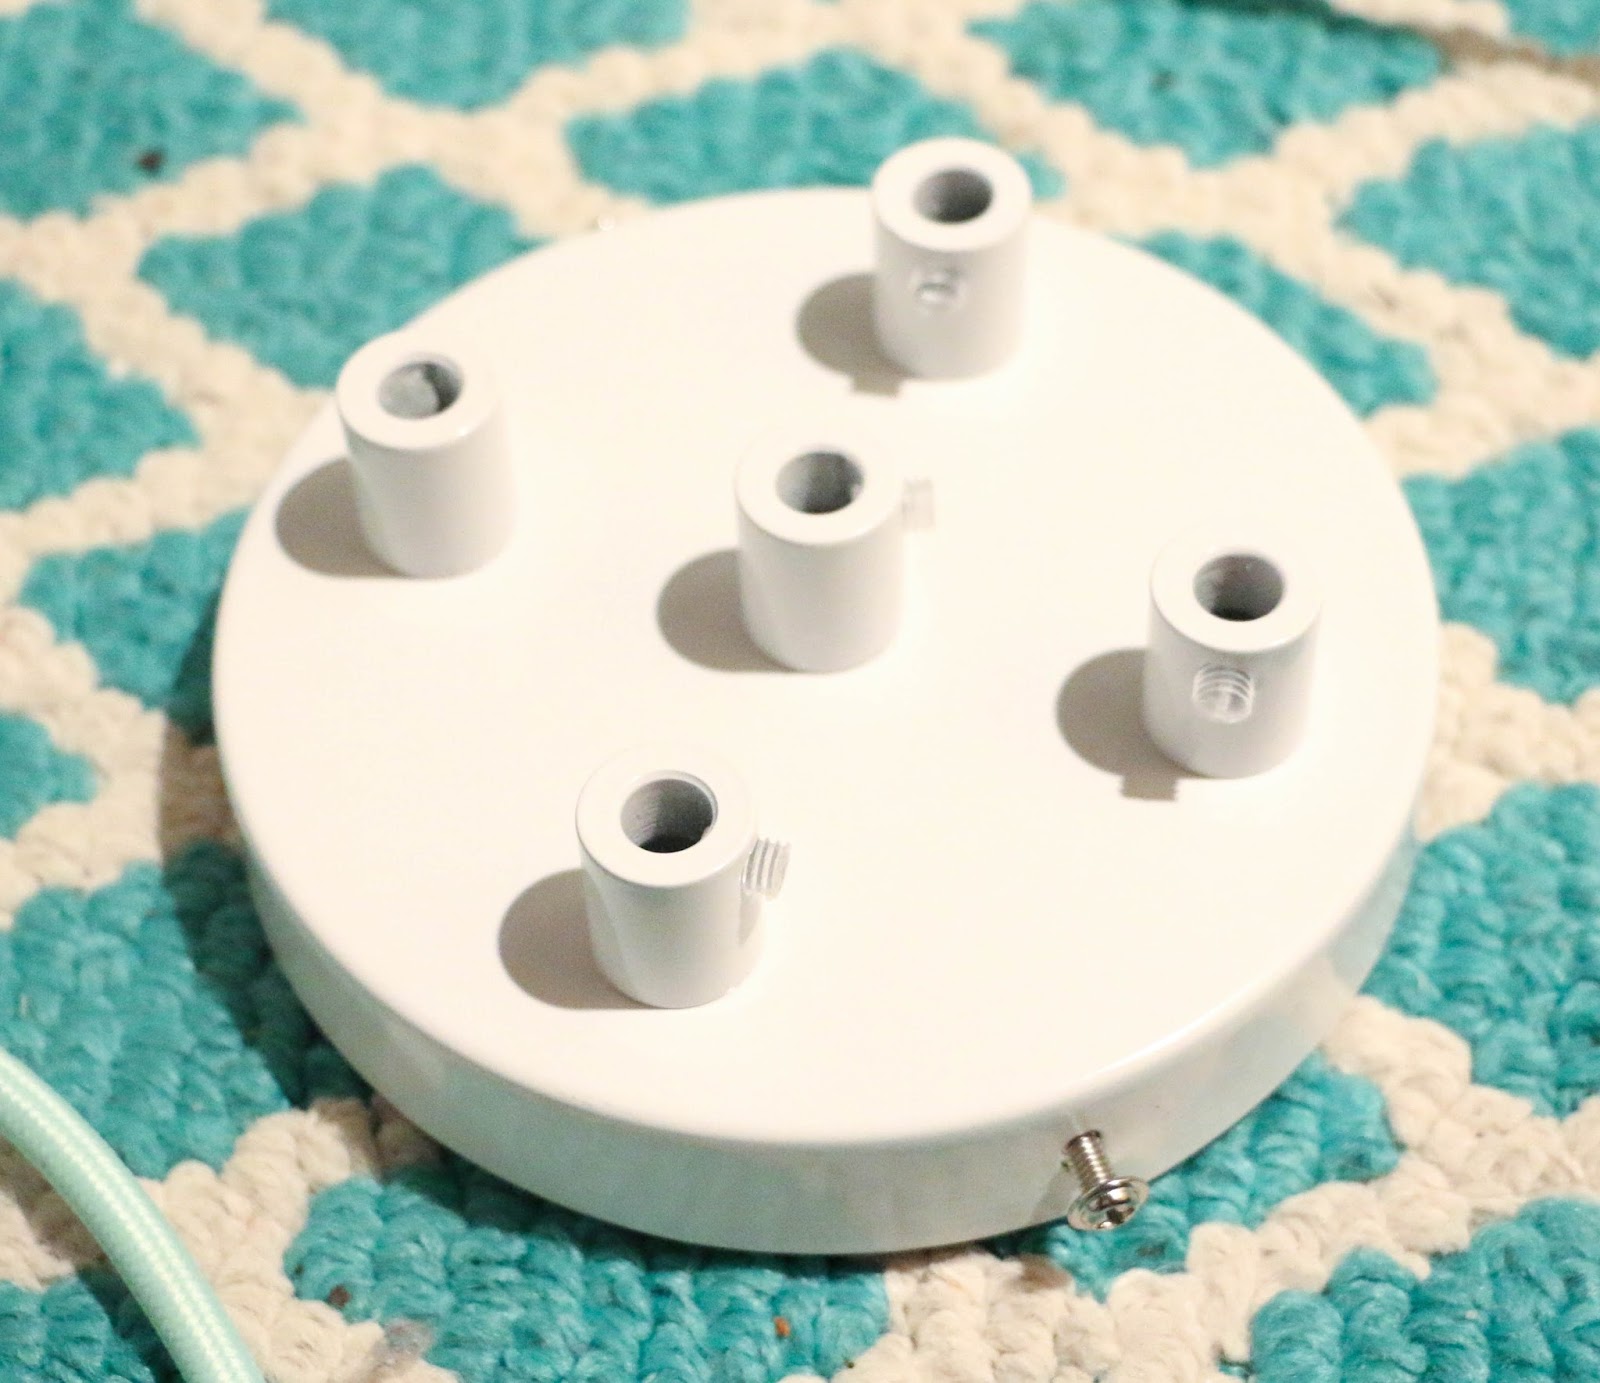
- 1 – 5 Port ceiling canopy – $50
- 5 – Grounded porcelain sockets – $6 each
- 5 – Flat top matte black metal socket covers – $5 each
- 30 – Feet of mint fabric wire by the foot – $1.50 per foot
- 5 – Barrel cord grip/strain relief black – $0.58 each
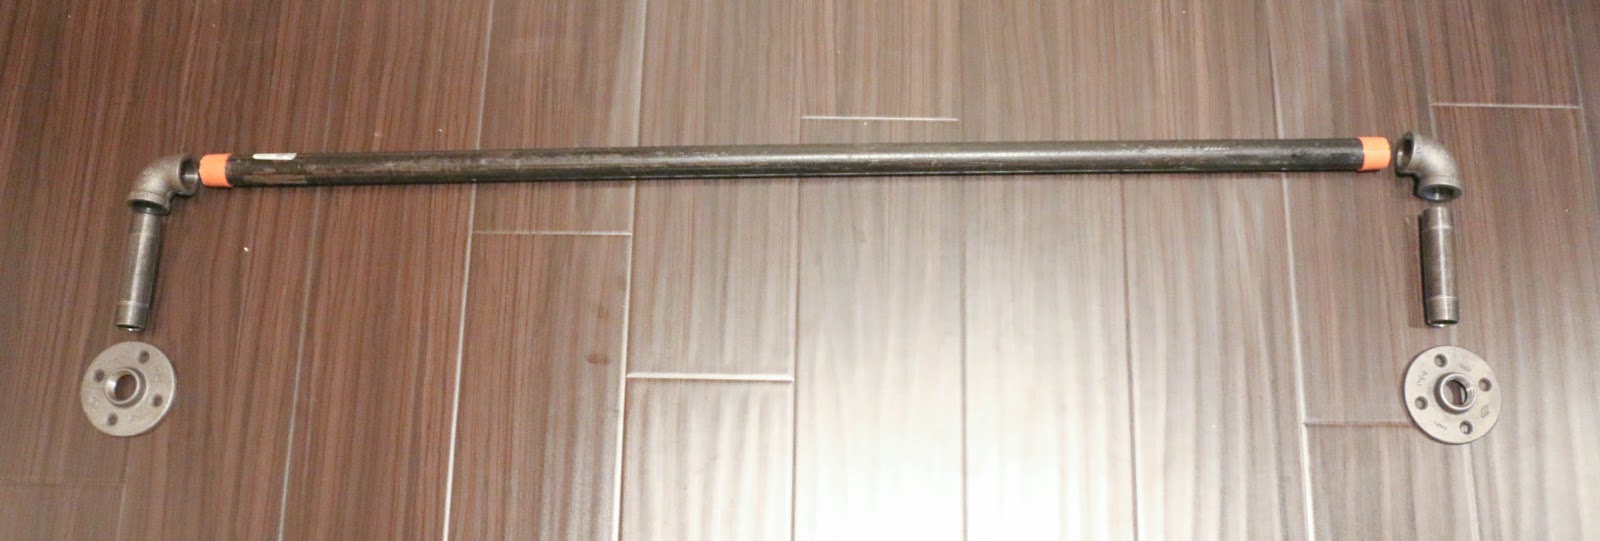
Then I purchased my black pipe and fittings from Home Depot. I used the following.
- 2 – 3/4″ Black floor flange – $5.67 each
- 2 – 3/4″ Black 90 deg elbow – $2.07 each
- 2 – 3/4″ by 4″ Black nipple – $1.86 each
- 1 – 3/4″ by 48″ Black pipe that I had cut down to the width of the vanity minus 3″ to account for the flange width – $12.76
Total Cost of project (not including light bulbs which I already had) – $184.86 plus tax and shipping
Before I move forward to how I assembled my light, I want to say that this post is not an instruction manual, only a recounting of how I assembled my light, but please consult an electrician before you attempt your own DIY light fixture. If you do not feel comfortable doing wiring, you can purchase all ready assembled cord kits from Color Cord that either plug in, or can be hardwired by an electrician.
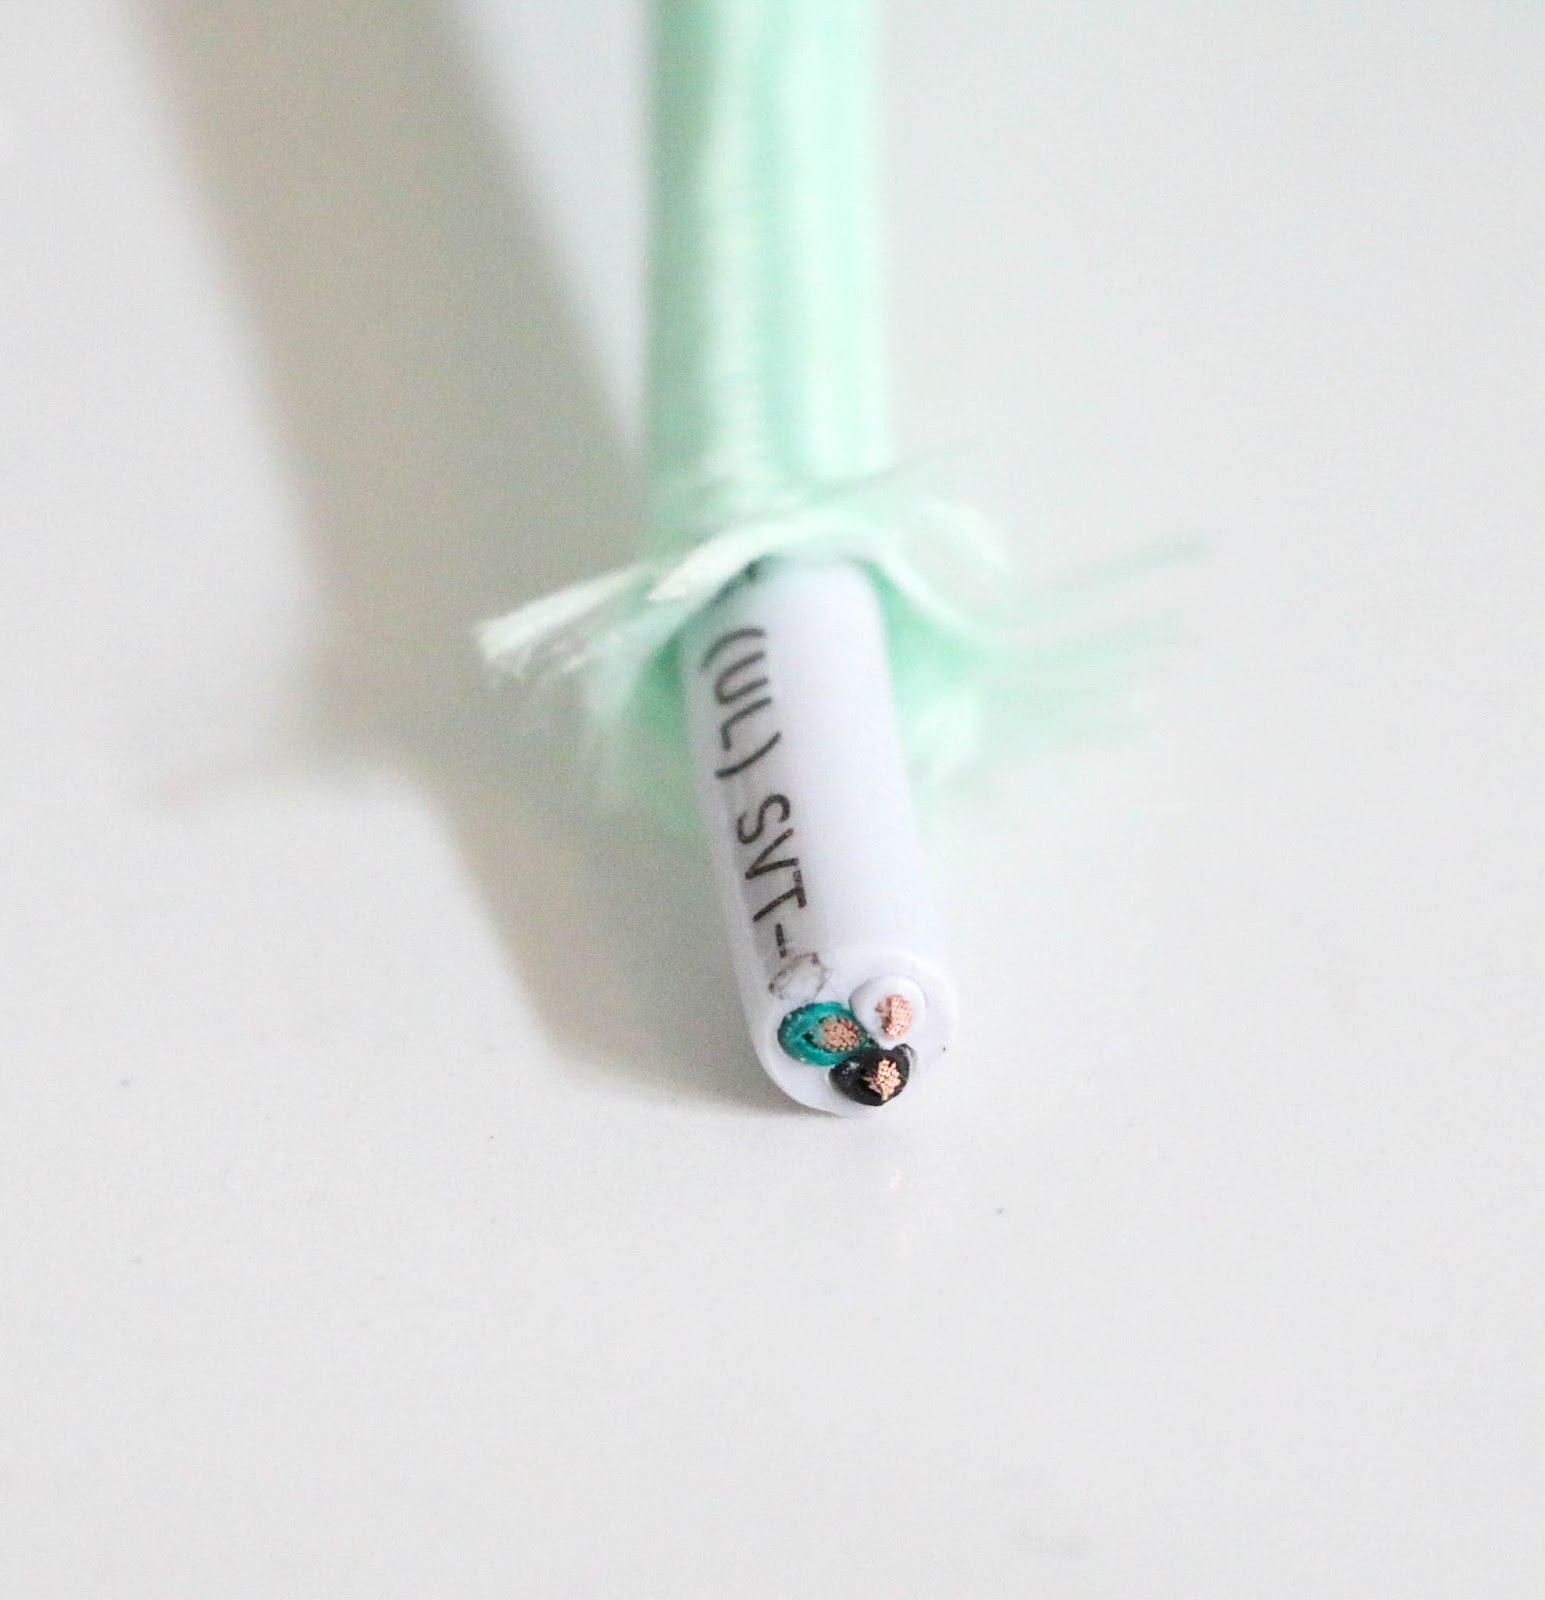
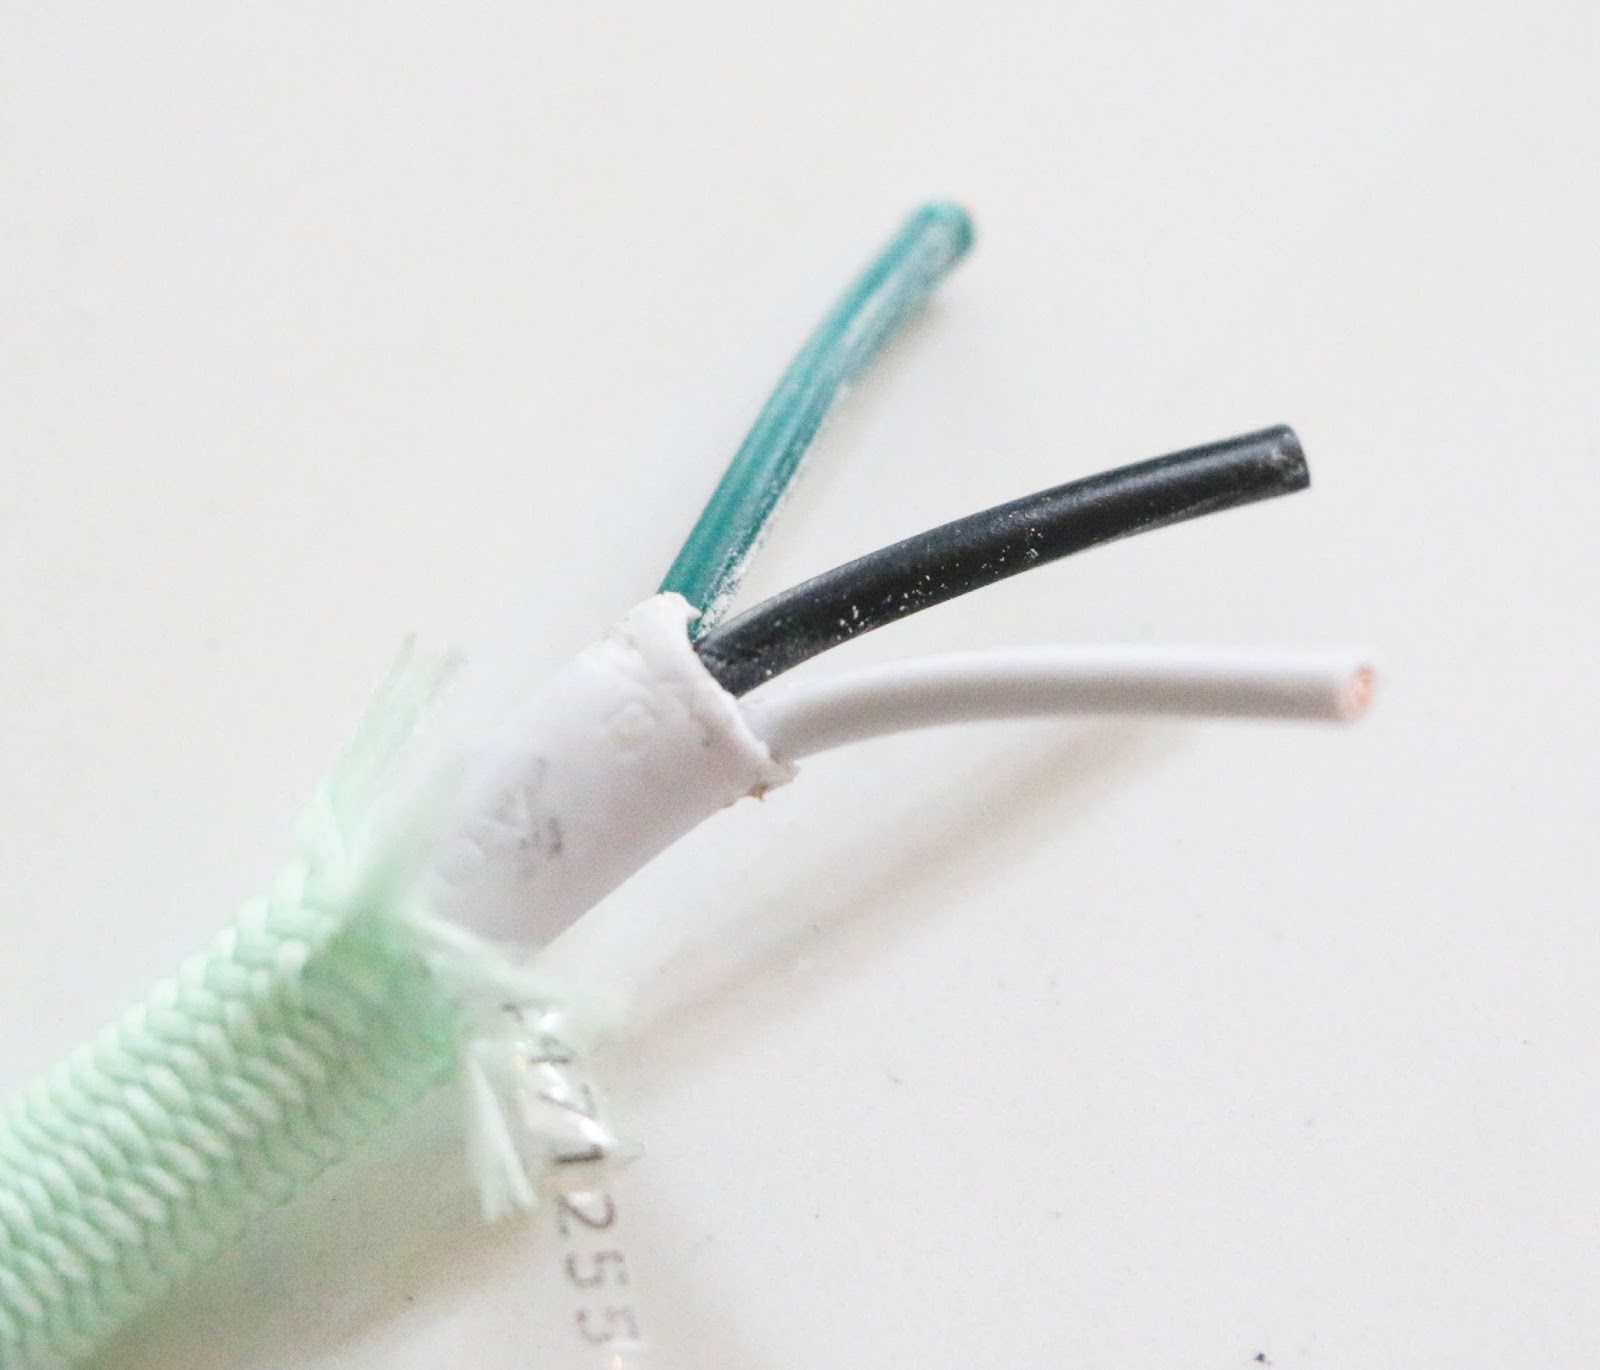
The first thing I needed to do was create my 5 light pendants. To do this, I used electrical tape to divide my mint cord into five pieces and then cut through the electrical tape using wire cutters/scissors. The tape helped to keep the mint cord cover from fraying. To make each pendant, I took one of the cords and pulled the mint cord cover back slightly to expose the wire. Then I carefully stripped away the white to expose the three wires.
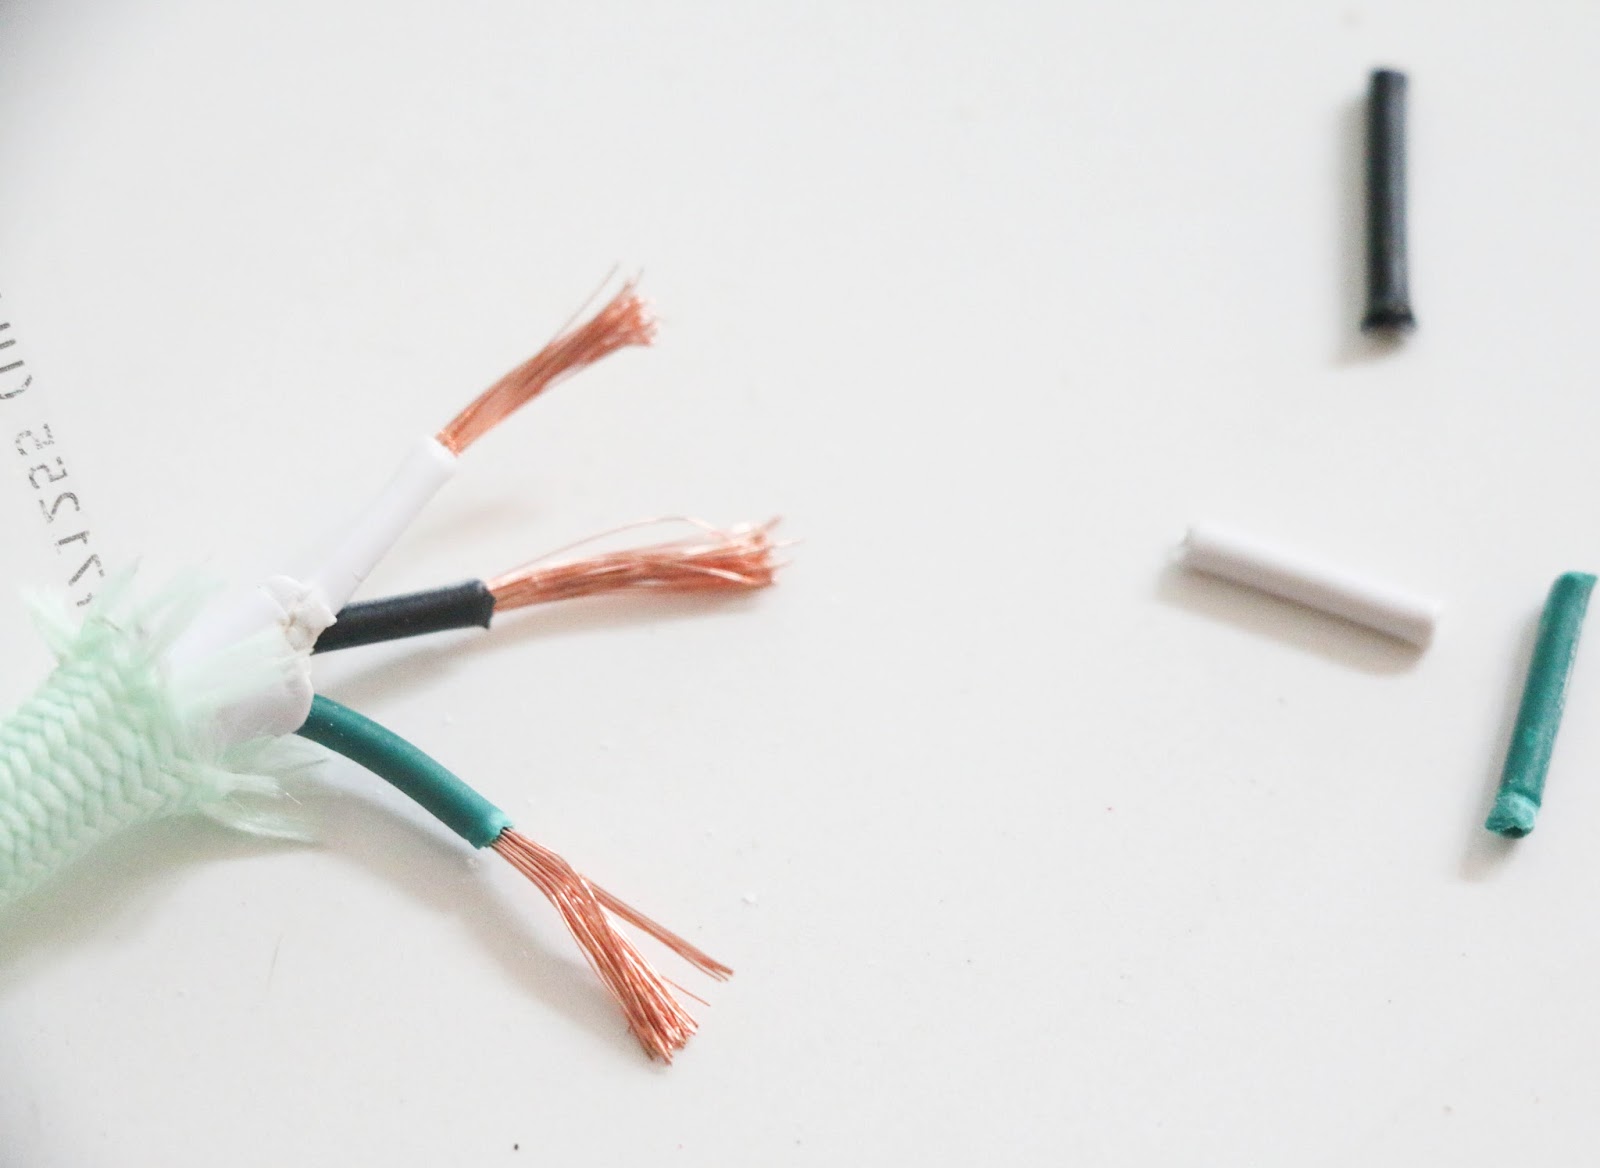
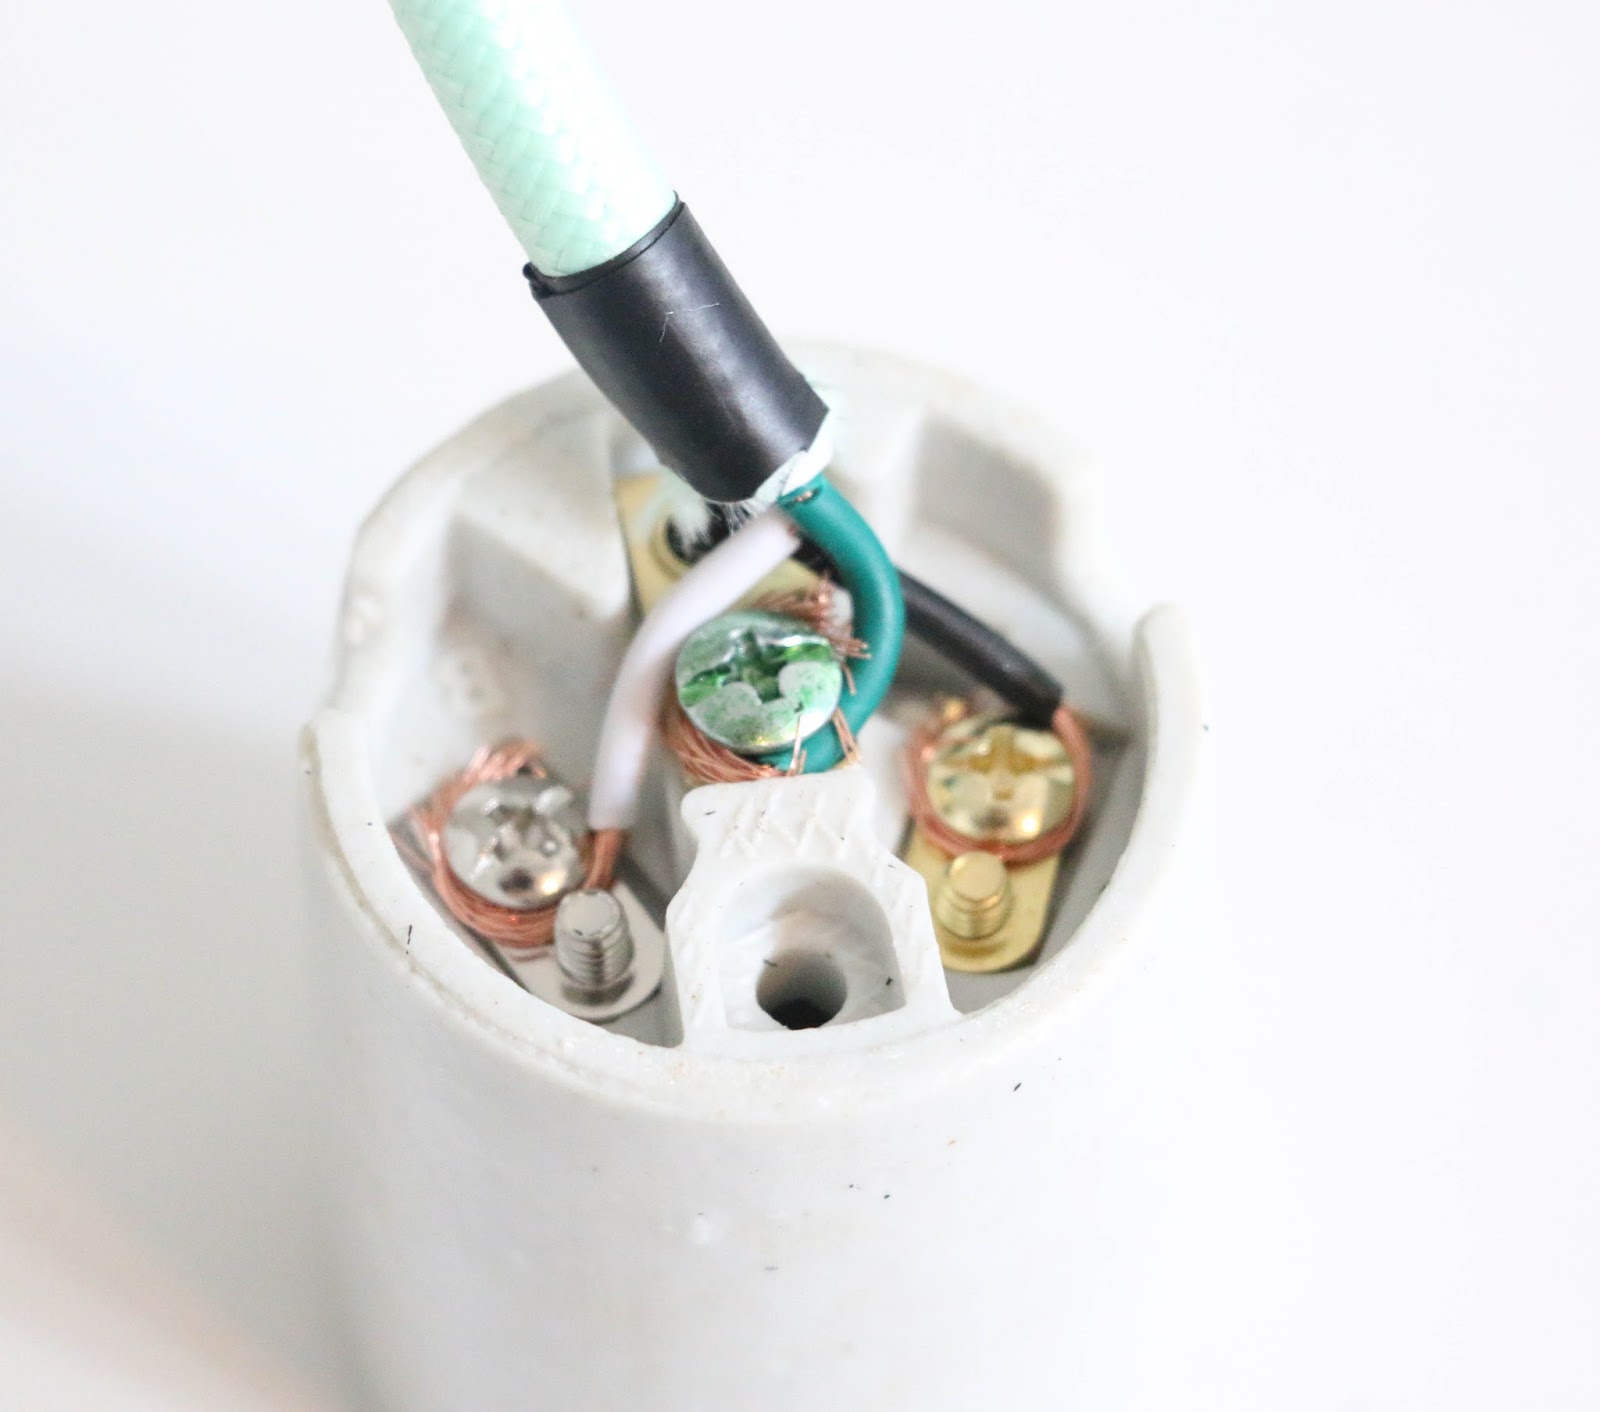
Next, I used my wire strippers to cutaway the covering of each wire about a half and inch.
Now it was time to attach the wires to the socket. The black live wire went to the gold screw, the green ground wire to the green screw, and the white neutral wire to the silver screw. Like so.
Next it was time to slip on the cap, black socket cover, and cord strain relief.
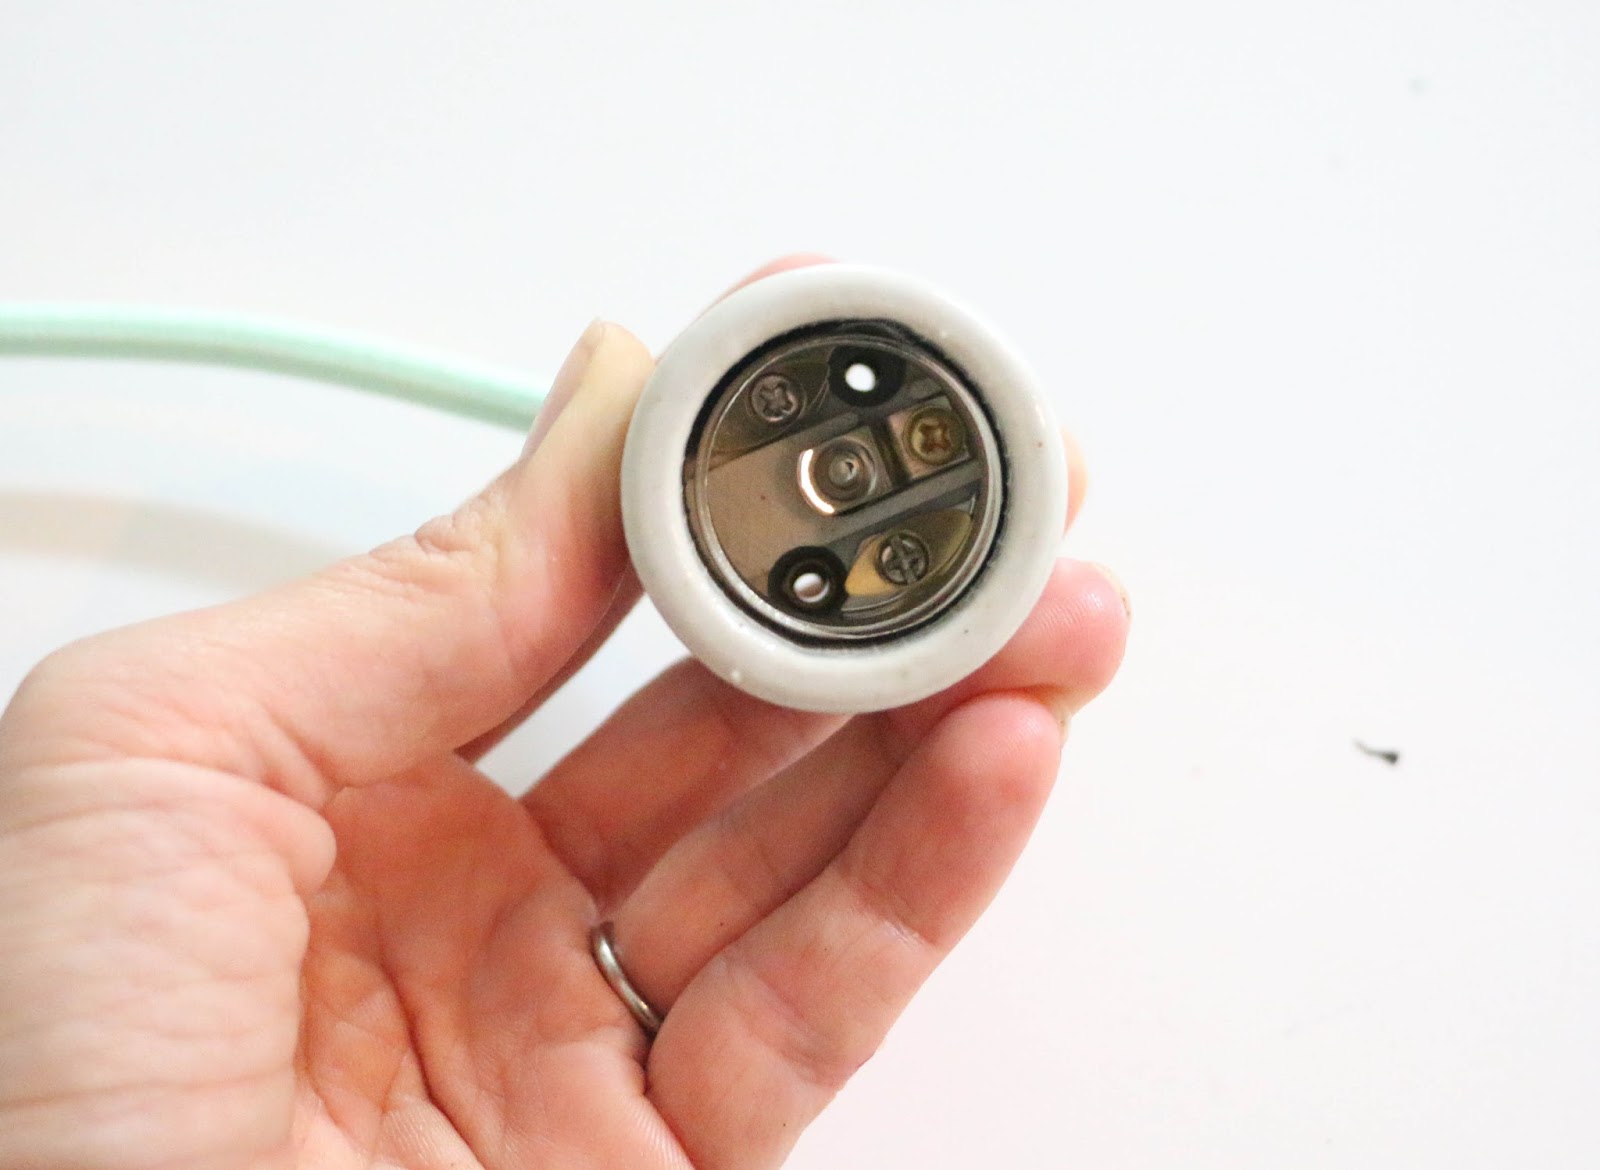
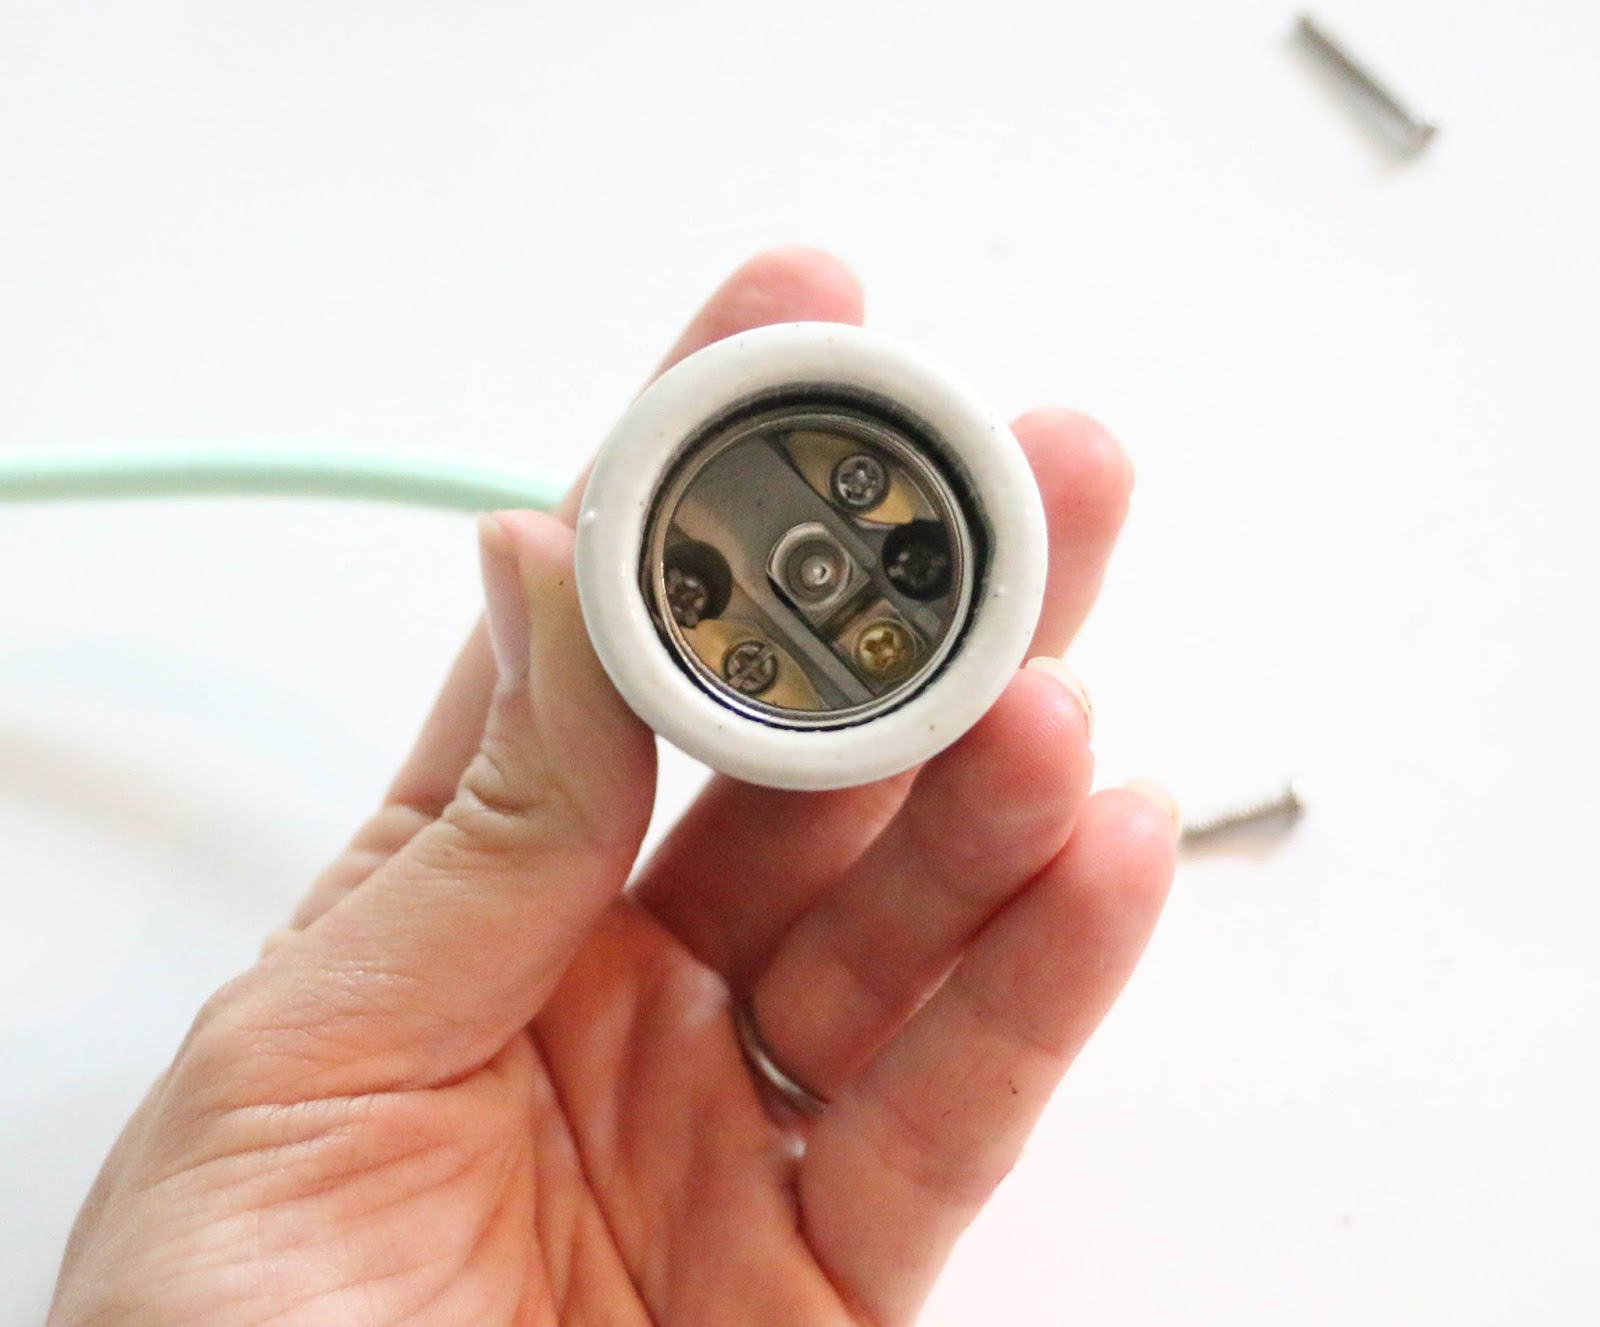
To attach the metal socket top to the socket, you used two screws that went up through the bottom of the socket in the holes you can see here.
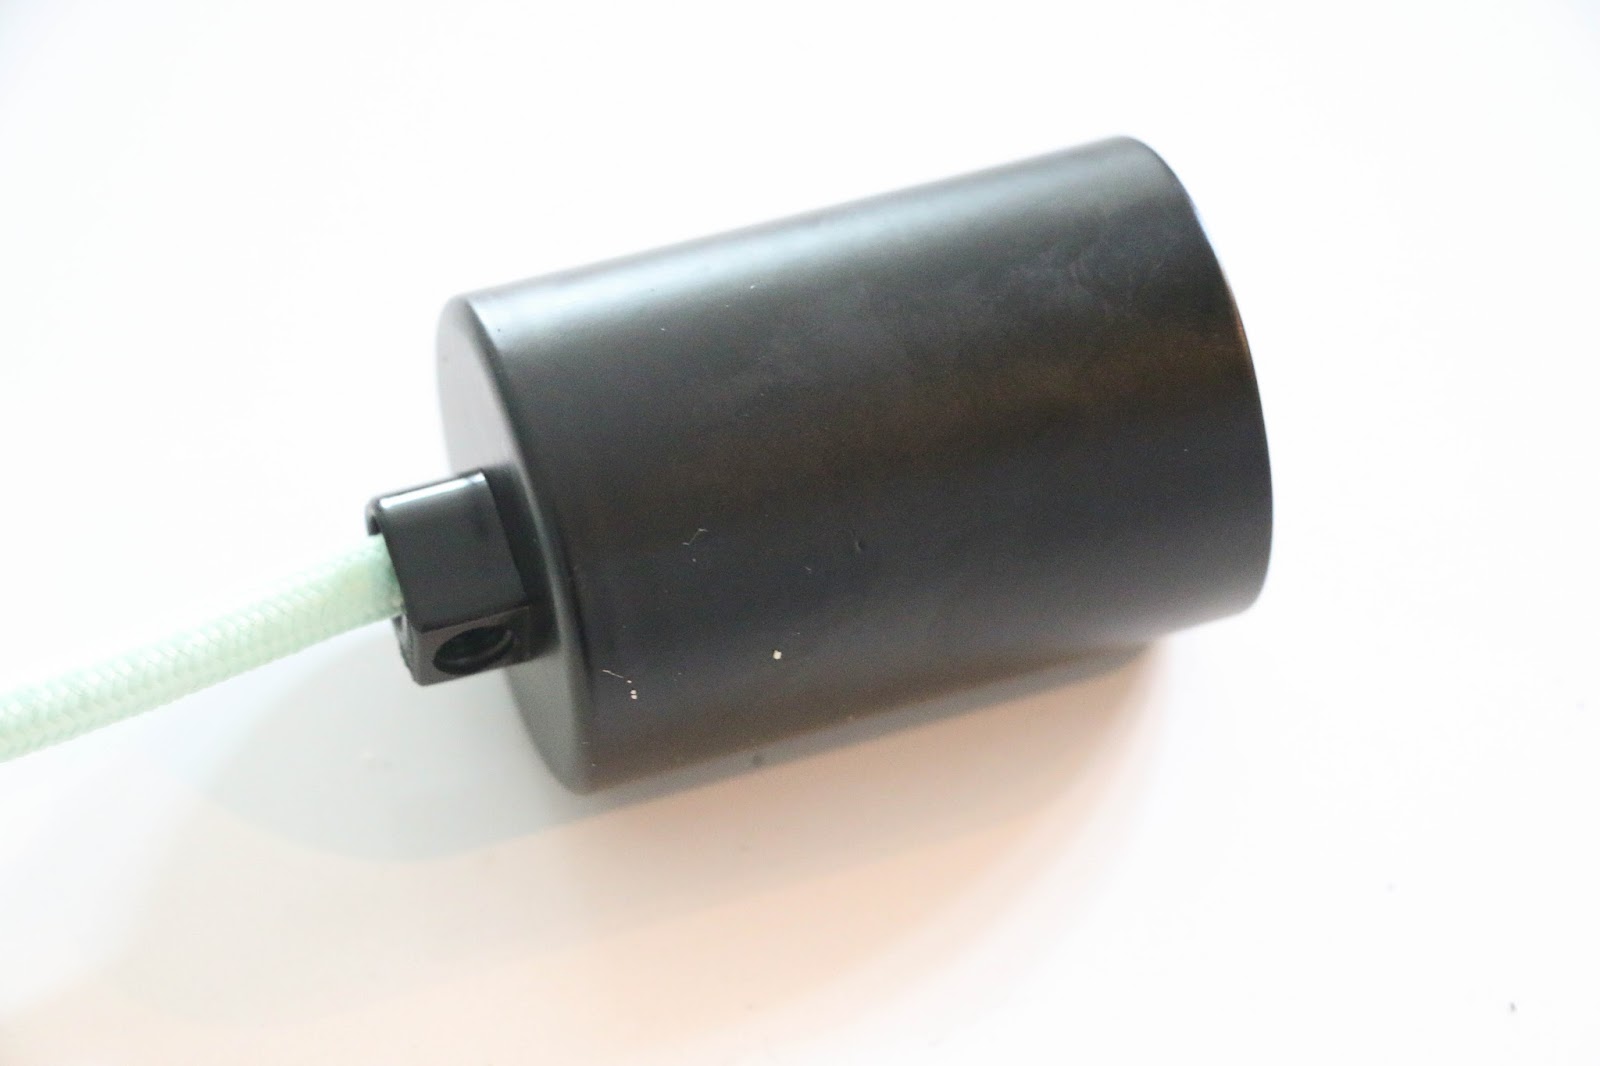
Then a little screw went in the side of the top portion of the metal socket top to help secure the cord (I forgot to take a picture of this). Then the black socket cover slips on and the black cord strain relief screws into the metal socket top through the black cover.
A little black plastic screw goes into that hole on the top side of the strain relief to secure the cord and not let the weight of the bulb and socket pull to heavily on the cord. Now do this 4 more times and you will have all of your pendant cords ready. Next it is time to thread the cords through the canopy.
And cut the wire ends and strip each wire like we did at the beginning.
Now it is time to install the fixture to the wall. The black wires all go to the black wire in the wall, the whites to the white, and the green to the green/uncoated wire. Use wire nuts to secure all the wires together. Again, I don’t have a photo of this step, because it is hard to hold all the cords and take a picture, but if you have questions, please consult an electrician.
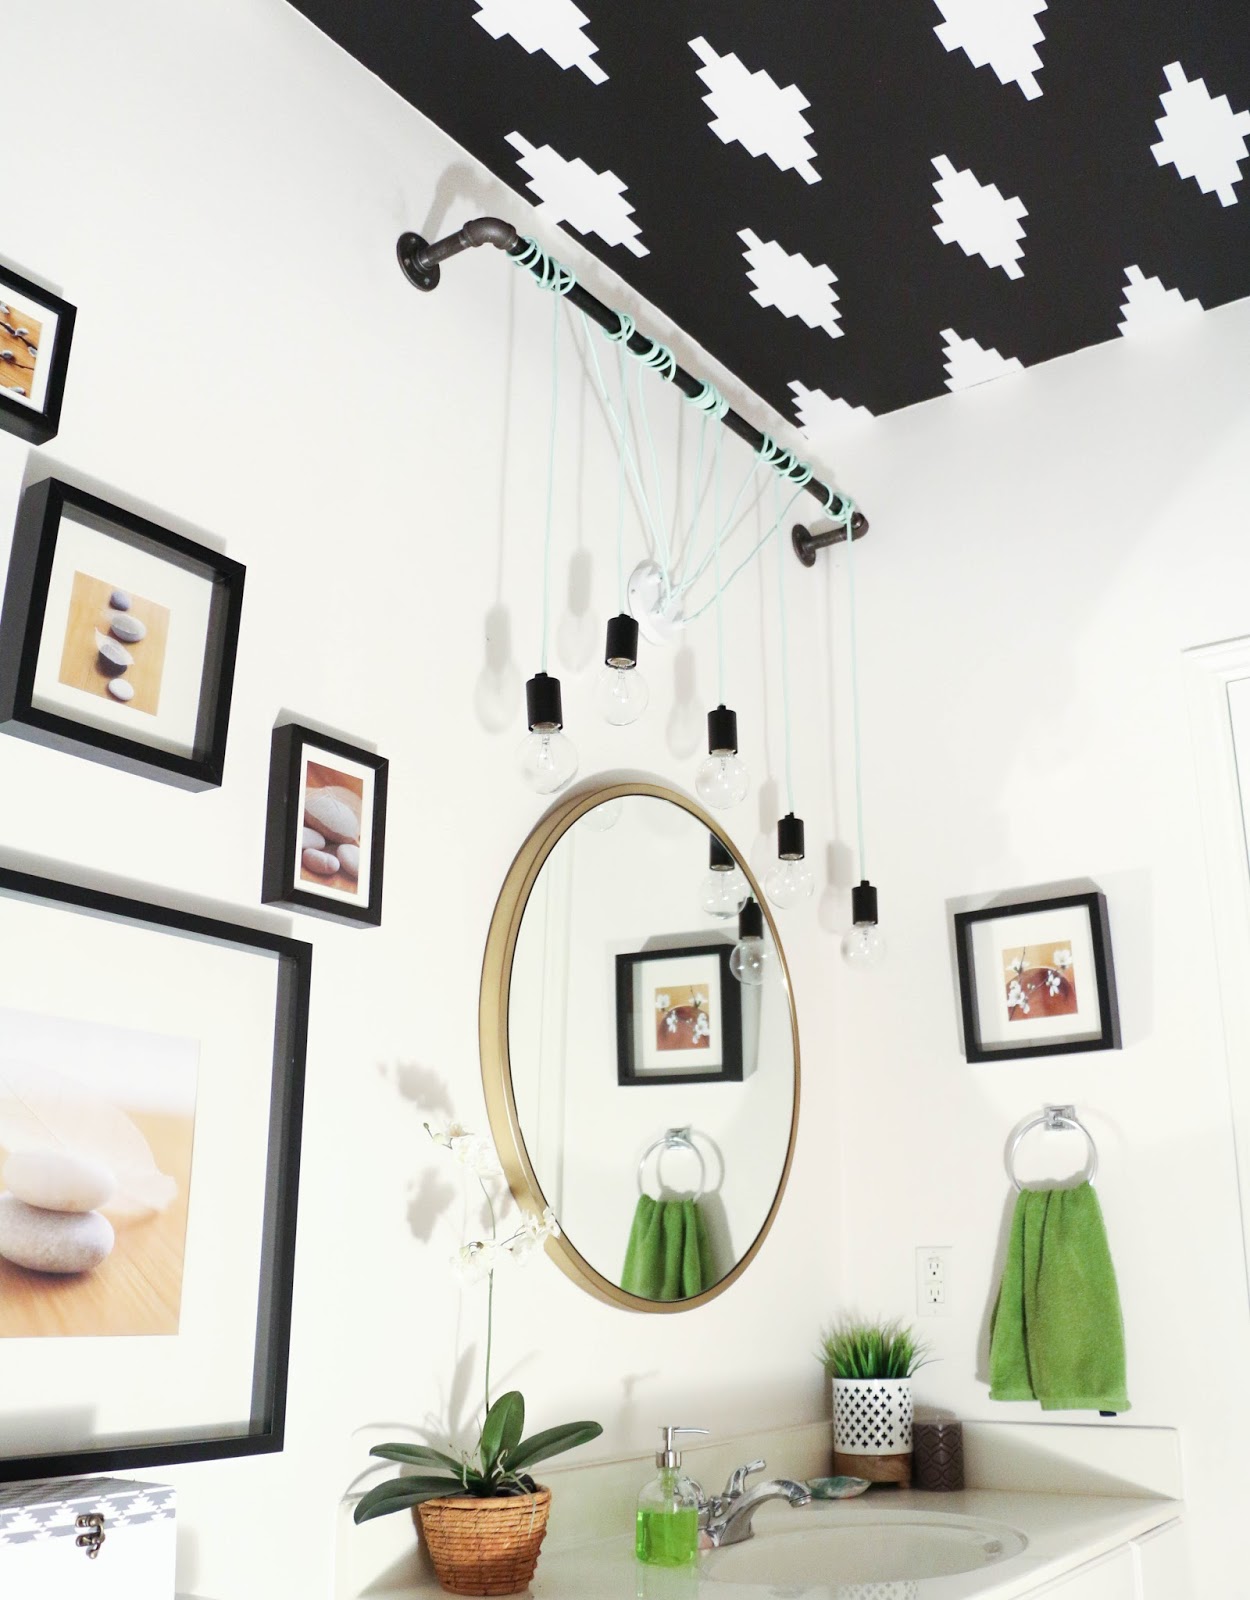
Once the light was installed, I assembled my pipe and fittings and mounted it on the wall where I wanted it to go using a level to make sure it was straight and mollies to secure it to the wall.
The final step was just to wrap the cords around the pipe in a pattern that looked good and add the light bulbs. I tried using vintage Edison bulbs, but since this is the only light in this bathroom, it just wasn’t bright enough. Oh well, I still like the traditional halogen bulbs, and using the bulbs I already had versus the Edison ones saved me $50.
I love the way the fixture looks in here with the ceiling and mirror. It is hard to get a good picture since this bathroom is down a dark hallway by the garage, and no natural light gets in here, so taking a picture with the lights off so that you can see the fixture is quite the challenge. But hopefully you can see it well enough.
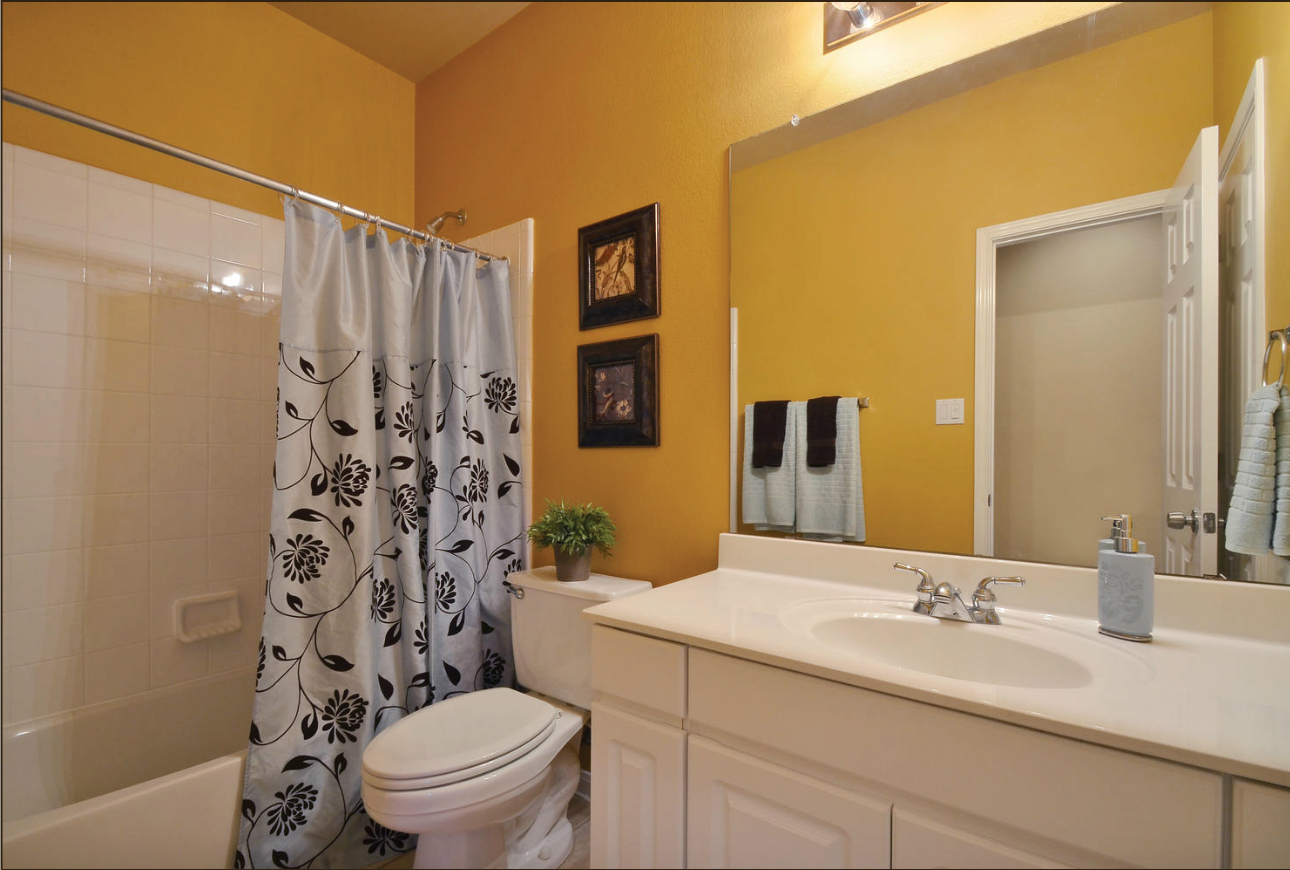
My next plans for this bathroom are to put walnut wood shelves with gold painted Ikea brackets over the toilet where those picture frames are now, and then hopefully switch out the vanity and sink with ones from Ikea and redo the tile floor. But for now, this bathroom looks much better than it did when we moved in.


January 10th, 2016 at 4:59 am
Thank you for your posting. We were looking for some help on making our on pendent lights and canopy but knew of no sources. Your post has resouces that will help us greatly! Your new bathroom is beautiful and you did a wonderful job. Thank you.