


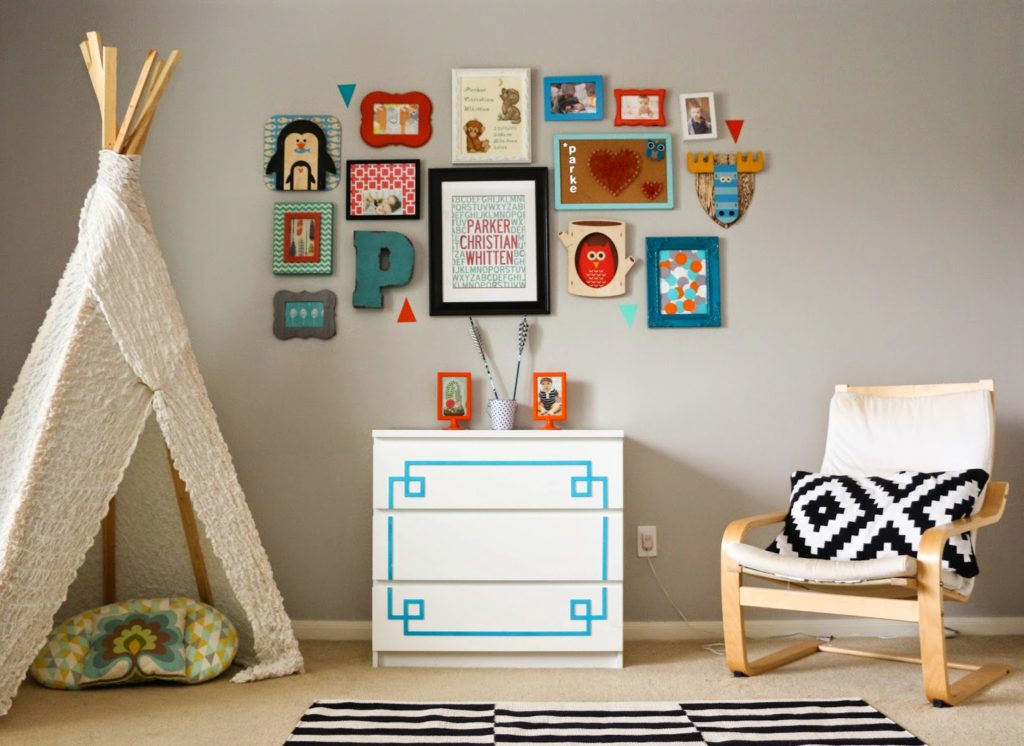
As I promised yesterday in my turquoise and orange gallery wall post, I am going to show you the rest of Parker’s bedroom. On the wall opposite his dresser and gallery wall, is his crib wall that I adorned with a bunch of different colored triangle decals that I made with my vinyl cutter and matte decal vinyl. I just placed them sporadically on the wall grouping some and turning others upside down. What is nice is that they were easily repositionable, so if I didn’t like where one was, it was easy to rearrange them.
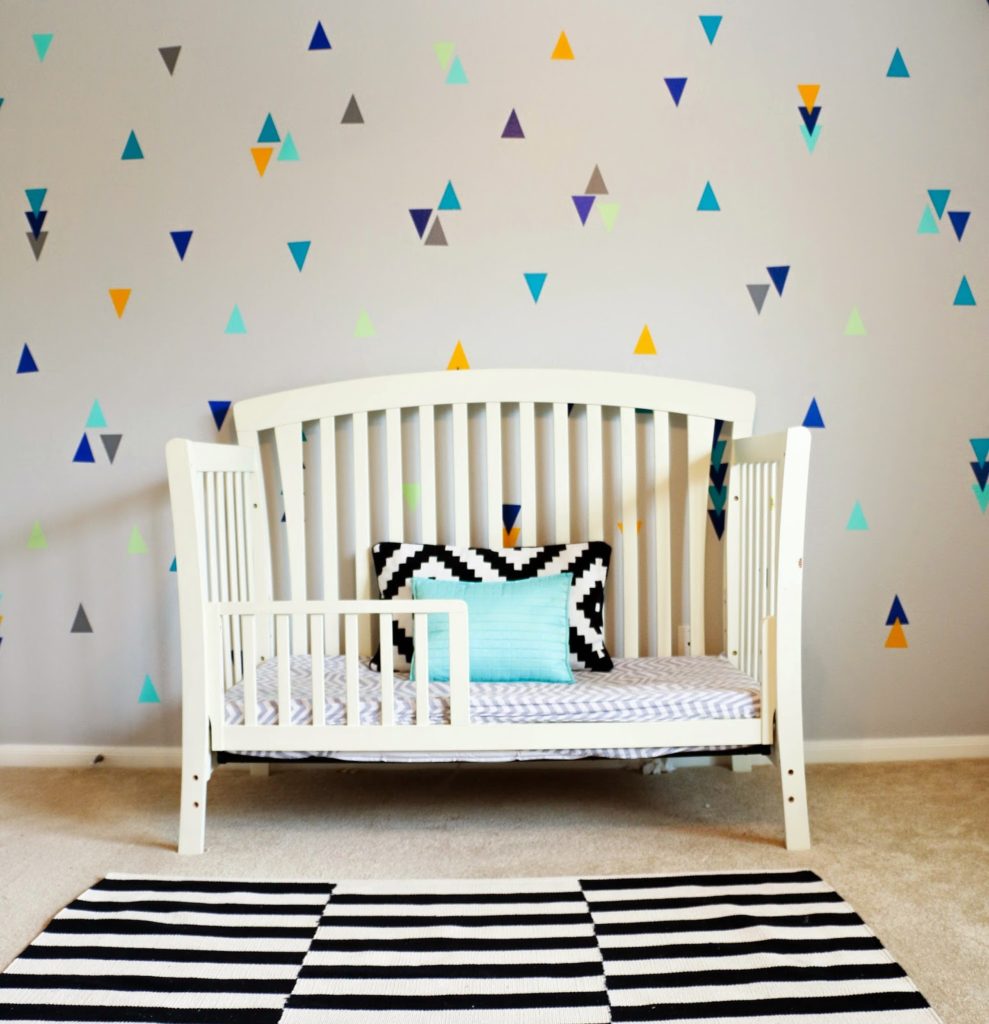


The crib sheet is a gray chevron one that I purchased at Target, the black and white pillow is from Ikea, and the black and white rug is from World Market.
There is one window in his room, so along that window wall I have a small white expedit from Ikea with two blue boxes for toys and two open shelves for books. My husband used some of the left over decals from the crib wall to decorate the sides of the expedit a bit. I also went with plain white curtains because there is already so much color and pattern in his room.

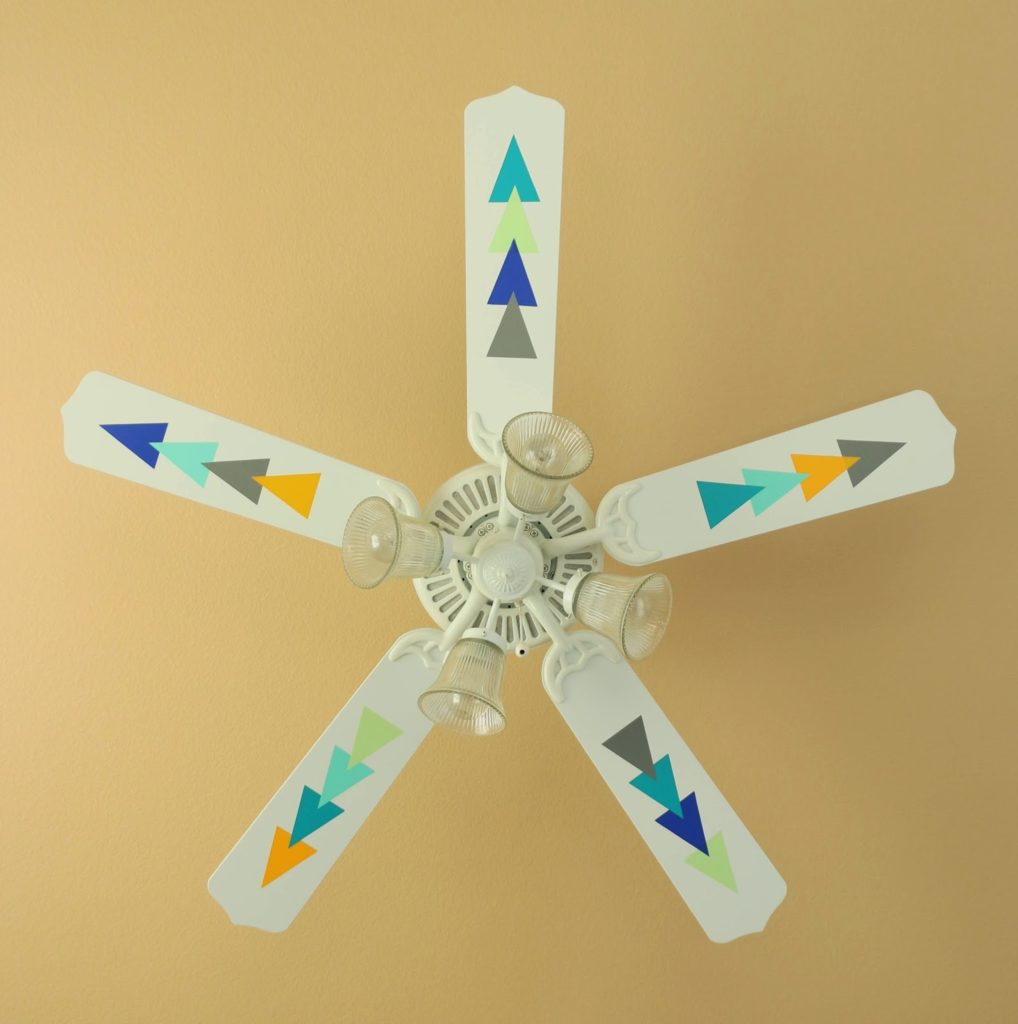
The only thing left in his room that you have yet to see is his ceiling fan. I really wish I could put some cute light fixture in his room, but alas, we live in central Texas, so fans are pretty necessary in the summer months. So, since the fan needed to stay, I figure I might as well perk it up a bit and add a few more triangle decals up there. Parker really seems to like it when the fan is going and the colors swirl and blur into colorful lines.

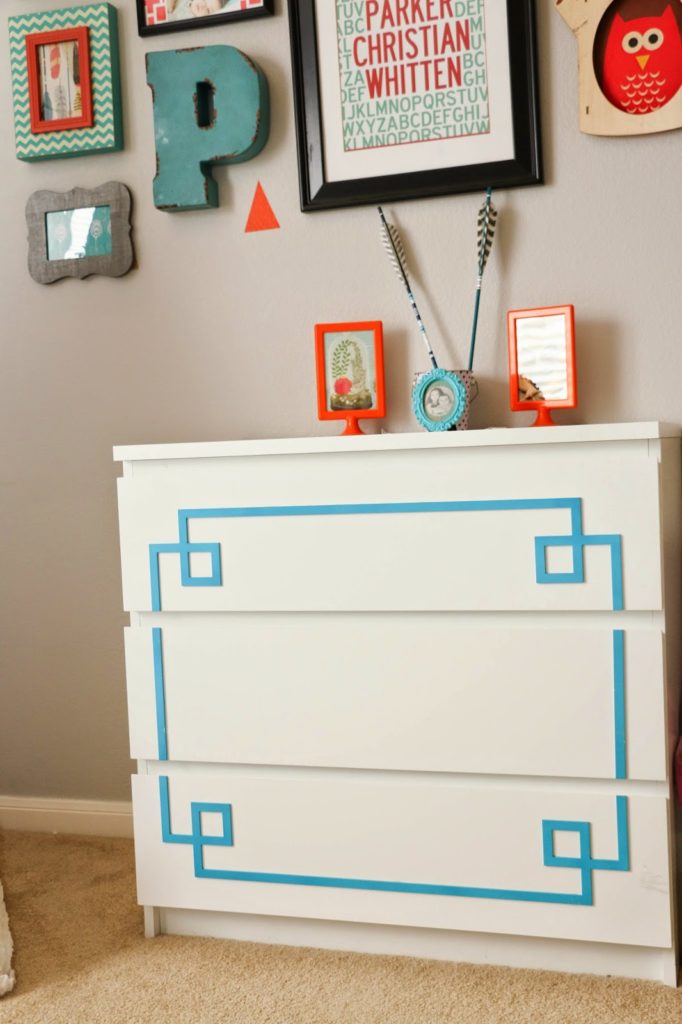
For his dresser that you saw yesterday, I used an Ikea malm 3 drawer dresser and used O’verlays that I spray painted turquoise. Then I just used a clear silicone caulk adhesive to attach the overlays onto the dresser. Easy peasy!

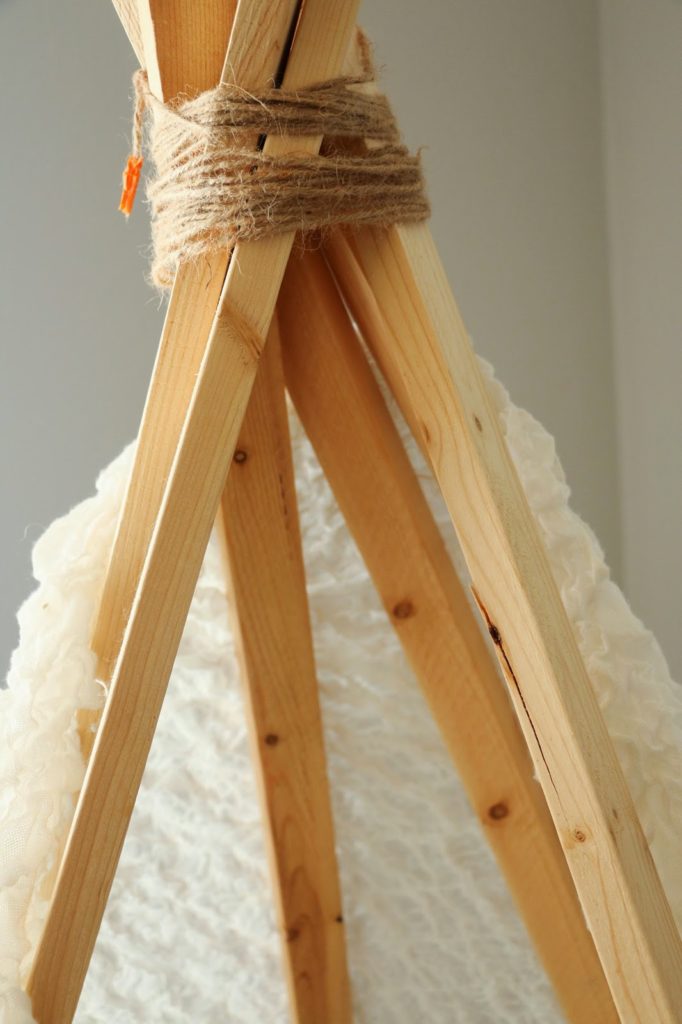
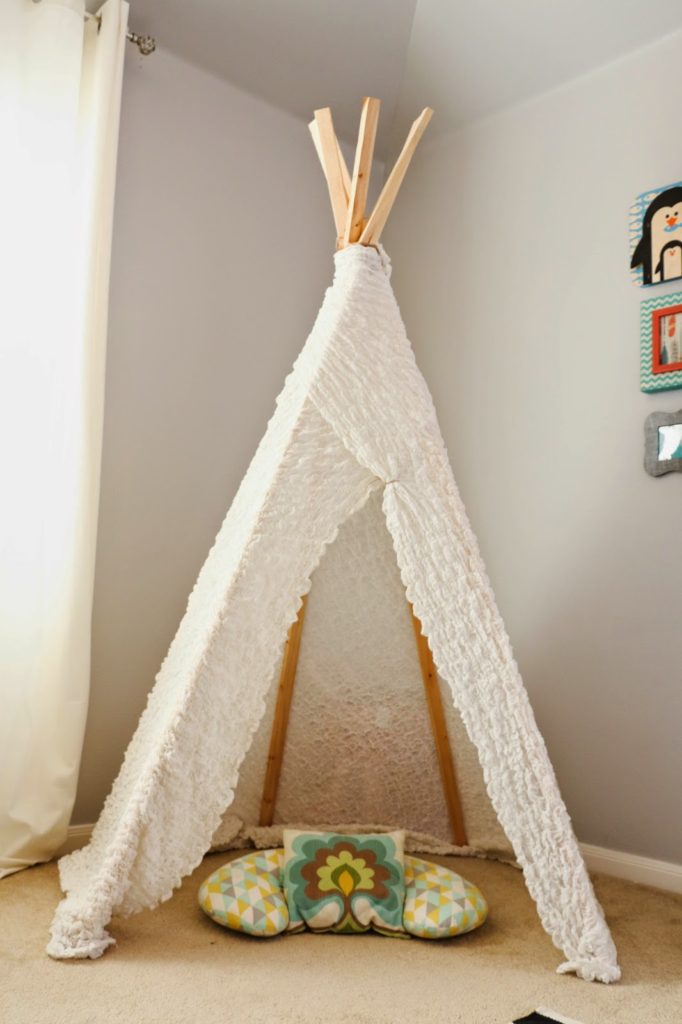
Lastly the teepee. To make this super simple teepee, I used six 1×2’s and drilled a small hole in them appx. 4-5″ down from the top. Then I threaded twine through all the holes, tied a knot in it and wrapped the rest of the twine around the top of the 1×2’s.

To finish off the teepee, I took the lazy route and used this stretchy Ikea blanket that I had used as Parker’s crib skirt when he was still in the crib to wrap around the 1×2’s. The nice thing about this particular blanket is that it is super stretchy and sticks super easy to the wood. So there was no need to staple to attach the blanket to the teepee wood base. I just stretched it around then frame and tucked it over at the top to create a nice little nook for parker to read books in. Or more for Madeline to read books to him. But none the less, I was able to make it with things I already had on hand, which made me happy. And the kids love it too. So win-win! And if you wanted to create this on your own, the 1×2’s cost about $1-$2 each and the blanket was $20 at Ikea, so you could easily make it for under $35 and in about 10-20 minutes which makes it much more affordable and feasible project for anyone to DIY no matter your handiness or budget.


There you have it. Parker’s room in all its glory. Luckily we have a playroom that houses most of the toys, so there is no need for much toy storage in his room right now. But as he gets older, I may personalize the space a bit more with an activity table for art and a big boy bed. But for now, I love the way the room looks, and he is cool with it too.


