I purchased our standard black and silver dining table from Ikea roughly 9 years ago. I loved it for a while, but after having kids, it had seen better days. After we moved, I just threw a table cloth on it hoping that I would eventually find a replacement. But I haven’t been able to find one in my price range that I really love. So I figured I would just try to update my current table to make it more my style while I continued my search. Luckily this makeover only cost about $60 ($8 for the spray paint, $35 for the wood, $5 for the stain, and $12 for the poly and rollers), so it was inexpensive and made me love my table once again.
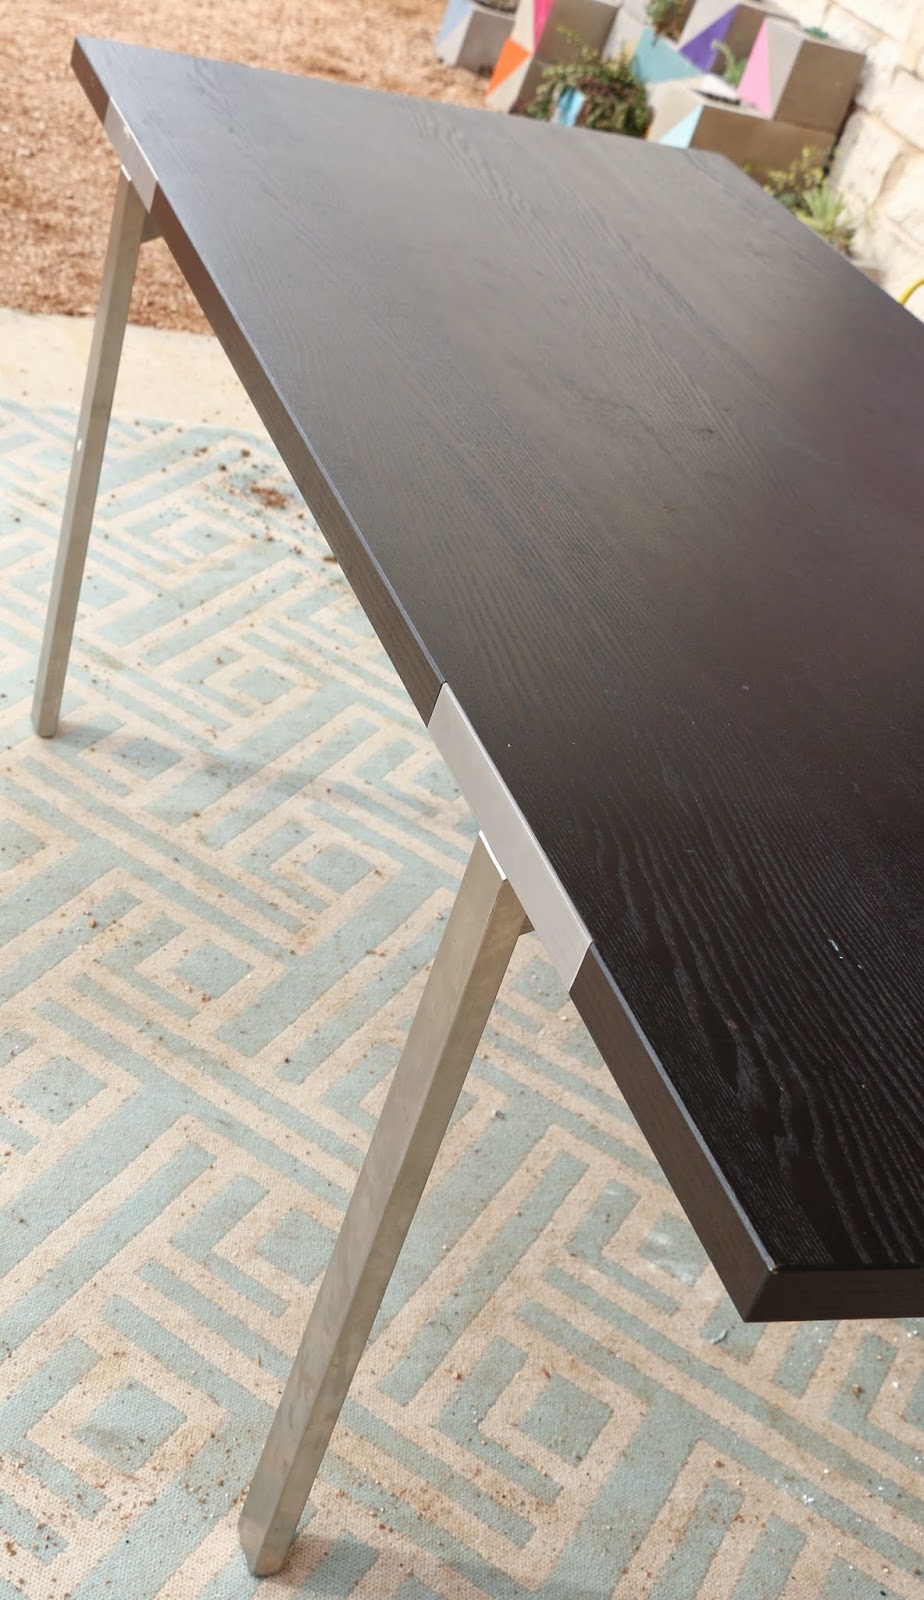
This is what my table looked like before. And yes, it is out on my back porch awaiting a makeover.
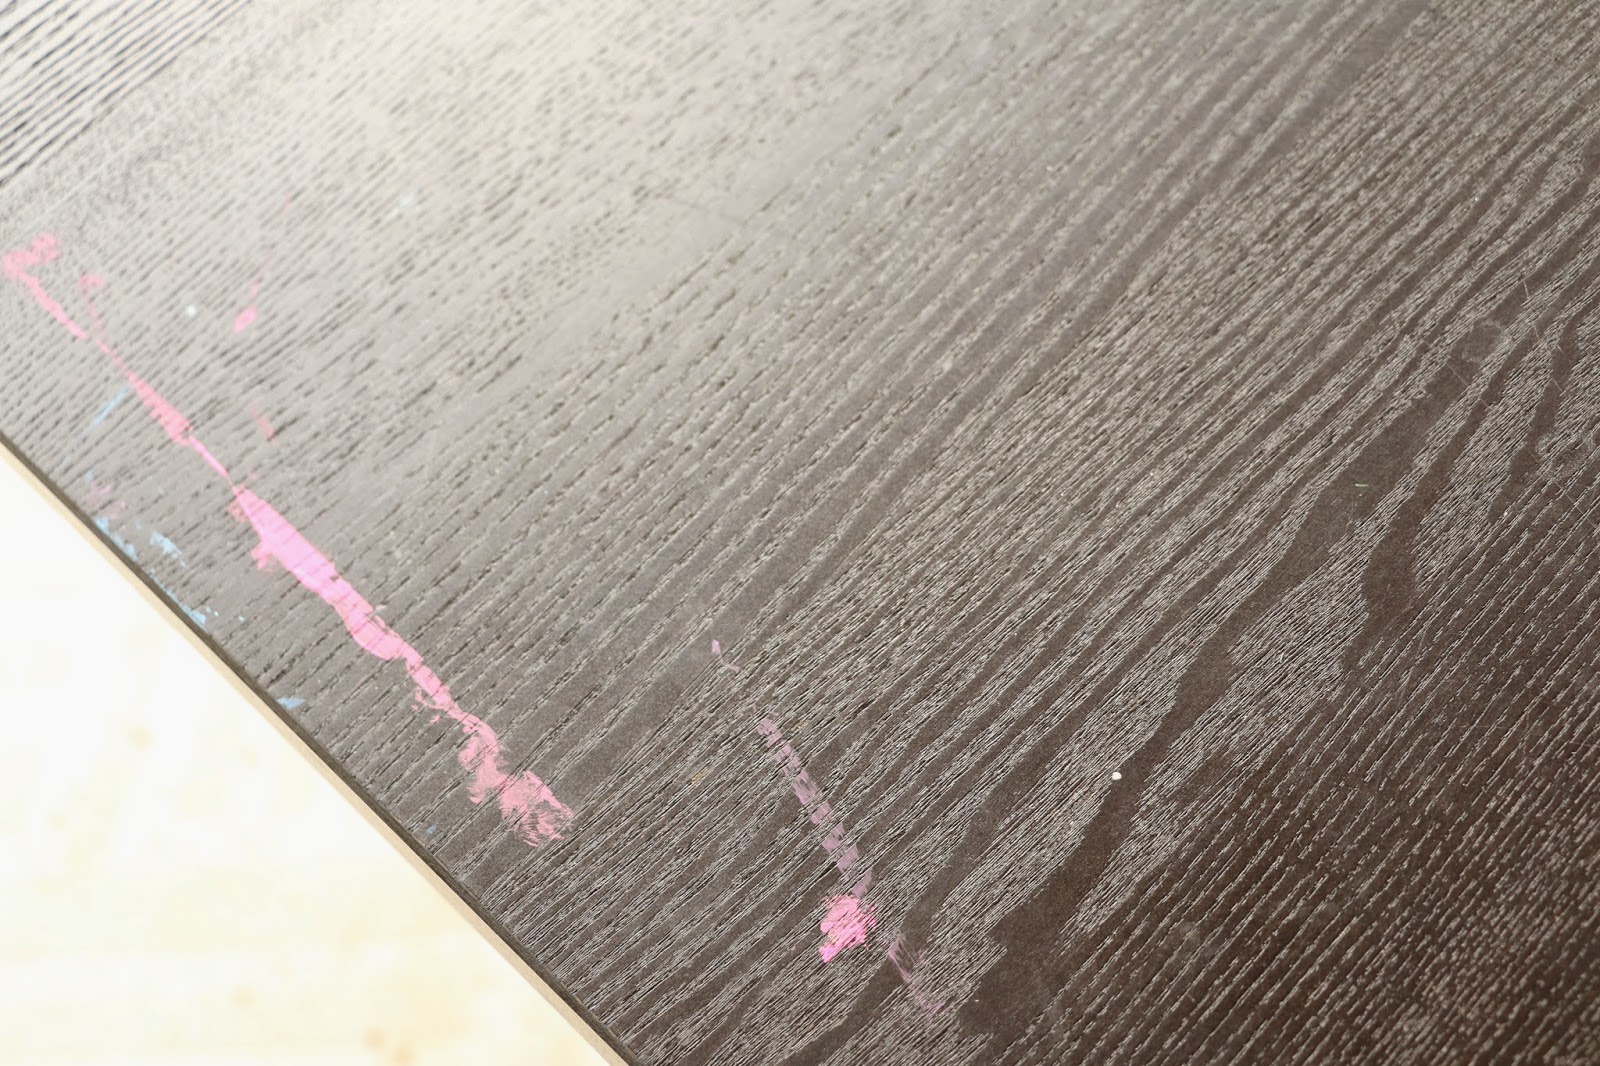
As you can see here, it has been marked and scarred from various paint and craft projects.
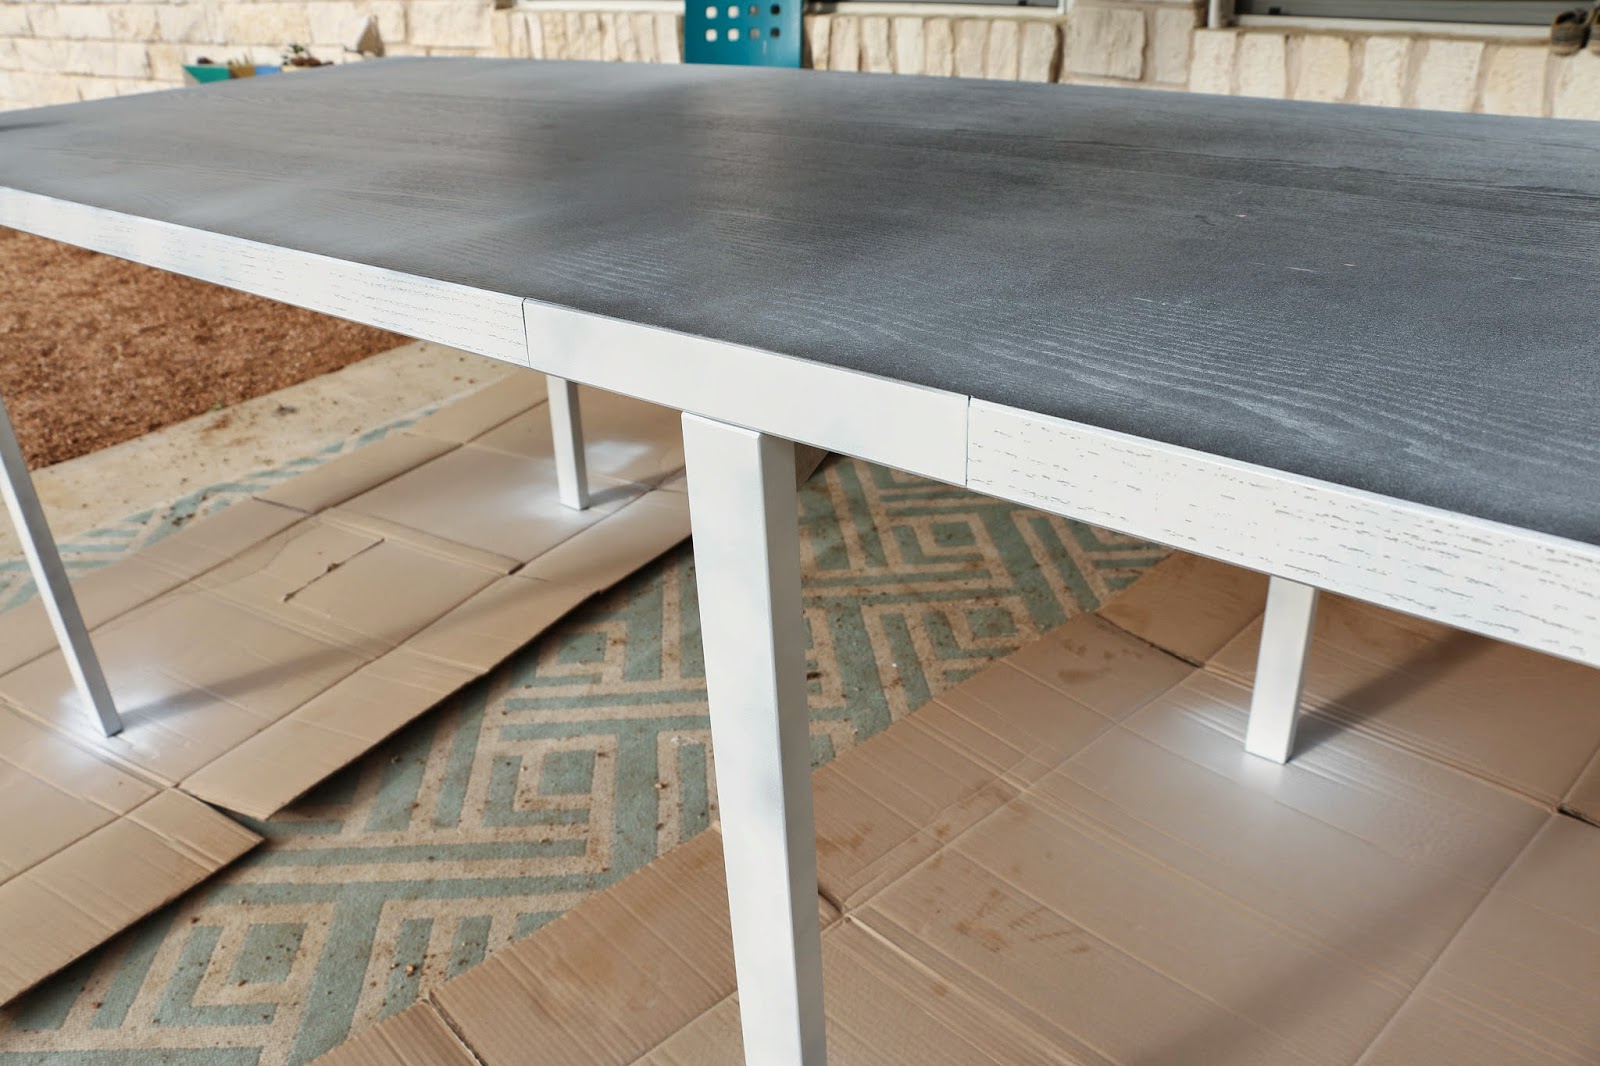
I knew that I wanted to go with a the mid century modern look of white paired with a dark walnut stained wood, so I sanded the sides and legs of the table gently and removed any excess dirt and used a white gloss spray paint on the sides legs. After two coats, the base was done.
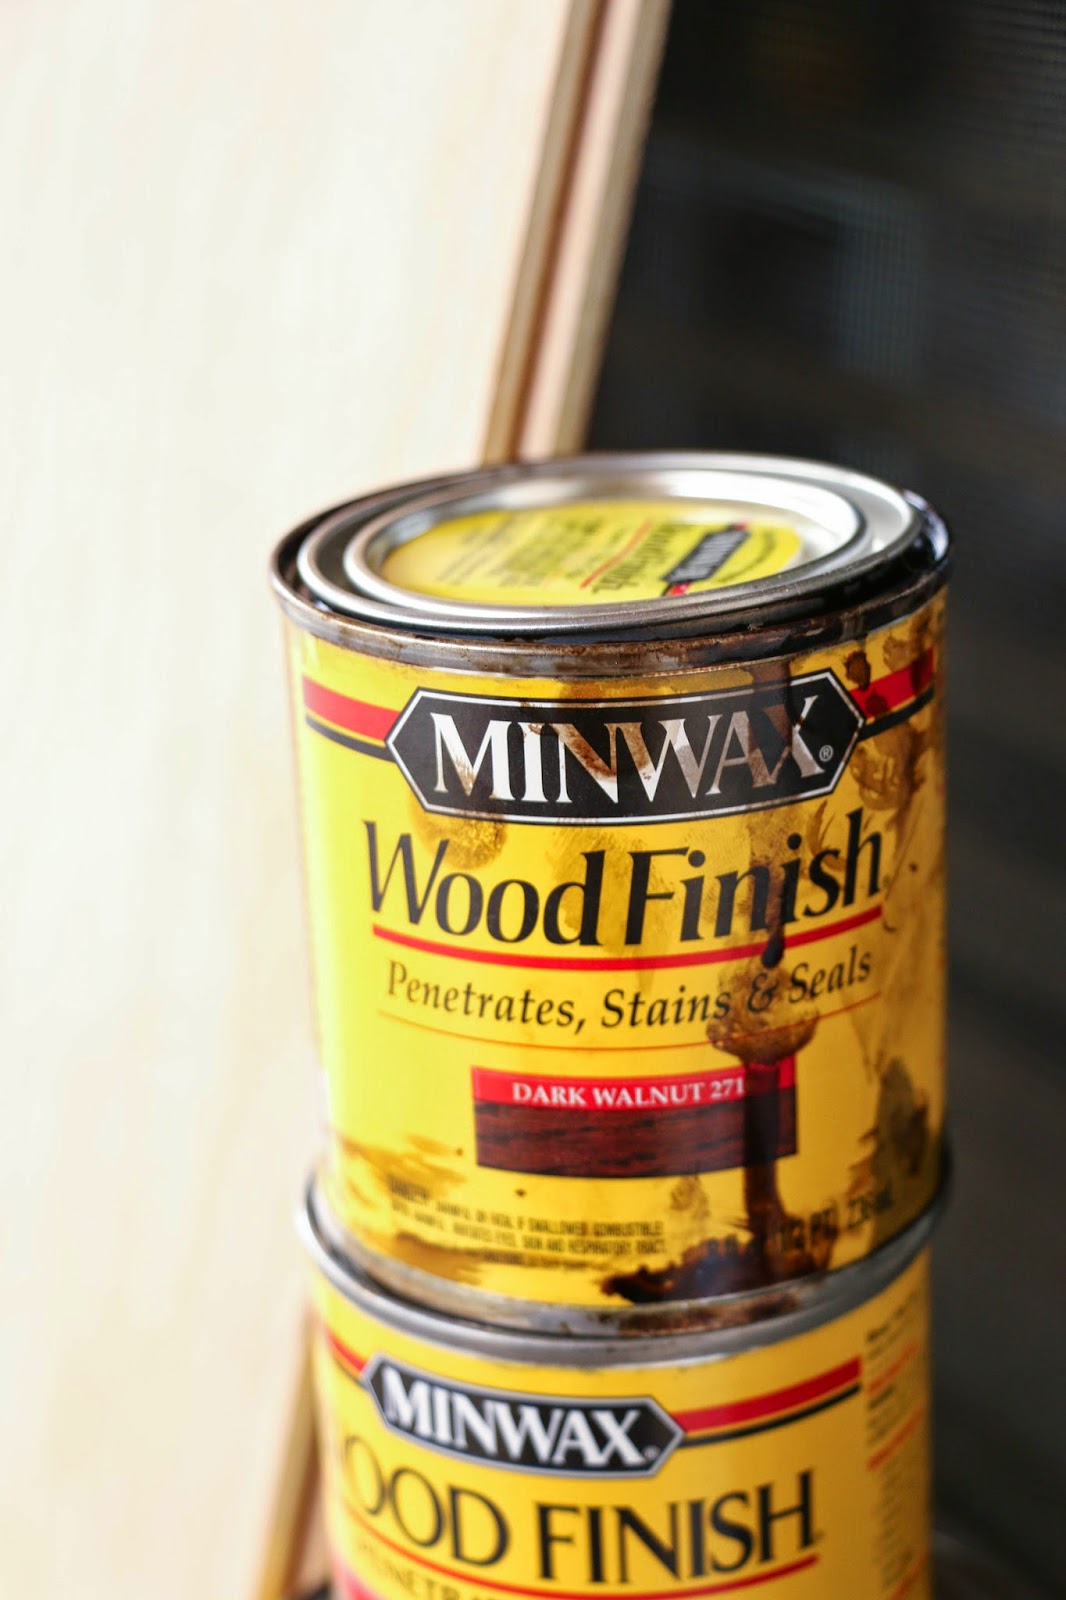
Now, for the top wood portion of the table, I purchased some 1/4″ birch plywood from Home Depot and some Minwax stain in walnut. I loved the grain of the birch plywood, and went with the 1/4″ since I was just going to put it on top of the existing table top. I wanted to be able to stain the sides and not have it look like plywood. A thicker piece would show more of the plywood sides, but the 1/4″ sides are so small it disguises the plywood without requiring the use of a veneer.
I used a scrap piece of fabric to rub the stain into the wood. Here is the birch plywood before and after applying the one coat of stain. Look at that gorgeous wood grain!
After staining the plywood, I used a scrap piece of wood and my Dremel Saw Max to mark and cut the plywood down to the size of the table top.
After cutting the edges of the plywood, I used the sanding block to smooth out the edges, and then used a Minwax stain pen in walnut to stain the edges of the plywood.
Now that the plywood is stained and ready, I used Gorilla glue and some clamps (and some heavy books and pots for the center portion of the table) to attach the plywood to the table top base. I just liberally applied the glue and made sure the plywood was in good contact with the table base.
After letting the glue dry for a day, I then used a small roller for smooth surfaces and some semi gloss poly acrylic to put two coats of poly on the table according to the directions on the can. After letting the poly cure for a couple of days, the table was ready to go.
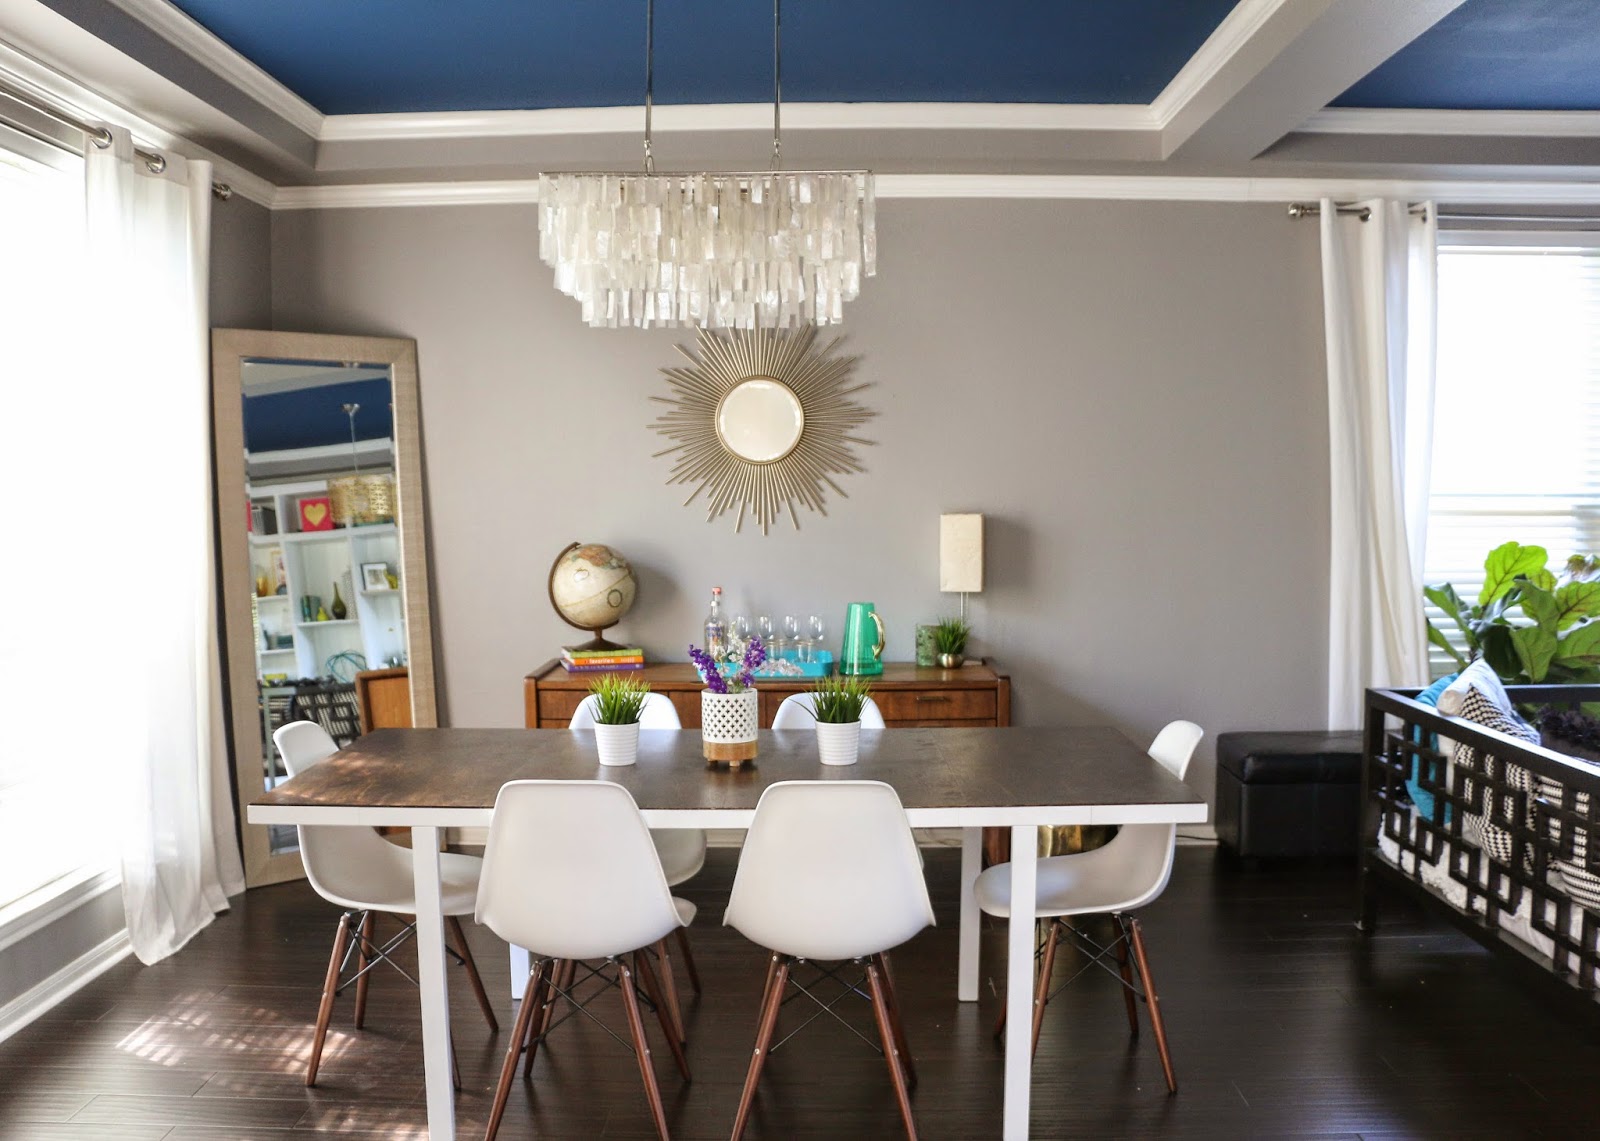
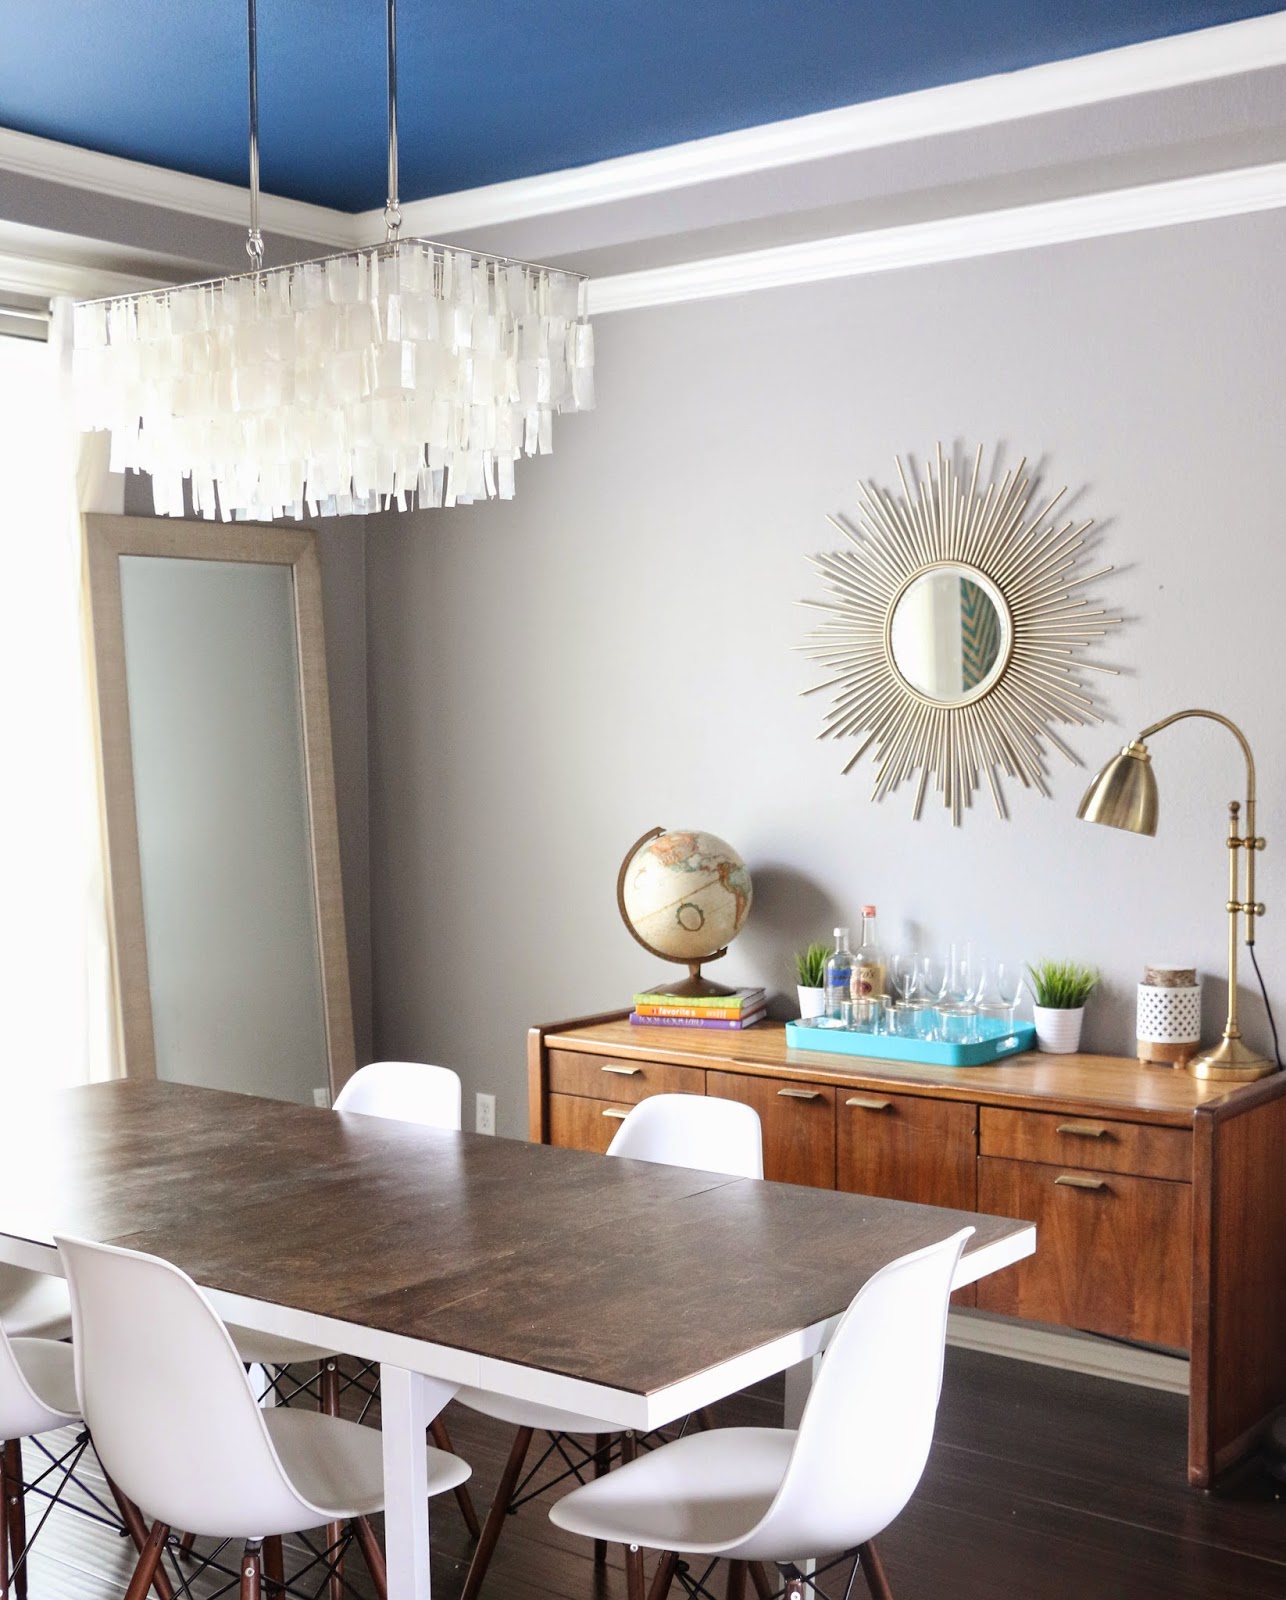
Of course I had to get new chairs, because the black Ikea ones just didn’t cut it with this newly redone table. I got some Eames inspired Eiffel chairs in white with walnut legs to match the table.
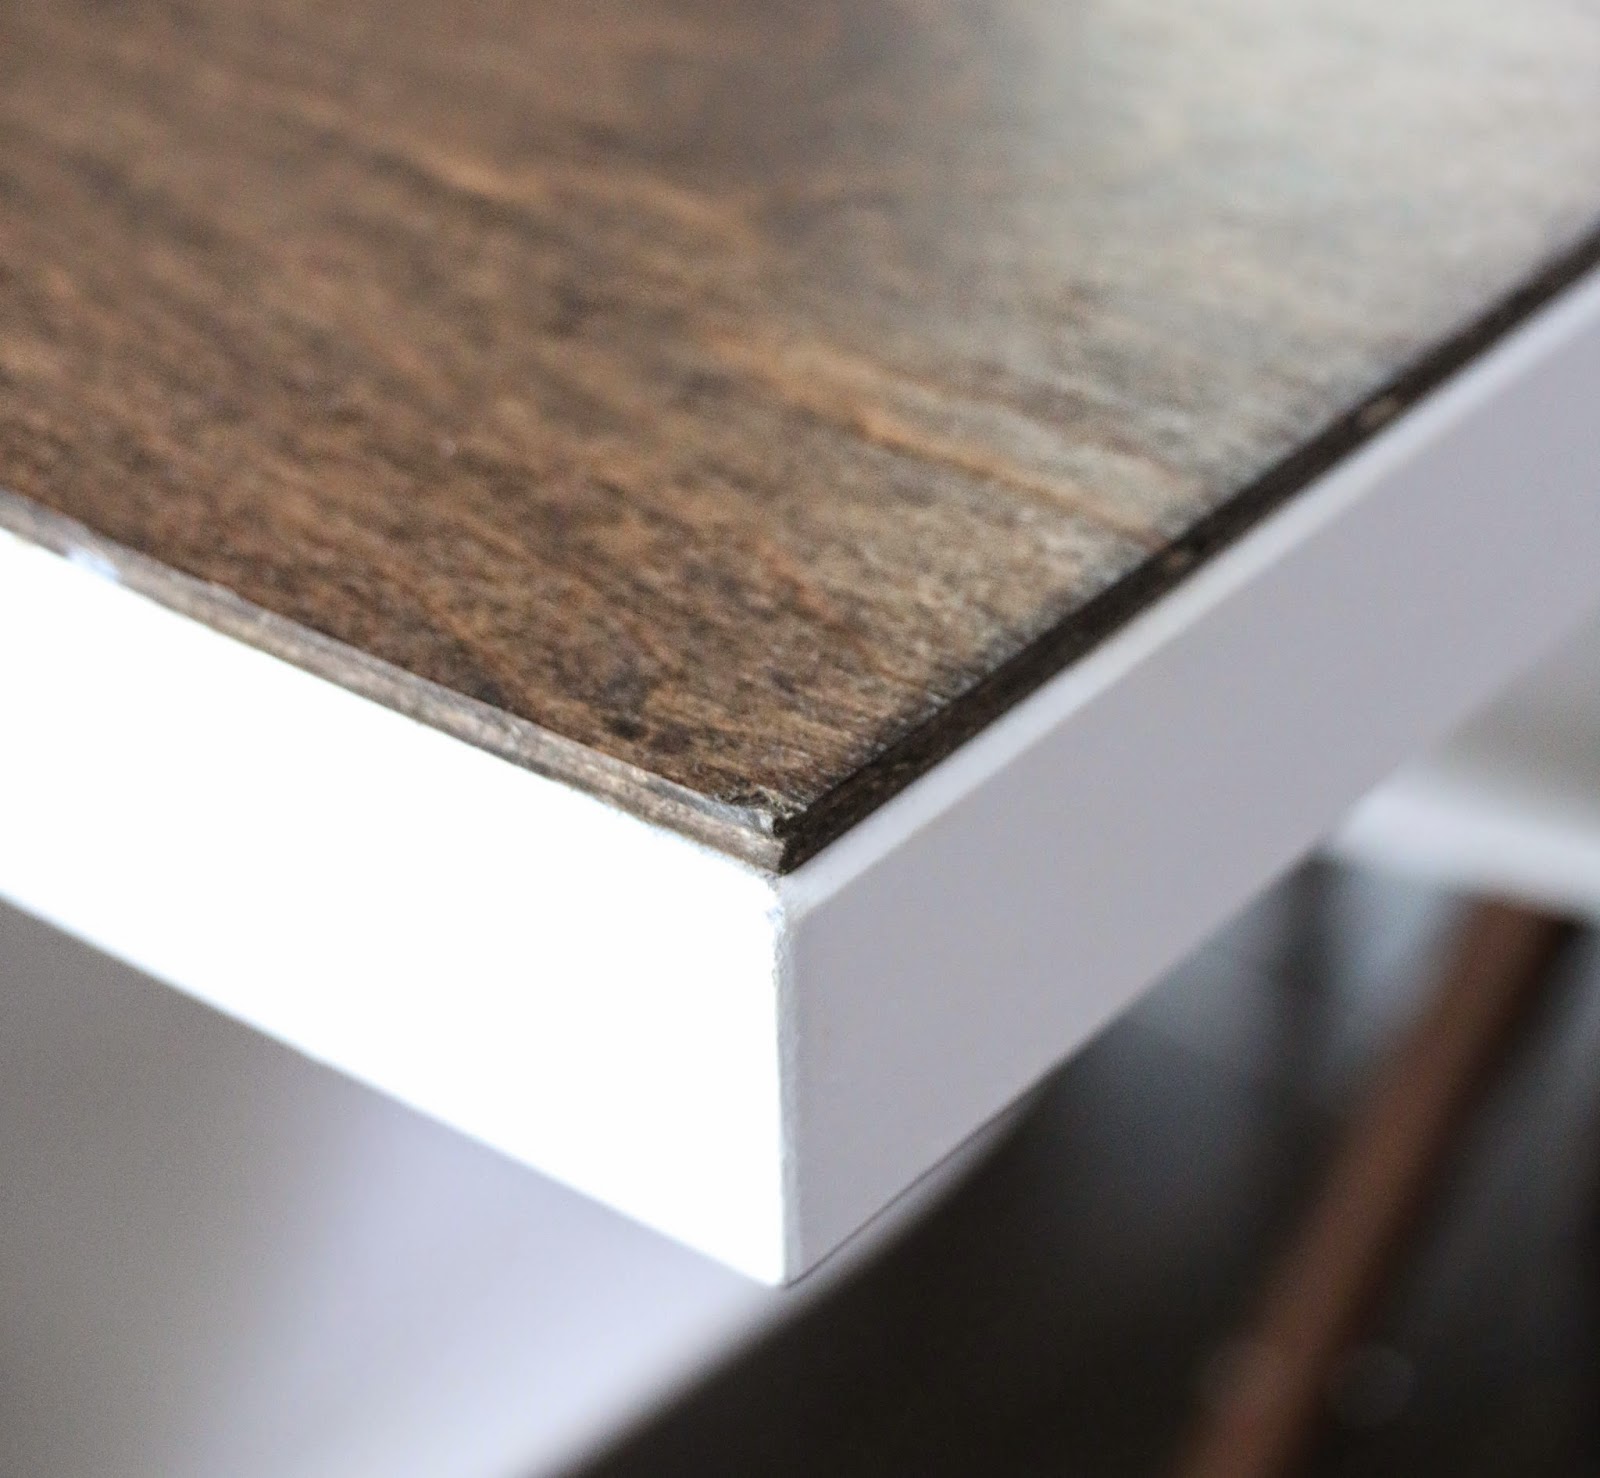
You can see here the edge and how well the thin plywood gets disguised just by using the dark stain.
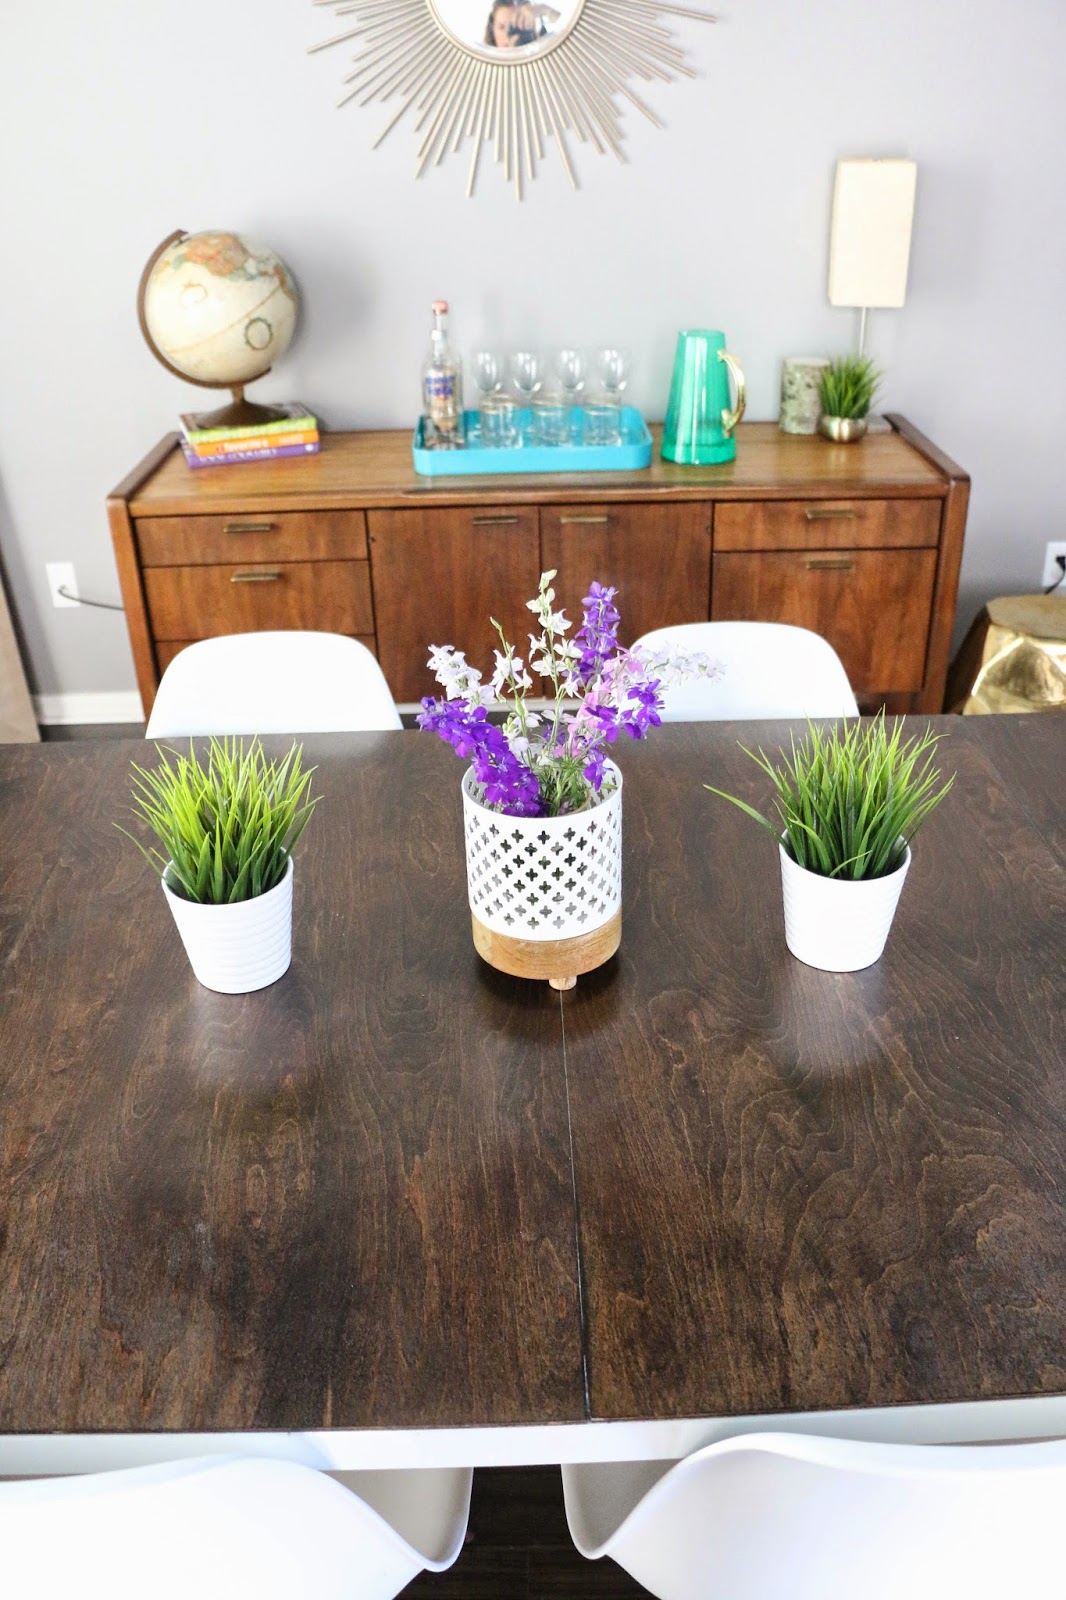
Don’t you just love how it turned out?! Now I just need to paint that $34 thrifted solid wood buffet against the wall. But that is a whole other post.


January 31st, 2016 at 12:30 am
Did you make the buffet? I am impatient to see!
January 31st, 2016 at 1:22 am
I haven't yet! Need to get on that! 😀