


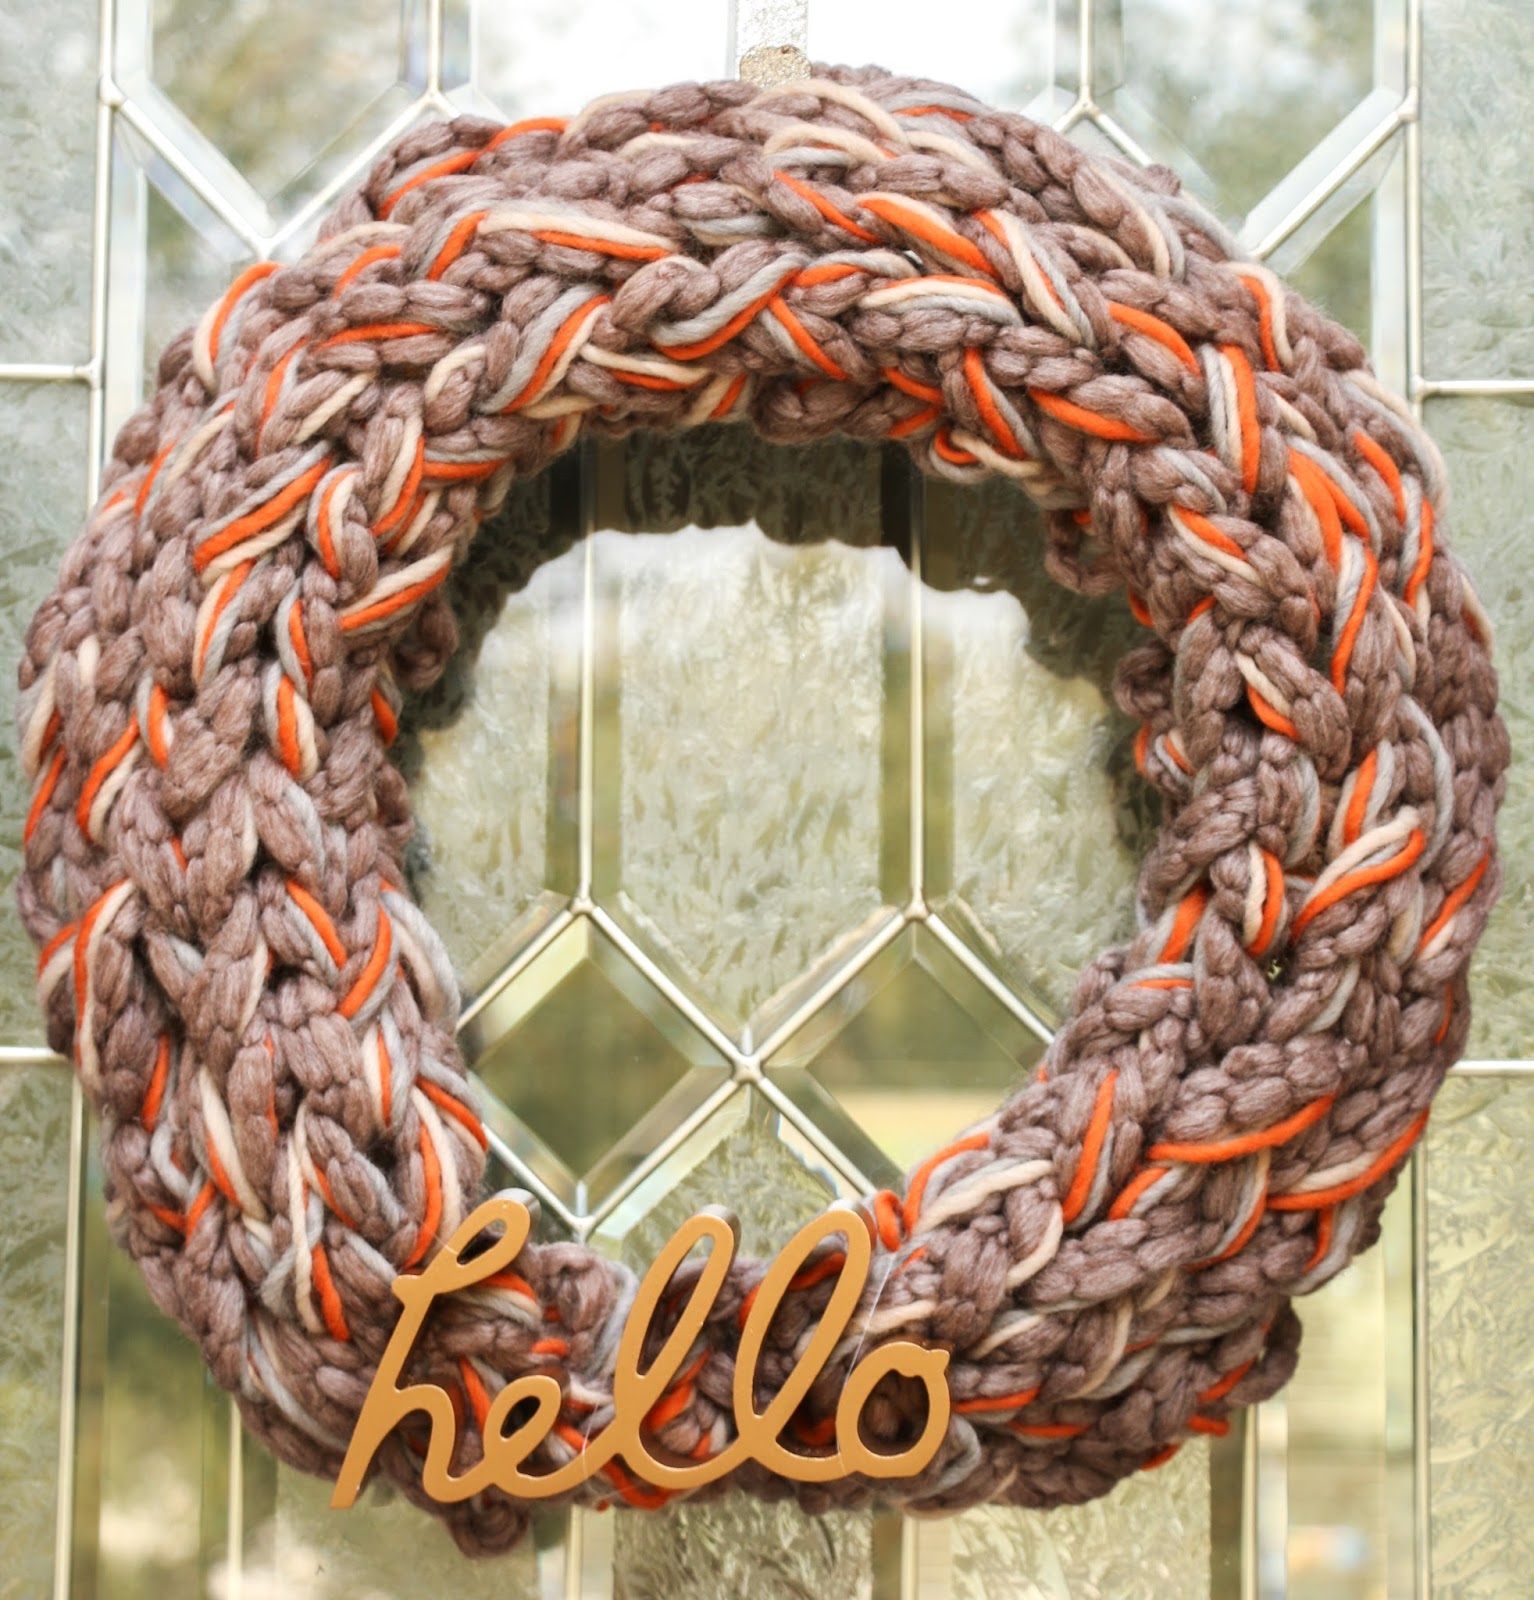

I went with fall colors of gray, brown, tan, and orange in my wreath. But feel free to mix it up. An all white wreath would look warm and cozy for winter, or even different shades of red and white for the holidays would be nice.
First things first, the list of supplies:
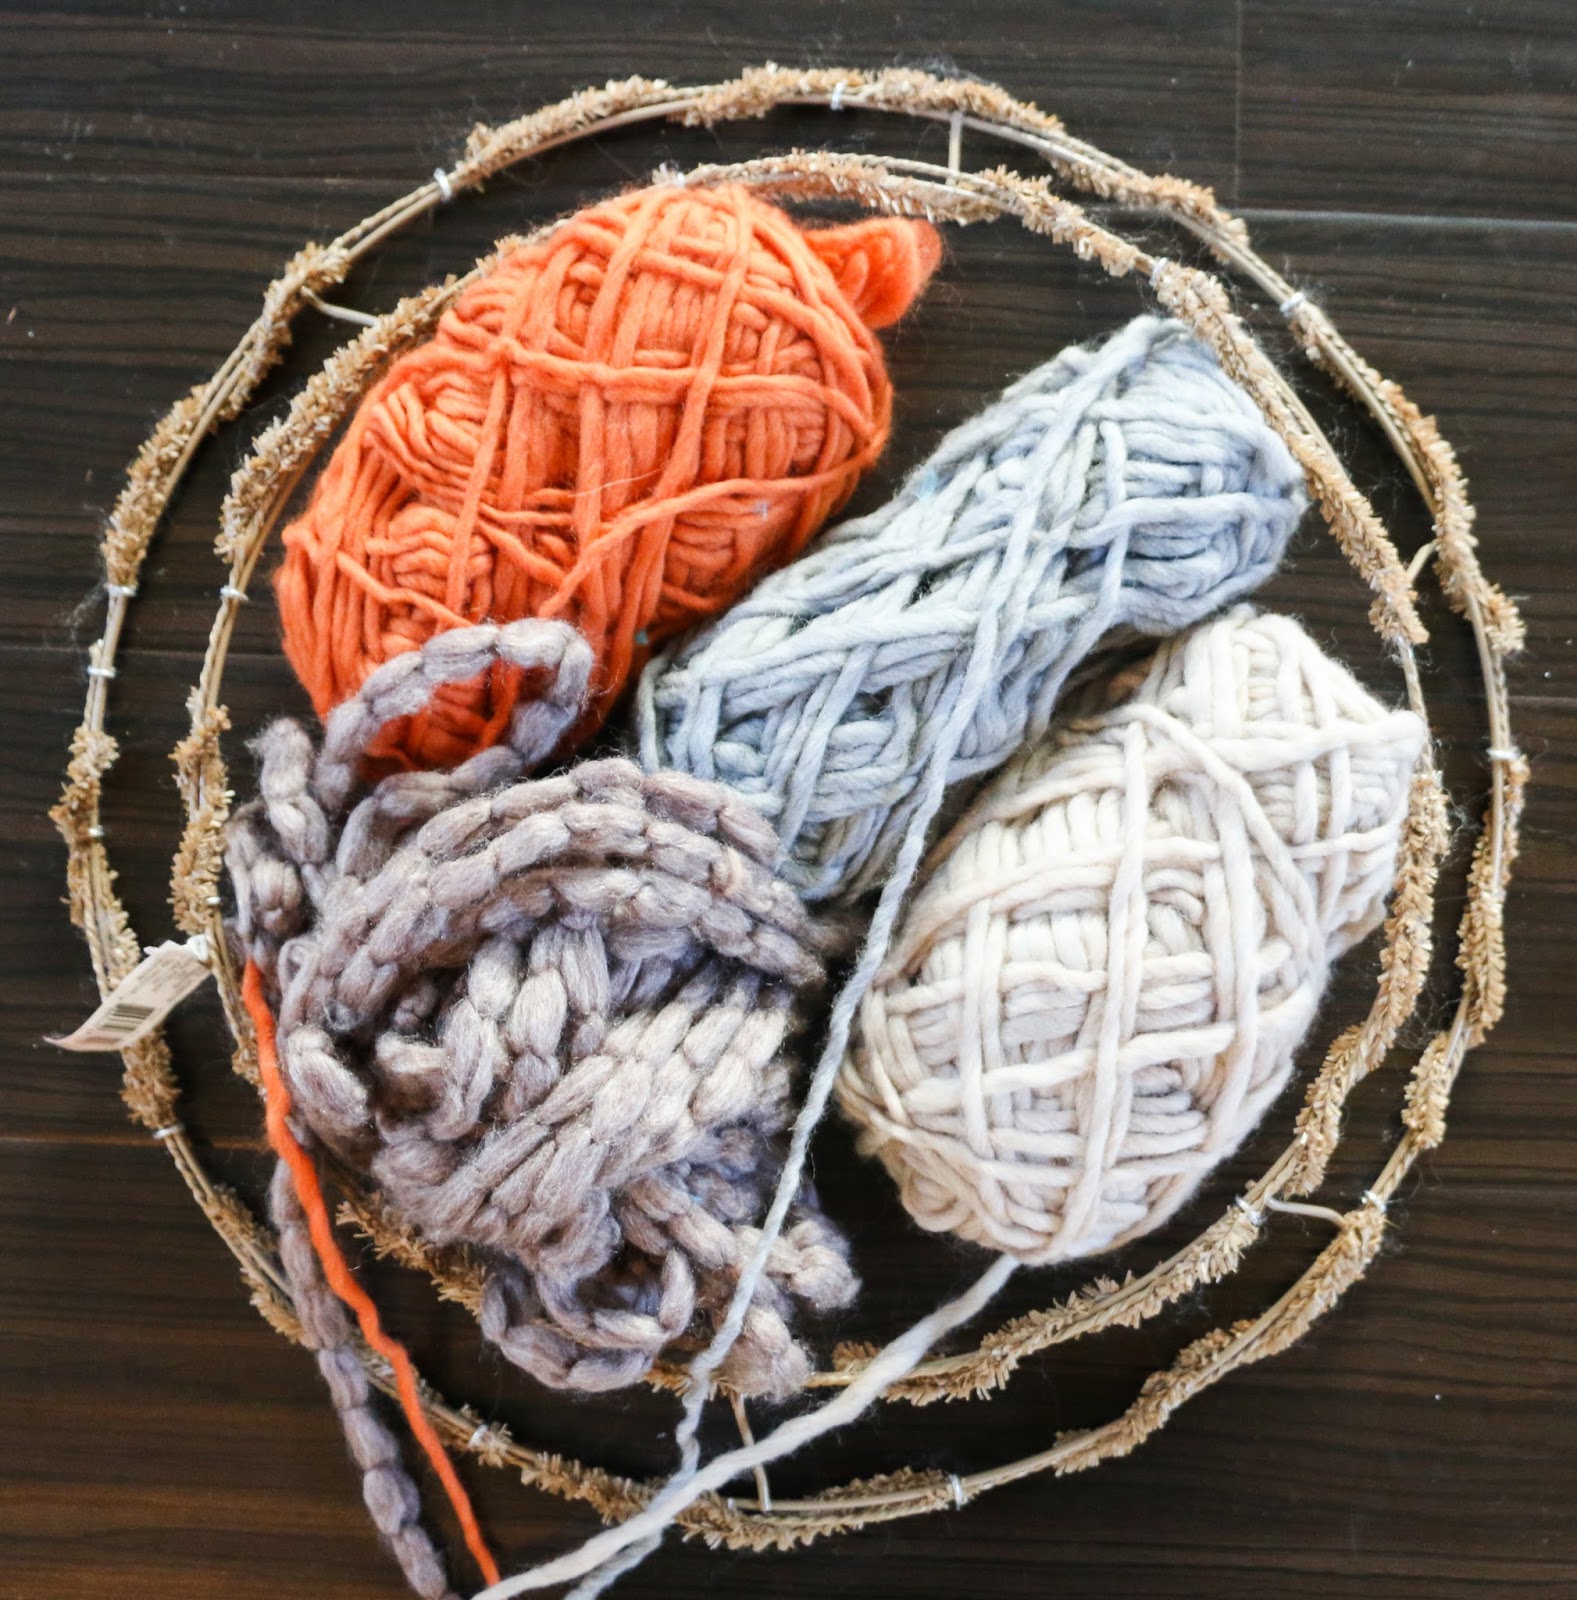
- A wire wreath frame with wire pipe cleaner pieces on it like you see above. I got this frame at Michaels craft store, but I am sure that every craft store will have one that will work. The metal pipe cleaner like pieces on the frame help to hold the yarn in place when you to attach the knitted piece.
- 33 yards each of at least three yarns (I used 5 in mine). You will want to make sure that two of the yarns that you use are large bulky yarns like Patons Cobbles so that your final piece is nice and thick.

- An optional add on like my “hello” sign that I picked up at Hobby Lobby.
That is it! Pretty simple so far. Now comes the arm knitting part. I took some photos of my process, but I would definitely recommend watching this video that Vicki made showing the full technique.
First you will need to get all the pieces of your yarn and create a slip knot at one end.

You will then place this loop on your arm and tighten to create your first loop. Next you will create another loop with the working end of the yarn (the long parts still attached to the skeins) and put it on your wrist like so.

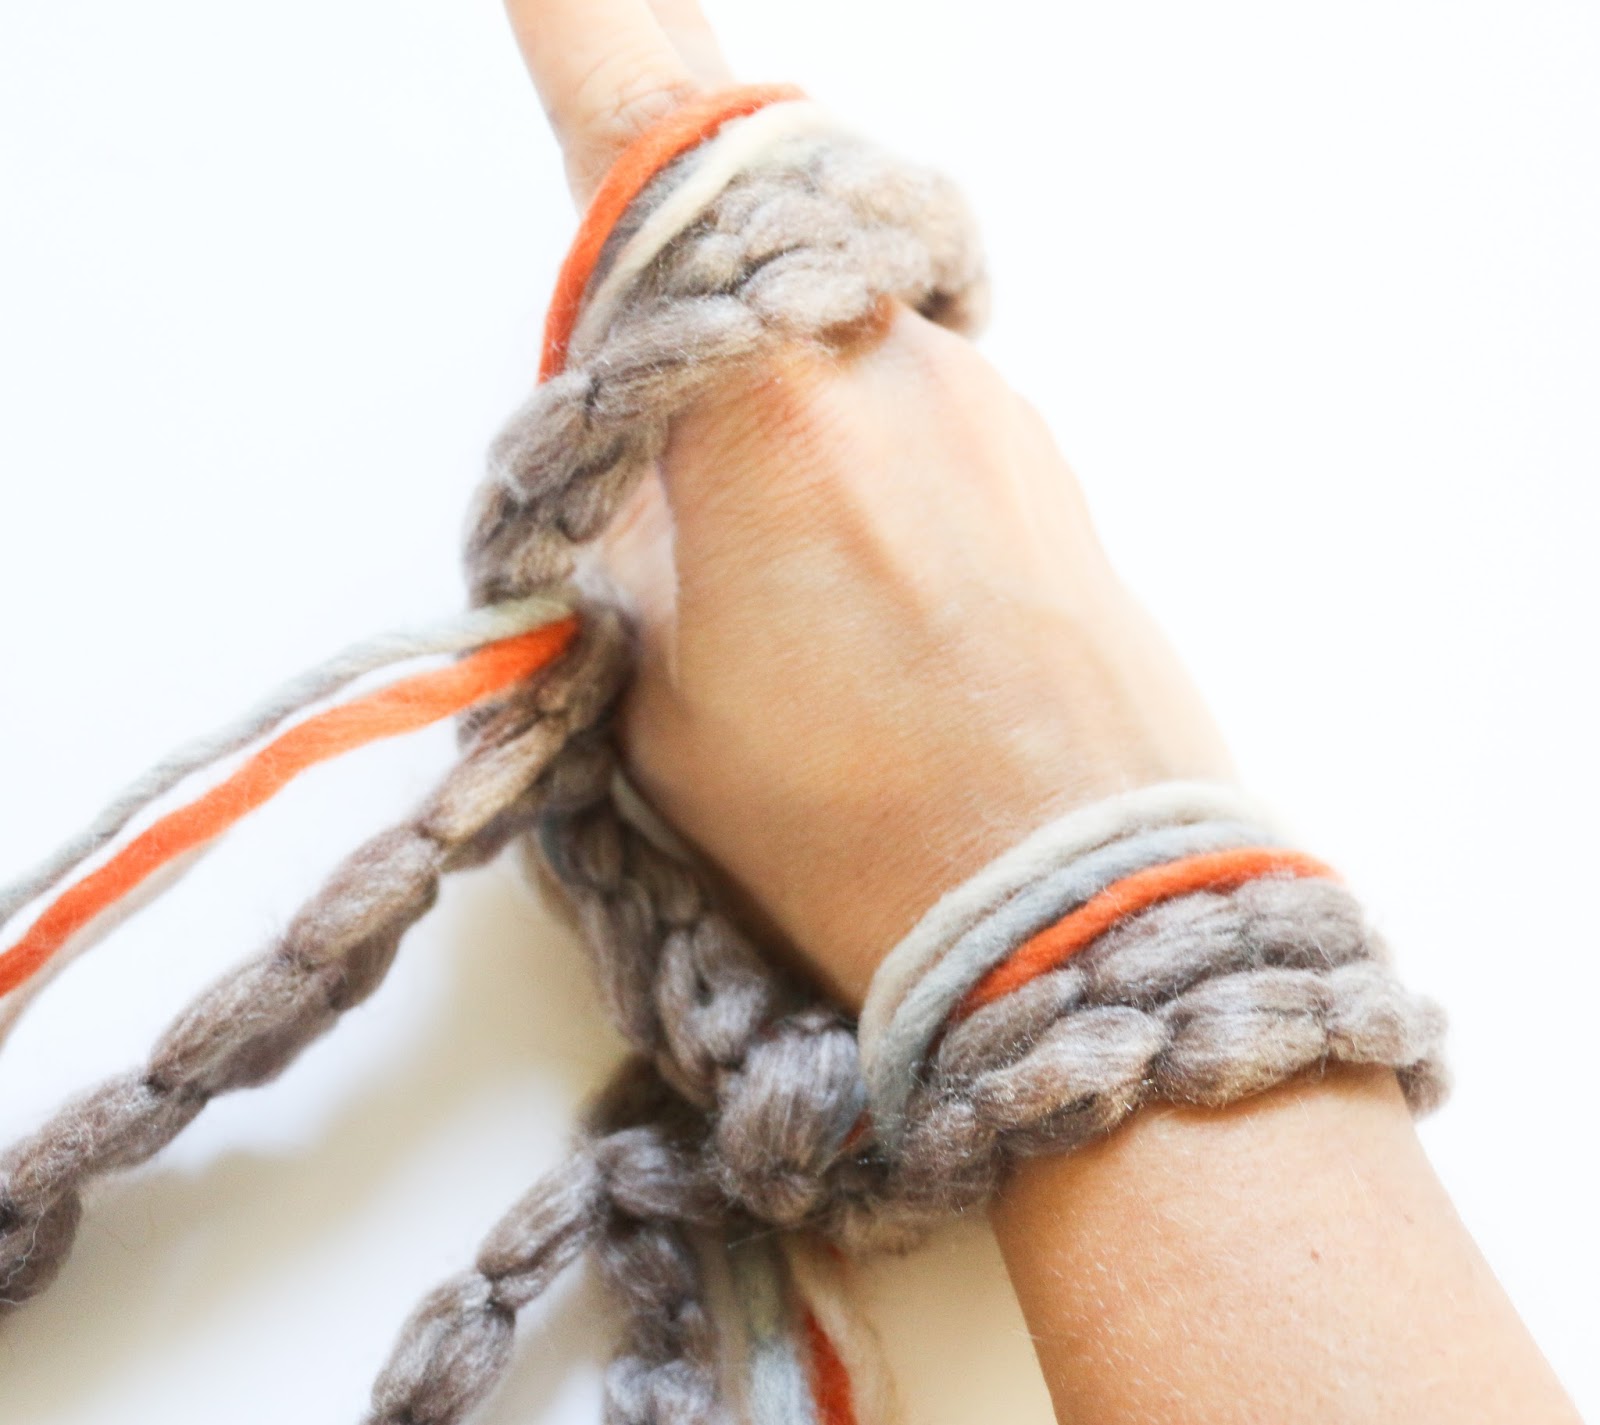
As you can see, I made the loop and then put my hand in from top to bottom. This created my second loop. For your wreath you will need to repeat the process until you have a total of 5 loops on your arm. Once you have that, it is time to start the knitting. You will first hold the working end of the yarn in the hand that you have your starting loops on and then pull the top loop off your hand and drop it thus creating a new loop from the working yarn that is in your hand. This new loop then gets put on your other wrist.
 |
| Holding the working end of the yarn in my hand. |
 |
| The new loop that was created from the first stitch. This new loop will then be placed on your opposite hand (ie. not the one shown in this photo). |
Repeat the process of holding the working yarn in your hand, pulling the next loop off of your hand and creating a new loop that goes on the opposite hand until you have worked through your entire row of 5 cast on loops. Now you will repeat the process on the other arm while putting the new loops back on your starting arm.
You will continue knitting the arm from one arm to the other until you have worked your way through all but the last yard of yarn. Then you will cast off by knitting two loops over onto one hand and pulling the back loop over the front. Then knit another loop over and again pull the back loop over the front. Continue the process until you have one loop left. You will then thread the end of the yarn through the loop and tie the beginning tail of yarn to the end tail to create a circular knitted piece.
Hopefully the pictures help with the process, but please watch the video for more help and a better visual of the process. I promise it really isn’t that complicated, but it may take a try or two if you are not familiar with knitting. The great thing about knitting is that it is just loops and therefore very easy to undo and start over if you need to.
Once you have your knitted circle. It will look a little something like this.
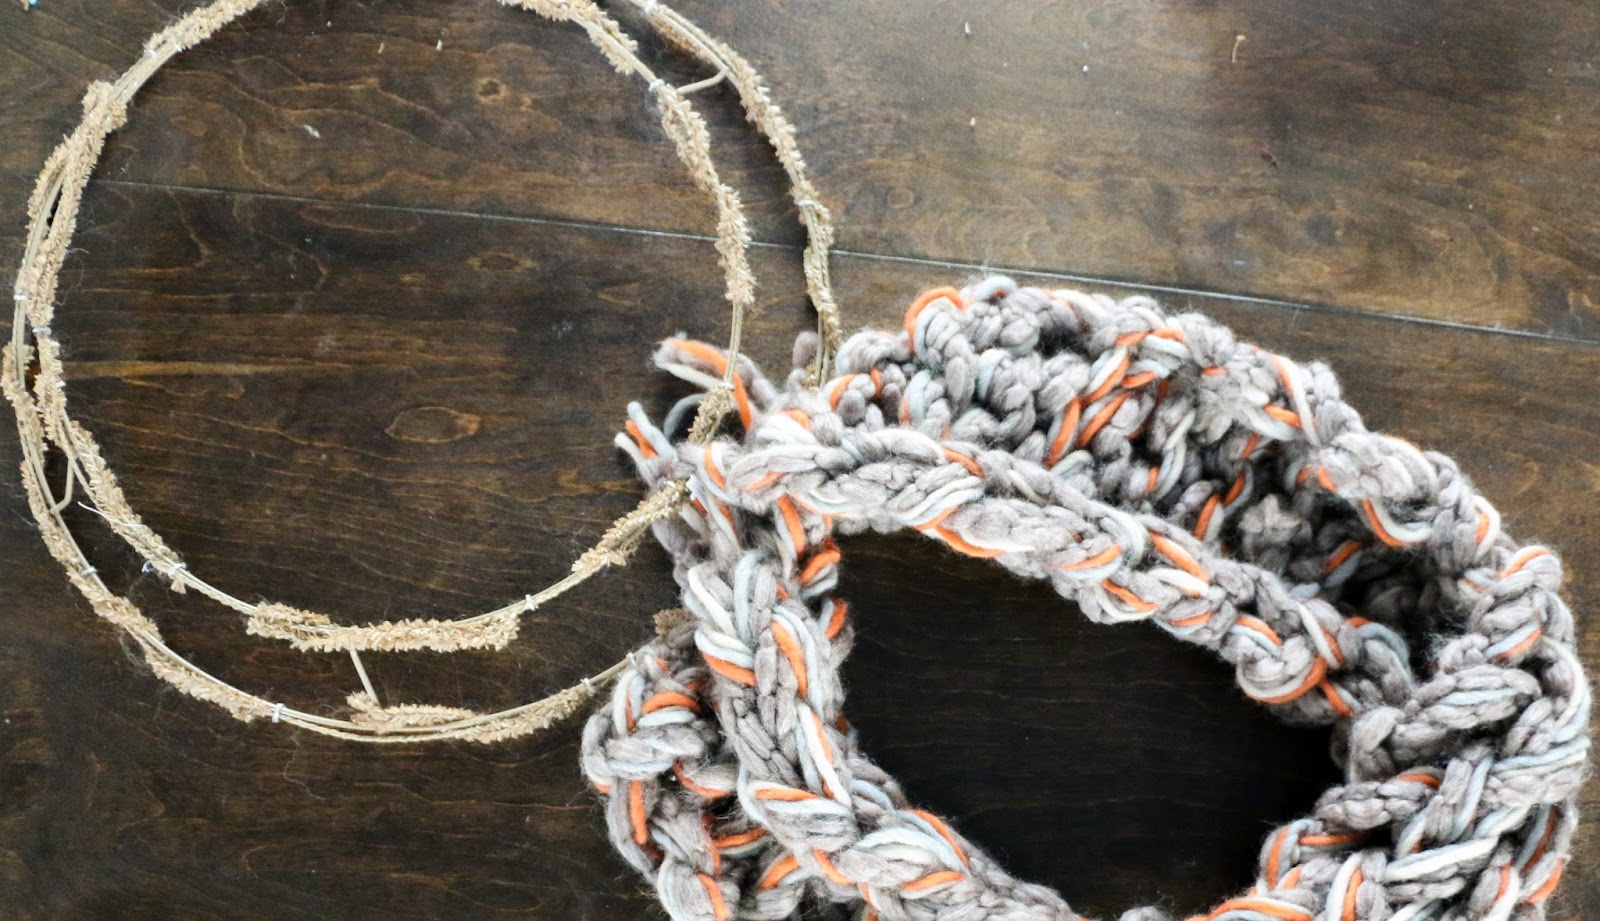
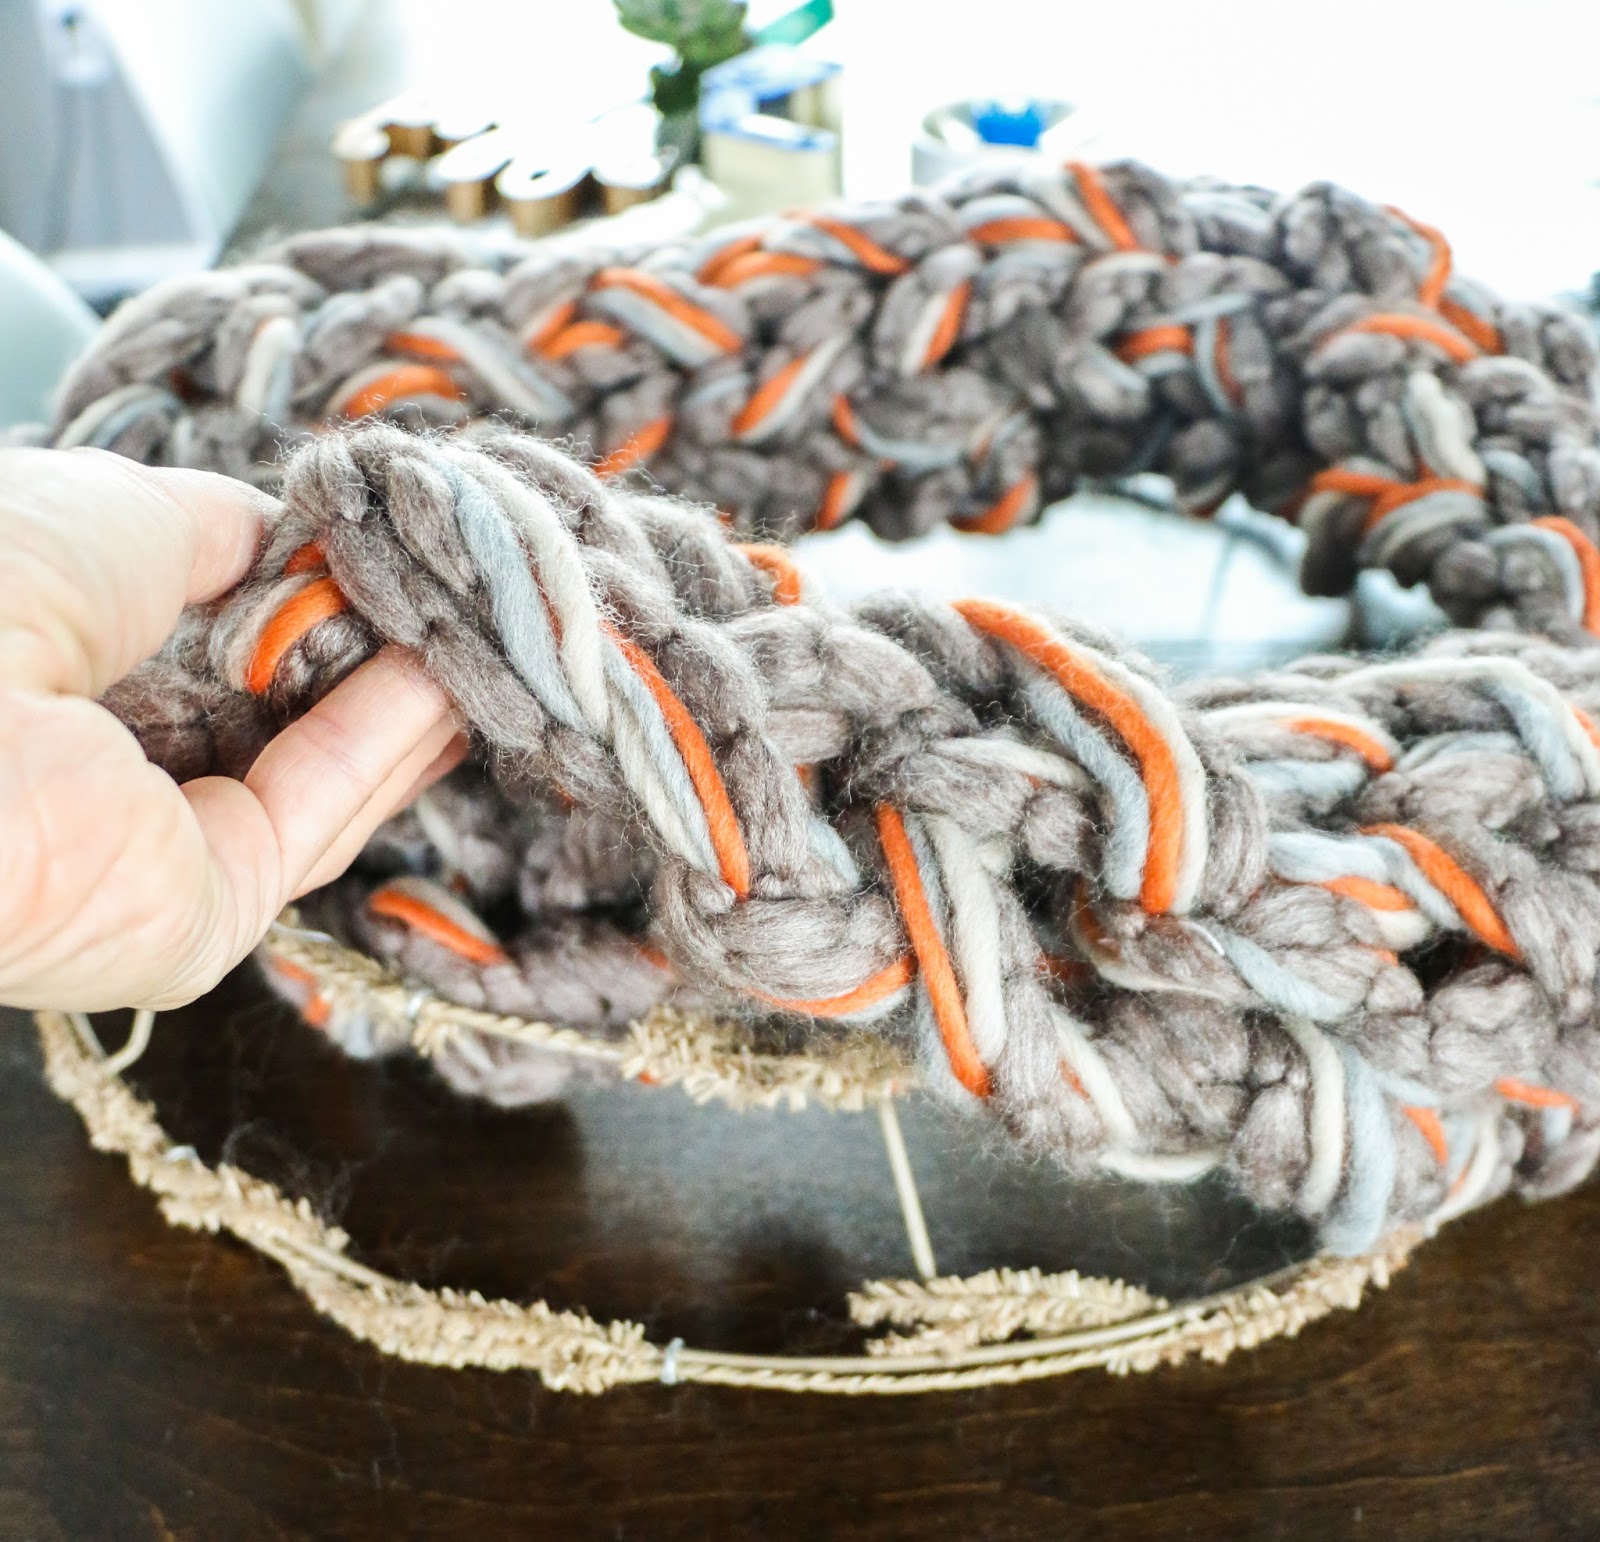
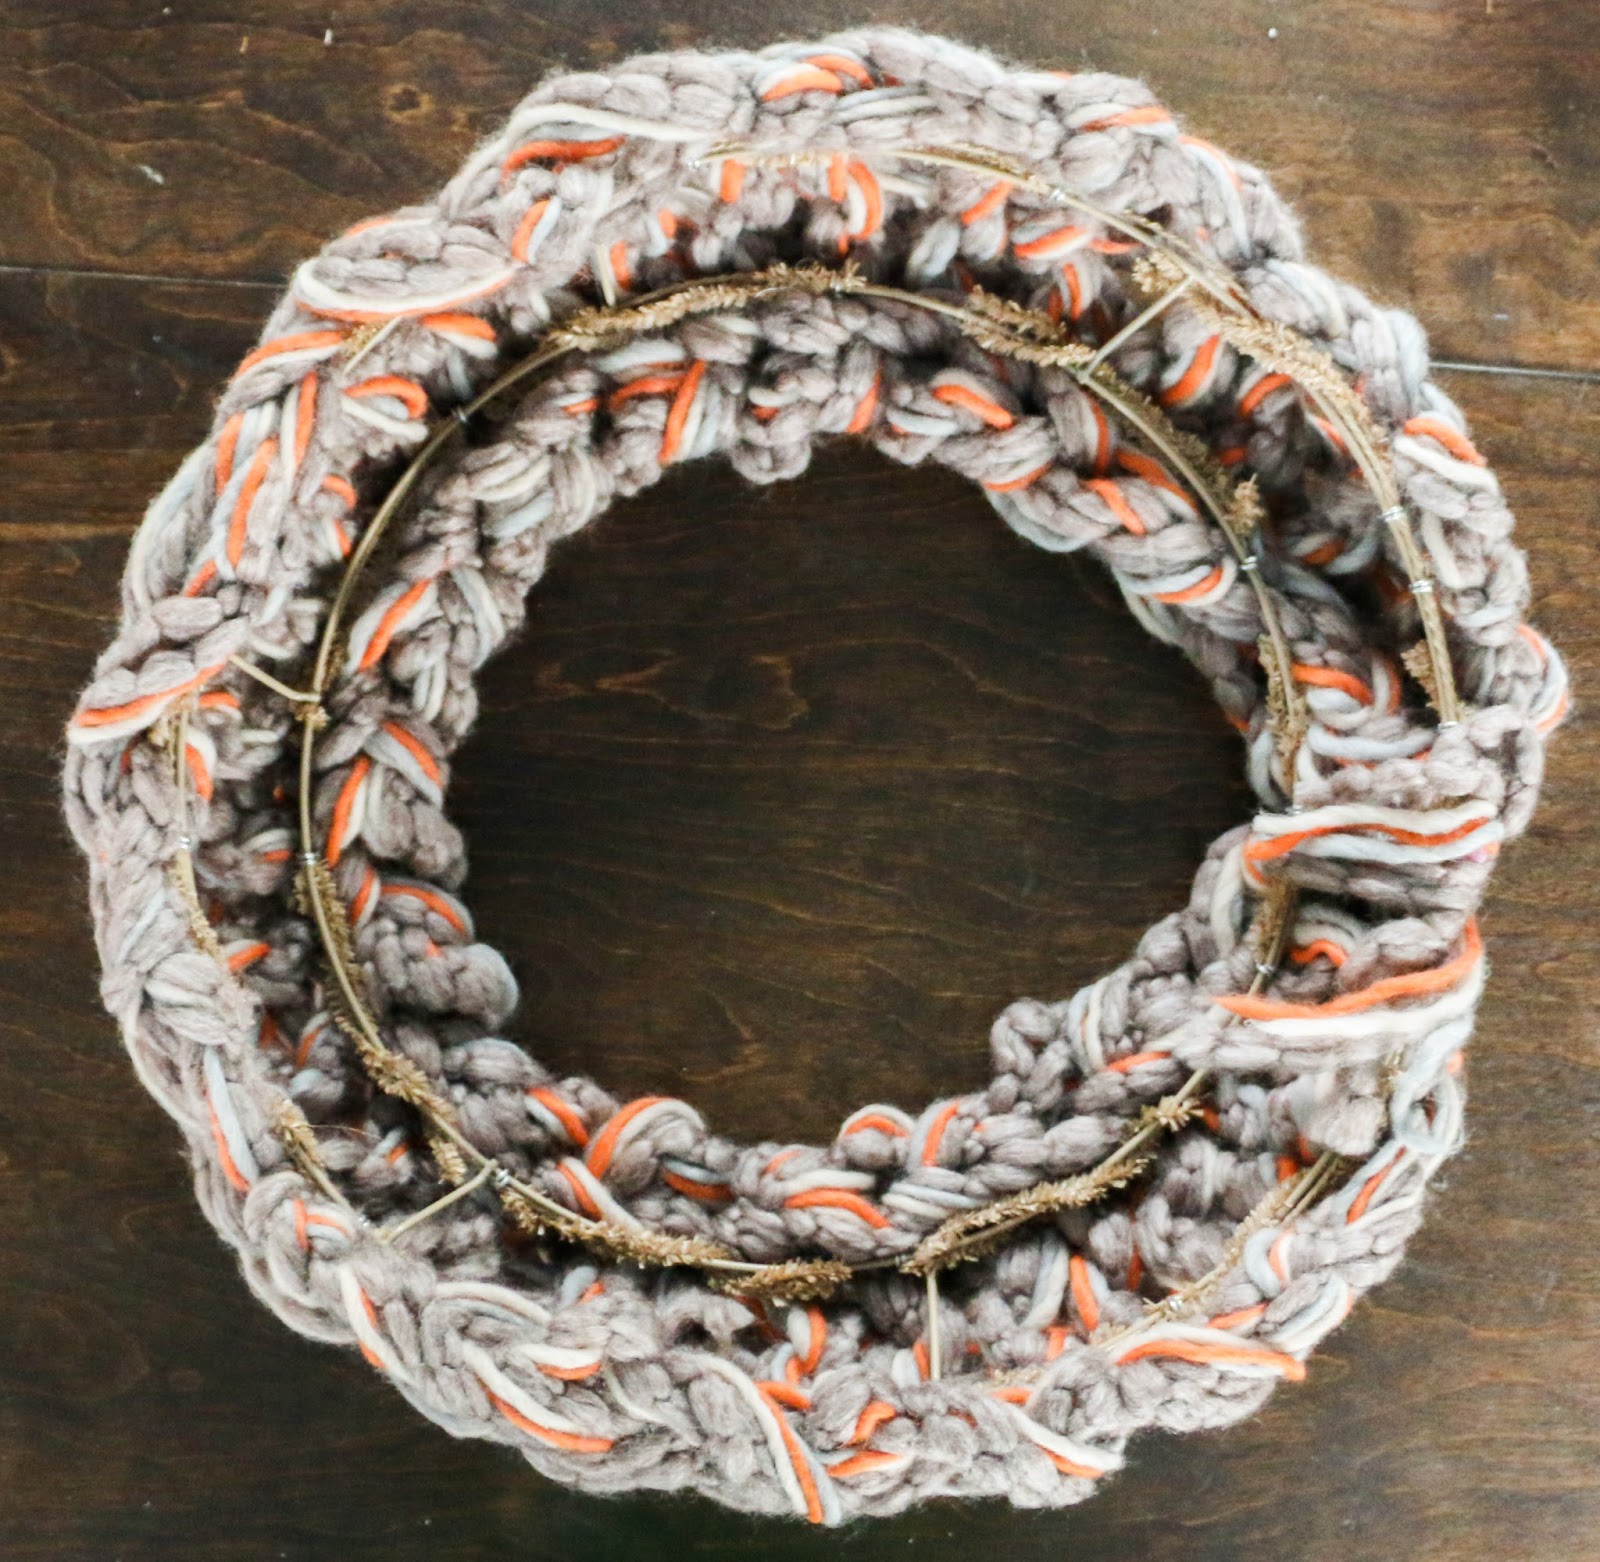
You will then take your knitted piece an place it on top of the wreath frame. I didn’t have to do much to work it around the frame and the little pipe cleaner pieces worked to hold the yarn in place around the frame.
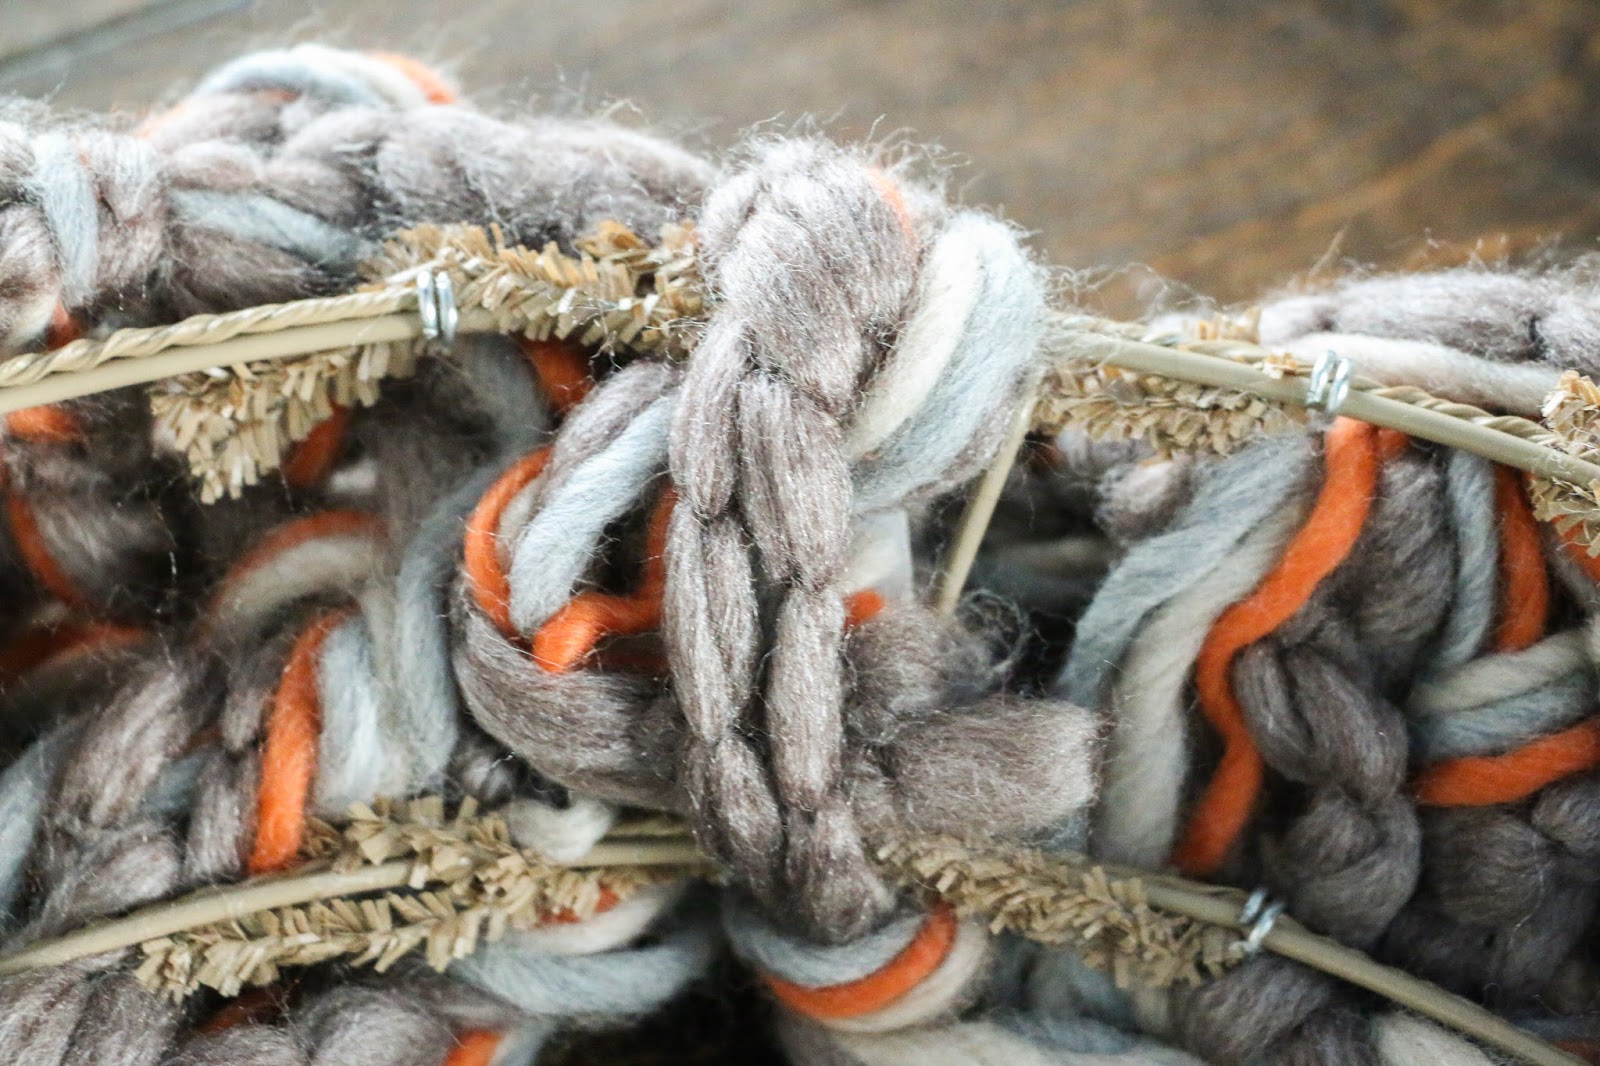
A view from the back of the wreath. You can see how I tucked the tail pieces of yarn up behind the wreath and through the frame.
Now that you have your knitted wreath, feel free to add any embellishments that you wish. Faux succulents, gilded leaves, or even a gold hello sign like me. I used fishing line to attach my wood sign so that I could remove it and change it without damaging the wreath, but you can also use hot glue or wire to attach any embellishments.

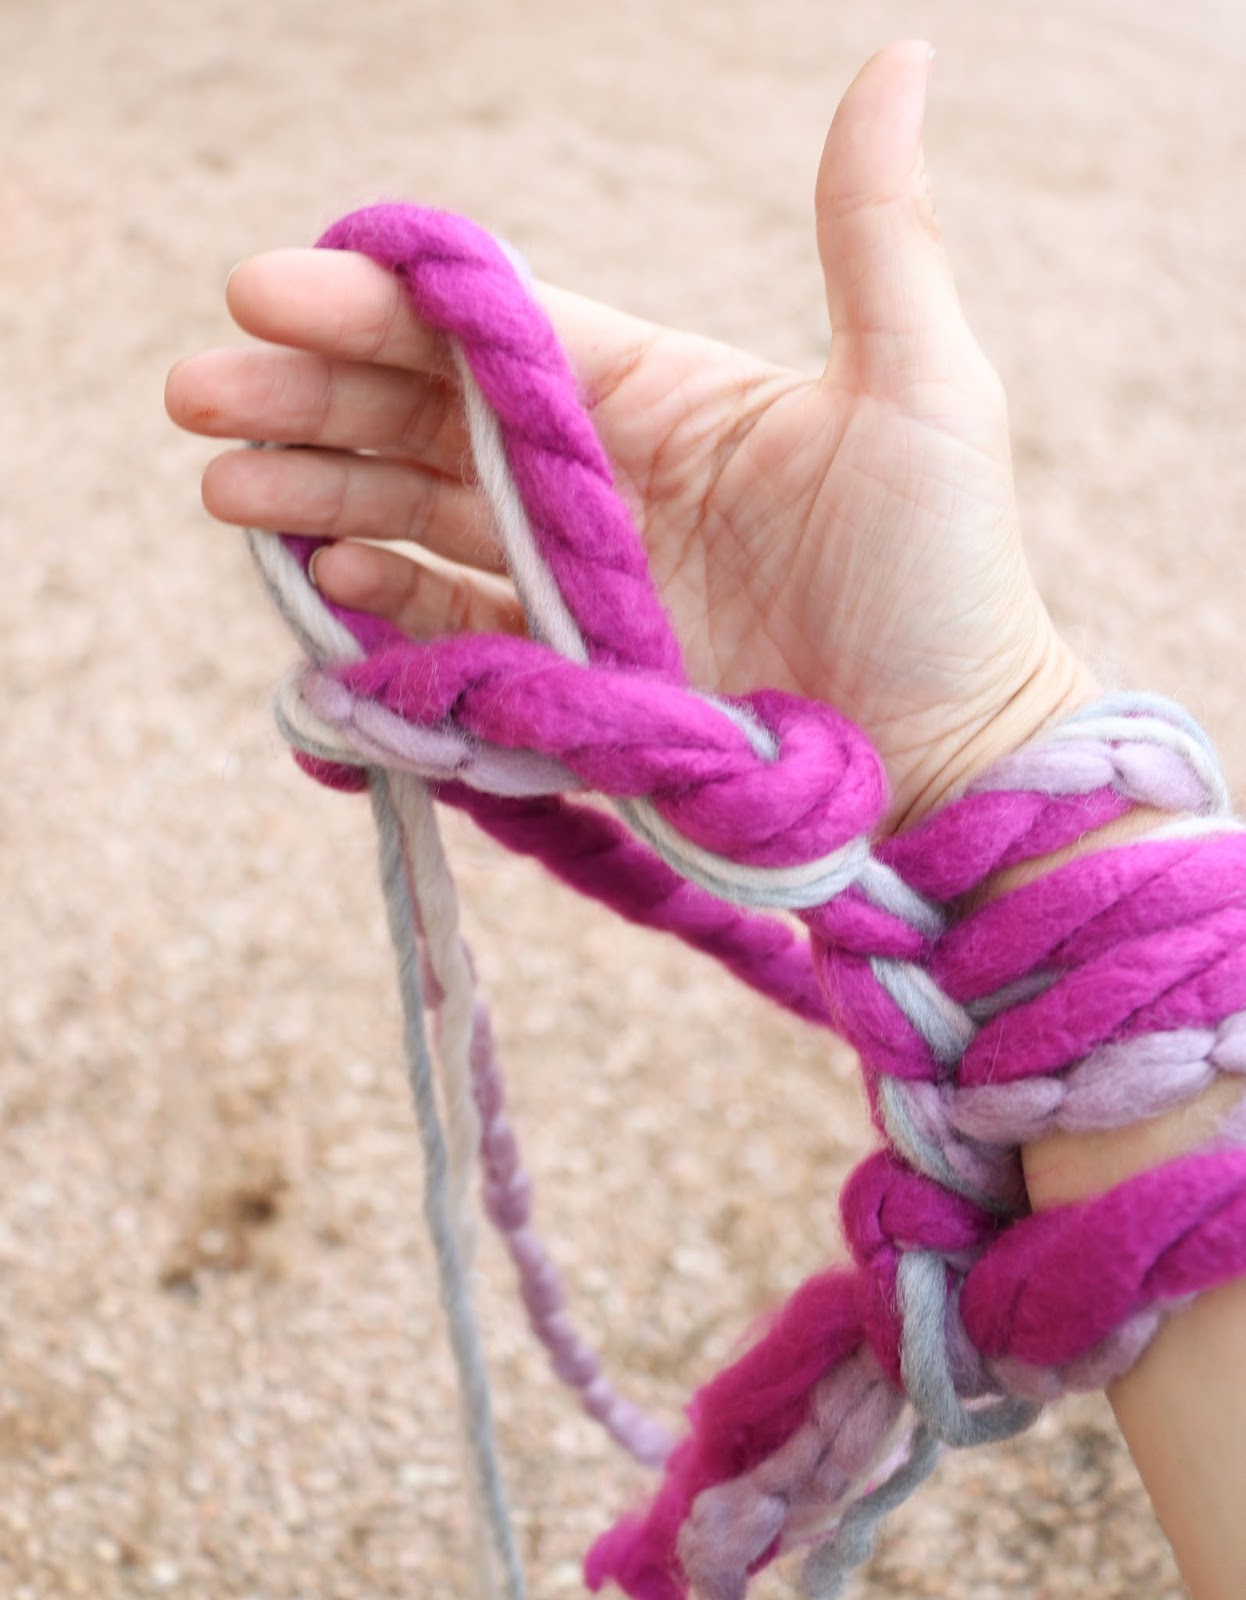
I love my knitted wreath and was surprised that the whole process took only about 30 minutes. And as you can see from the instruction photos, I already started to work on a purple and magenta arm knitted piece. Although that one is just for me to wear!
So, what do you think? Are you willing to give it a try? I hope you do, but beware, you might find your self addicted to arm knitting like me! I wonder how many skeins I would need to make a knitted throw…..


September 21st, 2018 at 5:16 am
Wow