


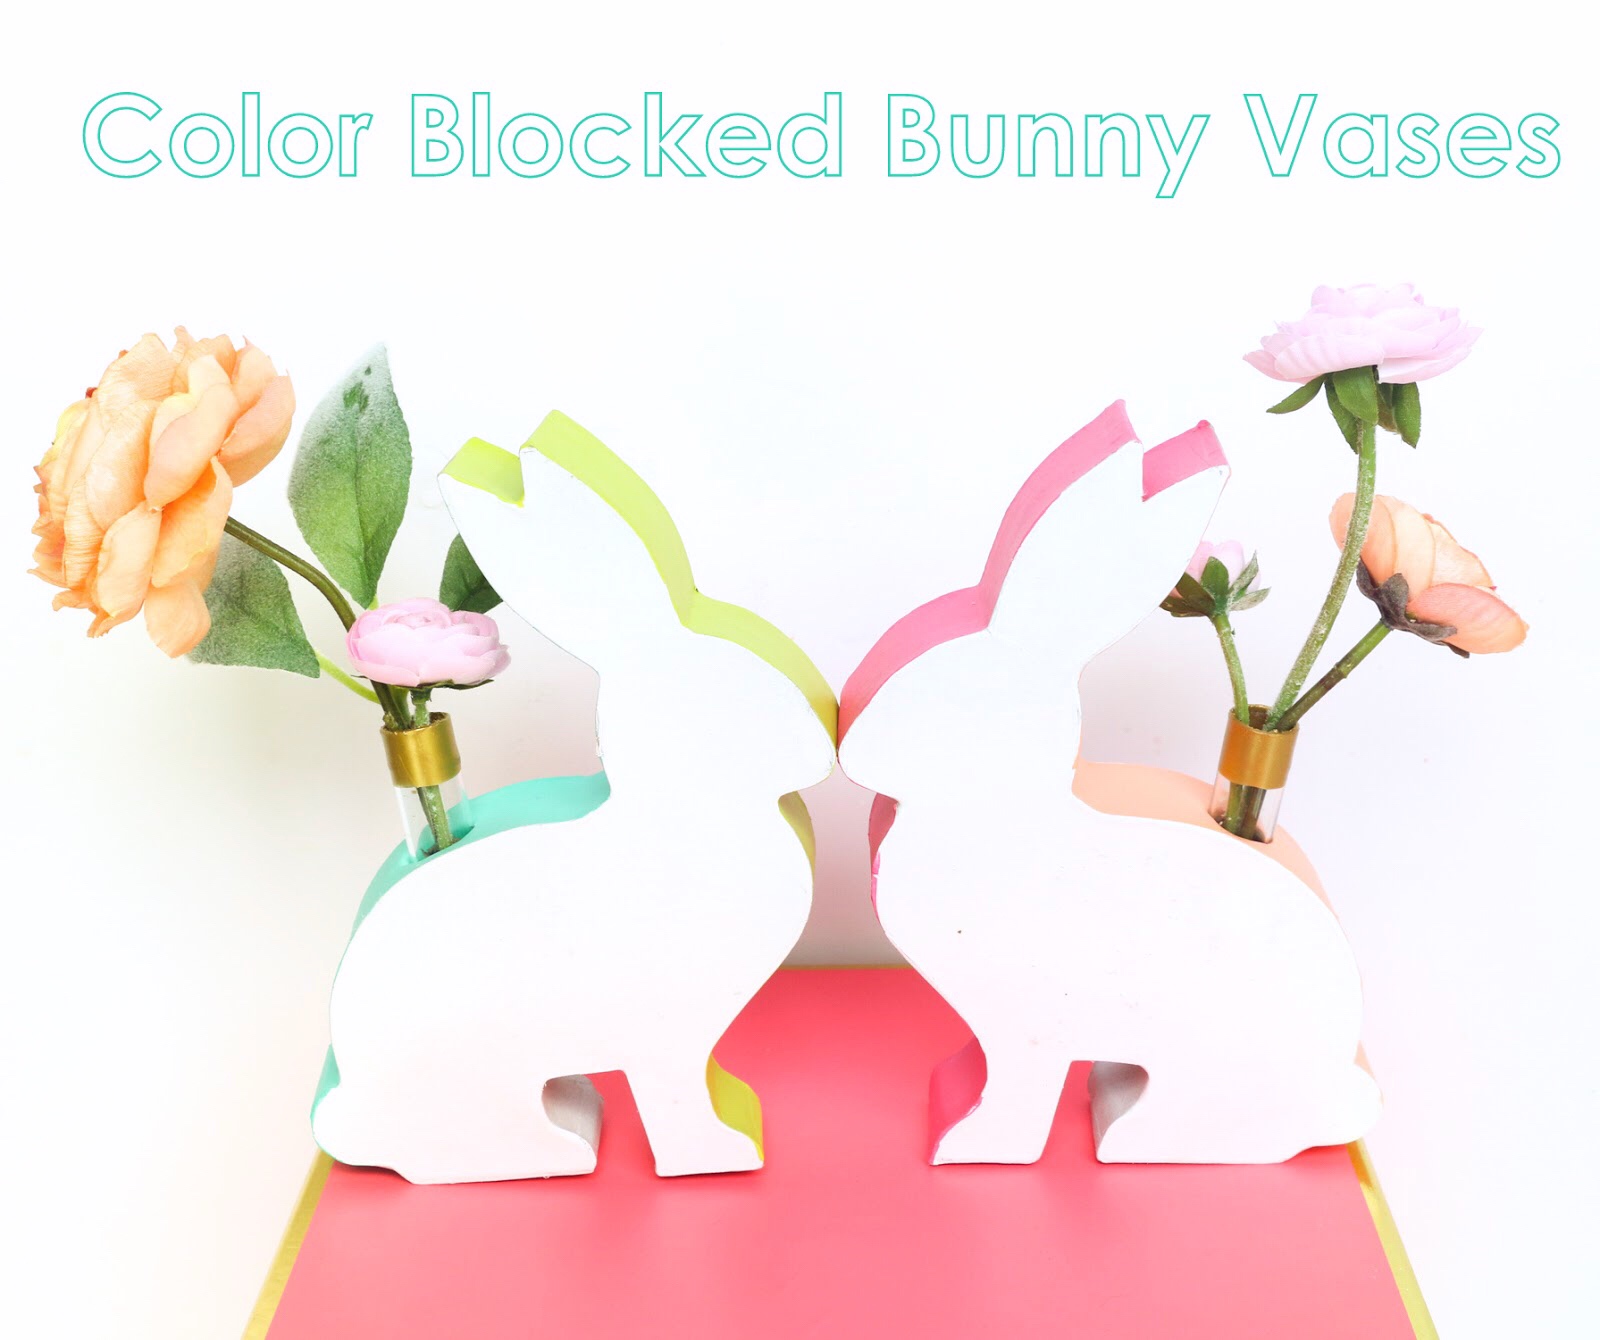

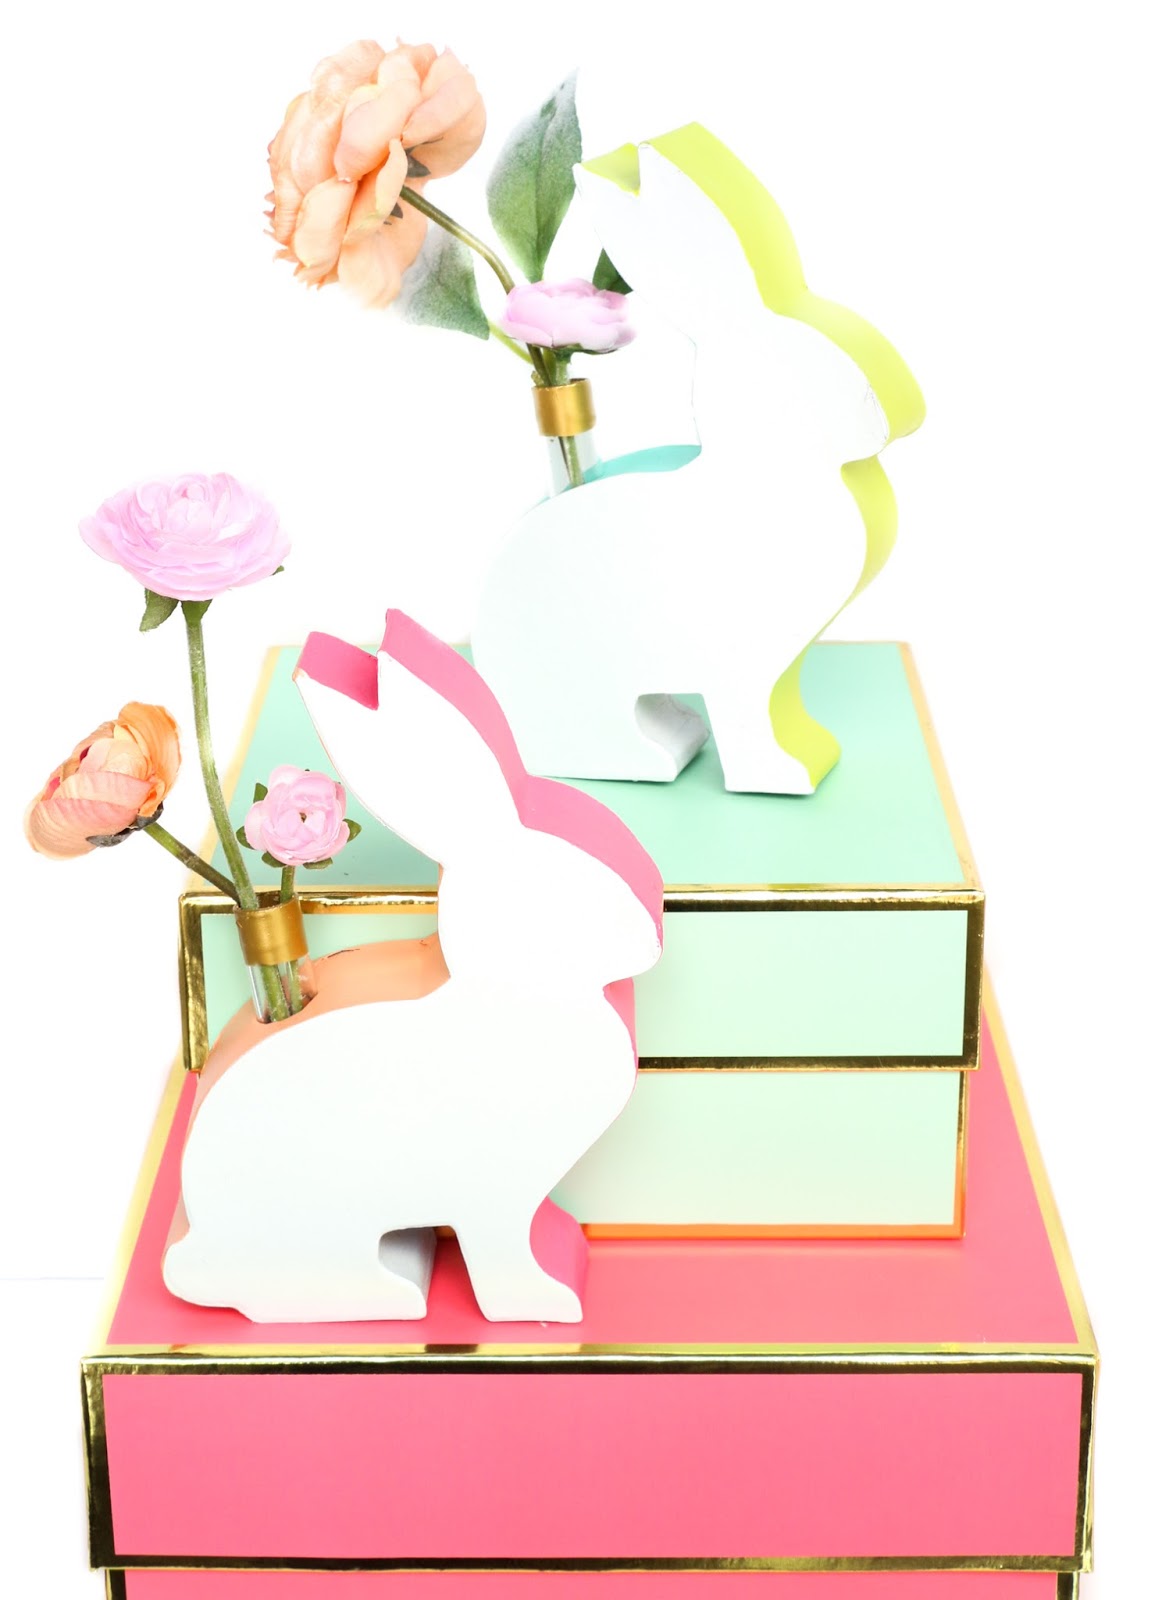
I love the color blocked edge of these bunnies and that little gold dipped test tube makes these vases perfect for both real or fake flowers. Follow along below for the full tutorial.
- 2 Cardboard bunnies from the craft store
- White gloss spray paint
- Acrylic craft paint in several colors (I used hot pink and peach for one and granny smith and turquoise for the other bunny)
- PPlastic test tubes
- Gold acrylic craft paint
- X-acto knife, copper pipe cutter, and paint brush
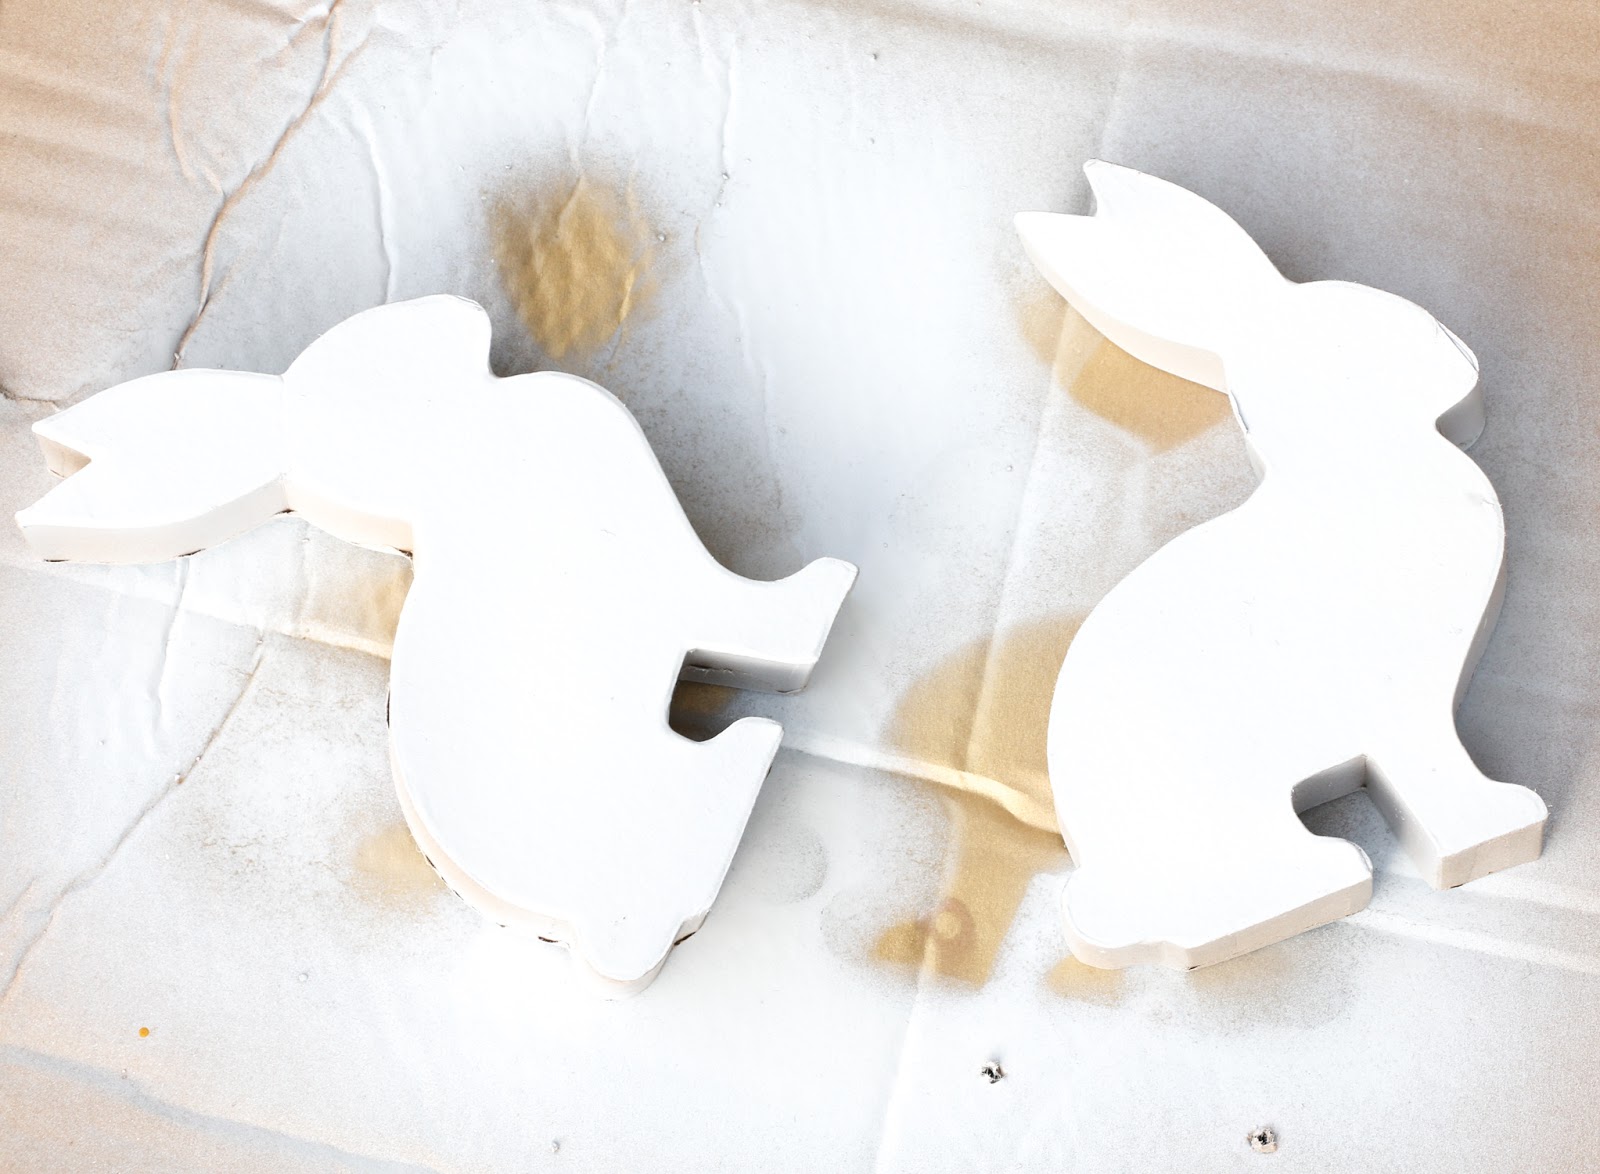
Begin by spray painting the cardboard bunnies white. You will need to spray paint both flat sides, but don’t worry about the edges.

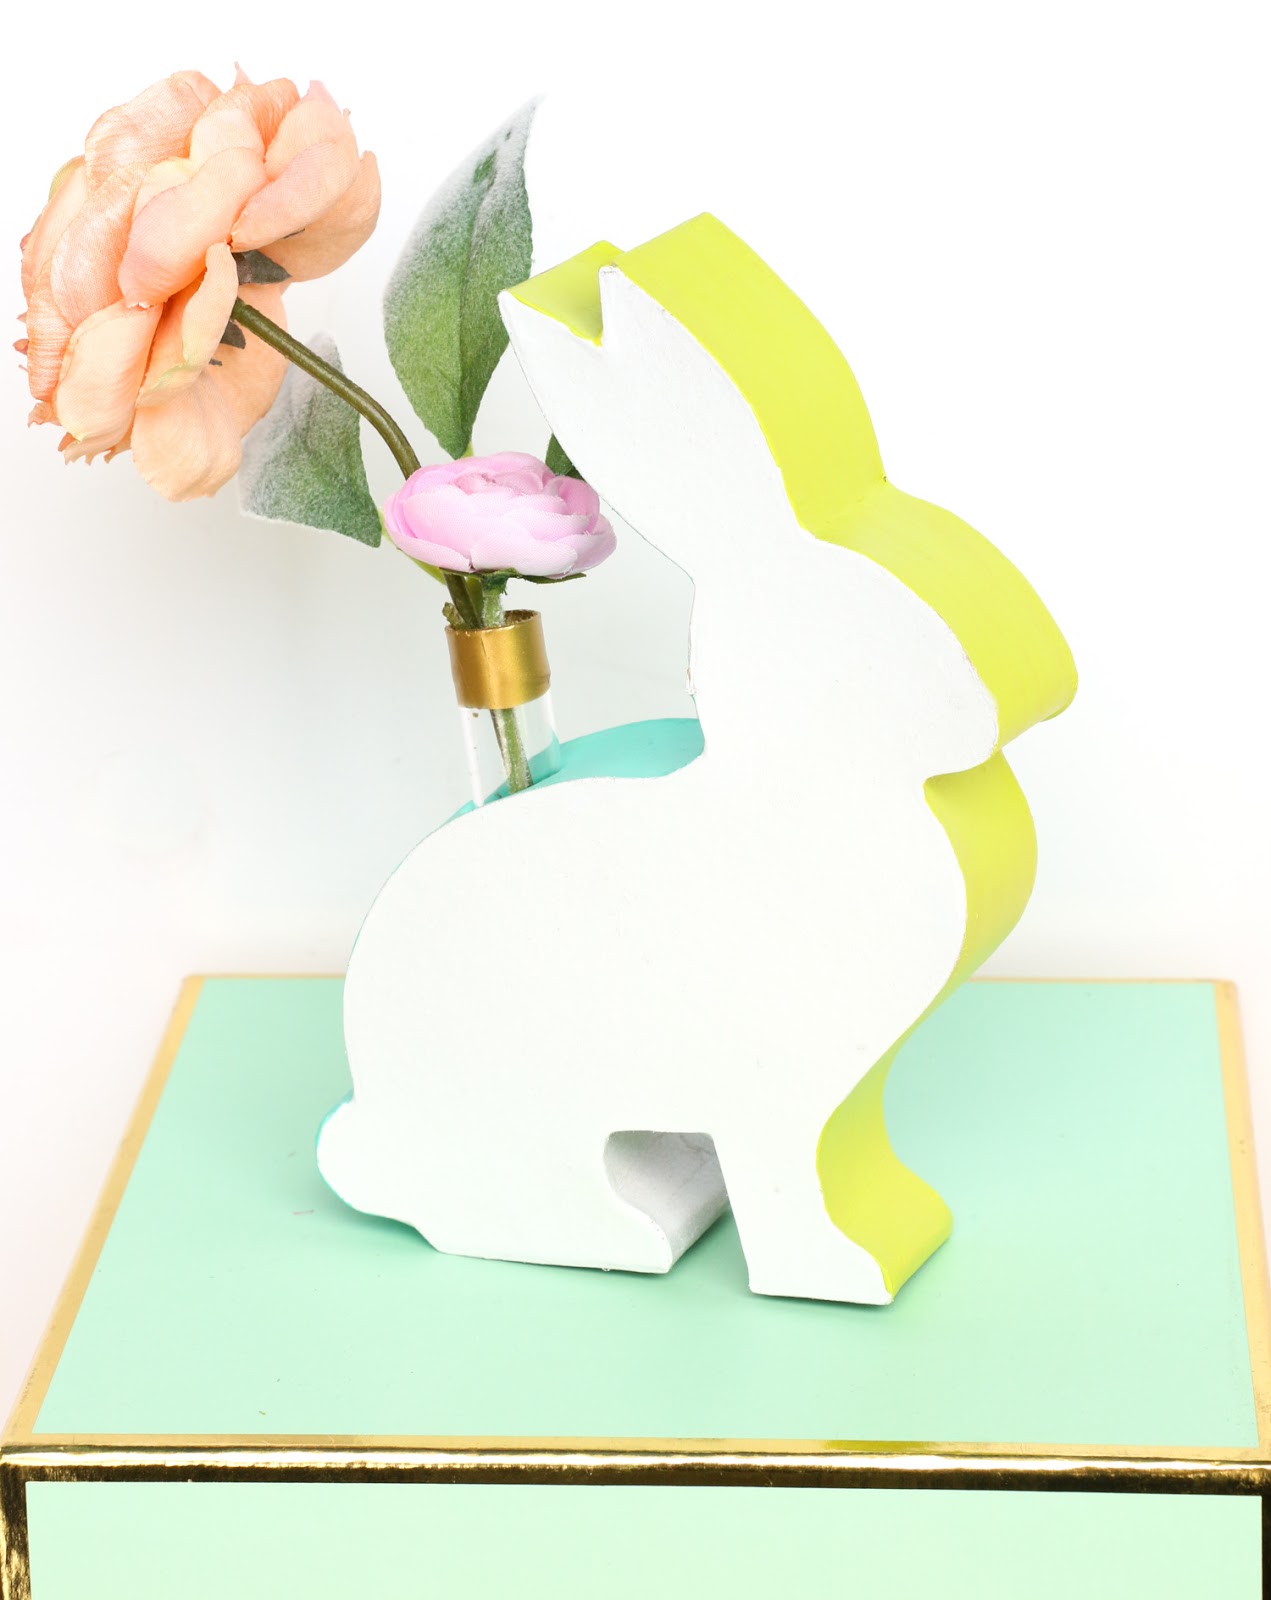
Once your spray paint is dry, use your two different acrylic craft paints to paint each bunny. I painted the back one color and the front another. Originally I was going to do just one color and have them as table or mantel decorations, but this is where my plan started to change. I couldn’t decide on just one color, so I went with the color blocked look instead.
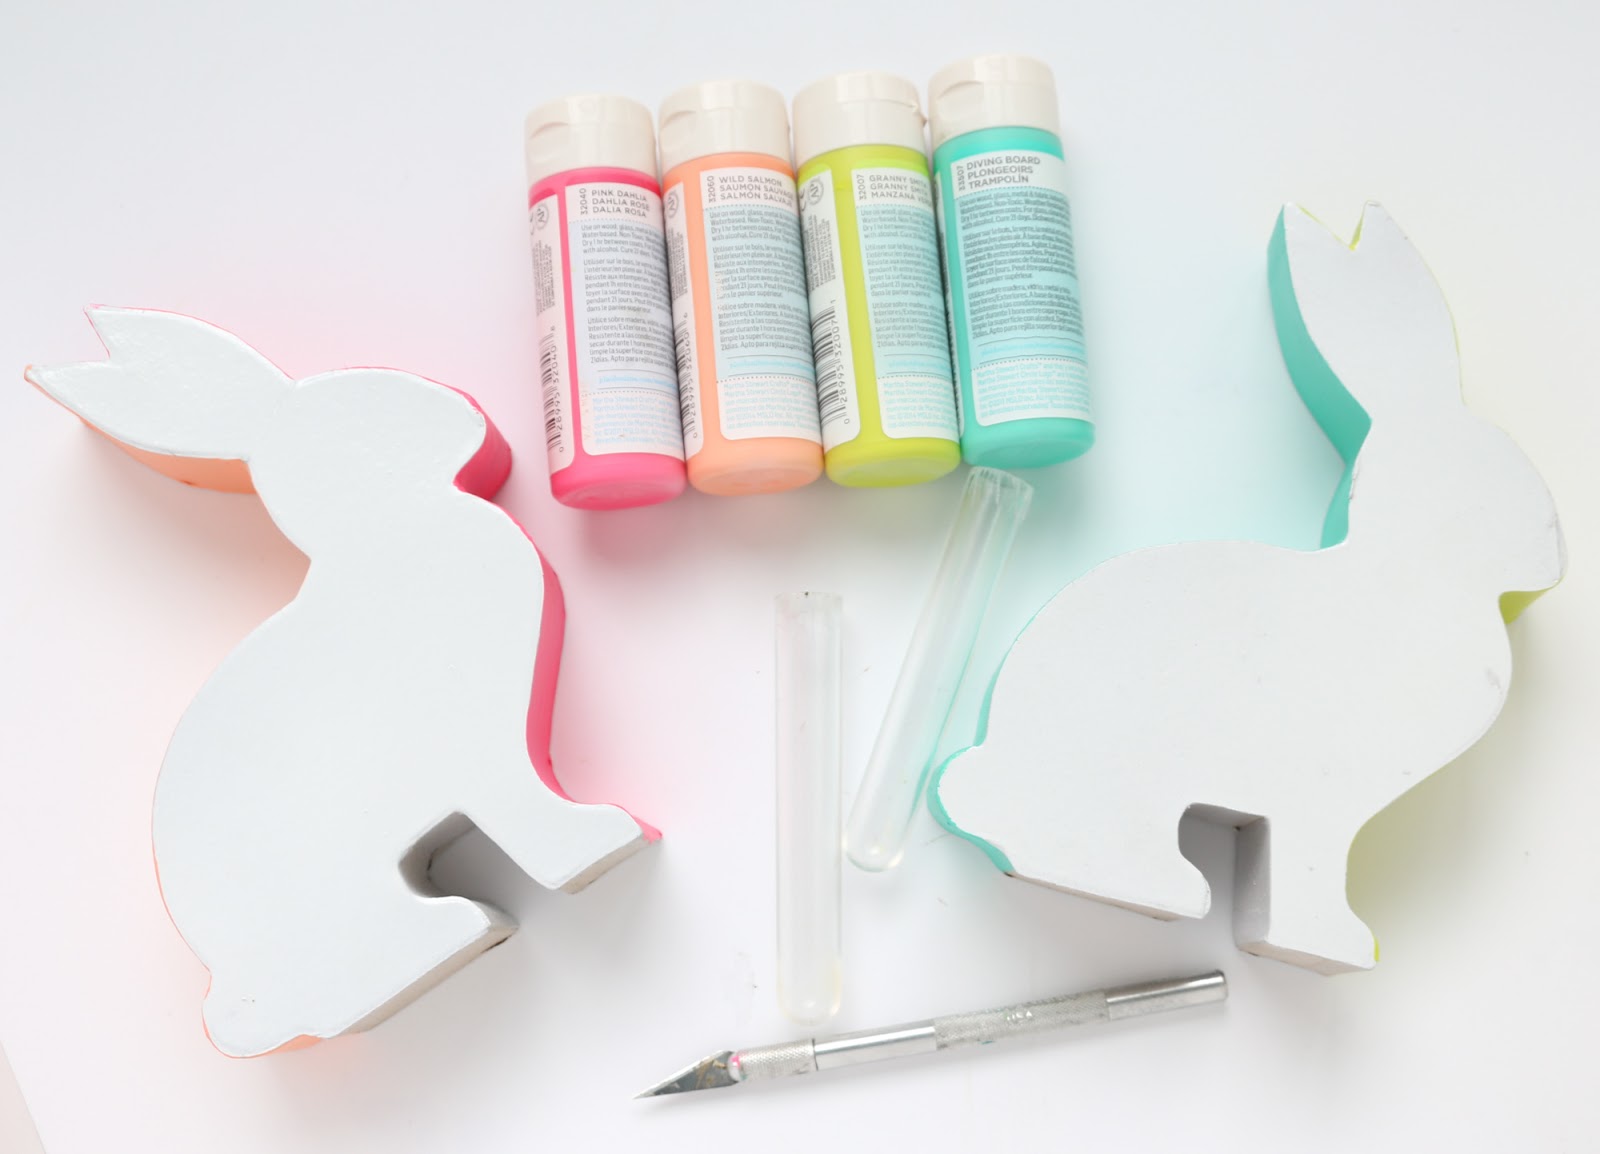
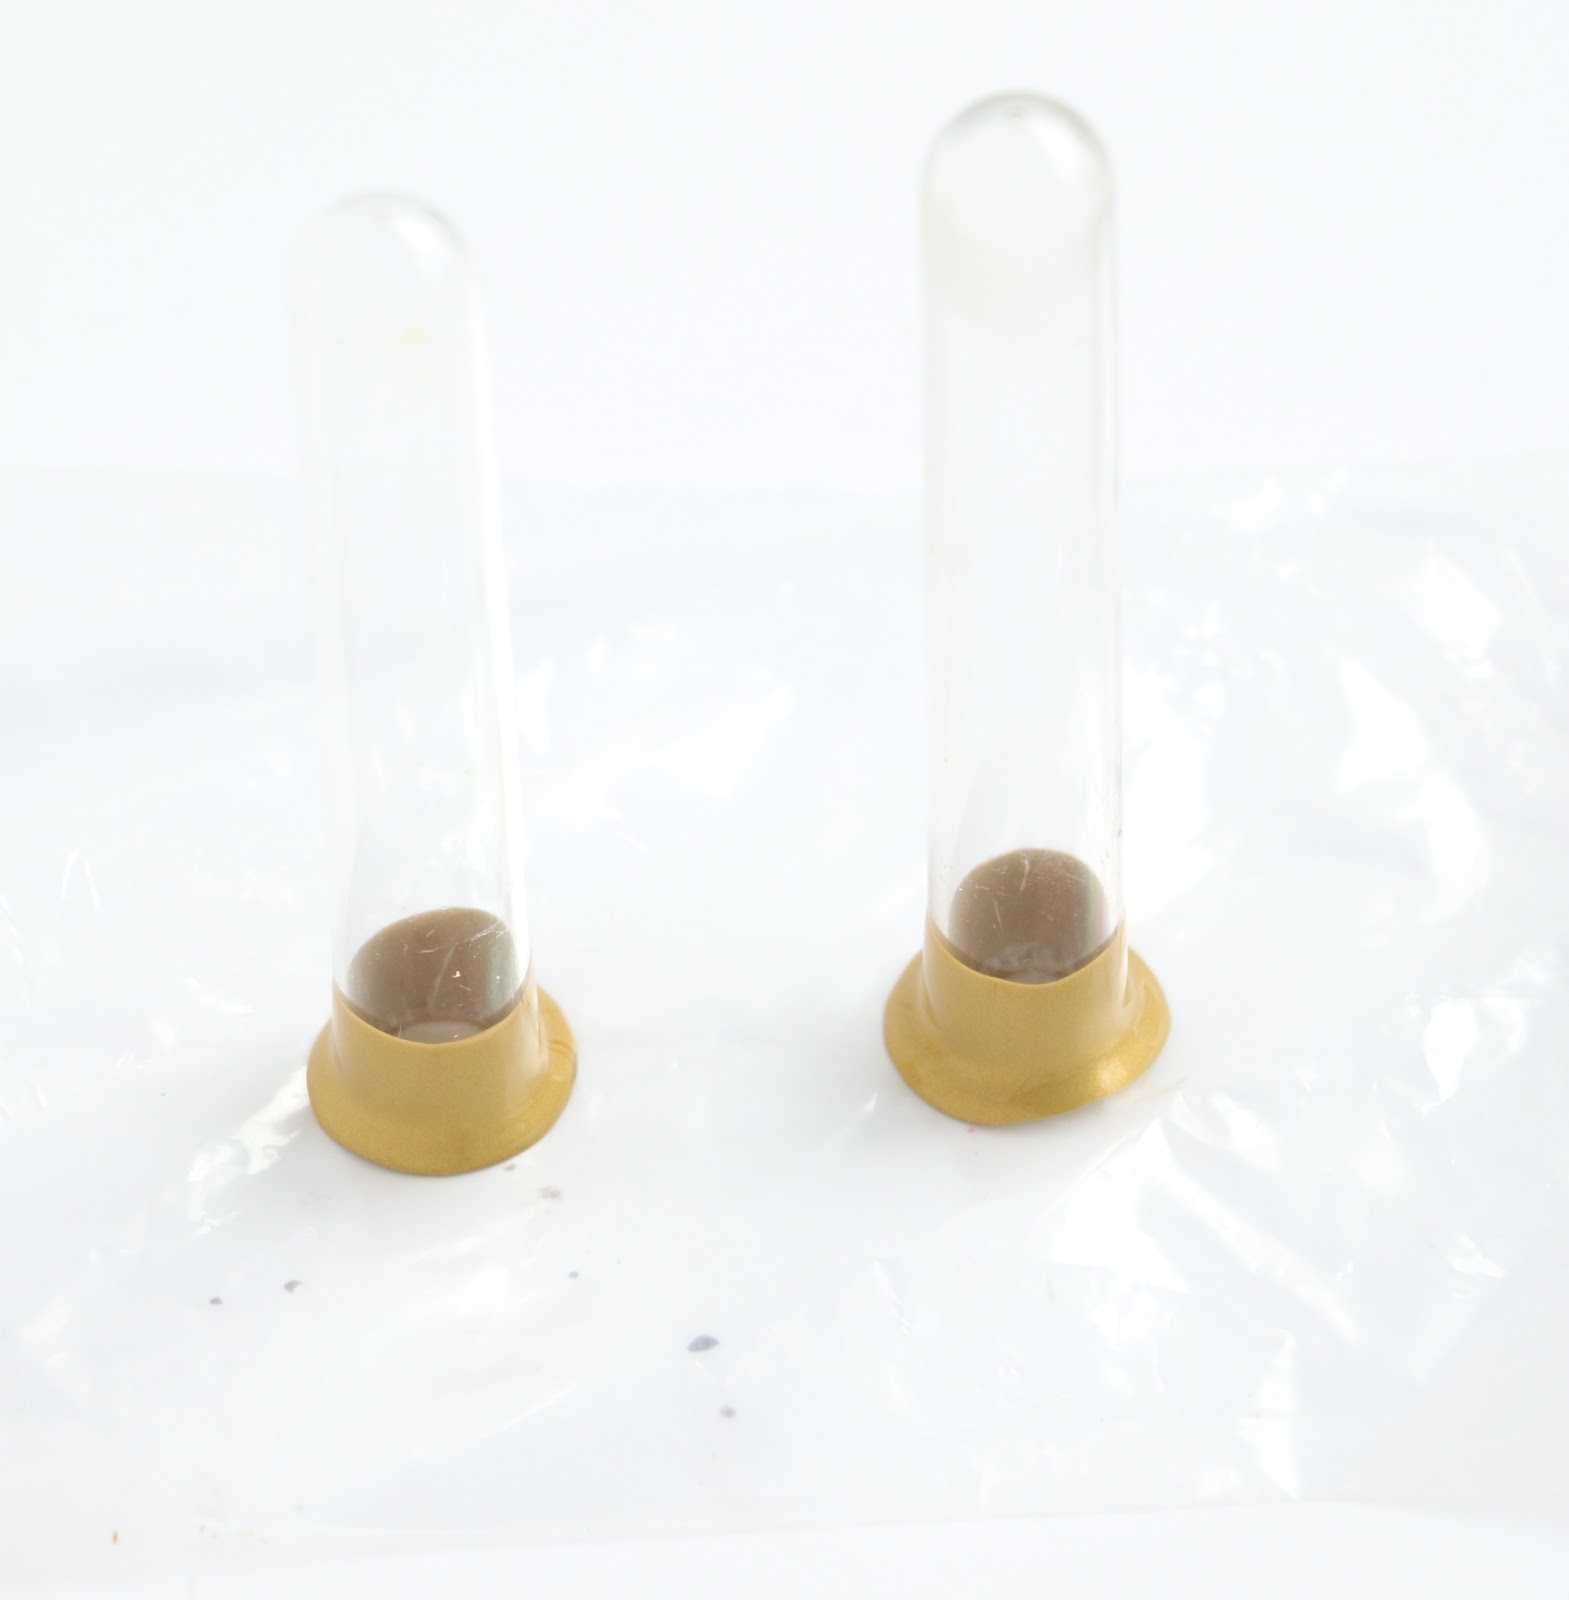
Now that your bunnies are paint up all pretty, it is time to start on the vase part of the project. The test tubes that I have were a little large for these bunnies, so I used my copper pipe cutter to cut the plastic test tubes down about 1-2″ so that only an 1″ would be visible when I inserted the tube into the bunny. The pipe cutter worked to cut the plastic, but it did crack it quite a bit. That is when I decided to dip the ends of the test tubes in gold paint to help disguise the cracked edges. It worked perfectly. So just dip the ends in the paint so that it covers any cracks and then let dry upside down on a piece of plastic. It is also perfectly fine for you to leave your test tubes fully intact and just paint the edges if you don’t want to go through the whole process of trying to cut them.
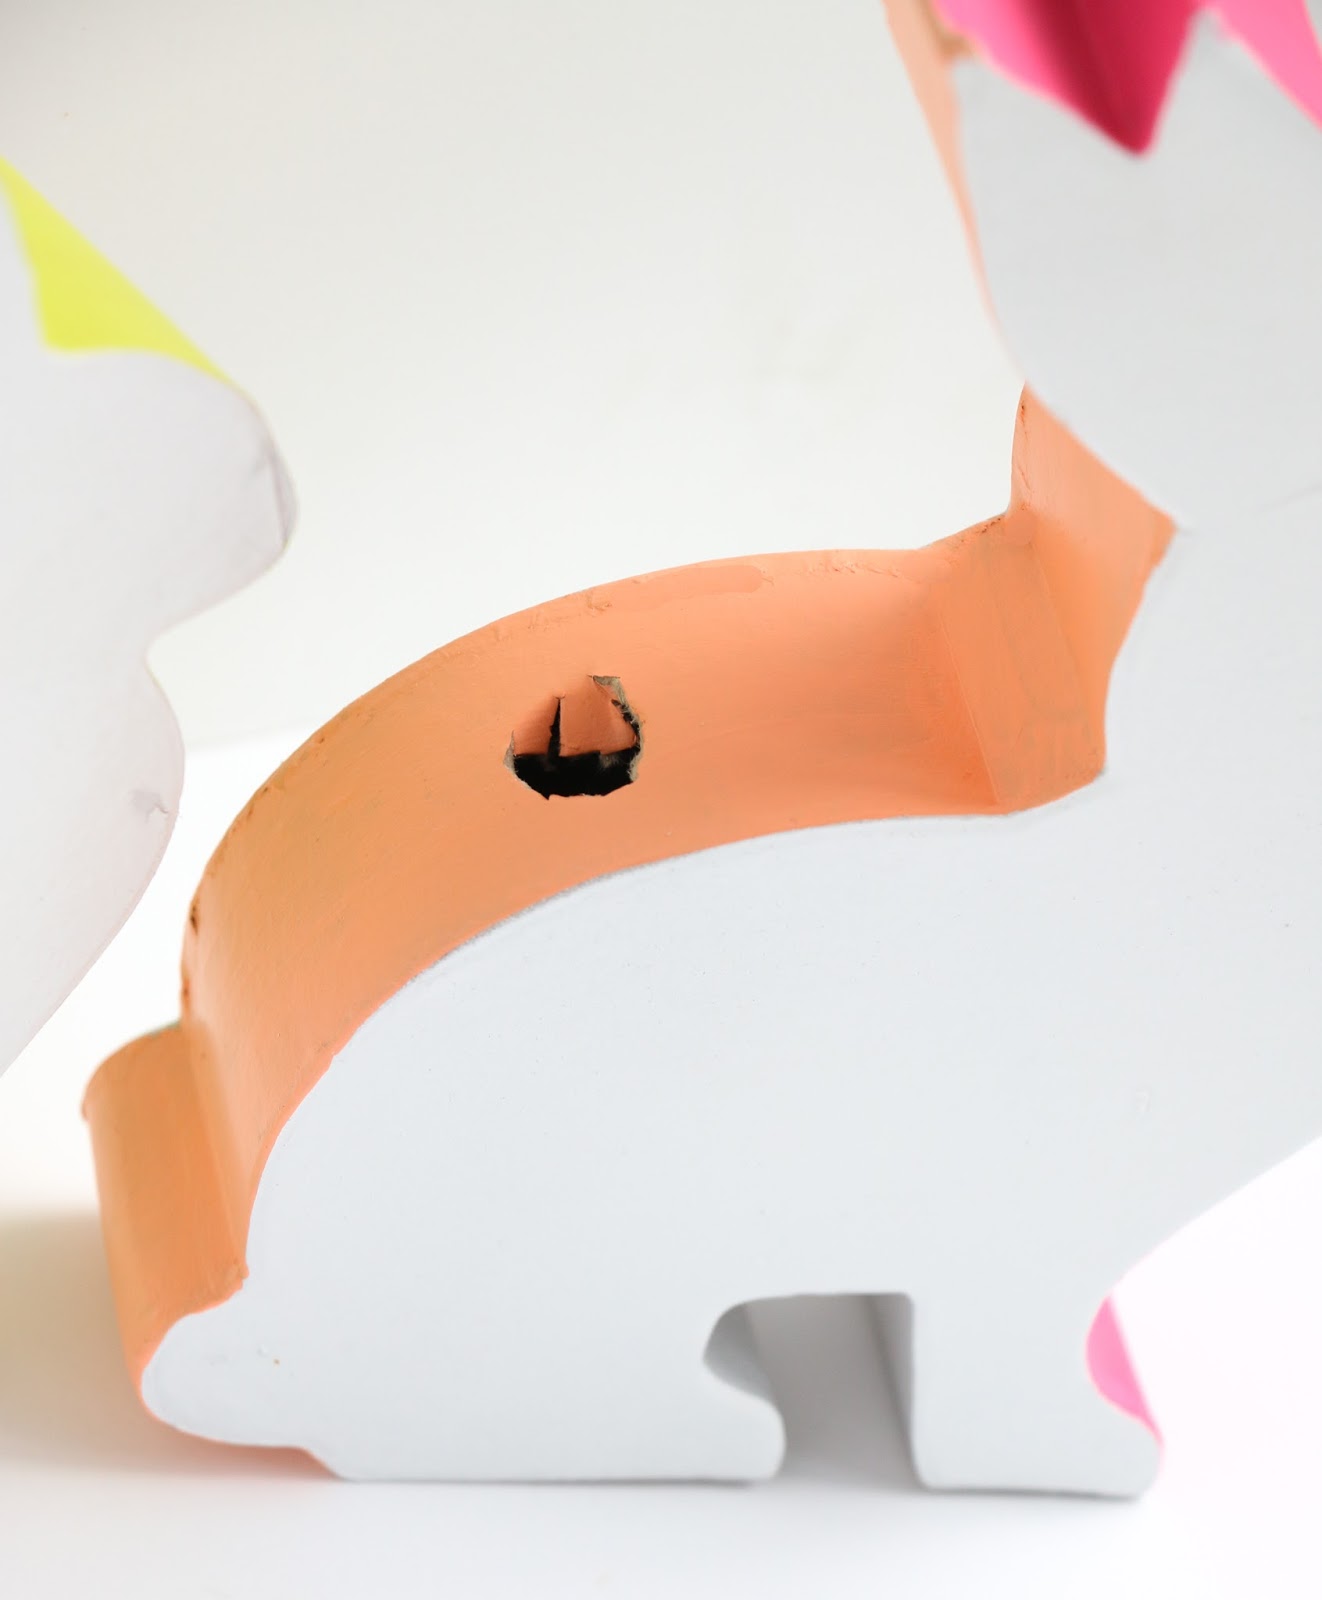
The last step is to cut a hole in the back of the bunnies using your X-acto knife. I just cut an X about the size of the test tube and then pushed it into the bunny until it reached the bottom. Note that you may have to work around the interior cardboard a bit to get it into position.

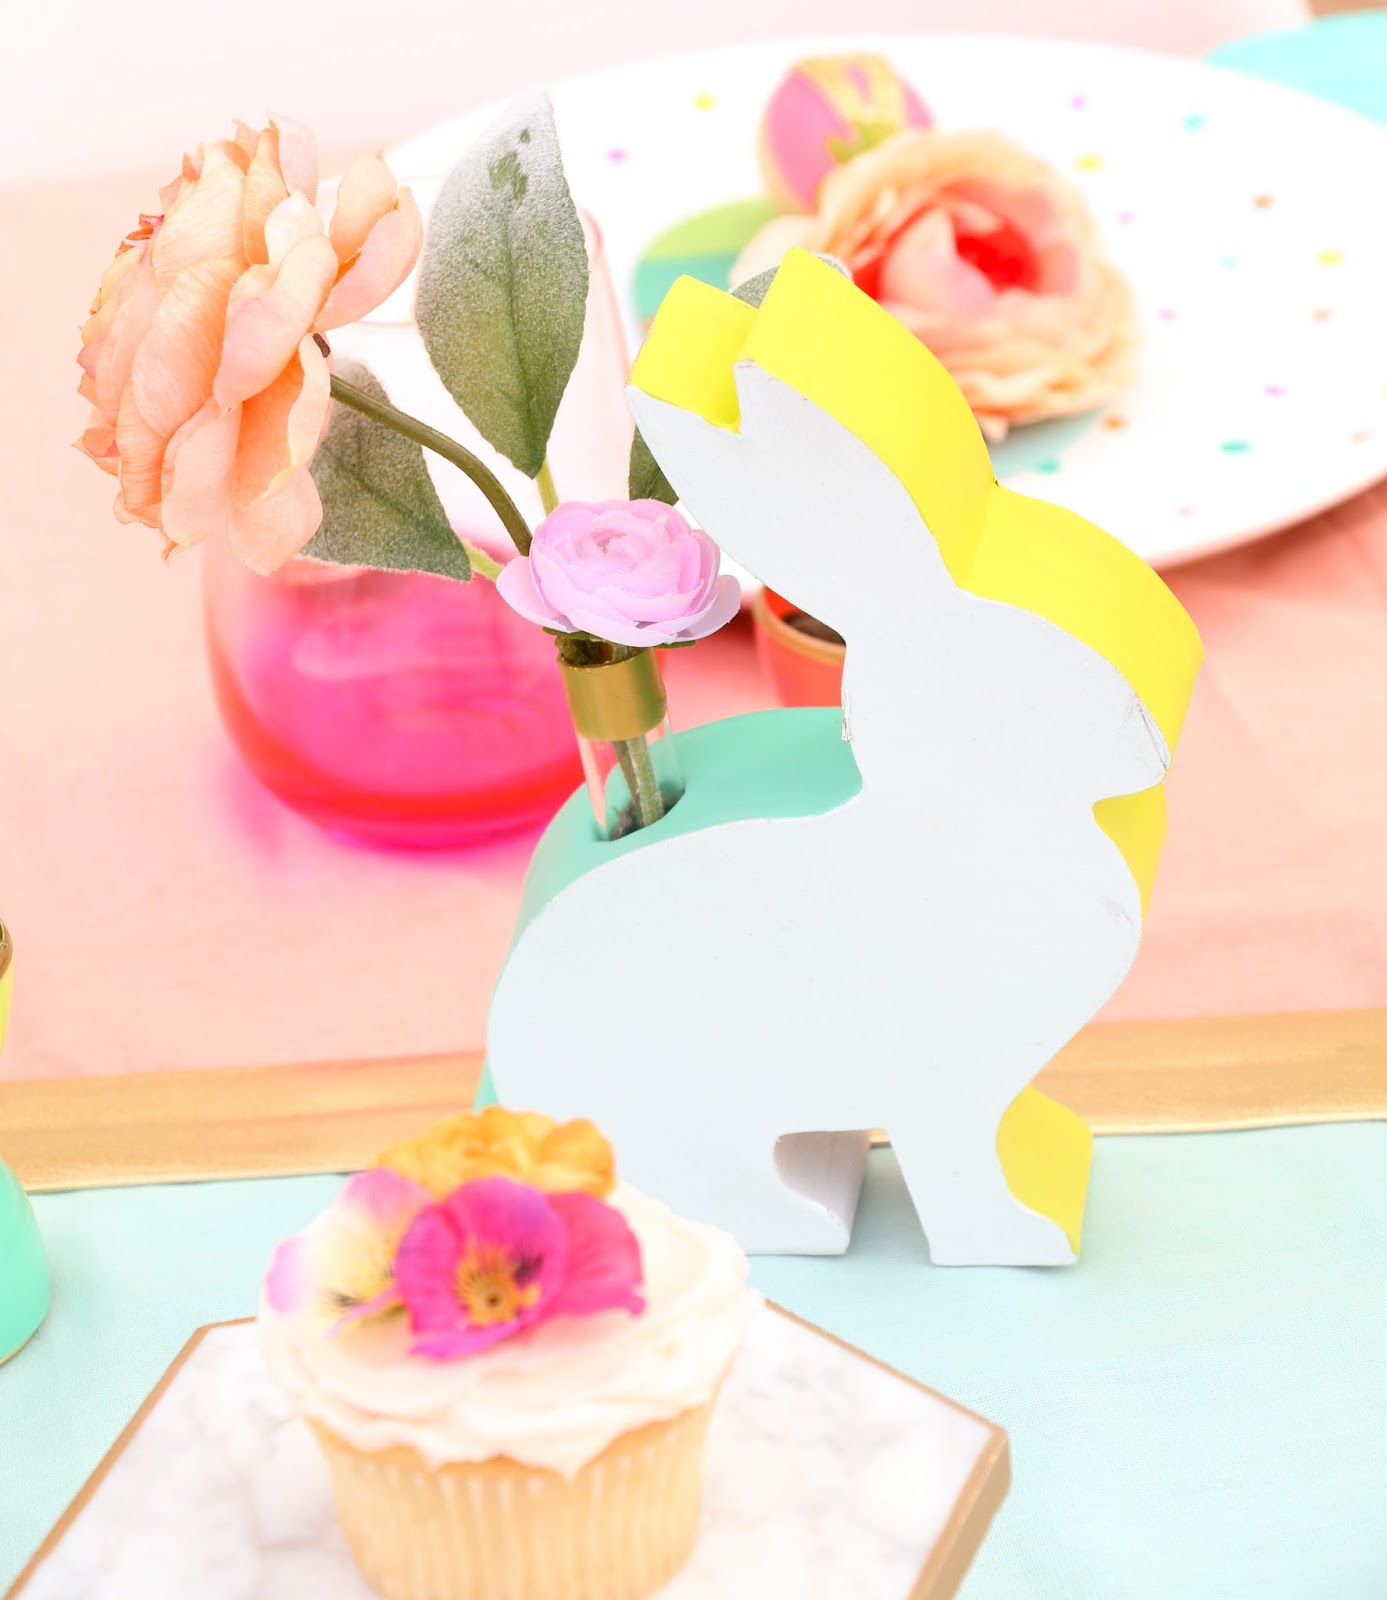
Now they are ready for your flowers. Because we used test tubes, you can use real flowers with a little bit of water in the test tube. Or just copy me and use a few faux flowers. Either way you have a super cute and colorful addition to your spring Easter decor.
Just look how cute they were in my spring tablescape photo shoot this past weekend.
How do you think they turned out? Would you use different colors? Remember to share your versions of these or any other Kailo Chic projects with the tag #mykailochic on Instagram. I can’t wait to see what you create!
*Note: Some of the links in this post are affiliate links
which means that I get a percent of the sale if you were to happen to
purchase something that I link to. The price is the same for you either
way, but I get a little commission that helps me pay for more supplies
to make even more awesome blog posts for you!


December 26th, 2019 at 1:10 am
[…] Check the idea […]