


Several months ago as I was scrolling through my Instagram feed, I came across a picture of a desk that had the cutest sphere pencil cup. I knew at that moment I needed to try to make a bud vase for myself with a similar look, but I had no idea where to start. That was until I found the orb silicone mold that I used to make my edible chocolate dessert bowls (first) and then my colorful confetti soap. I realized then that I could use the same mold to make the orb vase I had been dreaming of.

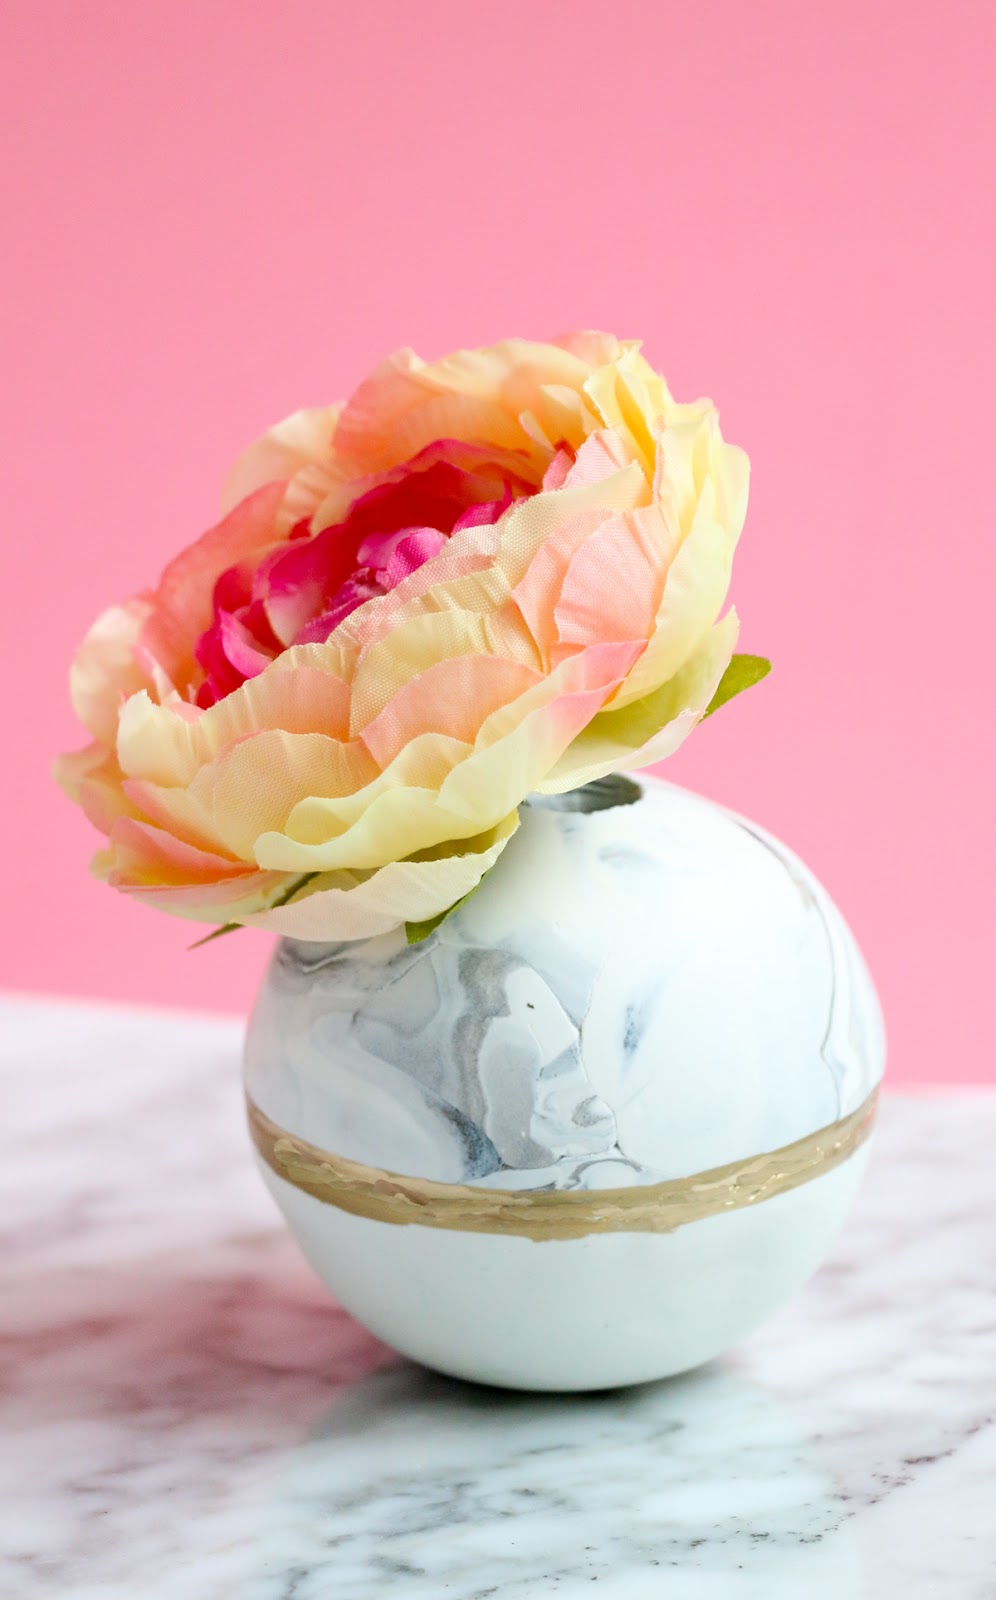
Are they not just the most delicate looking little things? And while they take a little bit of effort to make, the supplies are minimal and they just look so pretty. So it’s totally worth the time investment in my opinion!
The Supplies:
- Polymer Clay in both White
and your choice of Colors
( I used turquoise, pink, and little black for the marbled look)
- Silicone Dome Mold
- Drill with a 3/4″ drill bit (or an X-acto knife)
- Waterproof Clear Sealant
- Sanding block
- Gold Paint Pen

Once you have your supplies, go ahead and form the clay into balls about the size of ping pong balls.
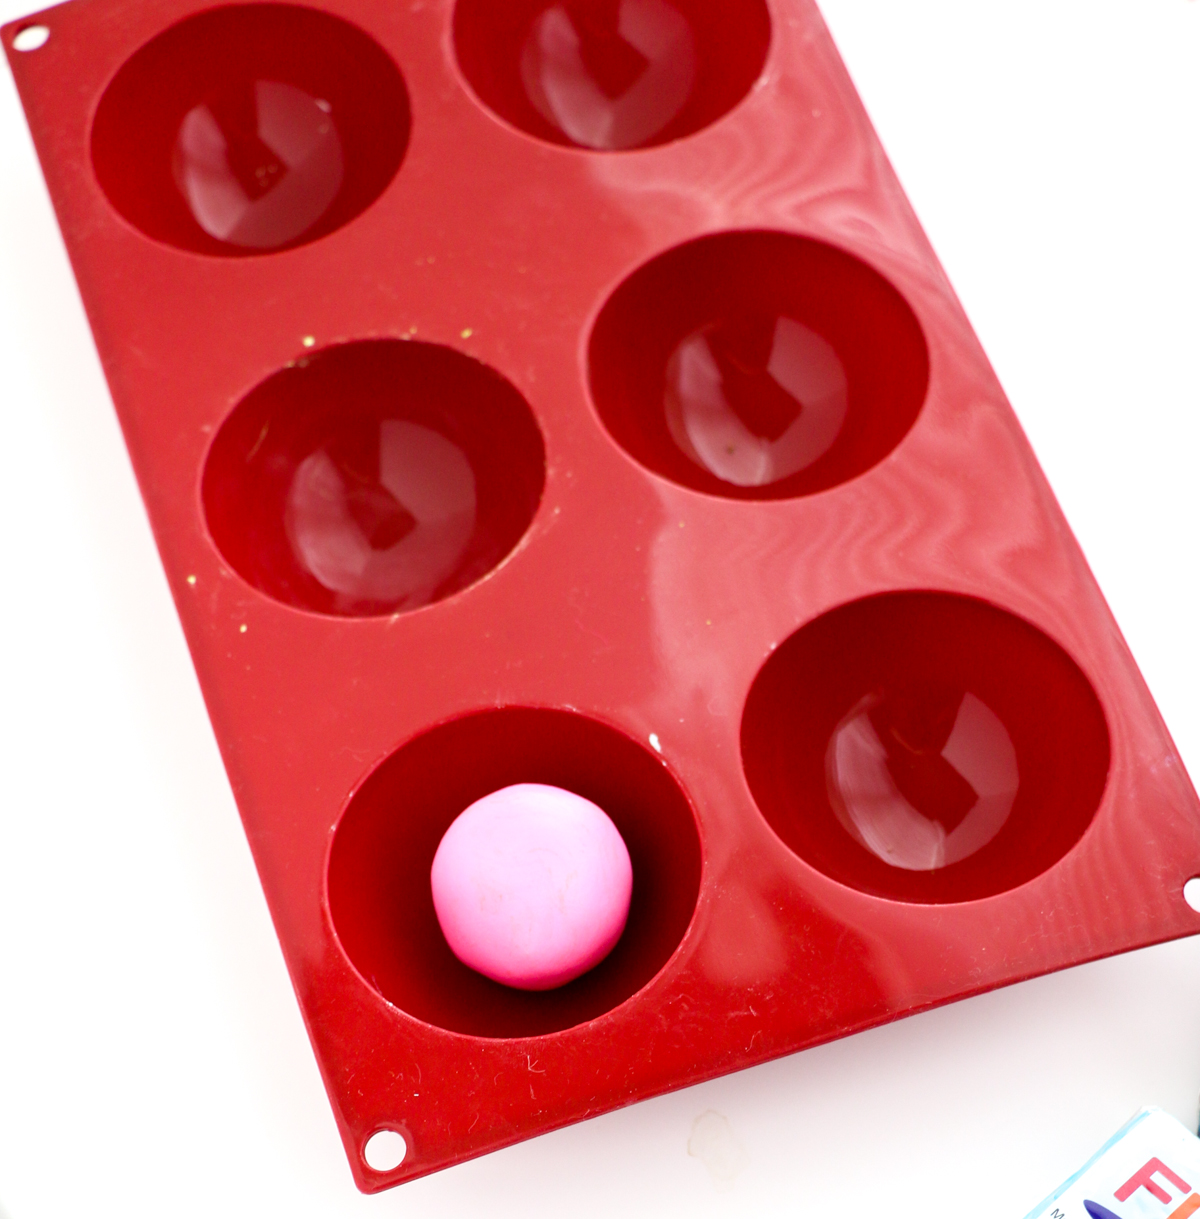
Place in the mold and then use your fingers to press the clay in and around the mold. This is the tricky part since this mold is flexible. You want to make sure the clay is in contact with the mold as you create your orb shape otherwise, if there are air bubbles in between the clay and the mold, you will end up with a lumpy orb shape. I found this ball method to be the best for getting a nice smooth orb shape with little to no air pockets.

Once you have pressed your clay all the way up past the edge of the mold, use the X-acto knife to cut off any extra clay sticking up from the edge, You want the clay to be completely flush with the top of the mold. Repeat with all the colors you want to use. You will need a top dome and bottom dome for each orb vase. I went with a color for the bottom and white for the top (or vice-versa) because I liked the color block look. But feel free to use two different colors, or all white, or all color, or all marble (check out this tutorial on how to marble clay).
Now that your clay is in the mold, place the mold on a cookie sheet and bake in a 275°F oven for 15 minutes to cure and harden the clay.
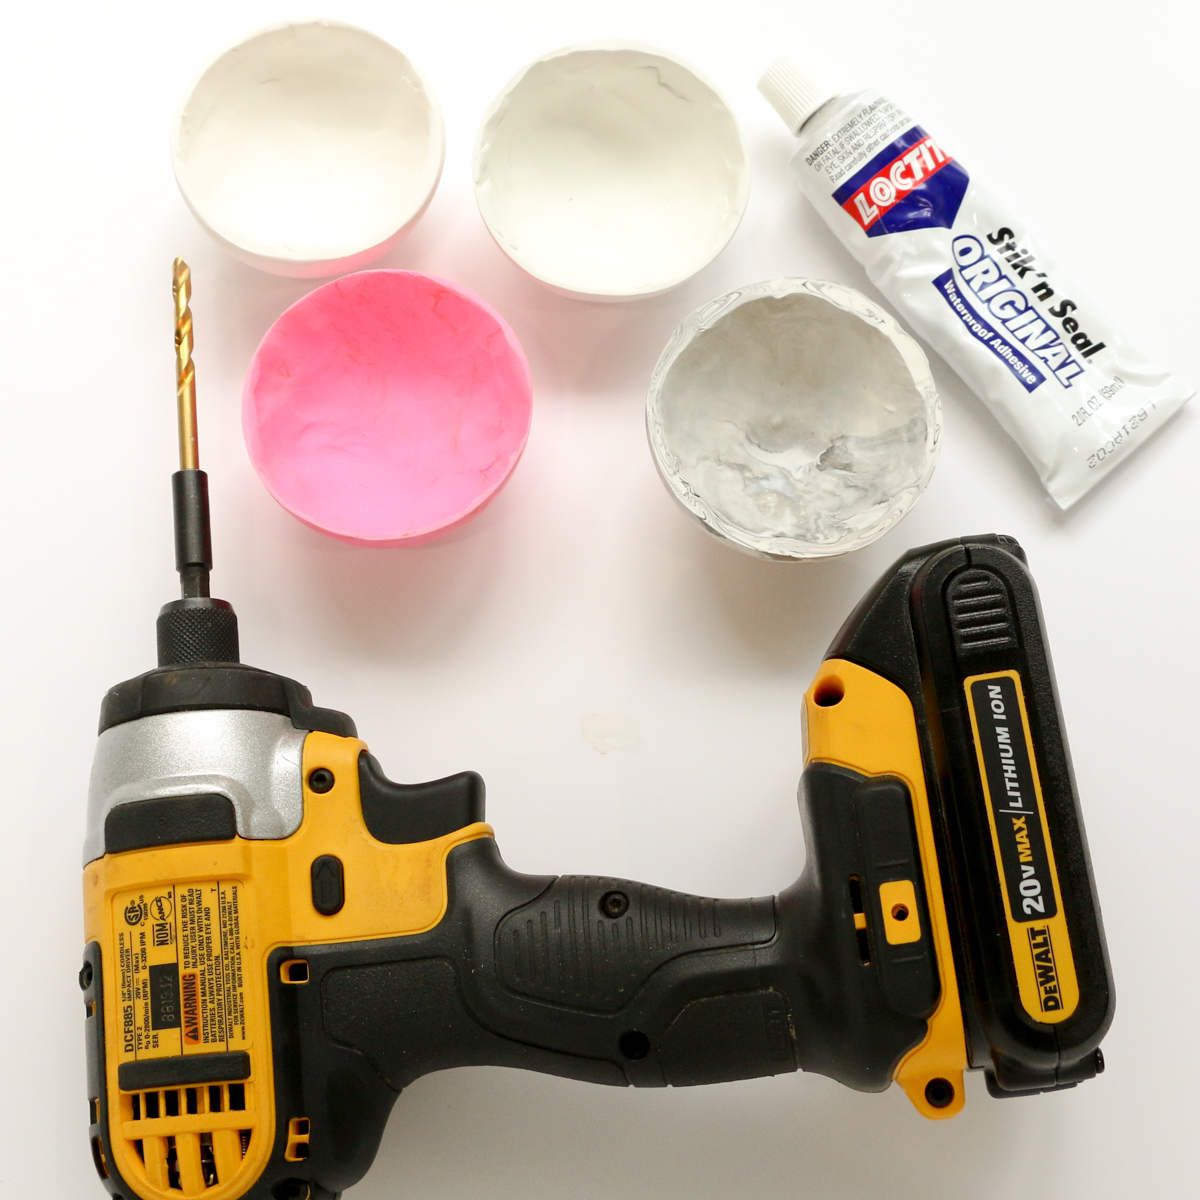
Once the clay is cool and removed from the mold, it is time to drill holes in the top domes. You can either use the X-acto knife for this, or if you have access, a drill. I started with a small hole and then worked up to a 3/4″ flat bit for the larger vase opening. Just be sure to work slowly so that you don’t crack to break the clay dome.
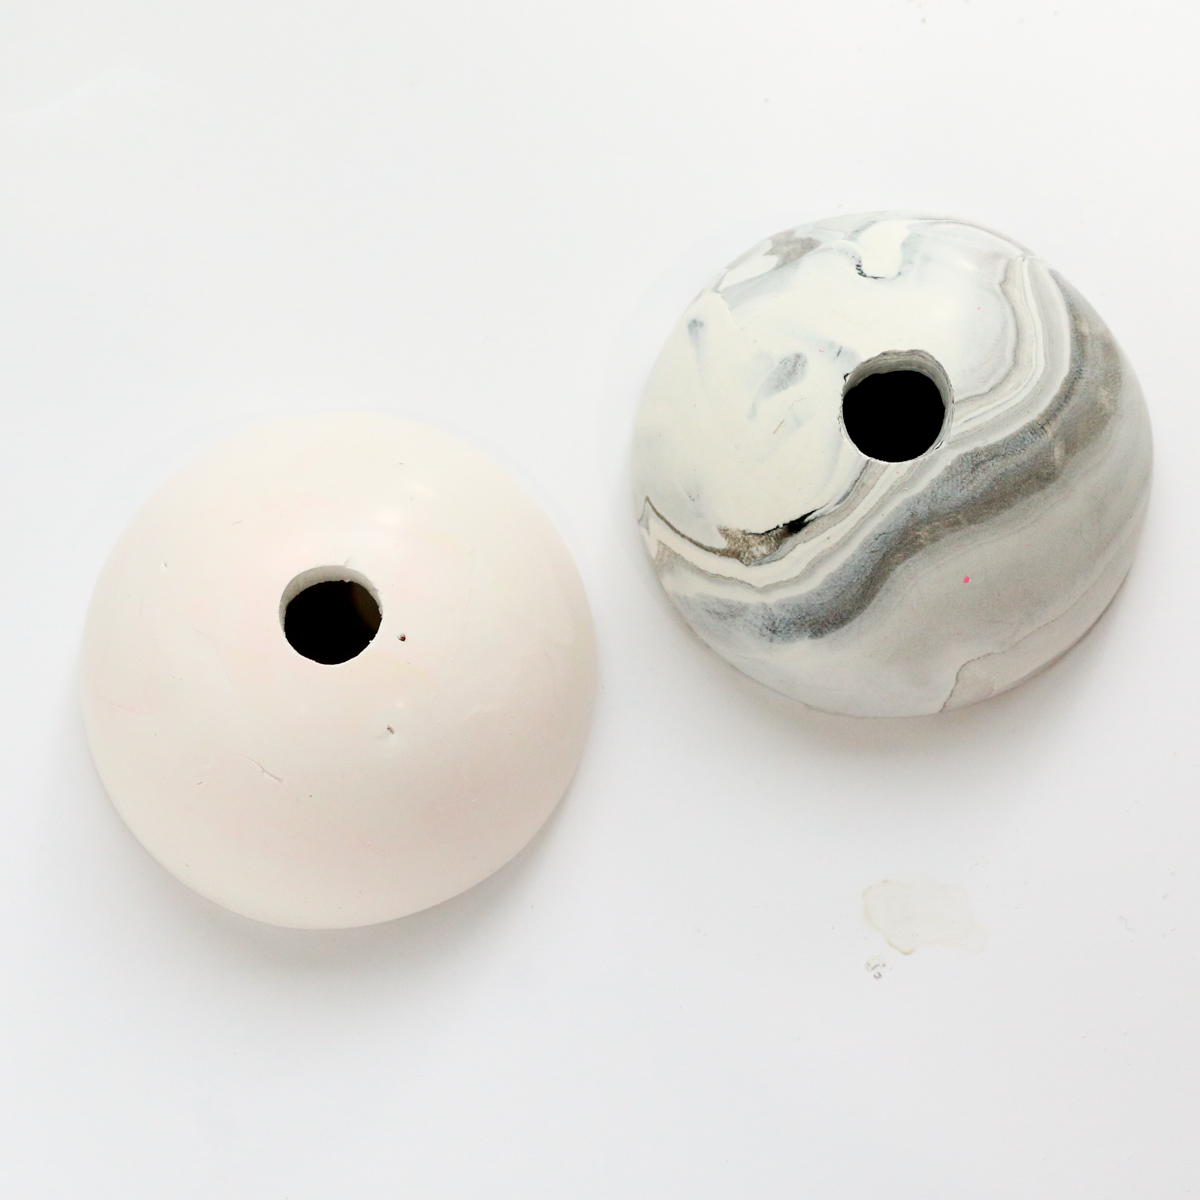
Once your holes are drilled, piece your top and bottom domes together to see if they sit flush against each other. If not, use your sanding block to sand down the edges so that you get a nice flush seam between the two pieces. You will also use the sanding block to sand down the bottom orb at the base so that there is a flat surface for the orb to sit on. You don’t have to go crazy sanding here, you just a little flat base to stabilize the orb vase.
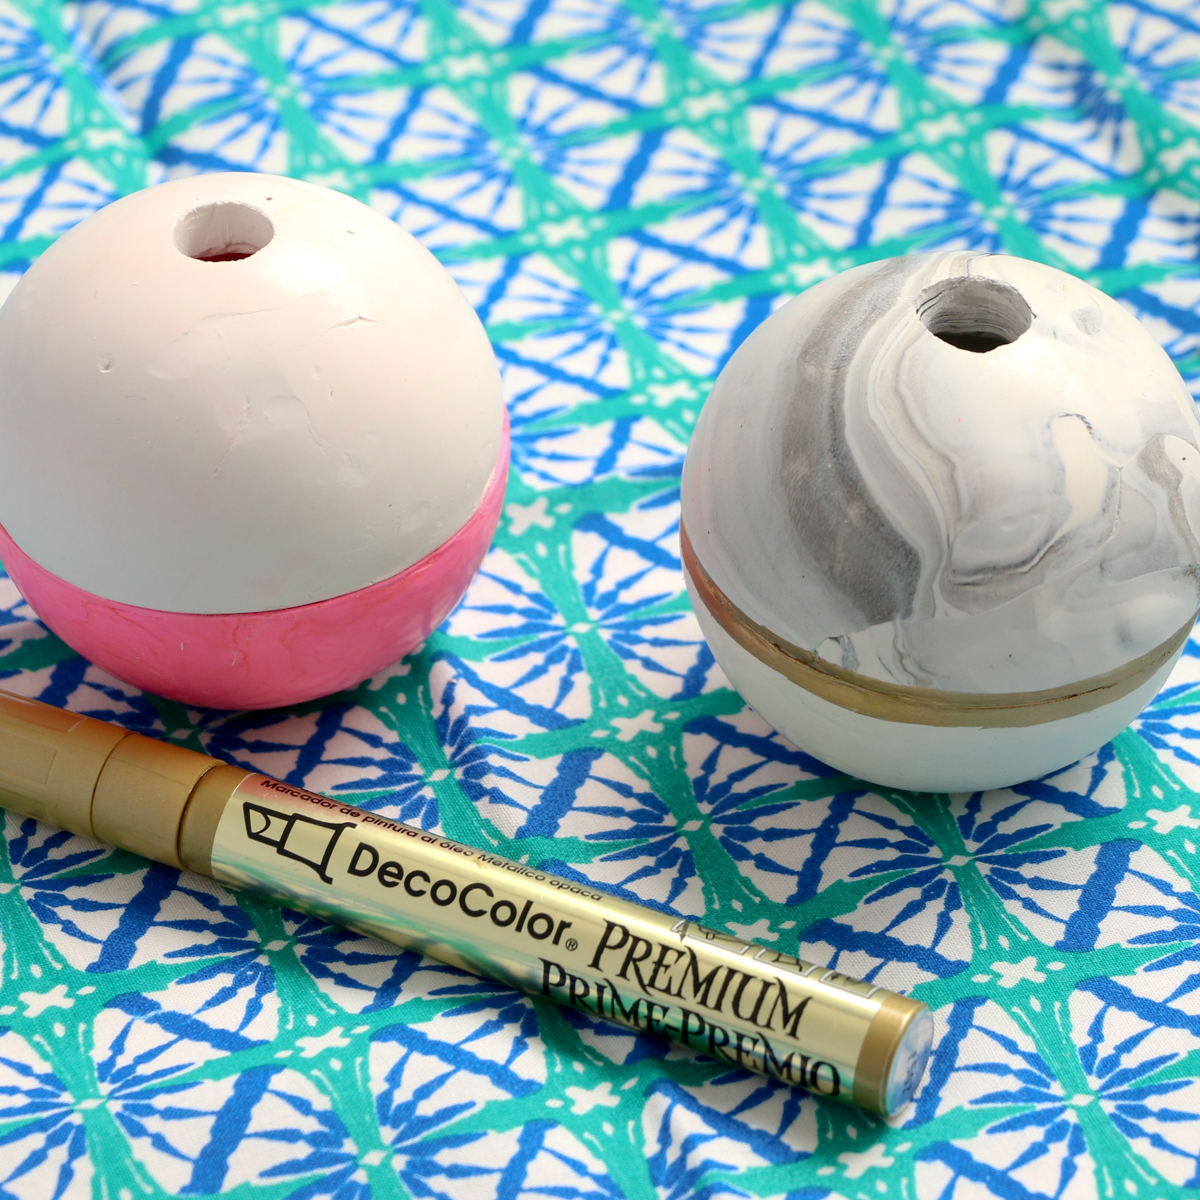
Now that everything is ready, go ahead and use your glue to adhere the two domes to each other to create an orb. Once the glue is dry use your gold paint pen to paint a line around the center of the orb to conceal the seam a bit and give the vase a little special gold touch. Because I am pretty sure everything looks better with gold!
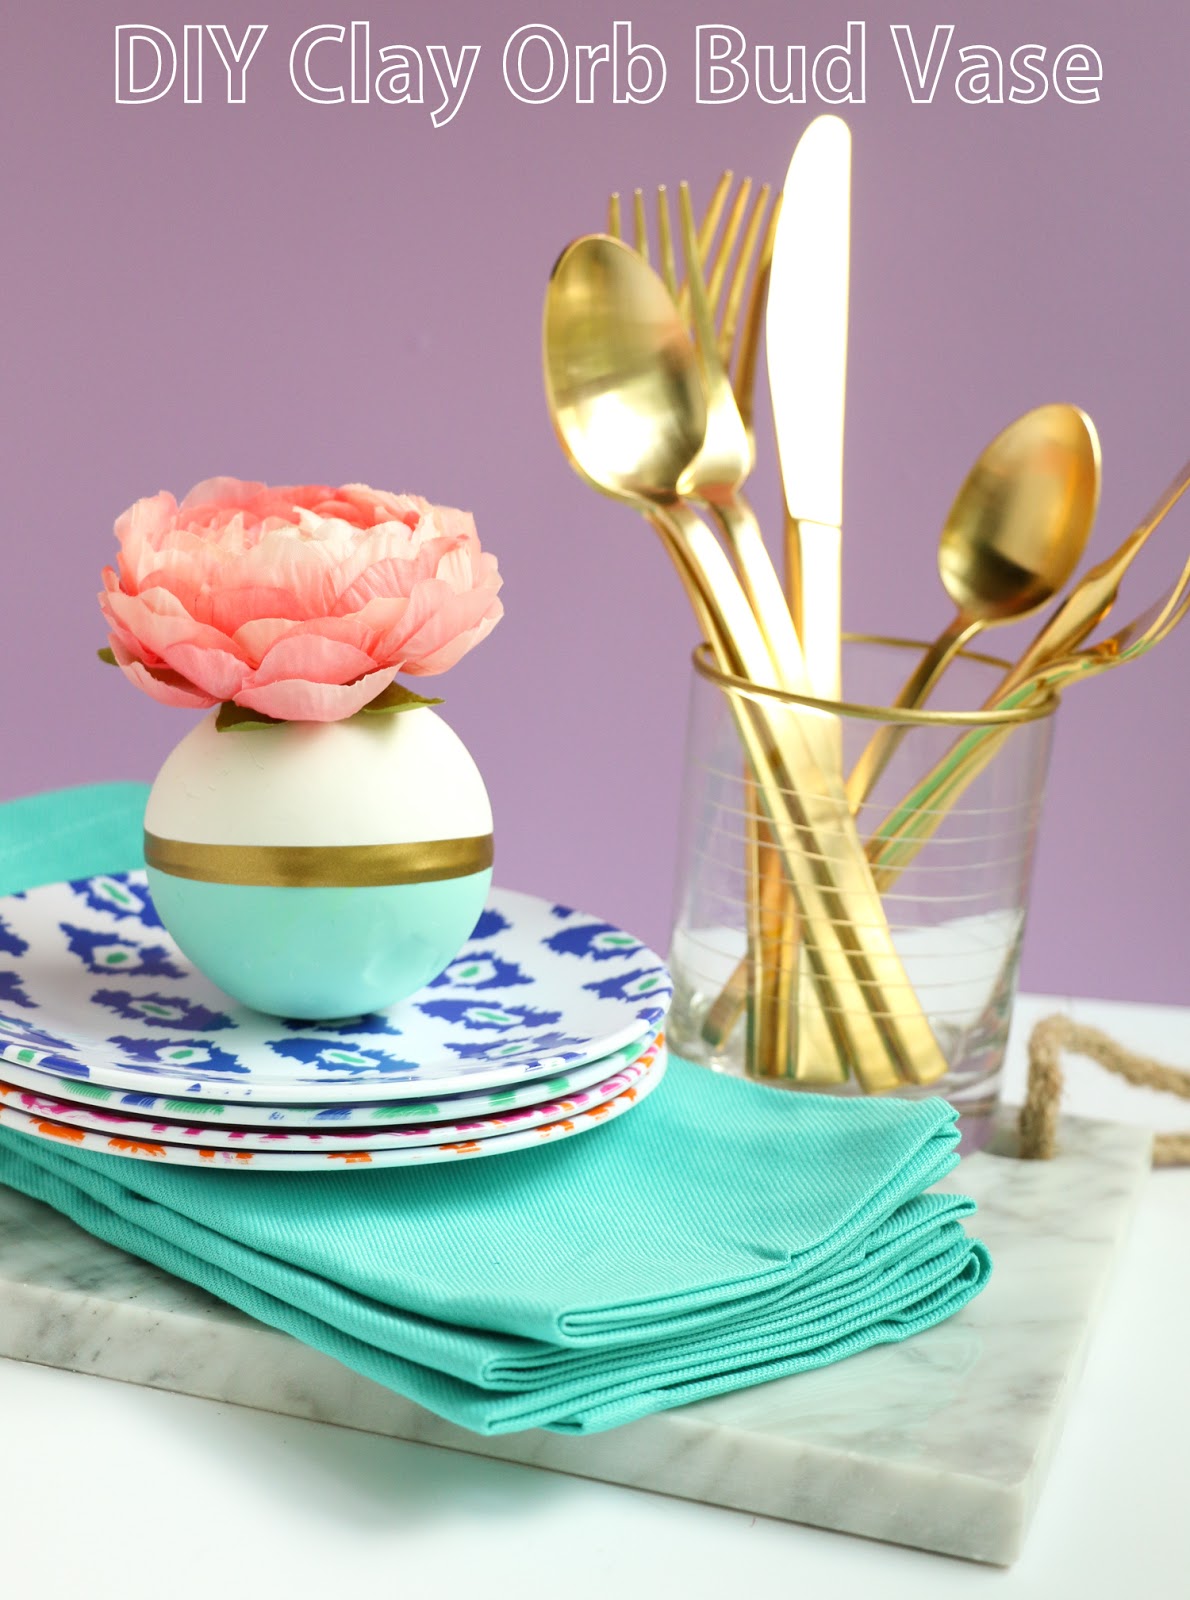
Now simply add your faux flower stems and your good to go.
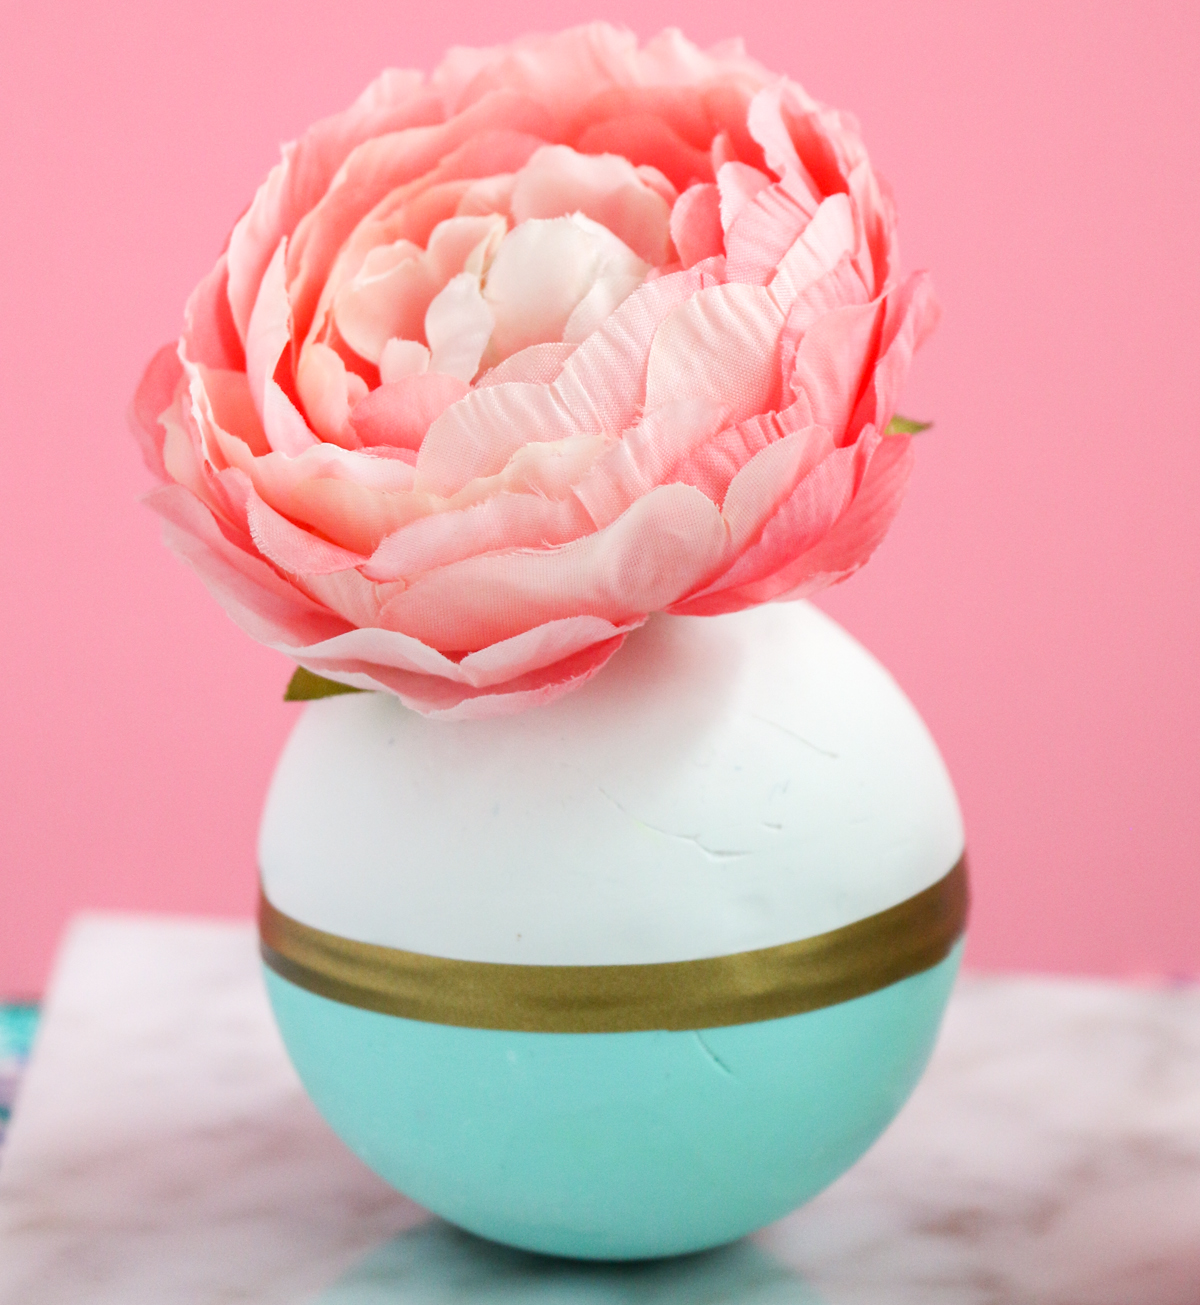
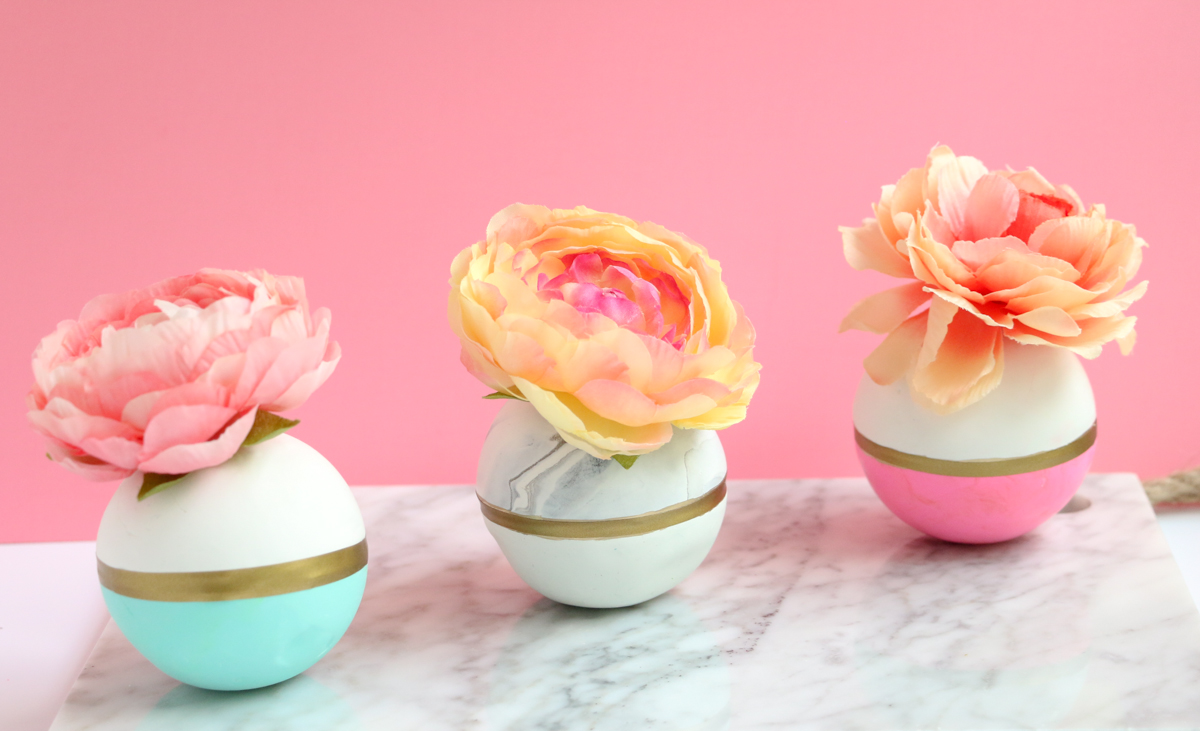
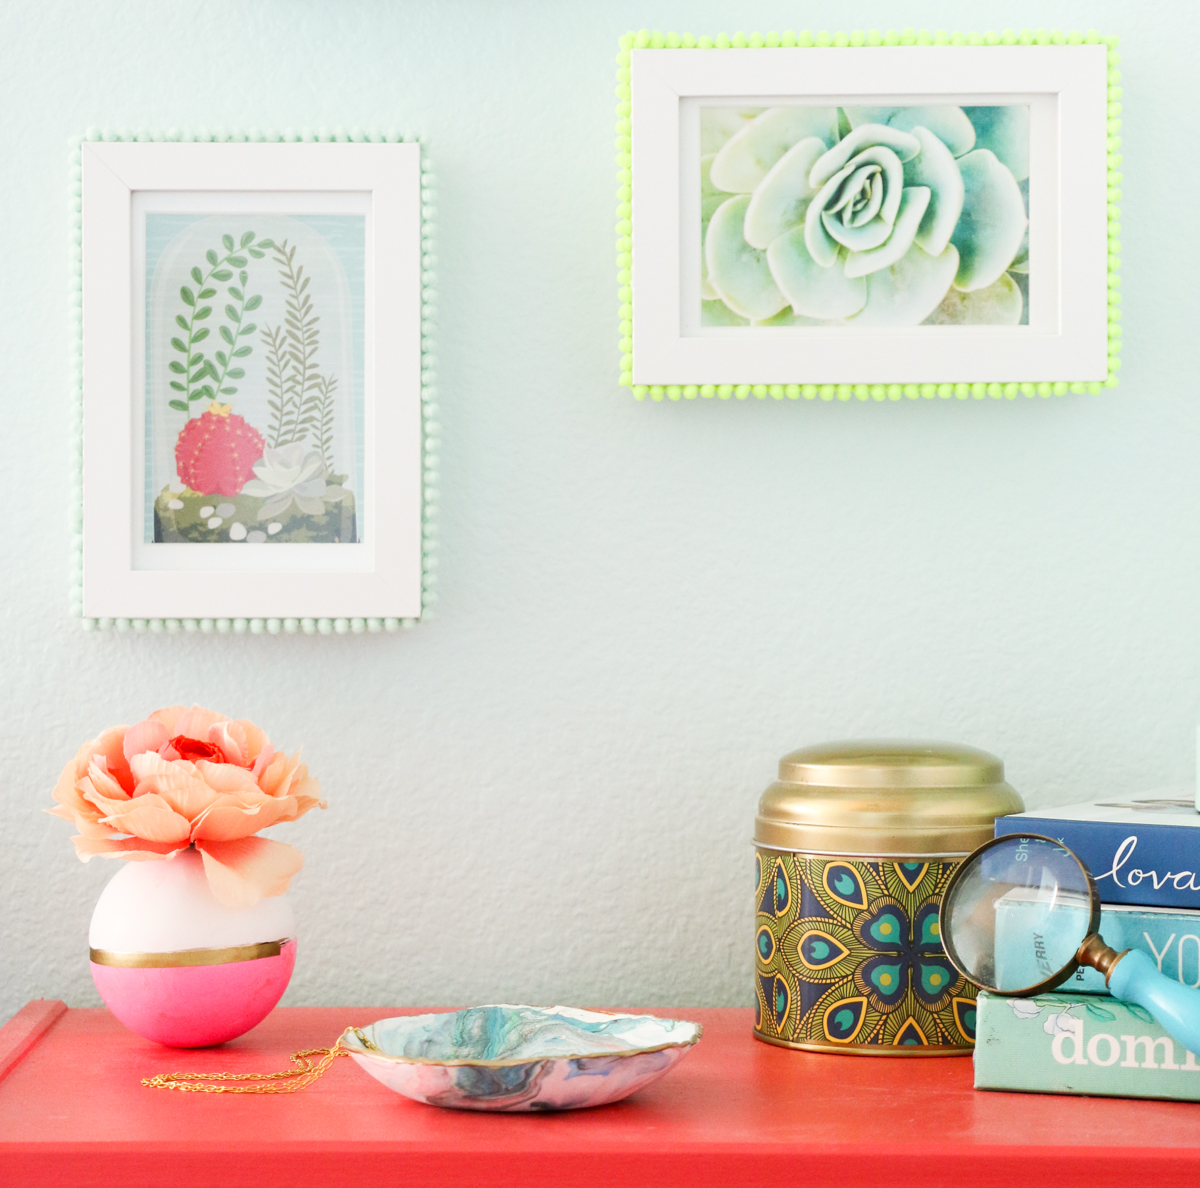
These dainty little orbs make the cutest table centerpiece and even look cute on a nightstand like I have here:
Now don’t you agree that they were worth the work? So pretty and unique!


April 12th, 2016 at 7:53 pm
They are gorgeous! And worth all of the trouble!
April 17th, 2016 at 9:22 pm
Thank you so much! So glad you like them!