One of my favorite parts of being a DIY blogger is that I now have an excuse to amass a large amount of “props” for my photos. And surprisingly this wasn’t even on my list of why I wanted to start blogging in the first place, but an added bonus I discovered after a year of blogging.
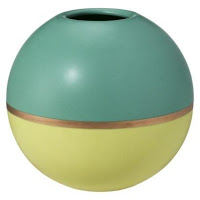
I have always loved small home accessories (dishes, glasses, vases, and other curiosities), but I wouldn’t always buy them when I saw ones I loved at the store. I usually found a way to talk myself out of buying another vase because, really, how many does one person need? But with blogging I now have an excuse to buy them all! And while I do snap up new fun props when I find them, there are a few pieces that I am sad that I missed out on. You know, those ones I talked myself out of before I started blogging? The ones I am the most sad about are a few of the Oh Joy for Target pieces from a few years back.
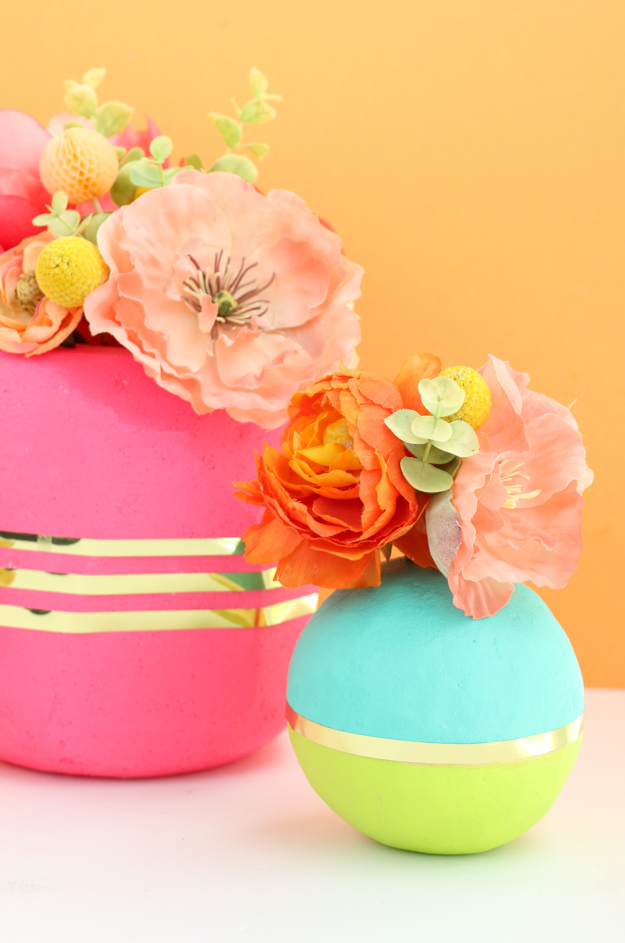
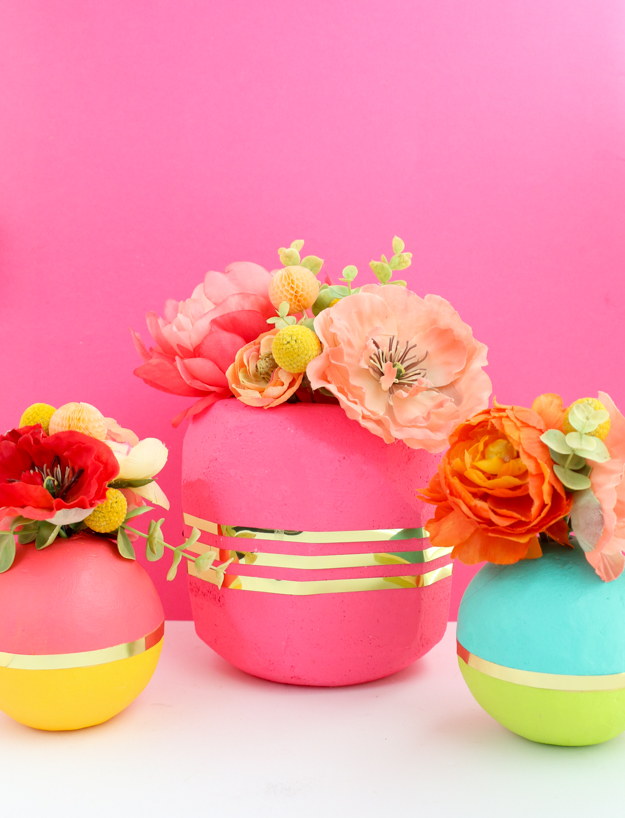
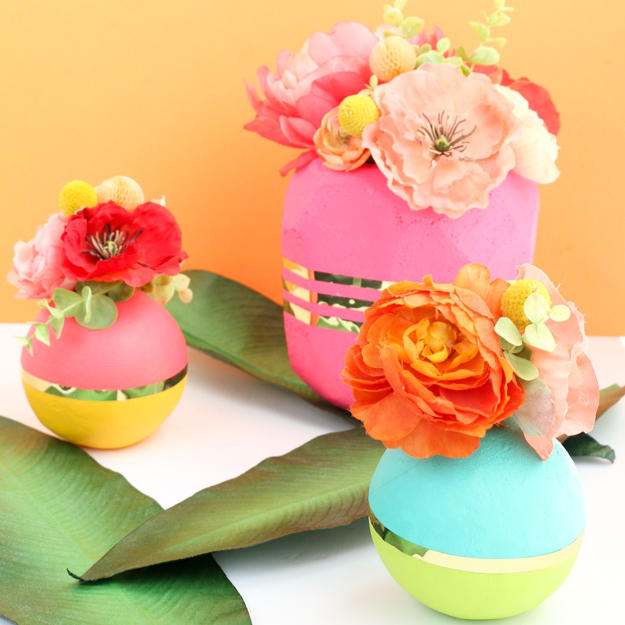
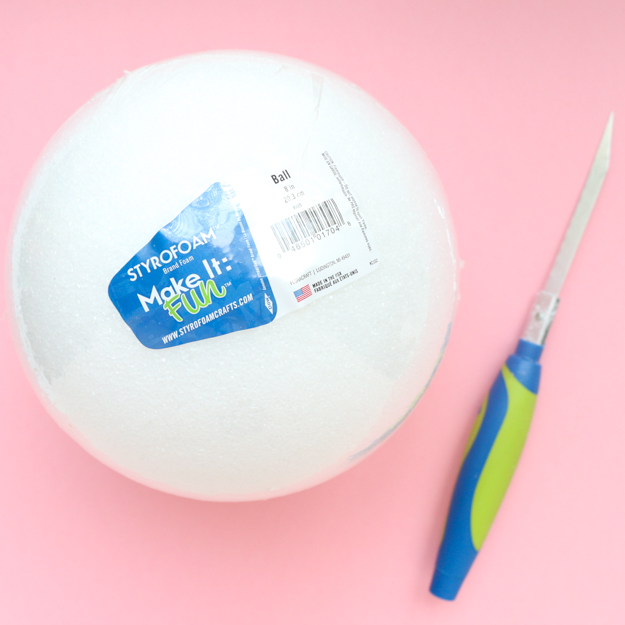
Well, that is where my DIY prowess comes into play. I figured if I can’t buy them now, I might as well try to DIY them. So I did! I ended up using Flora Craft® Make It: Fun® Foam Balls to create a DIY version of the Oh Joy for Target Orb vases as well as a coordinating large faceted vase.
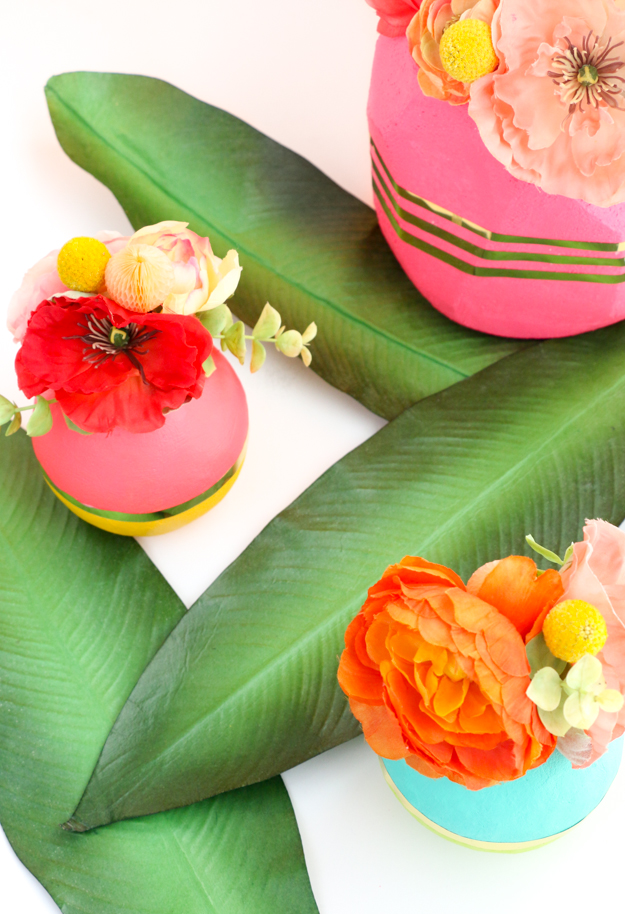
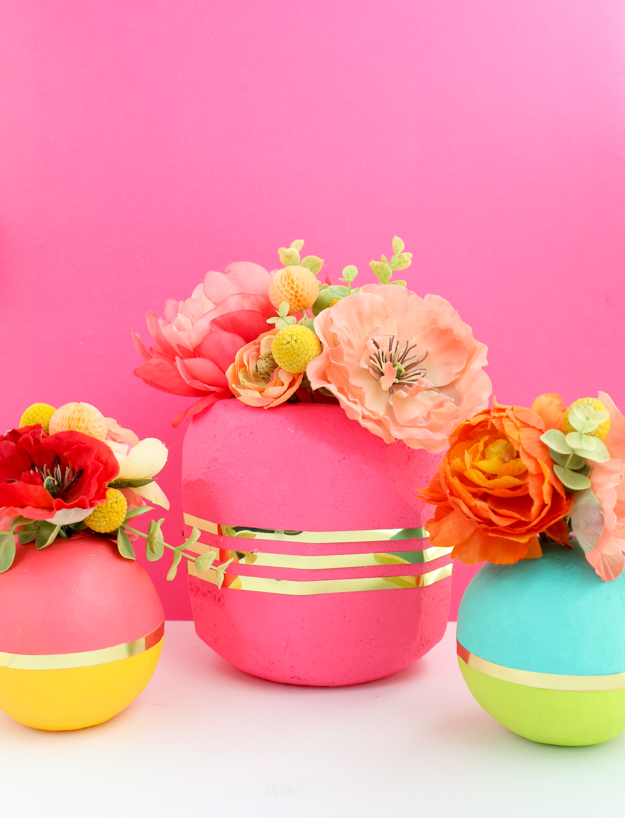
You can see my versions above and below are the Oh Joy versions. Not a bad replica huh?
Not only do they look very similar, but the DIY version can hold real flowers too! Follow along for the tutorial to DIY your very own orb vases.
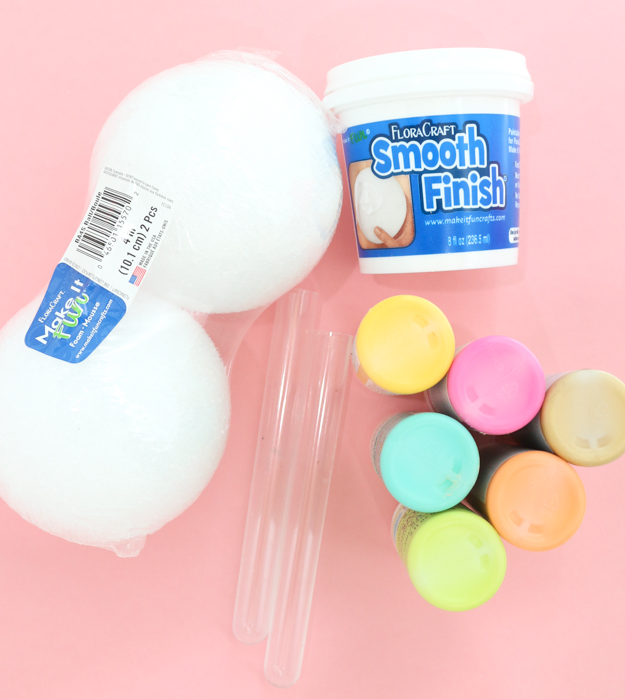
- Flora Craft® Make It: Fun® 4 inch Foam Balls
- Flora Craft® Smooth Finish
- Plastic test tubes
- Acrylic Craft Paint
- Fine sanding brick
- Metal tube cutter
- Small putty knife
- Gold Foil Vinyl or Gold acrylic paint
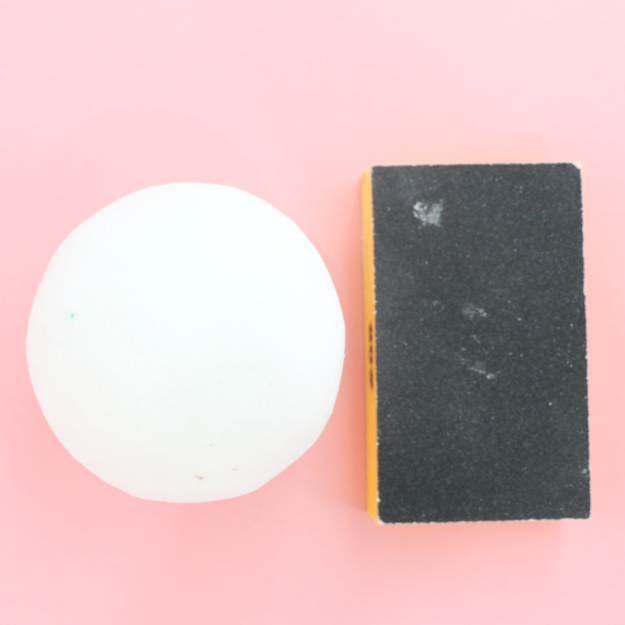
Begin by coating your foam balls with the Smooth Finish using a putty knife. Make sure to cover the entire ball with the Sooth Finish and then use your hands to gently roll the ball and smooth it out. Let dry for 4-5 hours or overnight and then come back and add a second coat. Let the second coat dry overnight, then use your sanding brick to sand the orb smooth.
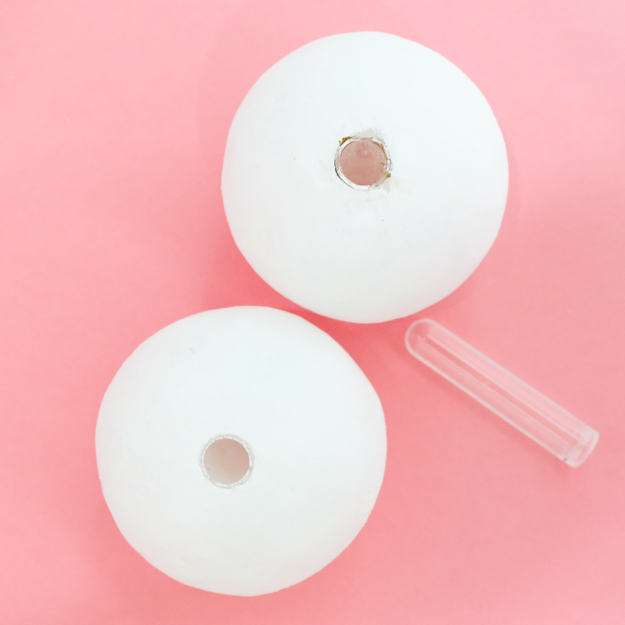
Now it is time to prep your test tubes. You will need to cut your test tube down to about 3.75″ so that it can fully fit in the ball without sticking out the top. Use your tube cutter to cut the test tube down. Start slowly and after every 2-3 turns of the cutter, tighten the blade and cut again. Be careful not to crack the test tube by working too fast.
Once cut, use a knife to cut out a small hole in the center of your balls and insert your test tube so that it sits flush against the top of the ball.
Next it is time to paint your orb vase in the color of your choice. I went with lime green and turquoise for one and coral and yellow for the other. Tape off the center of the orb and paint. Remove the tape when the paint is still wet and let dry, then paint the other side without using the painter’s tape. The final step is to cut a 1/4″ piece of gold vinyl and wrap it around the center of the orb where the two colors meet, or use gold paint to carefully paint a line around the center, but I prefer the more metallic look of the gold vinyl.
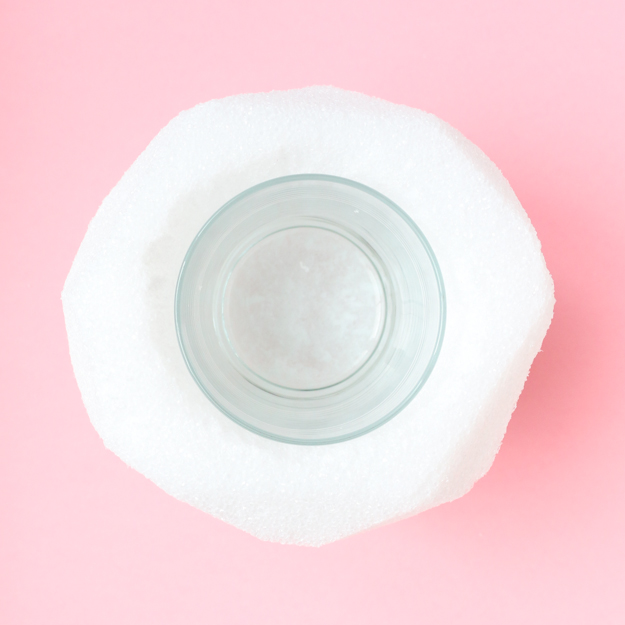
For the large faceted vase, the process is pretty similar, but you will start with a Make It: Fun 8″ foam ball and cut it down into an abstract faceted shape using a foam cutter by Flora Craft®. Then cut out a hole in the center large enough for a glass to fit. I found using a spoon to scrap out the foam to create the hole to be the most effective.
Insert your glass in the foam, and coat the vase with Smooth Finish, let dry, sand, paint, and decorate with strips of gold vinyl. Your glass will be permanently stuck in the vase, but will allow you to fill your vase with fresh flowers.
I am so happy to finally have my own colorblocked orb vases! And while they may not be exact replicas, I am so happy with how they turned out. Now I just need to get my hands on a few of the Oh Joy for Target goblets. If any of you have a few floating around that you no longer want, hook a girl up will ya?




August 26th, 2016 at 5:48 pm
Wow, so cool and very beautiful!
May 16th, 2018 at 7:39 pm
love the crafts
January 16th, 2019 at 8:14 am
[…] Image: akailochiclife […]
October 27th, 2020 at 8:08 am
[…] If you are more into modern theme home decor, then how about trying these DIY geometric vases? They look good and are colorful. Material you wil need is some inexpensive foam balls and test tubes to hold your lovely spring or summer flowers. Its a great DIY room decor project. Source/Tutorial: akailochiclife […]