- 4″ Foam Balls
- X-Acto Knife
- Plaster of paris
- Disposable cup and spoon
- Sanding brick or sand paper
- Spray paint in colors of your choice (I used royal blue, magenta, emerald green, peach, and gold)
Begin by using the X-acto knife to cut a deep 3/4″ round hole in the top of the foam balls. You want the hole to be deep enough to fit the bottom 2″ of the candle into the foam orb. Then use a knife to cut off the bottom 1/4″ of the ball to create a flat surface for the or to sit on.
Next, mix up the plaster of paris according to the package directions in your disposable cup. You will want it to resemble pancake batter in consistency. Using your spoon, coat the foam ball with the plaster mixture. Set aside and coat all the rest of your foam balls. Once they all have a layer of plaster on them, use your hands to roll the balls and smooth out the plaster. This will end up making your orbs look like a lumpy moon, but as long as the plaster is evenly coating the orb, you are good. Set them aside and let dry. Once fully dry, use a sanding brick to smooth out the plaster even more and give the orbs and smooth finish.
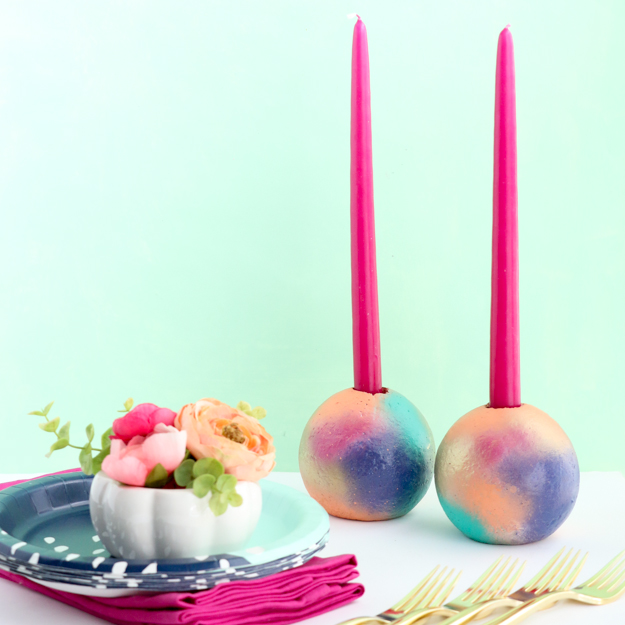
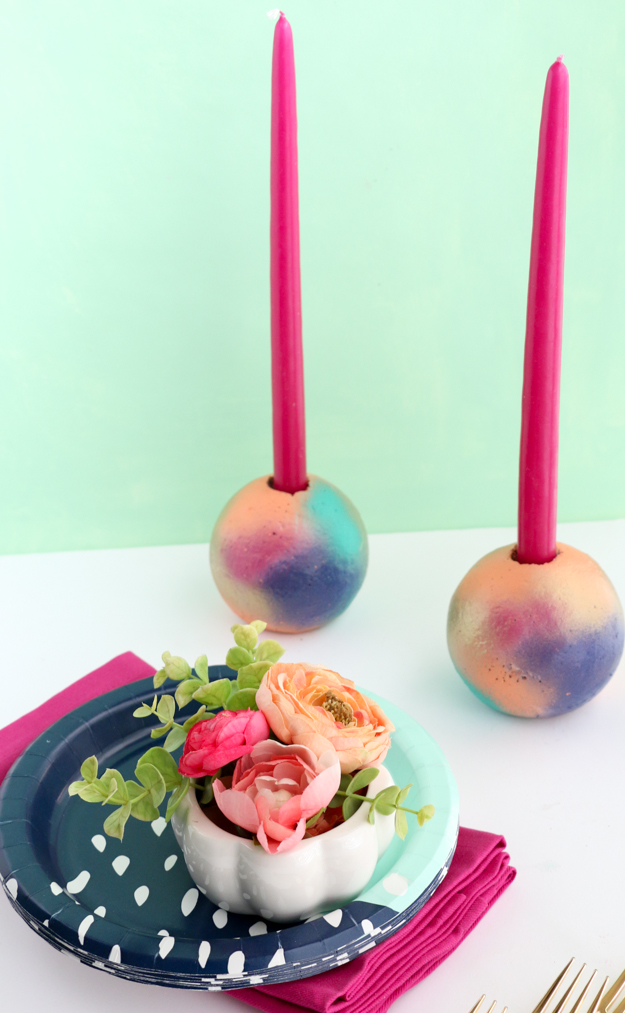
Once that is complete, it is time for paint. Use your spray paint to paint bursts of paint all around the orbs. There is no rhyme or reason here, just have fun spraying the orbs with the different colors and letting the over spray blend into each other. If you are worried about these turning out, stick with a few light colors such as light pink, peach, and gold. You will still get a nice gradient effect, but the colors will blend a bit better and won’t look so stark against one another.
Once the paint is dry, the candle holders and ready for your taper candles. Feel free to use a piece of clay to secure the candles in the holes if you made them too big.
As I said, I used 4″ foam balls for the candle holders, but I think it would be awesome to make an entire centerpiece with different sized orbs running the length of the table.
Not a fan of the gradient look? Then just spray paint them a solid color!


