


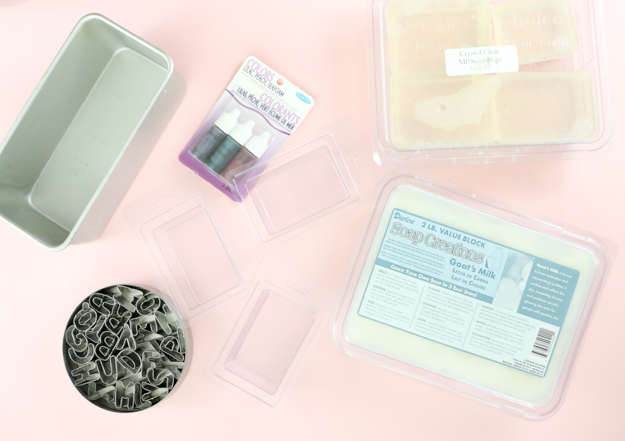
These may look super complicated, but with the magic that is melt and pour soap, they just require a few minimal tools you likely already have in your kitchen.
- Clear Melt and Pour Soap Base
(You can also find this at the craft store)
- White Melt and Pour Soap Base
(also at the craft store)
- Soap Colorant
- Rectangle Silicone Soap Mold
- Spray bottle with rubbing alcohol
- Fragrance (optional)
- Mini Letter Cookie Cutters
- Microwave safe bowl
- Spoon
Begin by cutting your white soap into 1″ chunks. You will want about 2-3 chunks per letter color you want. Microwave the soap for 10 seconds, stir and repeat if needed until the soap just melts.
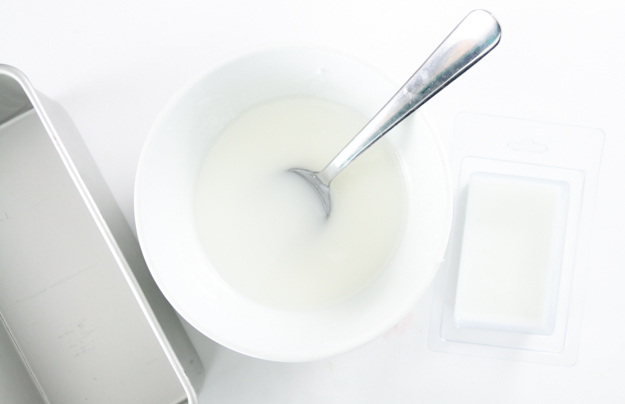
Once your soap is melted, add your soap colorants. I wanted light pastel colors, so I only used 1 drop of the color. Mix to combine.

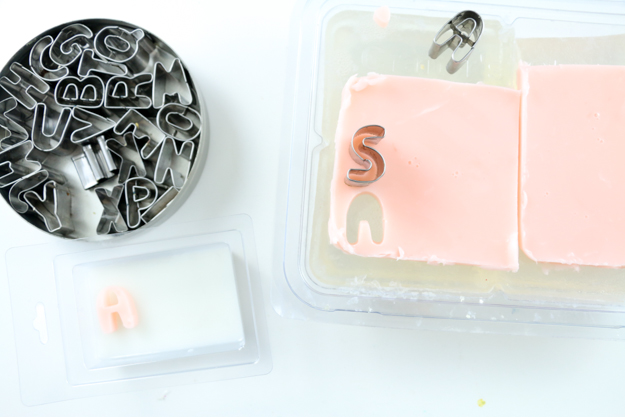
Pour your first color into one of your rectangle molds. You will want the soap layer to be somewhere between 1/8″ and 1/4″ thick. Now repeat this process for all the colors you want in your soap. Using a different rectangle mold compartment for each color. Once all your colors are poured, let the soap set to harden, then remove the different colors from the mold.
Use the letter cutters to cut out your words from the colored soap layers. I was limited to words no longer than 5 letters because of the size of my mold, so you have to get creative here!
Once you have your letters, cut about a cup of white soap into 1″ cubes,
placing it your bowl, and microwaving for 30 seconds. Stir the soap
until all the chunks melt, add a few drops of fragrance if you want, and
then pour the soap into the soap molds. You will want to only fill the
molds 1/3 of the way up.
Once hard, spritz the top of the white soap with the rubbing alcohol (this helps the soap layers stick together) and layer on your letters.
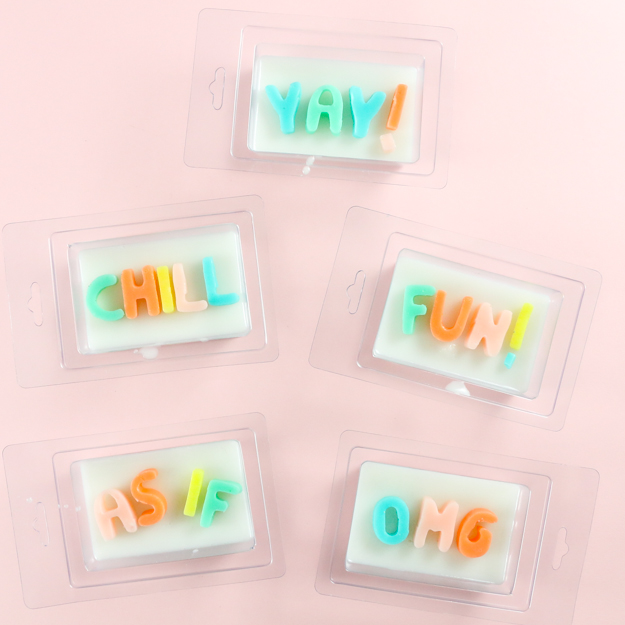
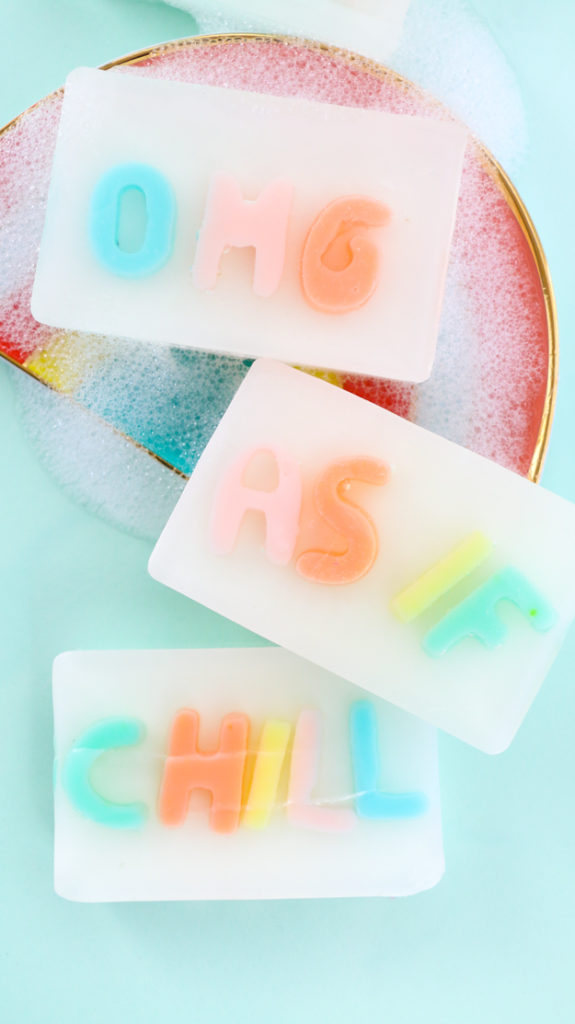
Now using a clean bowl, melt some clear soap base. You will want to make sure the soap just melts. If it gets too hot, it will start to bubble and introduce a ton of bubble into the soap which will make your soap cloudy. So start melting the soap in 10 second increments until it just melts. Then, gently spoon the melted soap onto the top of the letters until they are just covered. Spritz the top of the clear soap in the mold with more alcohol to get rid of any remaining air bubbles. Then let your soap cool. Once cool you can unmold your soap bars and wrap them in clear kitchen wrap to give as gifts, or put them in your bathroom for a fun piece of usable decor!
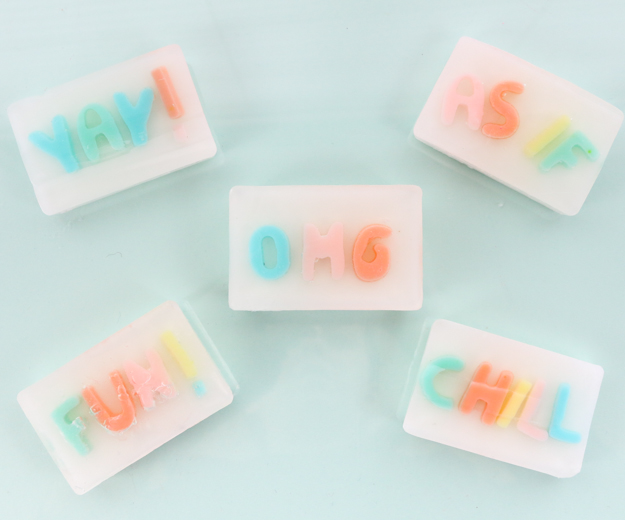
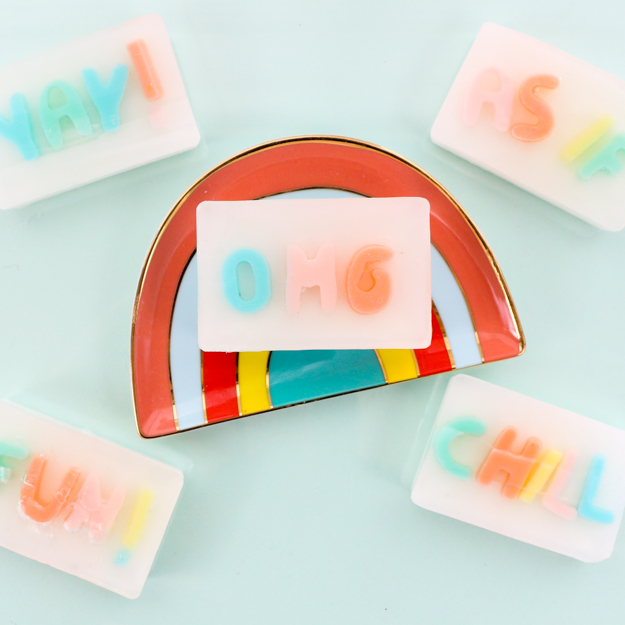
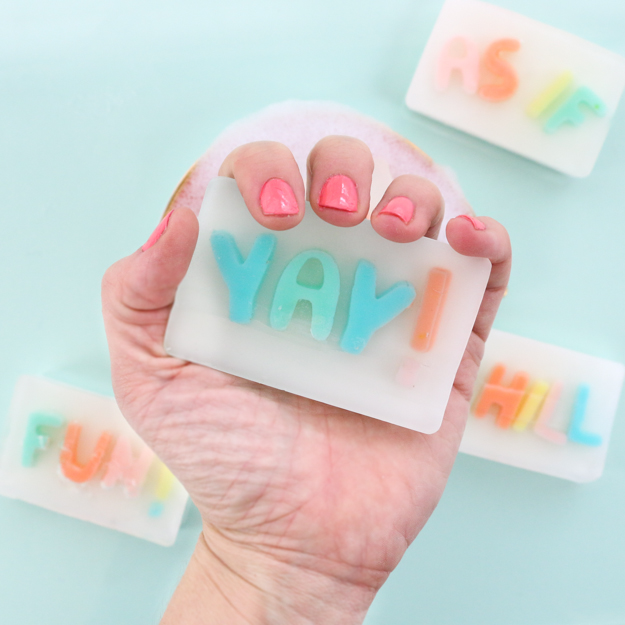
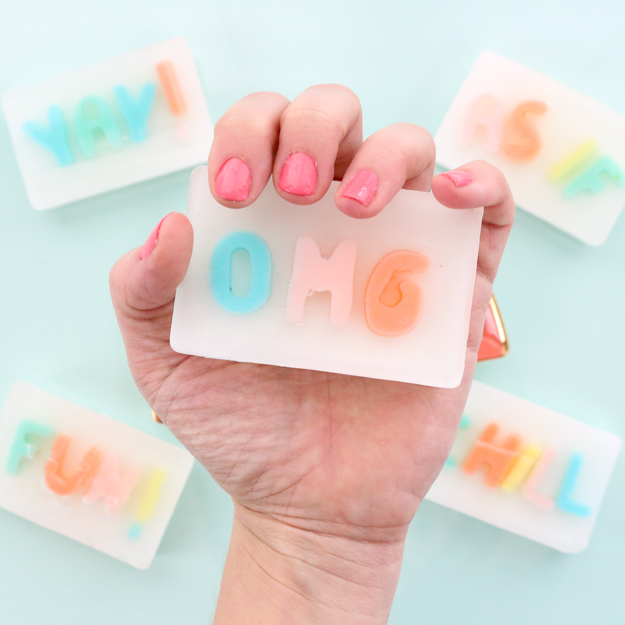
Yay! I hope you all have fun playing around with soap! Oh, and feel free to use other shaped cookie cutters for your soap, maybe you would rather fill your soap with hearts or flowers instead? The skies the limit.
And as always, if you prefer to just buy them and not go to the trouble of making them. You can purchase them here in my etsy shop.


January 24th, 2017 at 10:13 am
Oh wow, I LOVE this! It looks so easy, now all I have to do is find the supplies! (easier said than done outside of the US…) Thanks for the tute! 🙂 Lisa
February 5th, 2017 at 8:49 pm
So glad you liked this project!
July 6th, 2024 at 6:47 pm
My letters keep melting. Any tips?