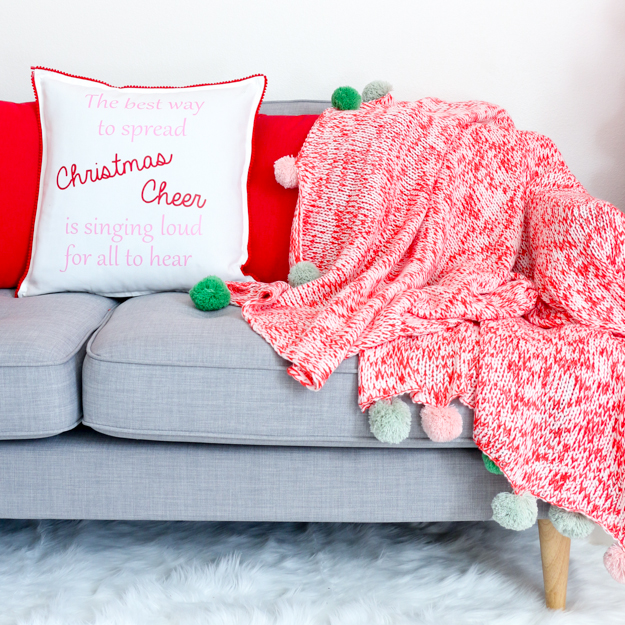
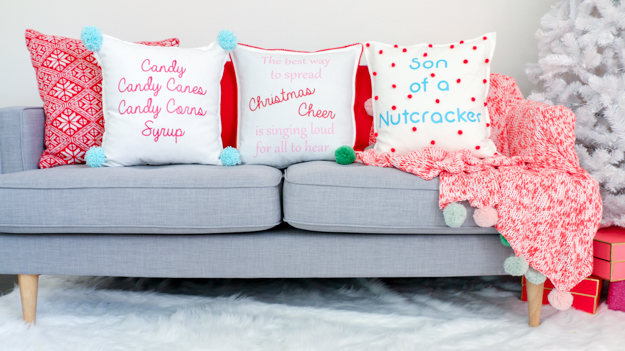
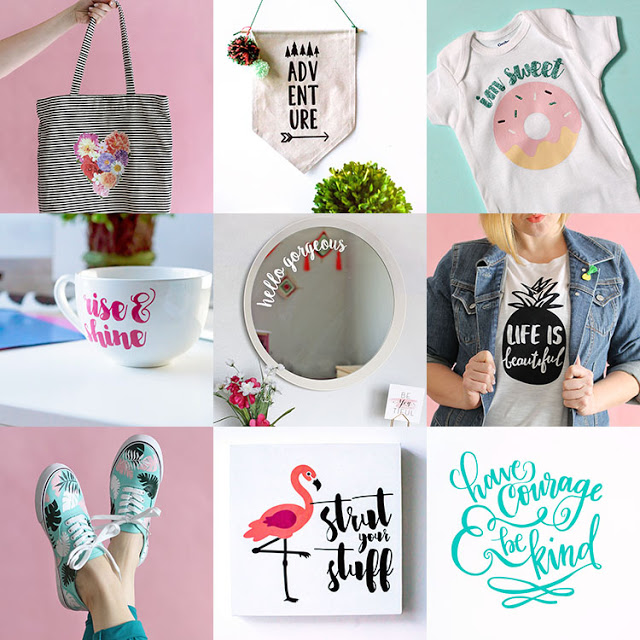
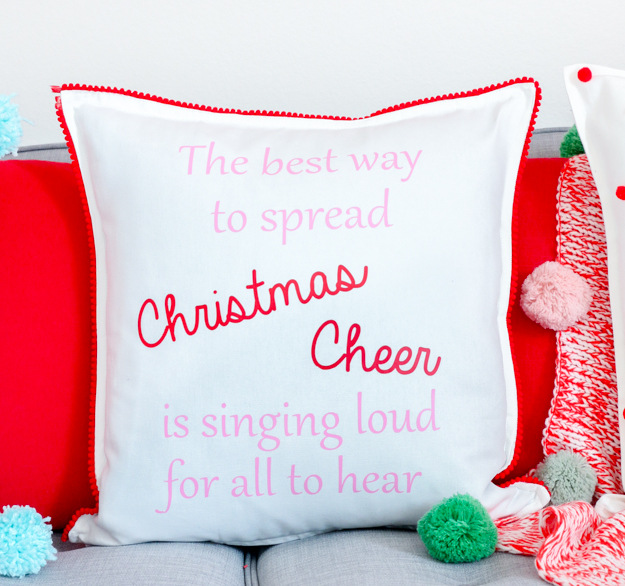
Today, in addition to showing you how to make these fun pillows, I am also joining in with other talented bloggers to share over 20 amazing vinyl projects with you as well as hosting an amazing giveaway (details at the bottom of the post), all to celebrate the launch of Alexis of Persia Lou‘s new Craftsy Class – Silhouette Savvy: Venture into Vinyl, a brand new online video class that will teach you everything you need to get started cutting vinyl with your Silhouette. In the course, Alexis will walk you through creating eleven different vinyl projects. You will get all the cut files you need as well as video guidance for each step, and you will learn techniques such as layering adhesive vinyl, cutting large-scale decals, using the print and cut feature with printable heat transfer material, creating vinyl stencils for screen printing, and more.
Now let’s get on to the making of these awesome pillows!
The Supplies:
- Heat Transfer Vinyl in Red, Pink, and Turquoise
- Silhouette Cameo
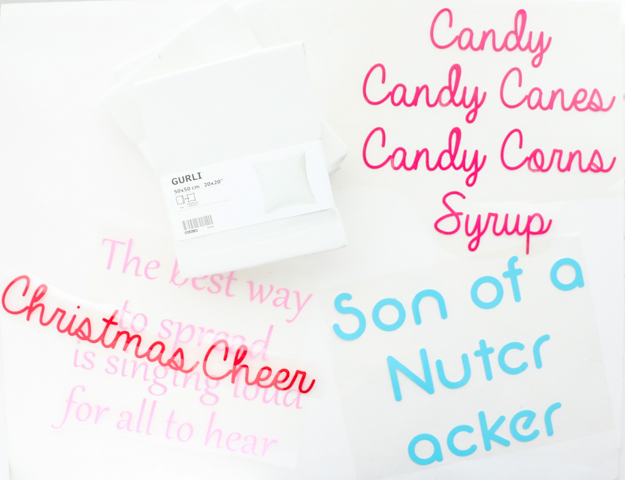
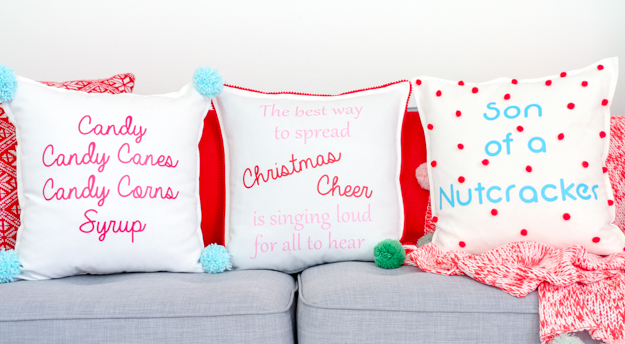
- These three cut files – Christmas Cheer Part 1 and Part 2, Nutcracker, and Candy
- Canvas Pillow Cover (I like to use the $3 Ikea ones)
- Iron and ironing board
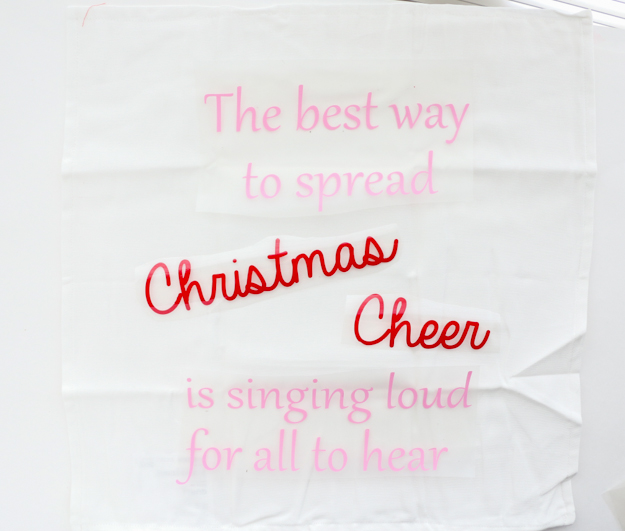
Begin by loading your vinyl into the Silhouette, and cut each file on one 12″ by 12″ piece of heat transfer vinyl with the blade set to 4, the speed to 8, and the thickness to 20. You also want to make sure that the text is mirrored so that it faces the correct way when you go to iron it on the pillow case.
Once you have cut out all of the vinyl, weed the negative space and then cut the images so that the word letters line up correctly.
It’s now time to iron the vinyl on to the pillow cases. Use a pressing cloth (a plain piece of lightweight fabric works) and press the vinyl for 1 minute or until the vinyl adheres to the case. Let cool, then peel back the plastic backing. Cover the vinyl with the pressing cloth and iron for another 15 seconds to set the vinyl.
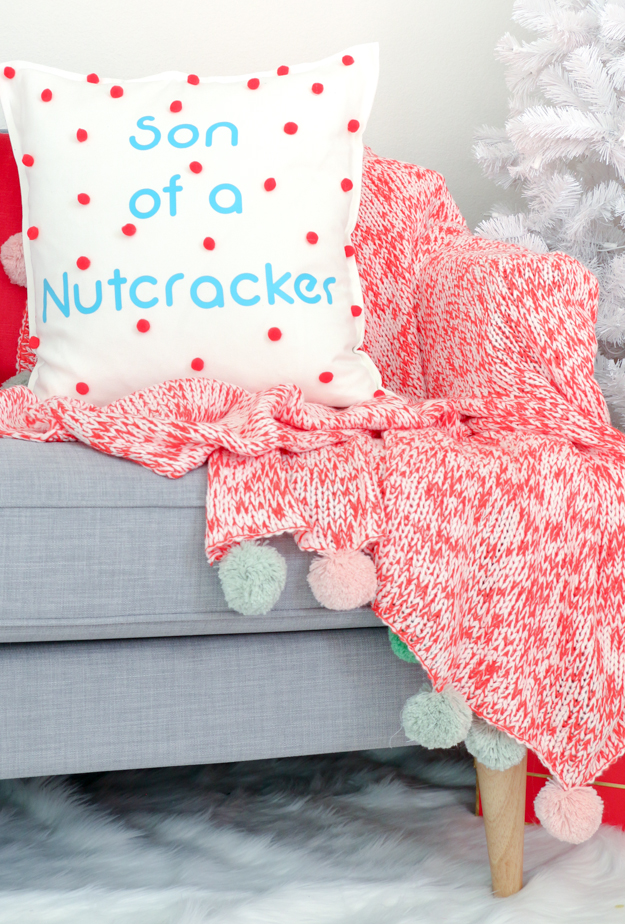
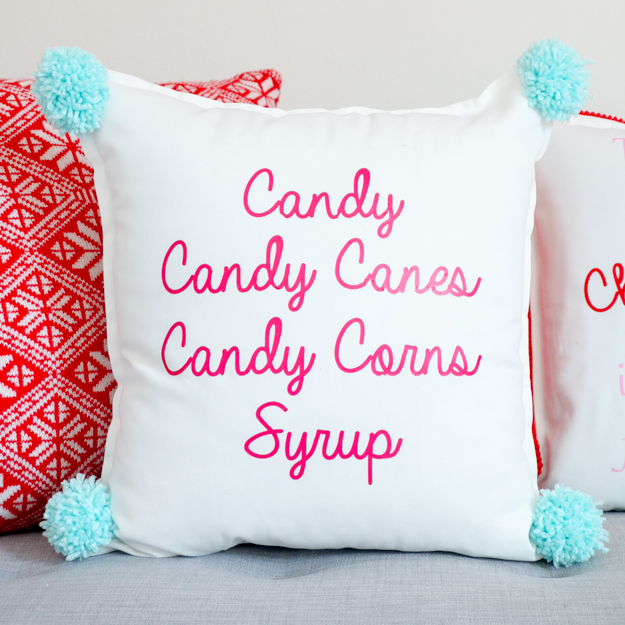
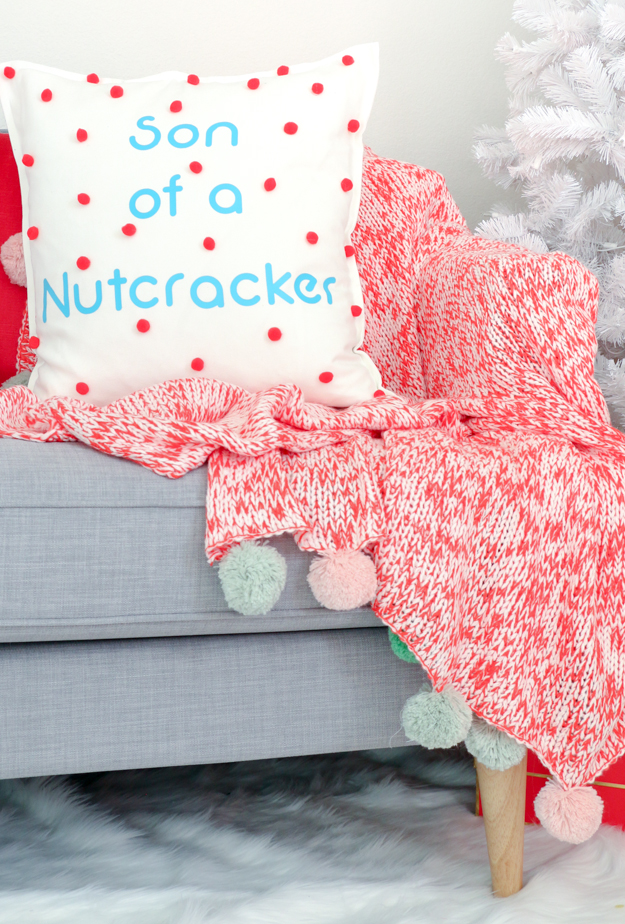
If you want, you can add adornments such as mini pom poms (you can just hot glue these on or use fabric glue), large yarn pom poms sewn to the corners, or mini pom pom trim glued on with fabric glue or sewn on to the edge of the pillow case to your pillows.
Yay! Your Elf pillows are complete, so that means it’s time to make a bowl of popcorn (preferably topped with candy and candy canes) and enjoy watching Elf while snuggling your newest creation.
Be sure to check out all the other bloggers and their amazing creations and enter the giveaway below!
Thank you to Expressions Vinyl for providing awesome vinyl to our awesome bloggers, and thanks to Persia Lou, Silhouette, and Craftsy for sponsoring our giveaway!
Hello My Name Is Personalized Newborn Onesie – Where the Smiles Have Been
Tis The Season Shadow Box – Practically Functional
Now, time for our giveaway!
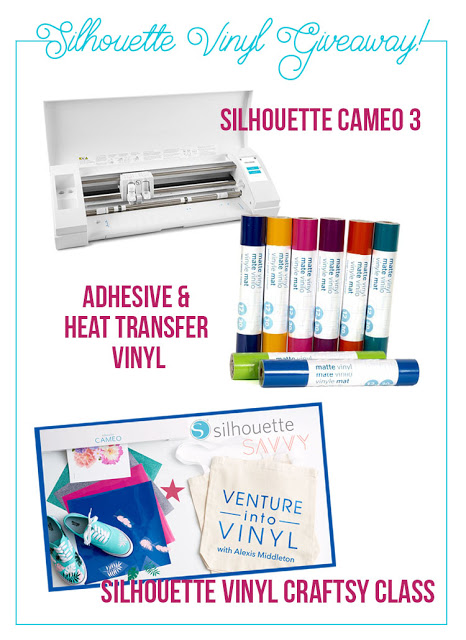
One of you lucky folks will win everything you need to start making your own amazing vinyl projects! The prize includes a brand new Cameo 3 (yay!), a collection of vinyl, and the Silhouette Savvy: Venture into Vinyl Craftsy Class. The giveaway is open to U.S. Residents only (sorry, international friends) 18 or older and will close midnight Monday 11/21 Pacific Time.
November 14th, 2016 at 6:10 pm
haha! We LOVE Elf over here, so these are a must make! <3
November 14th, 2016 at 9:29 pm
OMG I love these pillows SO MUCH! Going to have to make that candy, candy canes, candy corn, syrup pillow if I win this prize!
Julia – http://bunnybaubles.com
November 14th, 2016 at 9:37 pm
I hope you win!
November 17th, 2016 at 1:33 am
I just LOVE your pillows! I think it's so fun that we both had Elf on the brain for the blog hop. 🙂 By the way, I adore your blog (and your style)!
November 17th, 2016 at 7:51 pm
Thanks! Elf is pretty synonymous with Christmas for me too.