With school starting a few weeks ago and the change of seasons nearing, I have really gotten back into my creative groove after a crazy summer. I am so excited to share all the new projects I have been working on with you in the next few weeks. These DIY boho macrame picture frames could not be easier to make and it really brings a pretty textural element to your art work. Plus, they totally give off all the fall vibes, don’t they?!
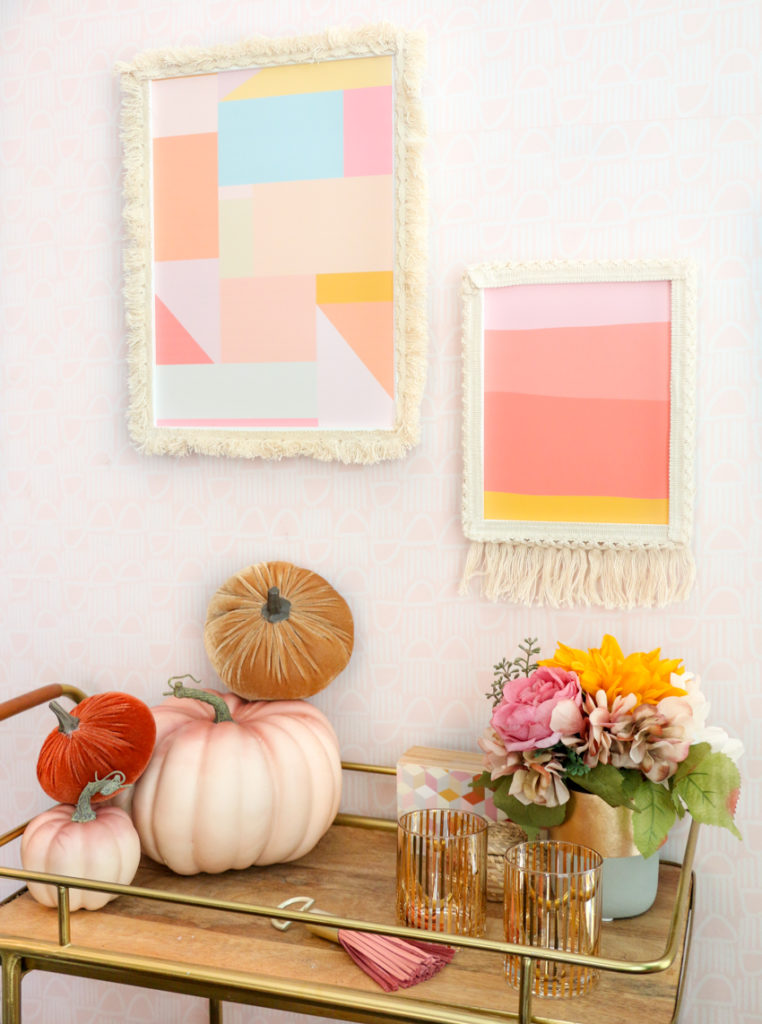
Just look at the fun fringe and knot work! A little more boho than you might be used to from me, but still colorful and fun. And while they definitely look complicated, they are as simple to make as using a glue gun.
Materials to make your own DIY Boho Macrame Picture Frames:
- Macrame and tassel trim from the fabric store (I bought these at JOANN but here is an Amazon option)
- Picture frames
- Hot glue gun or Fast grab tacky glue
- Scissors
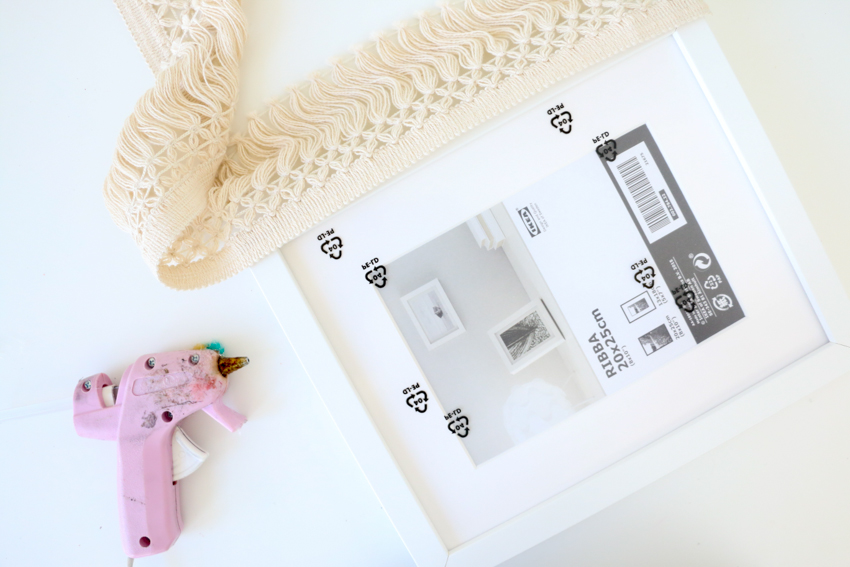
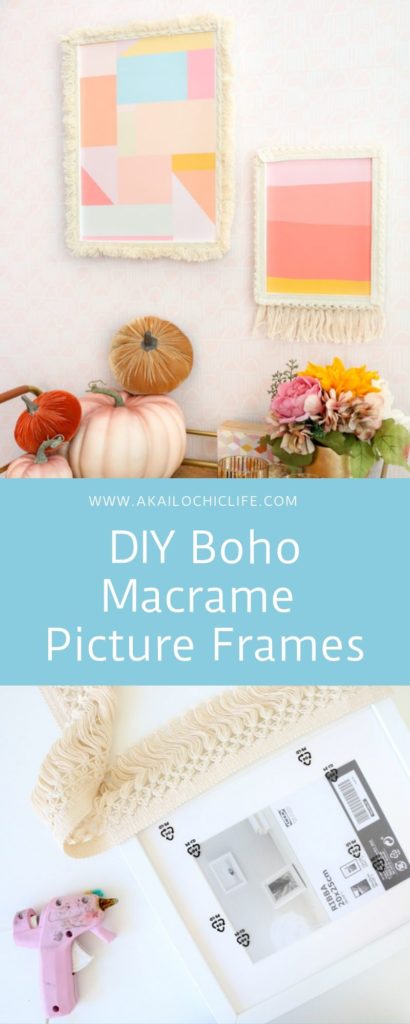
Begin by gluing the trim around the edge of the picture frames. For the corners, simply fold at a 45 degree angle, glue down, and move on to the next frame side.
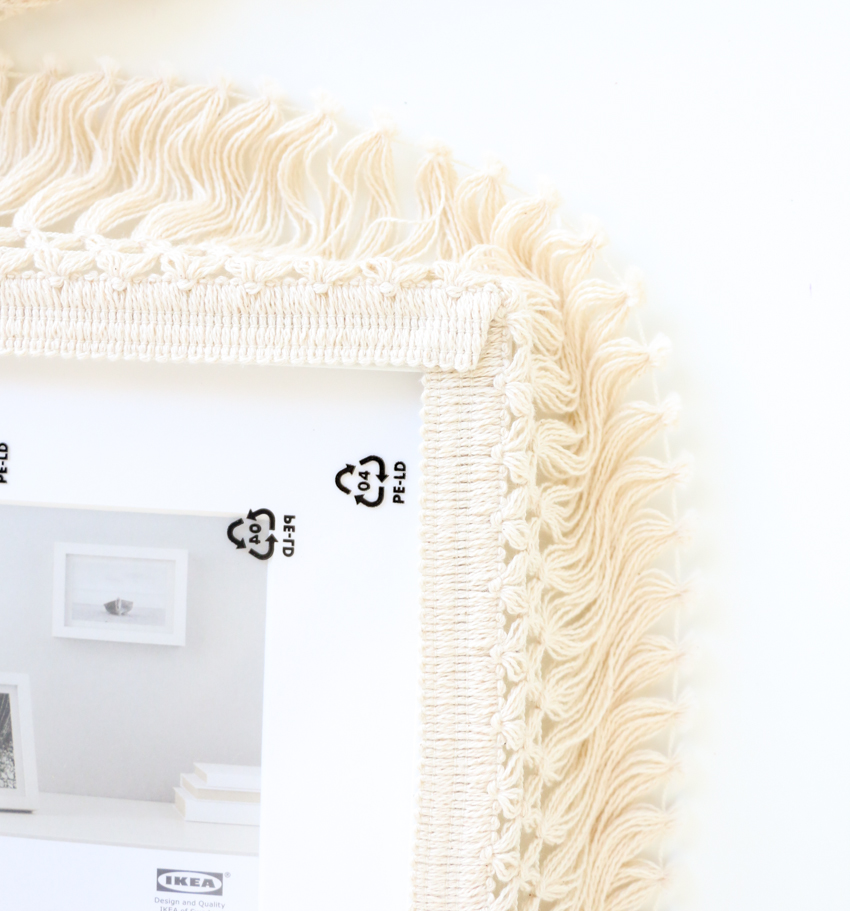
Once you have worked your way around the picure frame, cut off the excess trim and glue down the end. For the short trim, just leave the front of the picture frame decorated with the trim. For the longer trim, you can leave as is, or fold the trim around the side of the frame and glue to the back of the frame for a more macrame covered frame look, while leaving the tassels at the bottom to hang free.
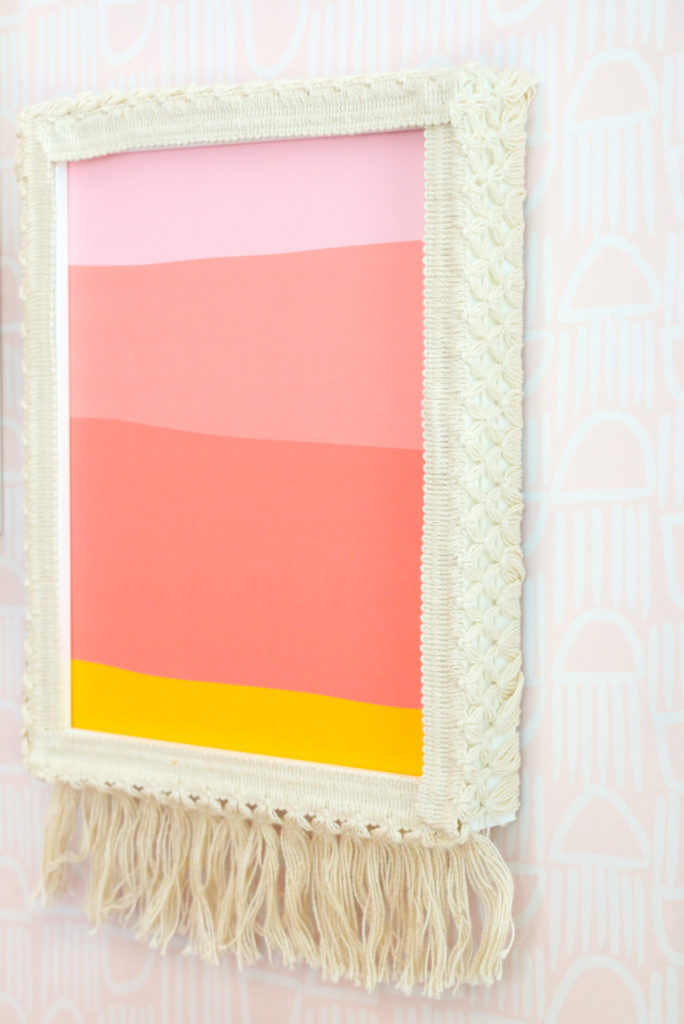
I am so in love with the look of these frames for fall. And to make sure I didn’t detract from the beauty of the frame too much, I added simple color blocked art work in a colorful fall palette.
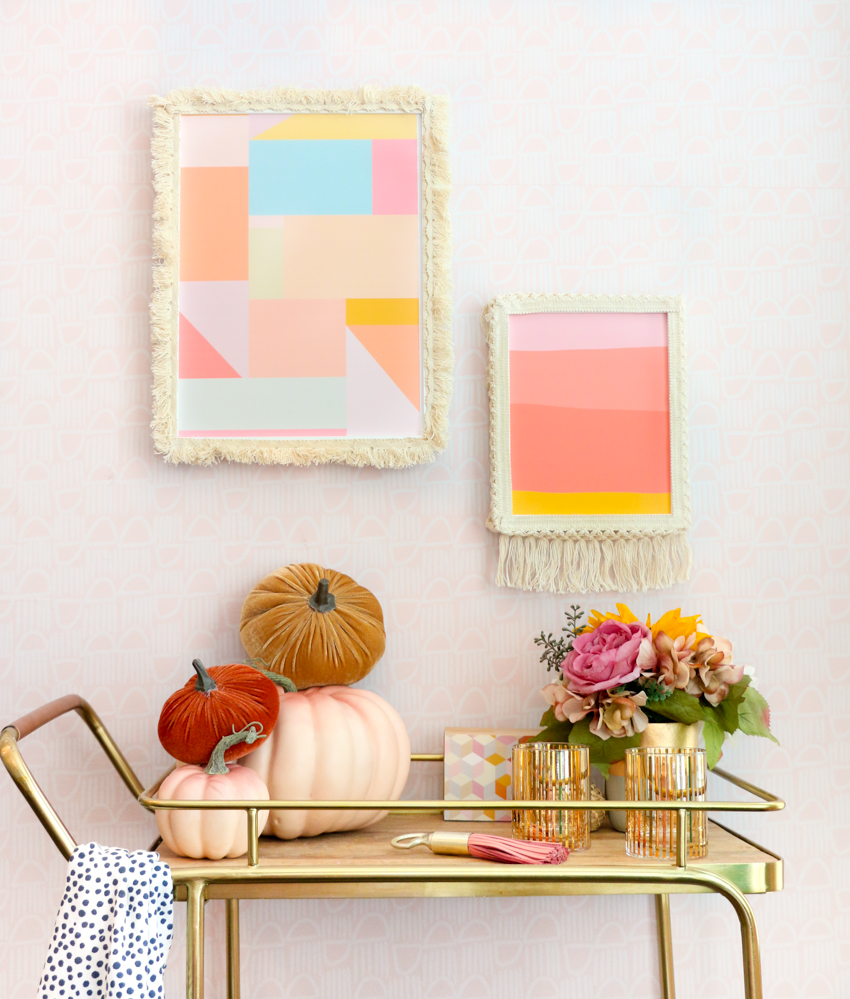
The natural look of the undyed trim looks very fall to me, but if you want even more color with your texture, you can use fabric dye to dye the trim before gluing it on for an even more over the top look!
February 24th, 2020 at 6:26 am
[…] A Kailo Chic Life […]