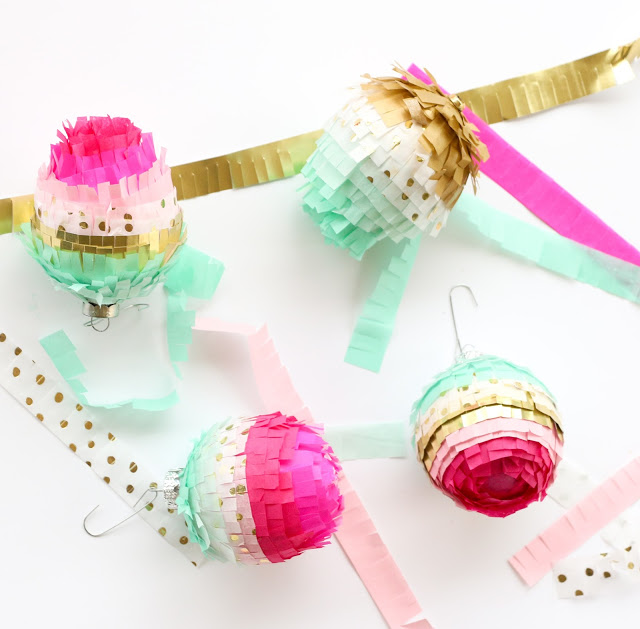
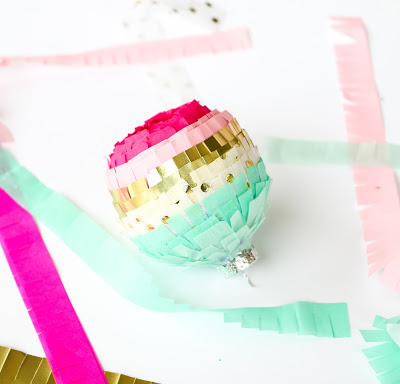
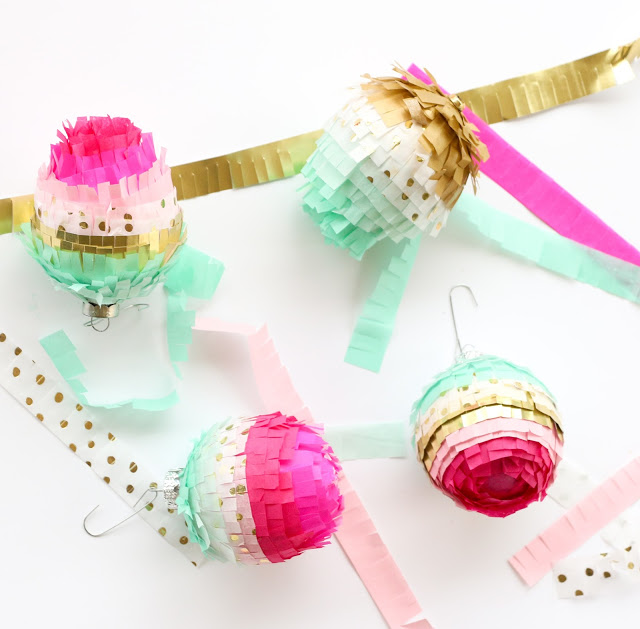
I love the pink, mint, and gold combo on these ornaments. They scream party, and celebration, and fun! But feel free to swap the pink for red for a more traditional Christmas look.
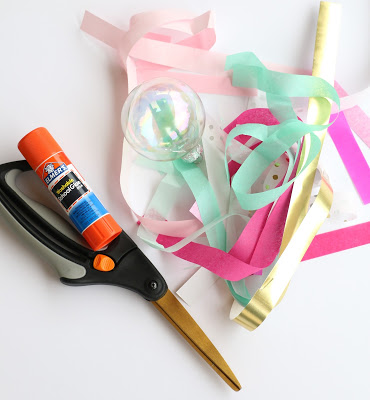
Materials:
- Tissue paper (or wrapping paper) in a variety of colors – The mint and gold polka dot tissue is Sugar Paper LA for Target tissue paper, the plain gold is wrapping paper from Home Goods, and the pink tissue is from the Handmade Modern line at Target
- Glue Stick
- Plain ornament and hooks
- Scissors
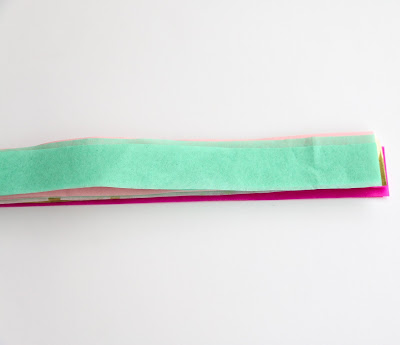
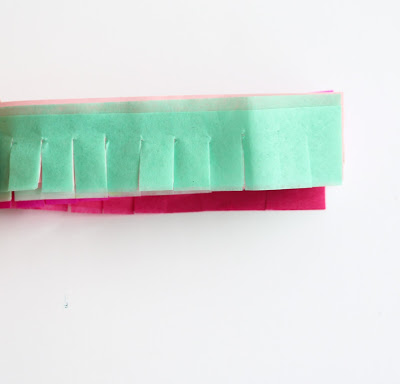
To begin you will want to cut 1/2″ strips of your tissue paper. Then lay them all out in a pile and fringe cut them into 1/8″-1/4″ fringed edges.
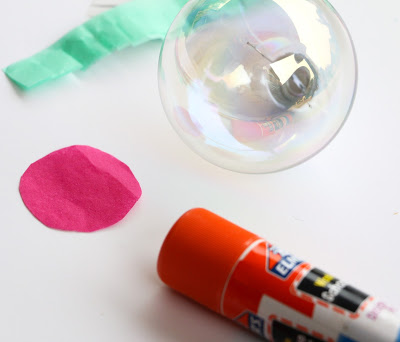
You will also need to cut out a small 1″ in diameter circle out of one of your colors of tissue paper and glue it to the bottom of the ornament.
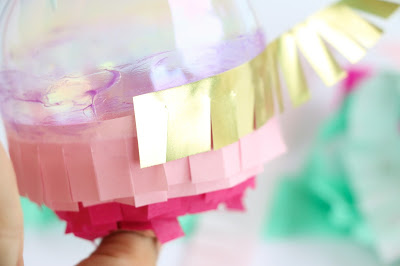
Once you have your base, you will flip the ornament over and begin gluing one strip of your fringed tissue paper around the ornament.
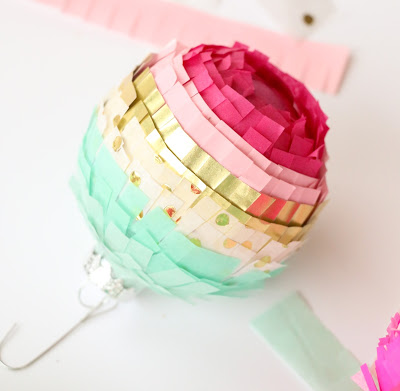
Here is what you will have after the tissue paper has gone around a few times. After the base color is complete (I like to do about 3-4 rows of the first color), move on to your next color. I found that 2 rows of each of the other colors you are working with make for a nice pattern. When you have glued one strip all the way around the ornament, cut the strip and move up to start the next layer. This gives a nice consistent look around the entire ornament.
When you get to the top of the ornament, remove the cap and loop and glue the fringe all the way to the top, then replace the cap and loop for a clean look.
That’s it! Now add your hook and display on your tree. As you can see, I didn’t do the same order of tissue paper for all my ornaments, I varied each ornament with different shades of mint, light blue, pink, and light pink, and gold and I ended up displaying these on my new hot pink tree from At Home stores, because, PINK! And just look how pretty!






January 29th, 2016 at 7:23 pm
Ahhh! These are super pretty. I also love love love your pink tree!