Hey all! I hope you had a great weekend! I was busy entertaining and playing with my kids most of the weekend, but I still managed to get some new shelves built and installed in the guest bathroom.
I have seen several IKEA hacks using the EKBY BJÄRNUM shelf brackets, but my favorite use of the has to be this usage from Lay Baby Lay. I love the warmth of the barn wood and gold edge brackets.
Unfortunately I don’t have any old barn wood laying around, so I had to hack my own version. To start, I purchased my brackets at IKEA. At $7 each set, they were quite the deal! I picked up 3 sets of the 7.5″ brackets. After searching for shelf options at IKEA, I came to discover that the only wood shelf pieces that they had that were thick enough to fill the 1″ brackets were pieces of laminated MDF. I really had my heart set on dark walnut stained wood, so it was off to the Home Depot. I initially thought I would just purchase a nice pine board and cut it to size, but the stock boards were only about 3/4″ thickness which meant that there would have been gaps were the board went into the brackets.
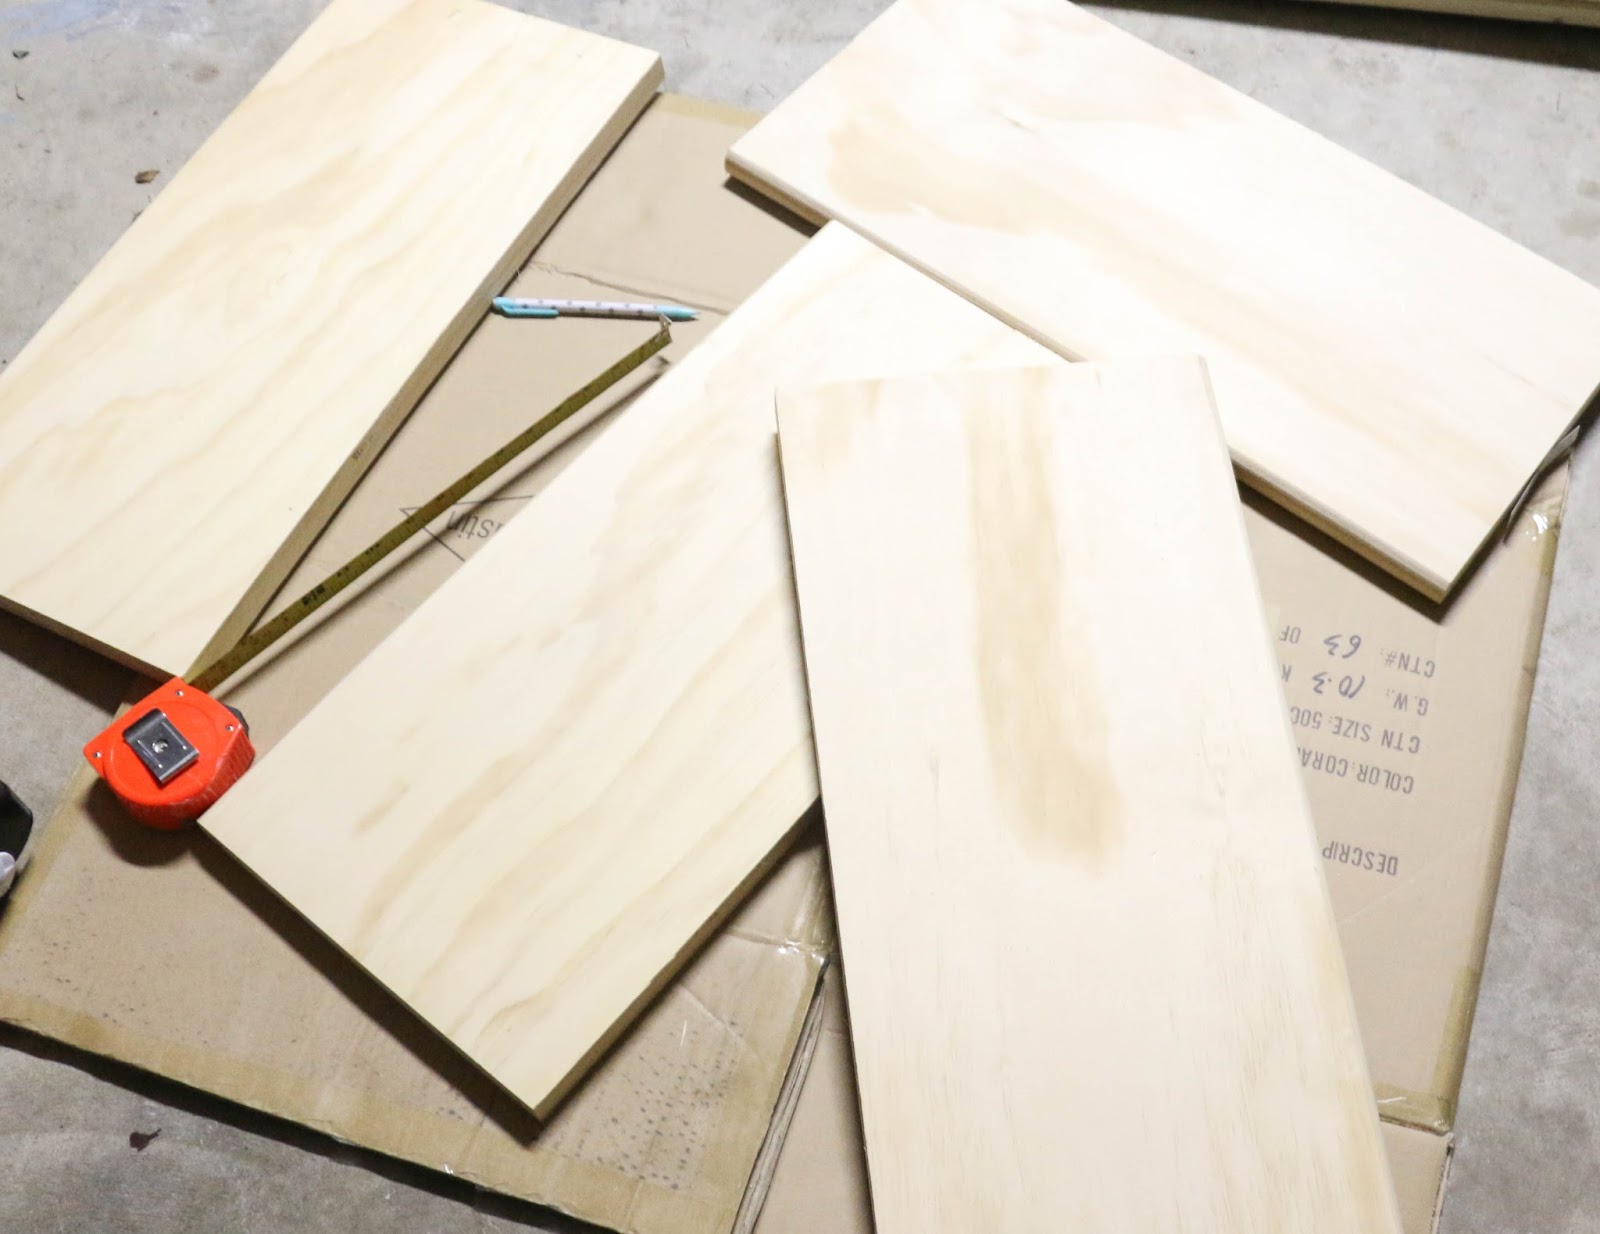
A little creative thinking later, and my husband and I decided on using hardwood stair treads. These were 1″ thick, and I was able to get two 2′ shelves out of each $11 tread. I purchased two of the treads and brought them home to start my project.
First I used my miter saw to cut the treads in half. Then we marked the 7.5″ mark on the treads and ripped them using our jig saw. A circular saw would have been much better, but unfortunately we don’t have one. Yet. We used a piece of tile clamped to the tread to keep the jig from going off path while cutting.
As you can see above, I cut the rounded nose part off the tread so that I would have square sides to fit into the brackets.
While the poly was drying, I went ahead and spray painted the brackets gold. My favorite gold spray paint is
Valspar Metallic gold. I let the poly and spray painted brackets dry and cure for a couple of days while we went out of town.
That brings us to this past weekend when I was finally able to put everything together.
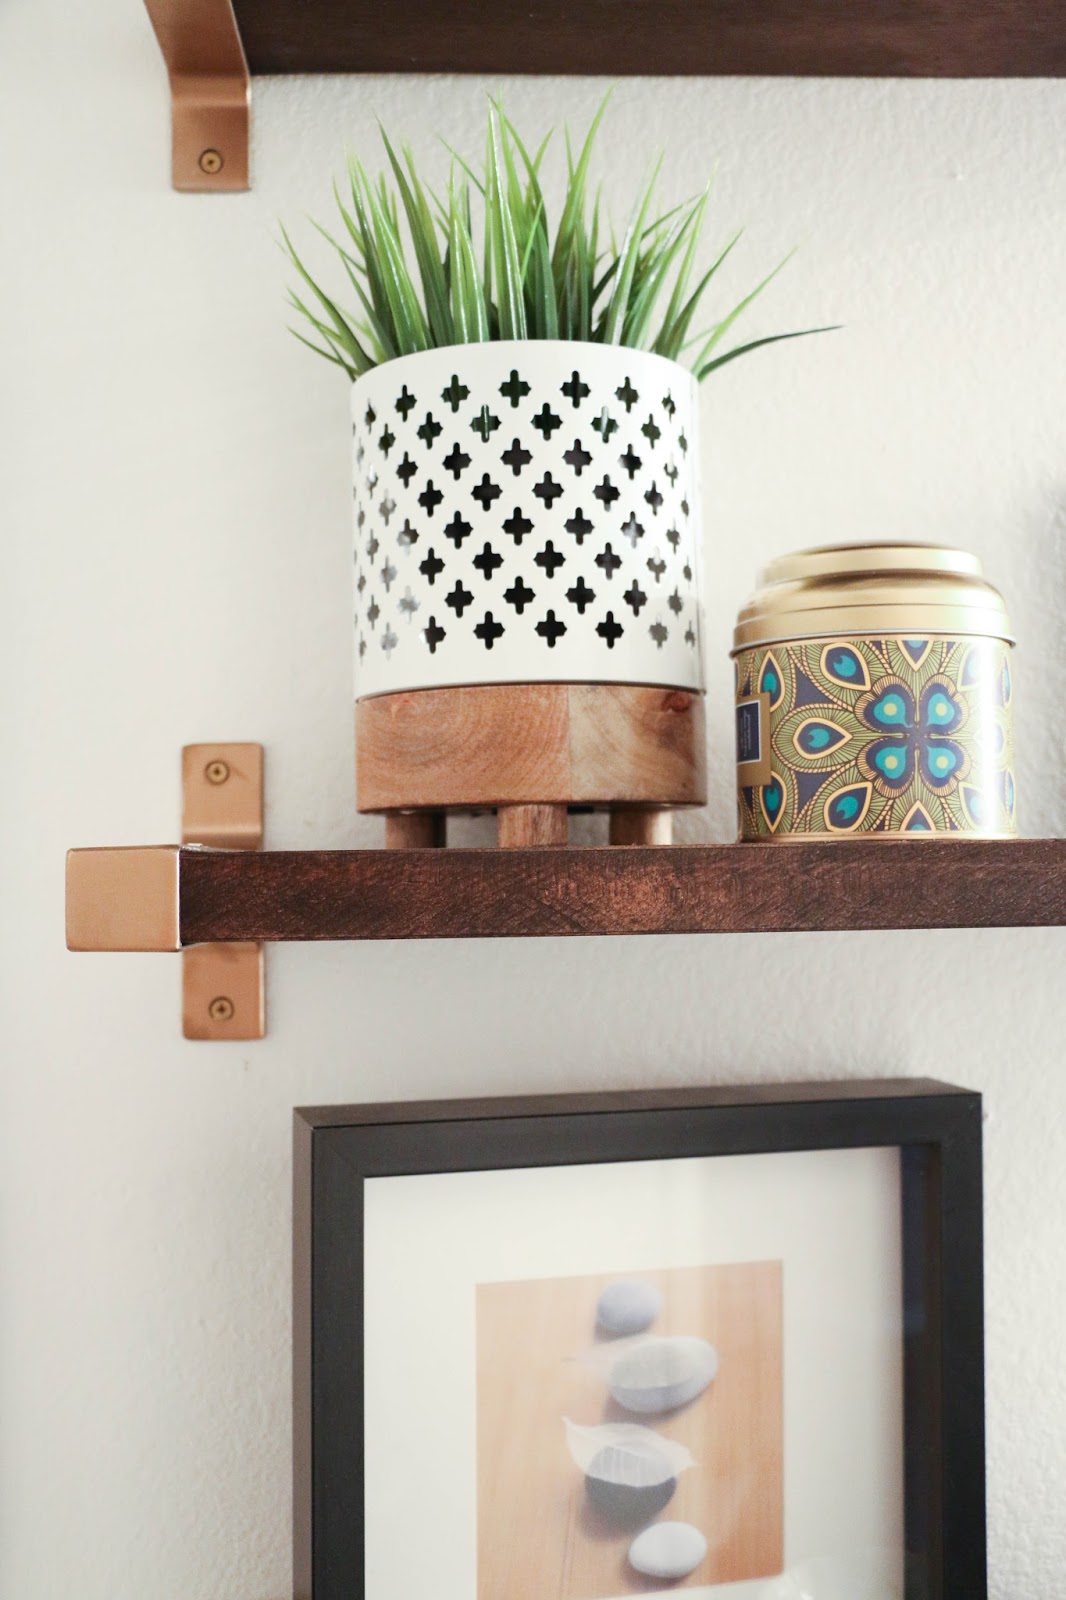
I put the wood into the brackets and used the screws that came with the to attach the wood to the brackets.
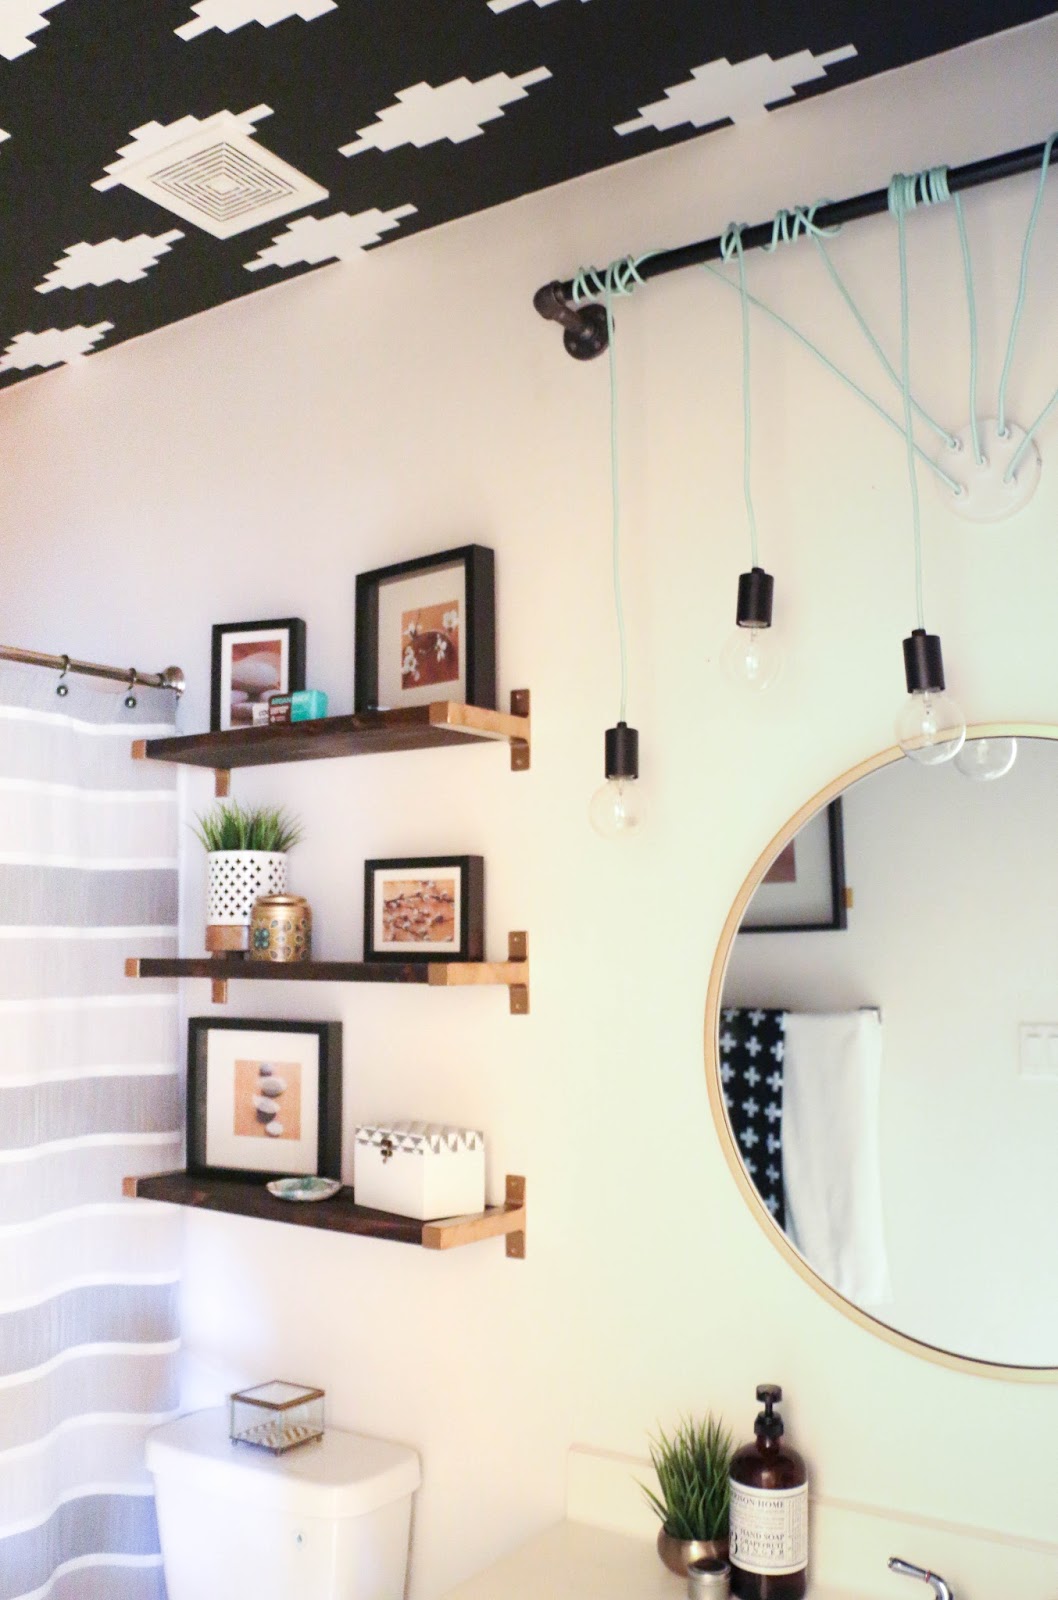
Next I used my level to install the first shelf above the toilet in the guest bath. I just picked an arbitrary point were I thought the shelf looked good. I used mollies in the top holes to ensure strength in the shelves. Then I used gold paint to fill in the screw holes.
For the next two shelves, I decided on the distance between the shelves, then used painters tape to ensure that they were all lined up correctly.
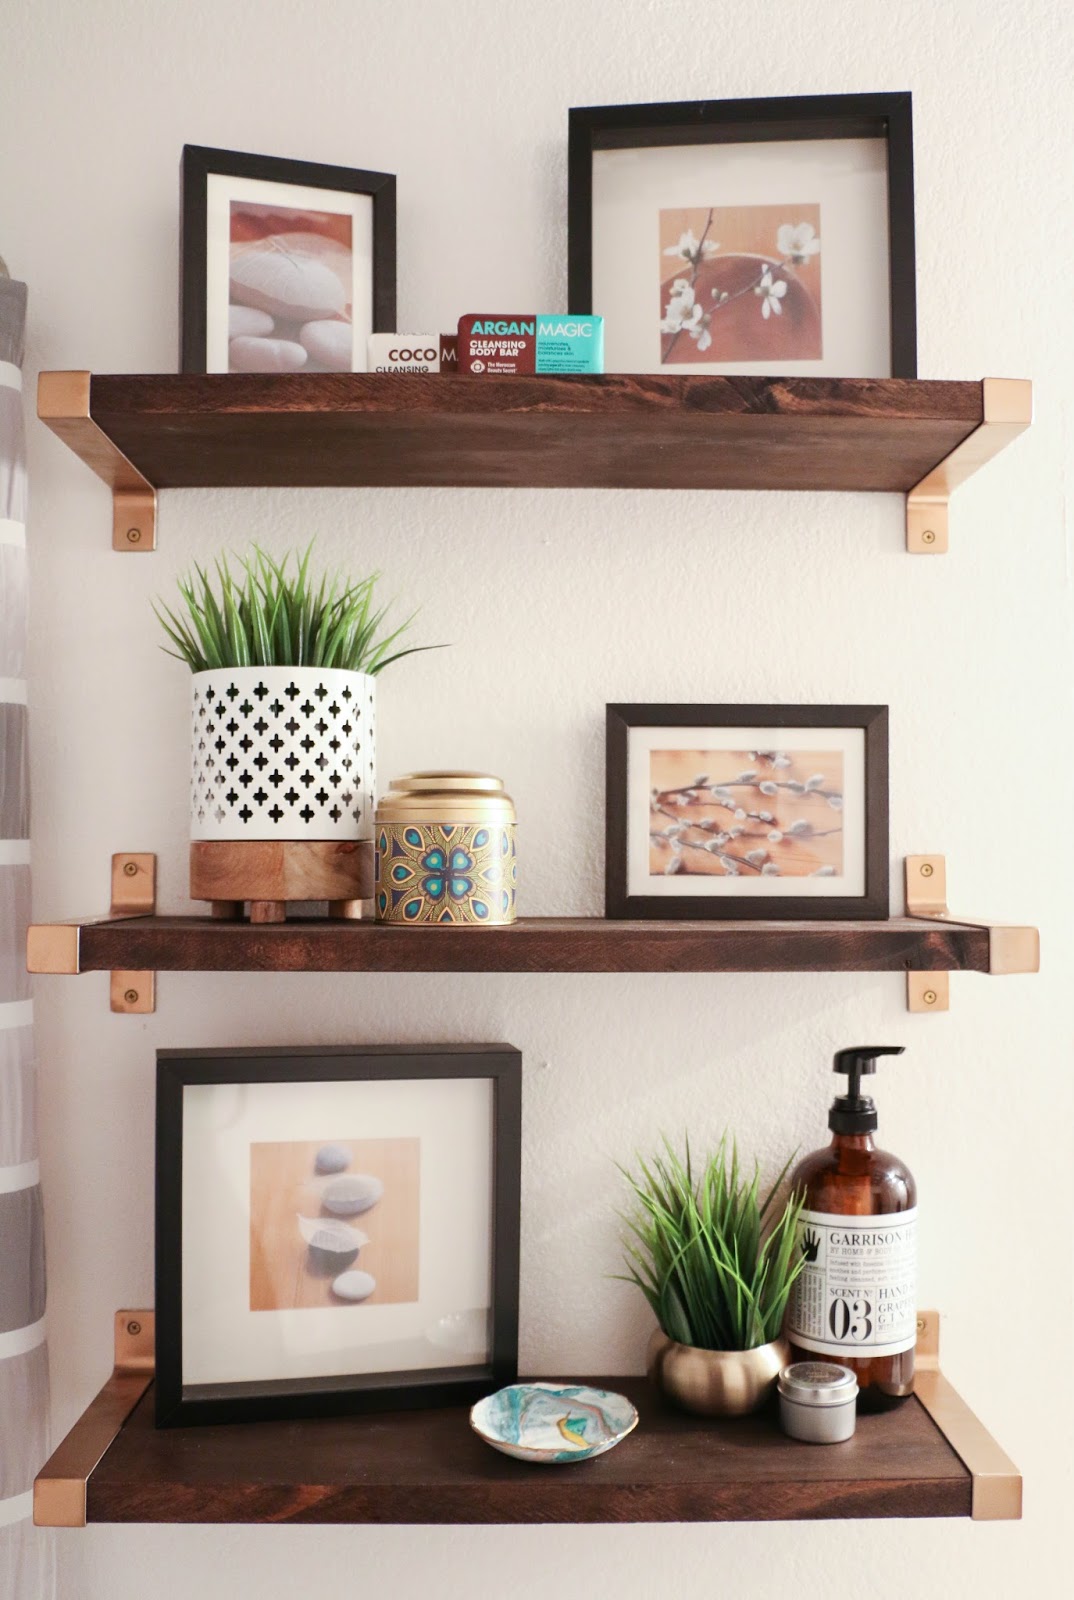
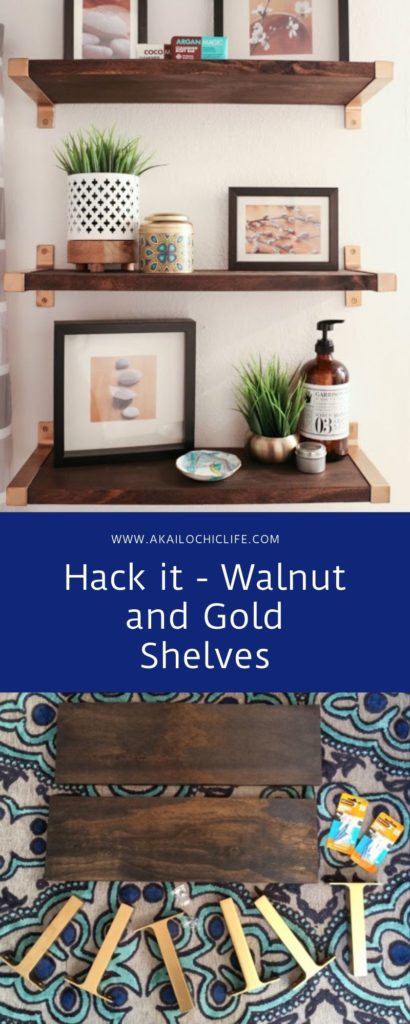
Again, mollies were used in the top holes, and regular drywall screws in the bottoms. All that was left after installation was to style them. My favorite part! I pulled some items from around the house and found some fun typographic soap at home goods and viola! IKEA hacked EKBY BJÄRNUM shelves in walnut and gold.
Project $ breakdown:
Brackets – $7 each x 3 = $21
Wood treads – $11 each x 2 = $22
Stain (I had some on hand from previous projects) – $5
Poly acrylic (again, I had this on hand already) – $7
Mollies – $4
Total cost – $47 ($59 if you need to purchase stain and poly)
That is only about $16 (or $20) per shelf. And if you wanted, you could add one more for only the price of another bracket ($7) since there was an extra piece of tread left.
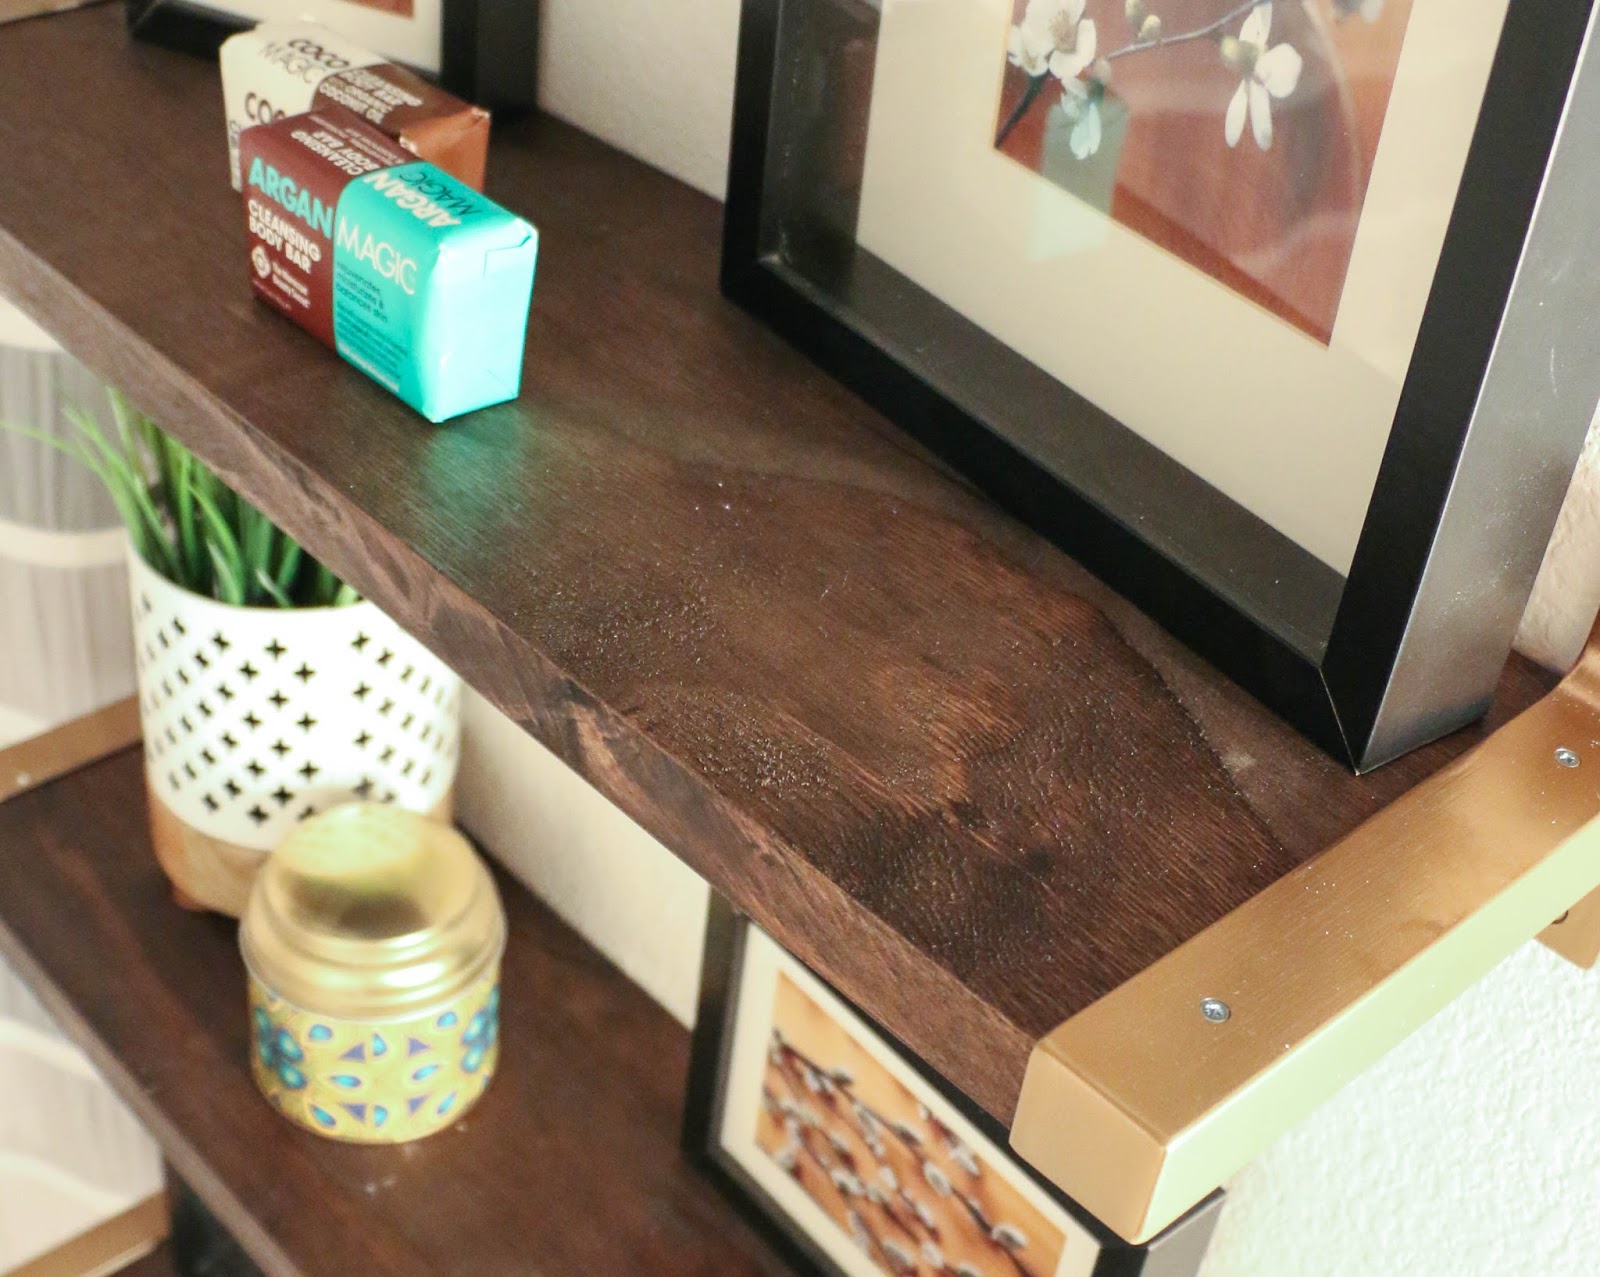
Forgot to add that I also installed the two top shelves with the screw holes facing up so
that they wouldn’t be seen when standing. From the ground, all you can
see is a clean all gold bracket. Here is a view of these shelves from the top.
What do you think? I love the way they look here in this bathroom.