


My furniture painting and makeovers have taken a brief hiatus. I was sick last week, and this week I realized that my daughters 4th birthday party is rapidly approaching, so my craft time has shifted focus. I am now using the bits of time here and there to finish up some of the crafty projects I have lined up for her royal tea party.


Today I wanted to share with you the party favor bags I made. I saw some super cute bags on etsy with little heart stickers that I just had to have, but at a price of $25 fit just the treat bags, I had to pass. I ended up getting the same look with supplies I already had on hand! Yay for savings!
For the bags, I wanted to have some pink chevron ones and some mint polka dotted ones. I already had some white lunch sacks that I use for bagging merchandise at craft shows, so I first tried to print my designs directly on the bags. That was a no go as my printer just didn’t want to pull that much paper in to print on.
Next I tried using a stencil, some spray adhesive, and spray paint. This option wasn’t bad, despite some bleeding, but it would have been very time consuming to wait for the paint to dry before using the stencil again. So I nixed that option.
I finally decided I would print the images out on regular paper (or you could use scrapbook paper) and trim it to fit on my bags and use the spray adhesive to stick the image on the bag. This worked well and was quite quick (about 20 min for all 24 bags start to finish).
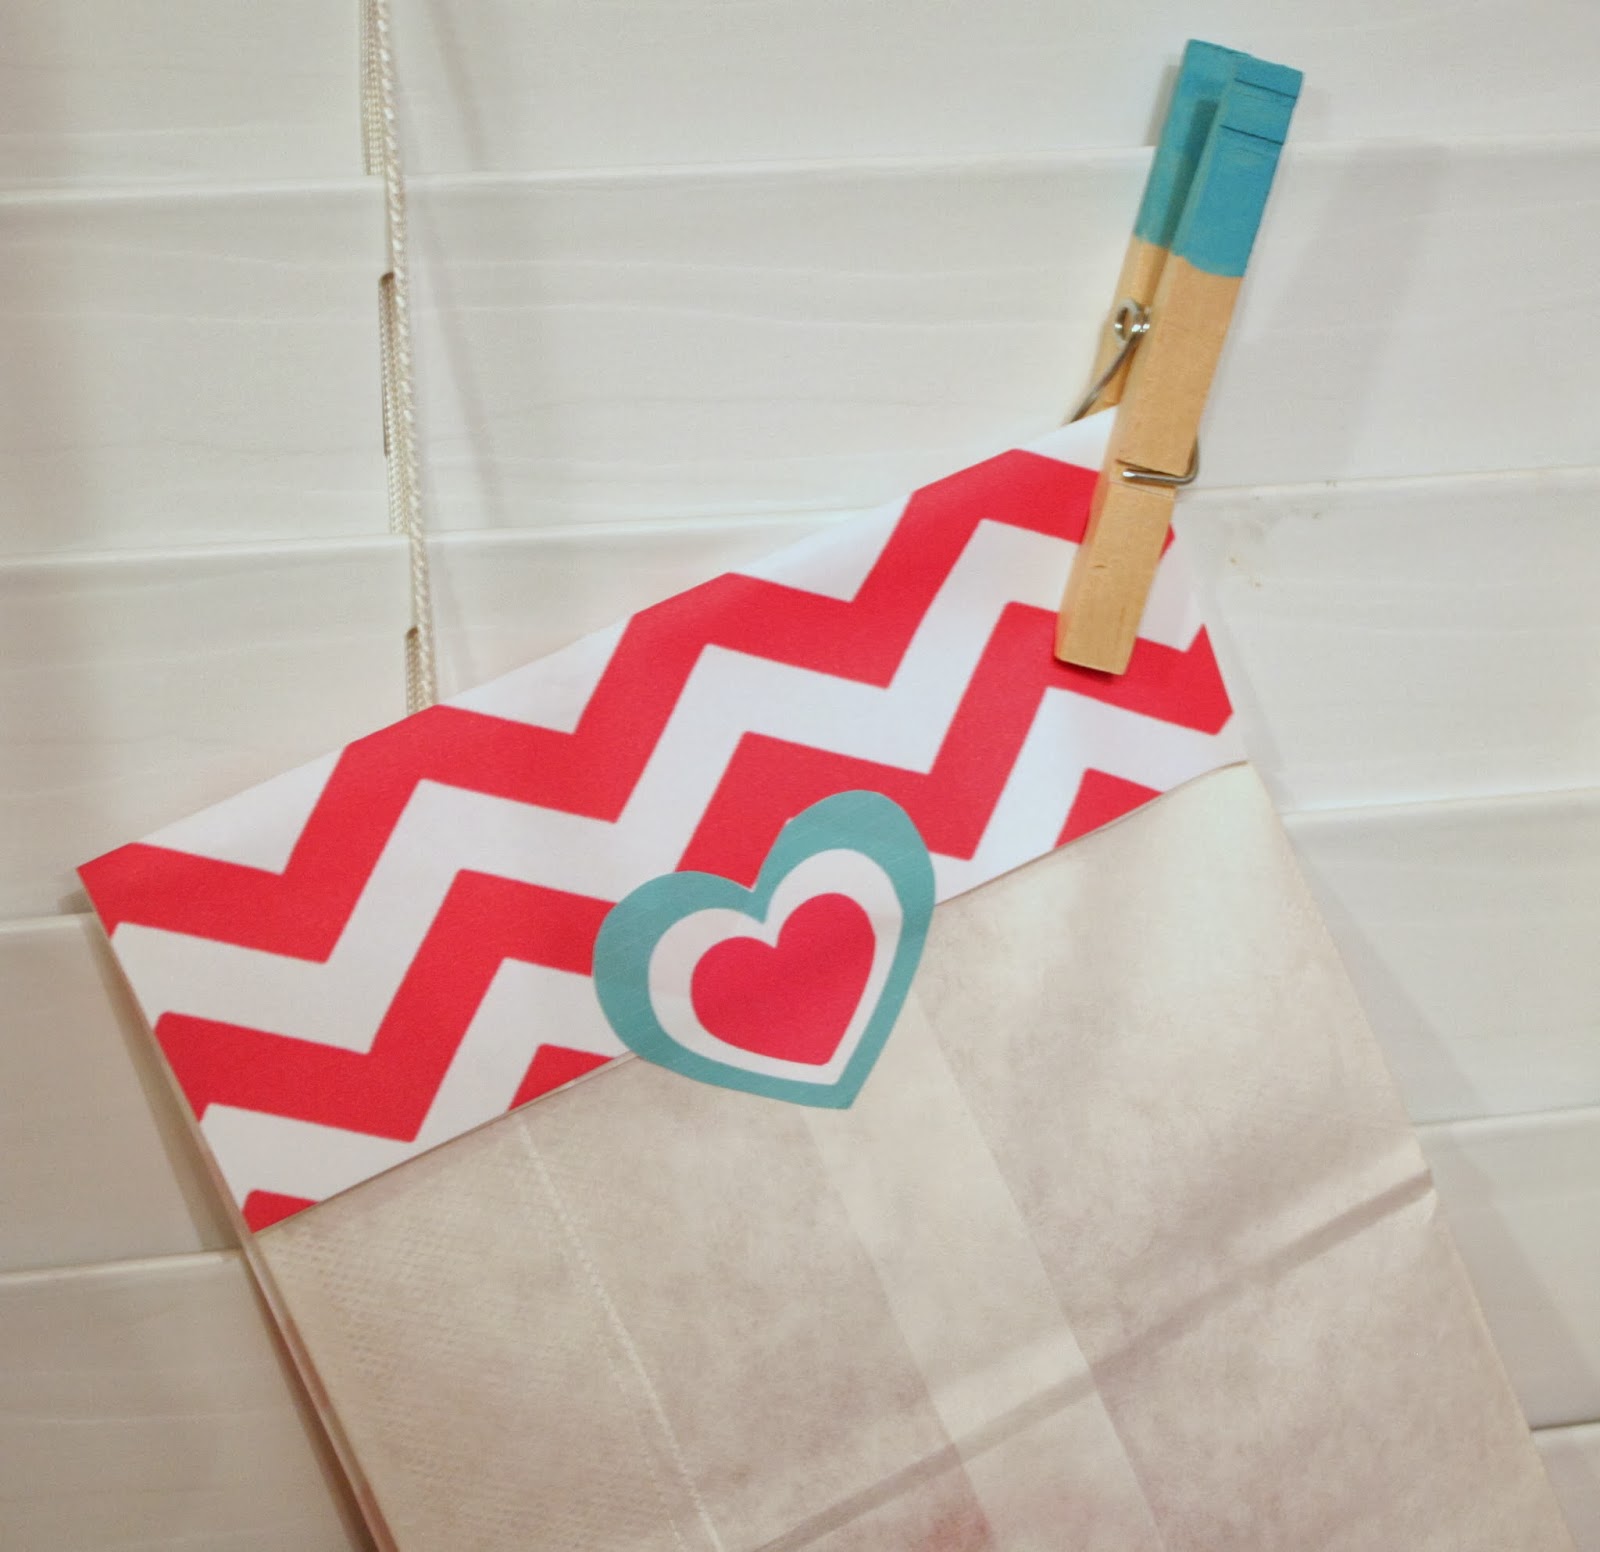
To get this look, I used illustrator to create my design and get the colors I wanted, then printed to image to the size of the bag and used my rotary cutter and mat to cut off the excess paper. The I added quick spray of spray adhesive (be sure to do this outside on a covered workspace) on the back of the paper and stuck them down on the folded part of the bag. This way they open like a regular treat bag and not a lunch bag.
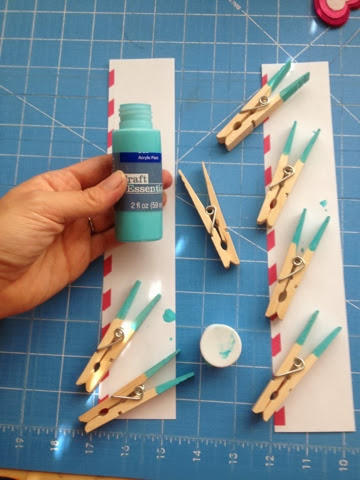
To finish off the bags, I created little heart designs that I printed on a sheet of sticker paper and cut out. And used some leftover clothes pins from my sisters baby shower (5 years ago!) and “dip” painted them with some acrylic craft paint. Well, I did the blue ones and my daughter wanted to help, so she painted the pink ones and thought it would be better if the whole clothes pin was pink, so now I have both. But I think that they work and I love that she helped with them too!
My idea is to hang them up on some strung up twine with the clothes pins to create a sort of bunting that the guests can take with them.
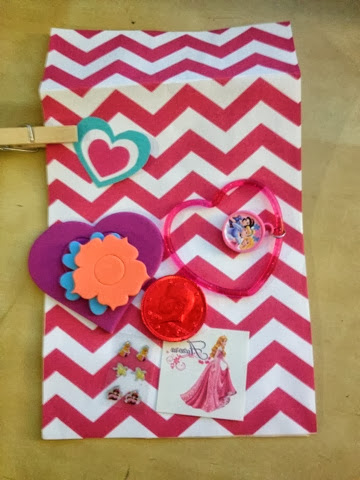
Below you will see the treats that I plan to stuff in the bags. Princess stick on earrings, tattoos, foam stickers, a princess bracelet, chocolate coin, and princess stamp and ring. I was thinking of getting some princess fruit snacks to add to the mix, but since her party is right after Halloween, I think the parents will thank me for skipping the extra sugar.
Sorry for the pictures, I took these all on my phone while making the bags, and had to take the final pic tonight after the kids went to bed, so the lighting was terrible ( and yes, I just clipped them to my blinds). But you get the idea right?


October 14th, 2013 at 7:14 am
These are so cute.