One thing that you may not know about me is that 5 years ago, I got into soap making for a little bit. I mostly used an already made glycerin soap base to create food themed soaps that both looked and smelled like the real thing. Cinnamony Snickerdoodle cookie soap anyone? The soap making was more for fun than as a business venture, but I went a little crazy buying different products and still have all my soap making supplies laying around. When thinking of craft ideas for the blog, I saw some awesome faceted soaps online for sale, and thought “hey! I can make those!”. And I did. And they were awesome! Now I am going to show you how you can easily and cheaply make your own faceted glycerin soap for yourself, or an easy DIY gift.


To make your own soaps, you will need some plain glycerin soap base (I purchased mine from
here, but you can also find some in hobby or craft stores), a oil based scent of your choosing (I used some lavender essential oil I had), some liquid food coloring, a silicone baking pan or mold, and a sharp non-serrated knife.
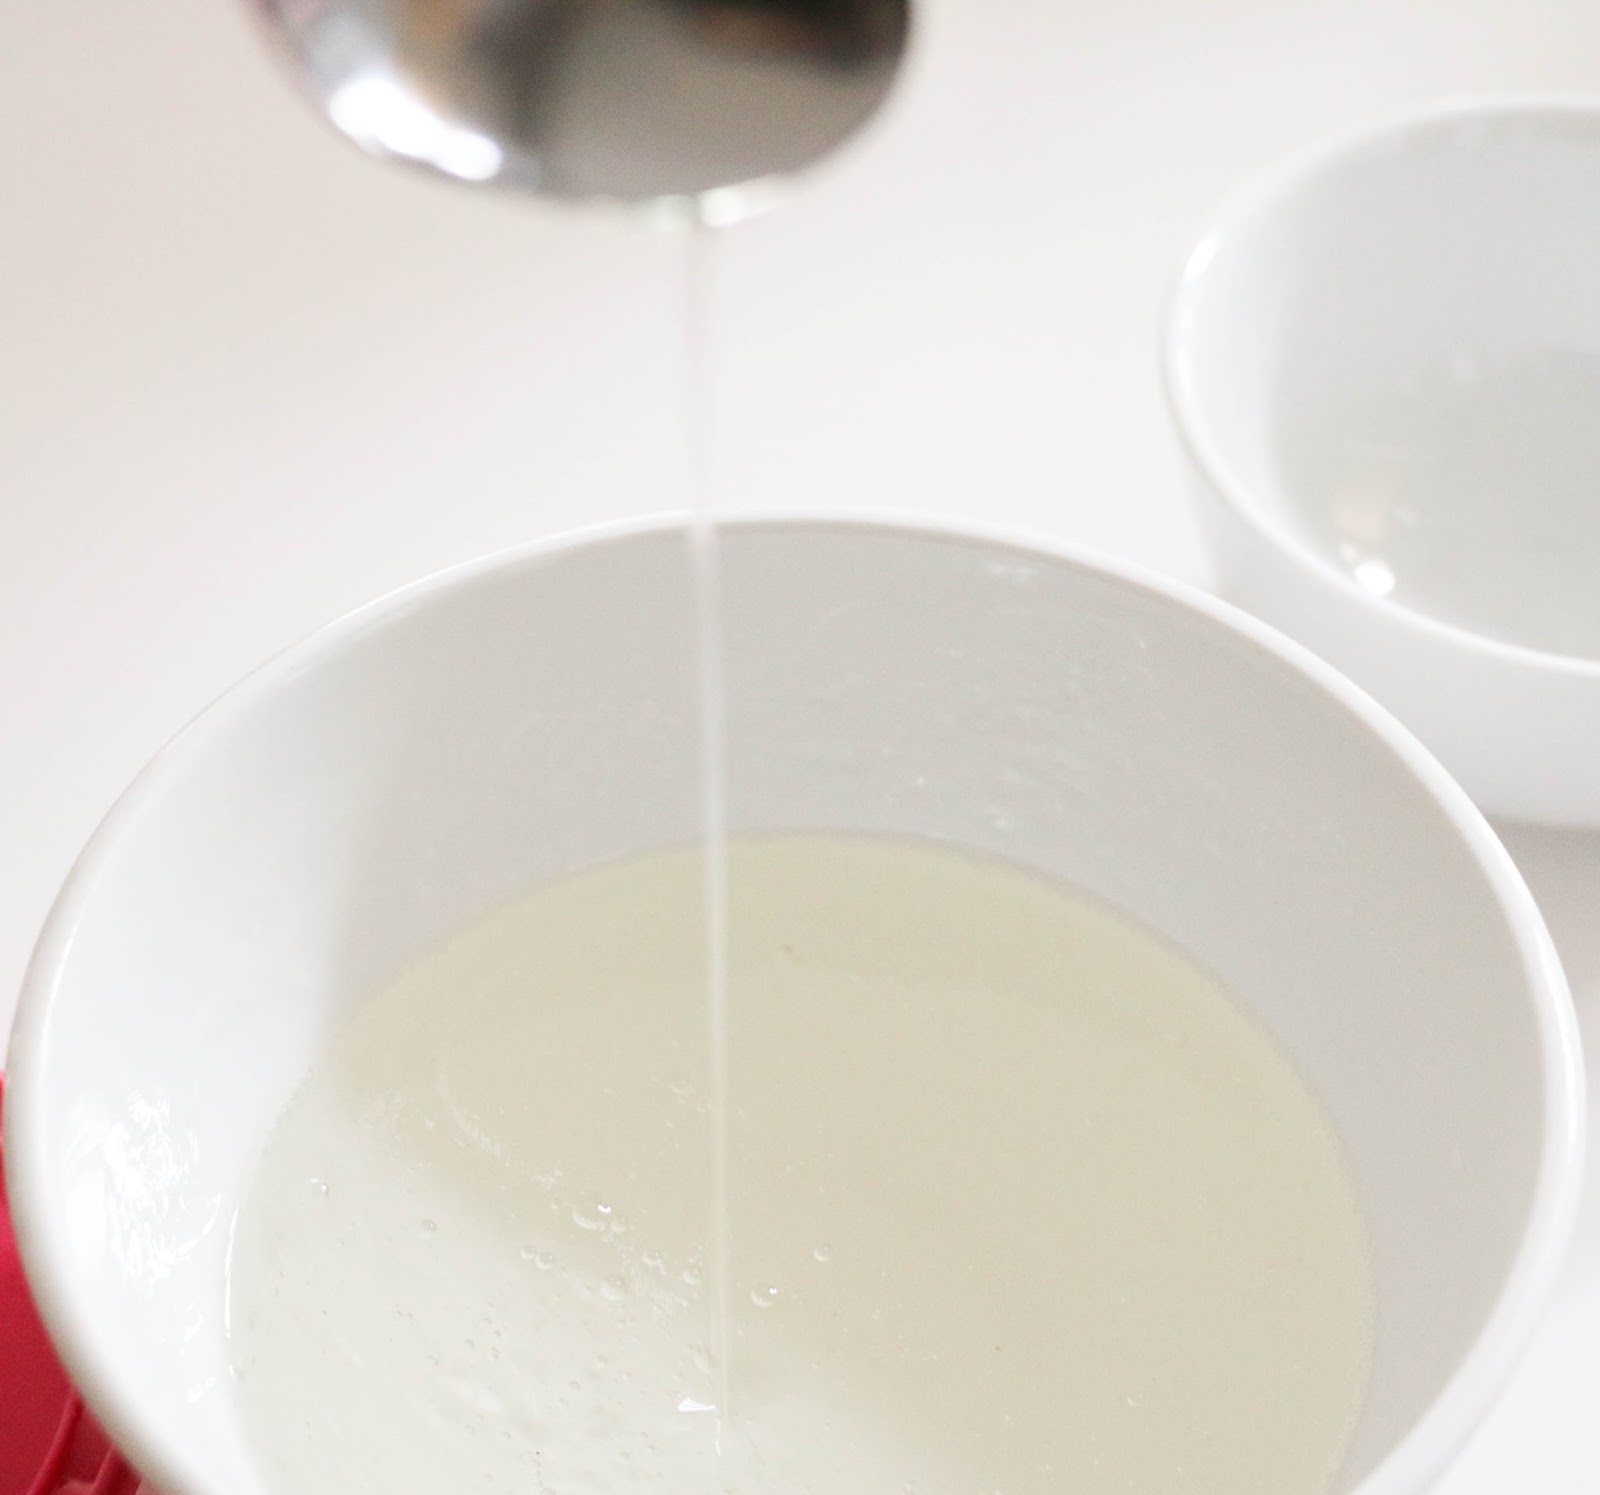
First you will chop up some of the glycerin soap base into small cubes, place in a microwave safe bowl and melt in the microwave in 15 second intervals (stir between intervals) until it is completely melted.
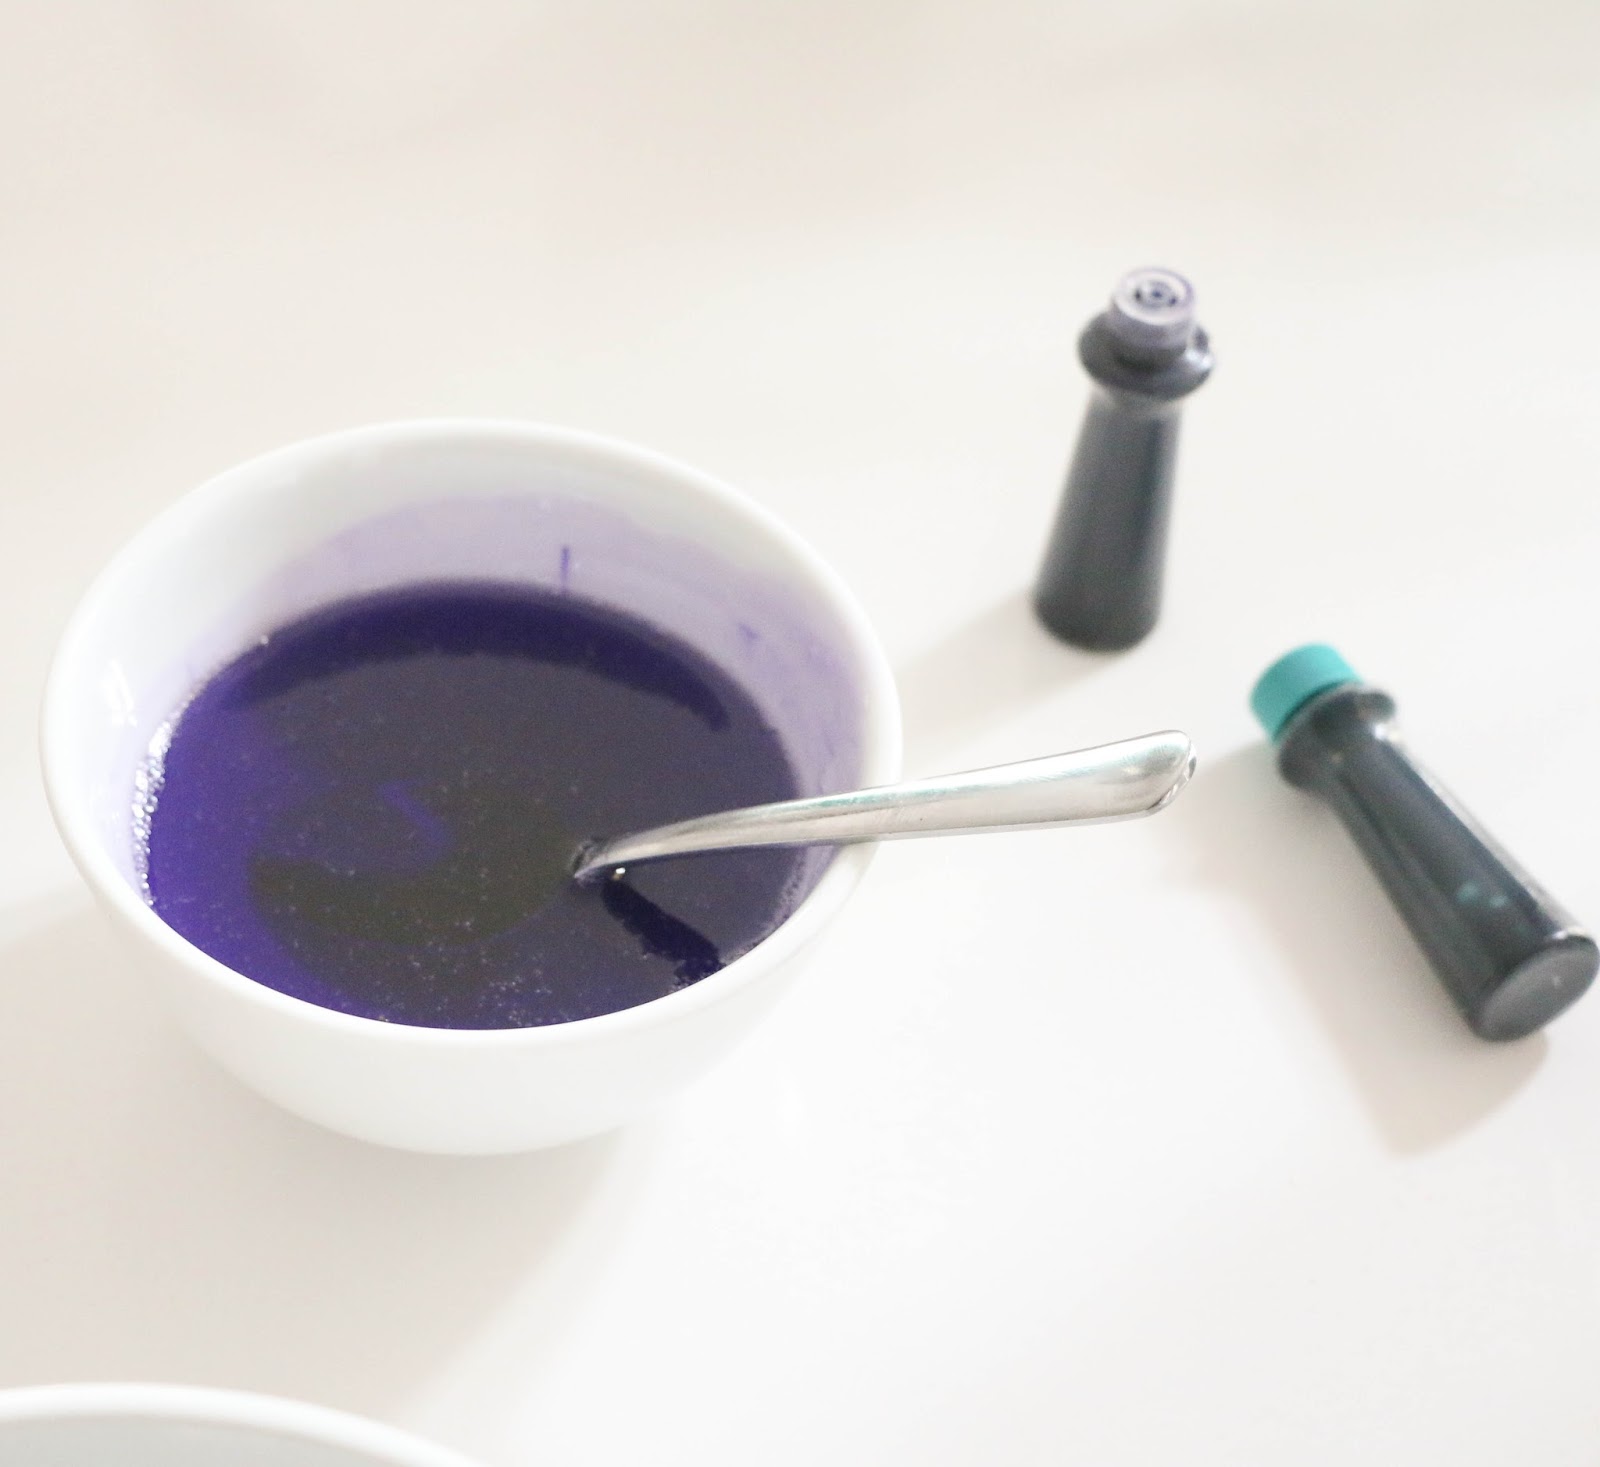
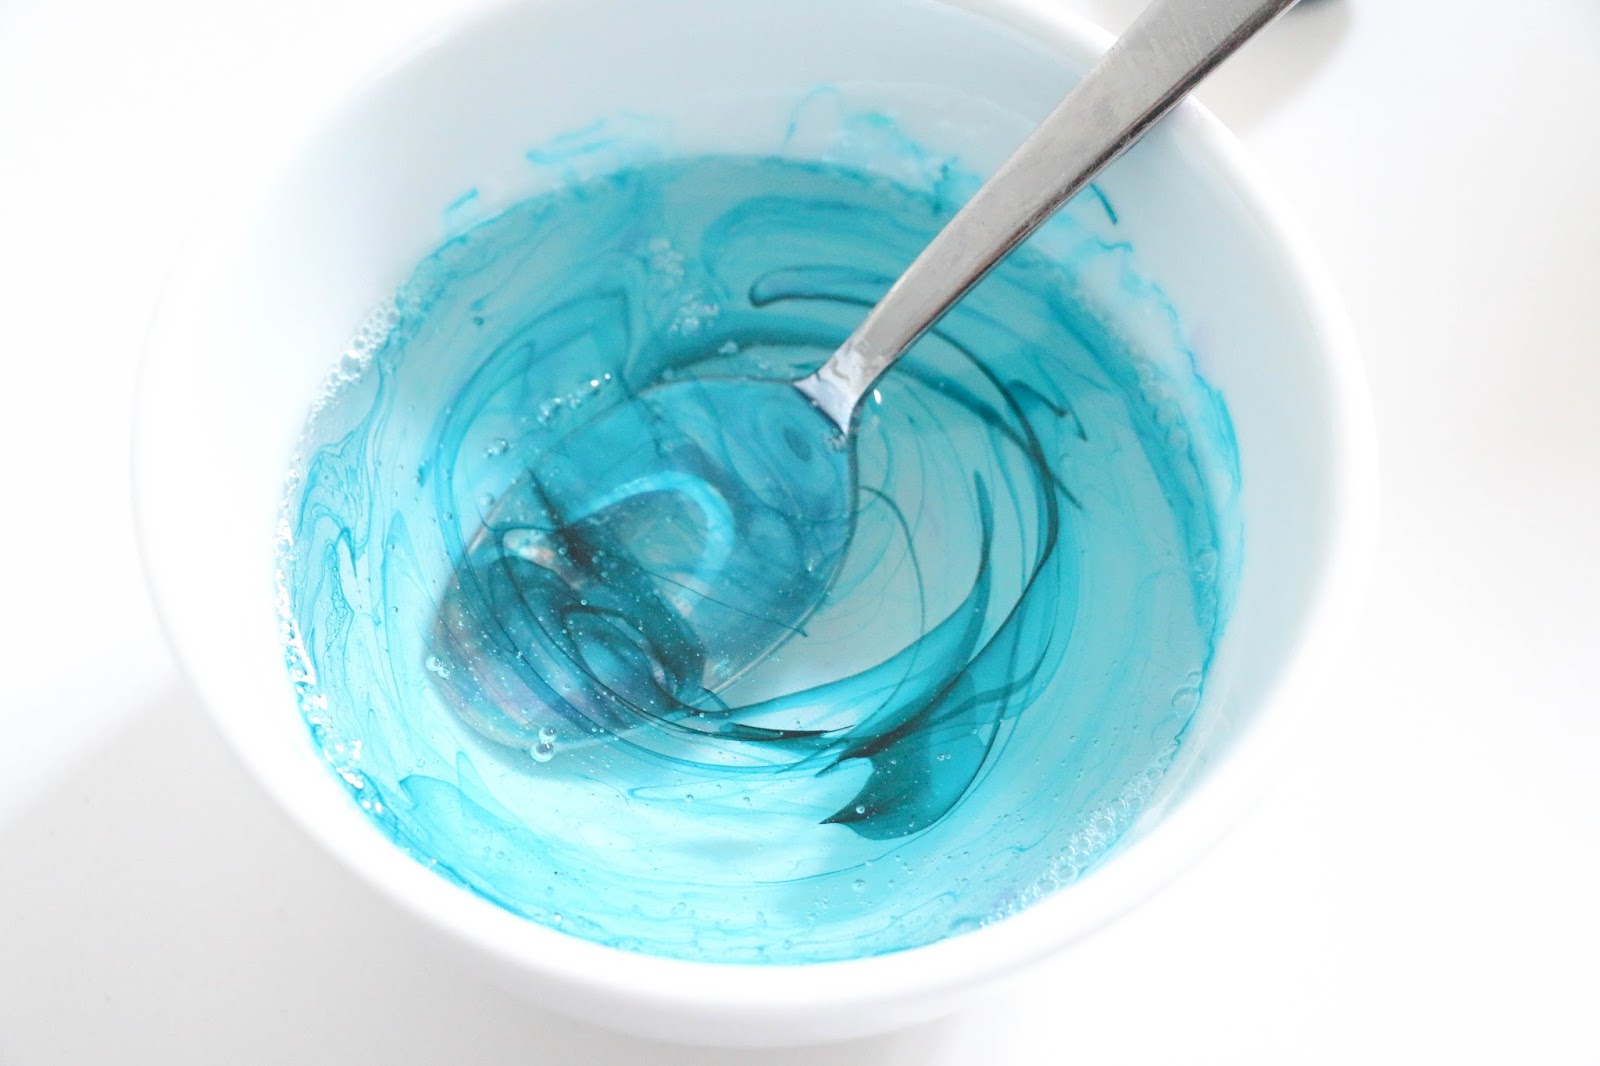
Once the soap is completely melted, you can add your oil (just a few drops is all you need for an essential oil), and a drop or two of food coloring.
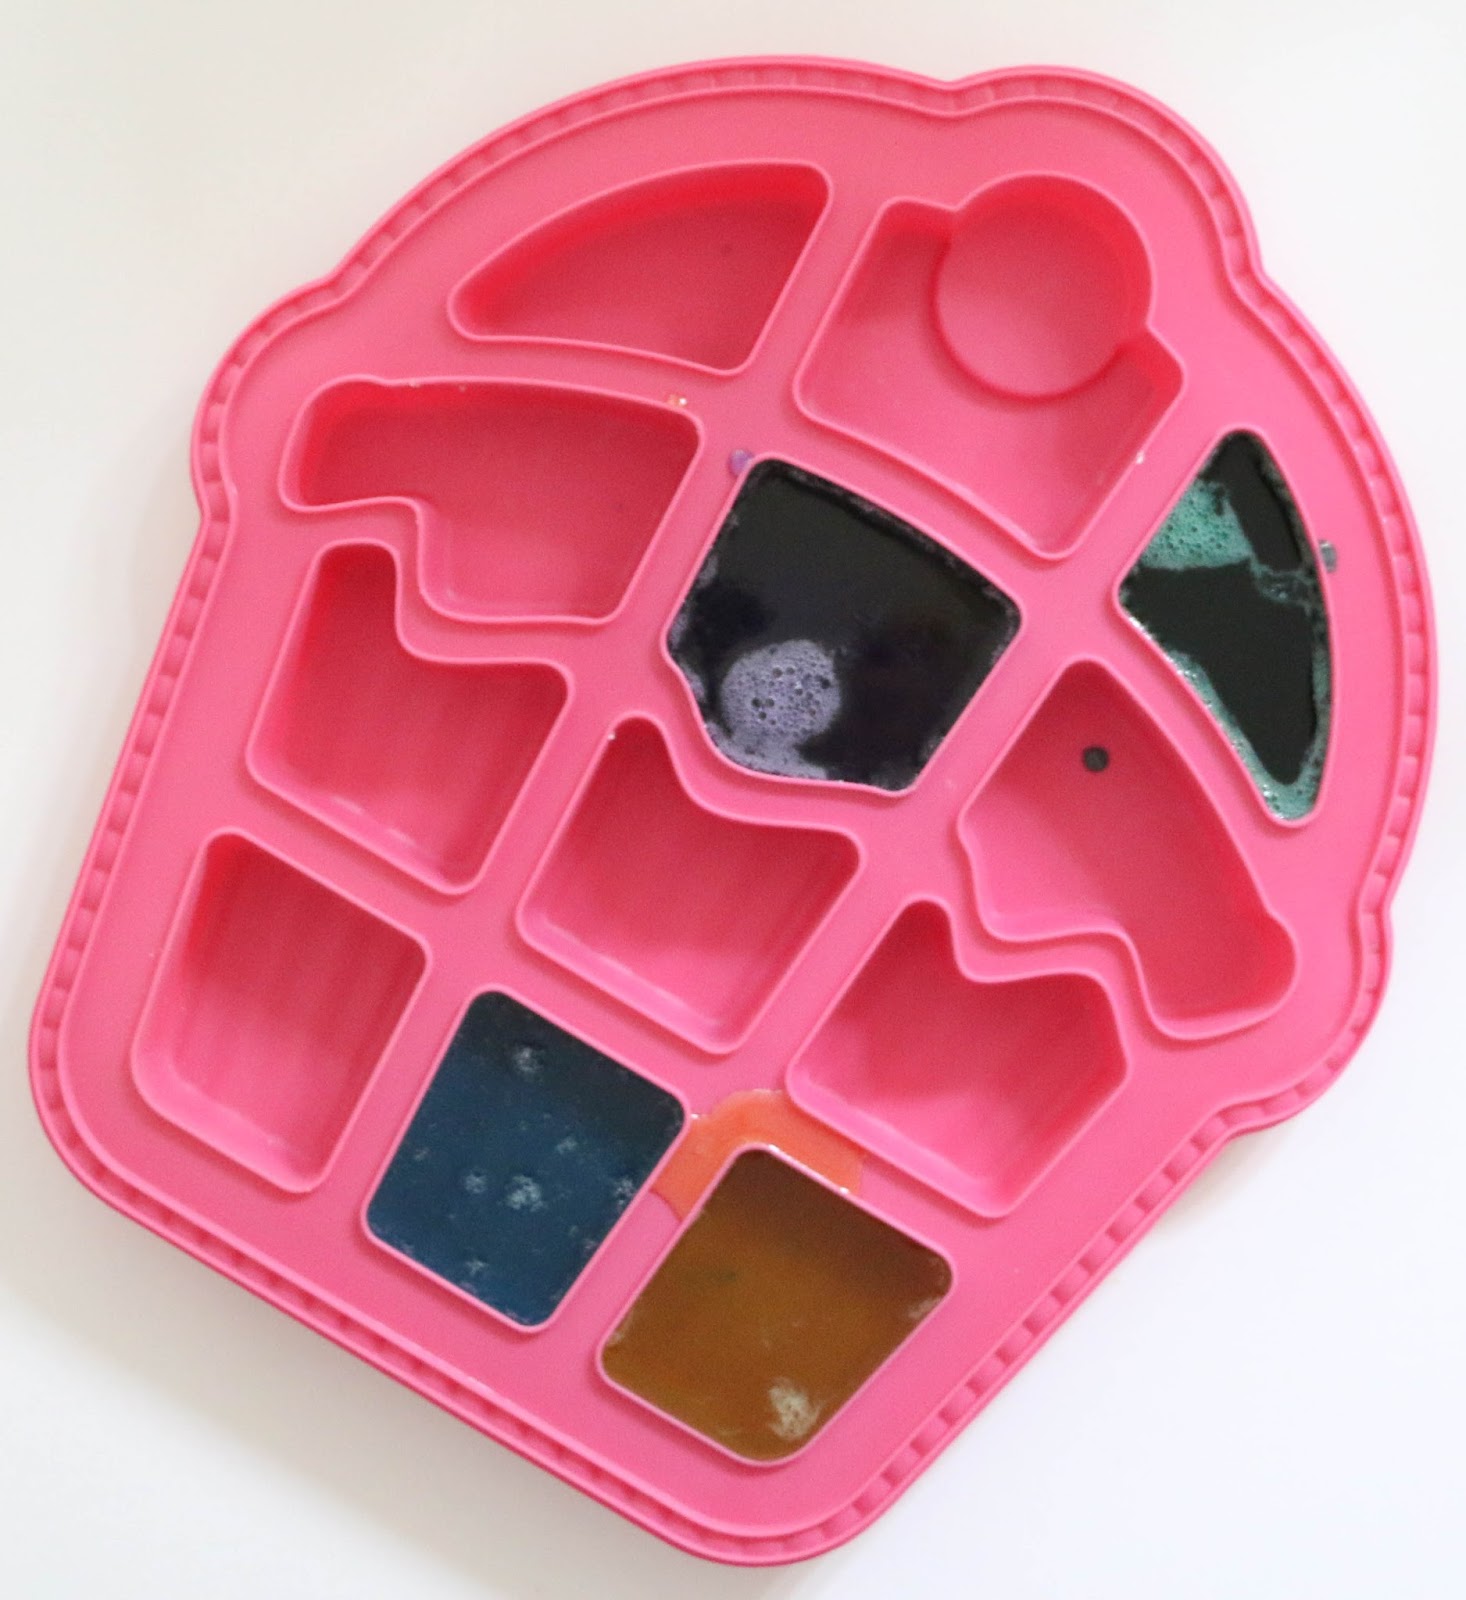
I used small bowls to mix up several different colors, but they were all lavender scented. Now, you will need to pour your soap base into your mold. I used this cupcake mold that I had on hand. It doesn’t matter the shape of the mold because you will be slicing the soap pieces into shape, so as long as it is a good soap brick size and silicone it should work.
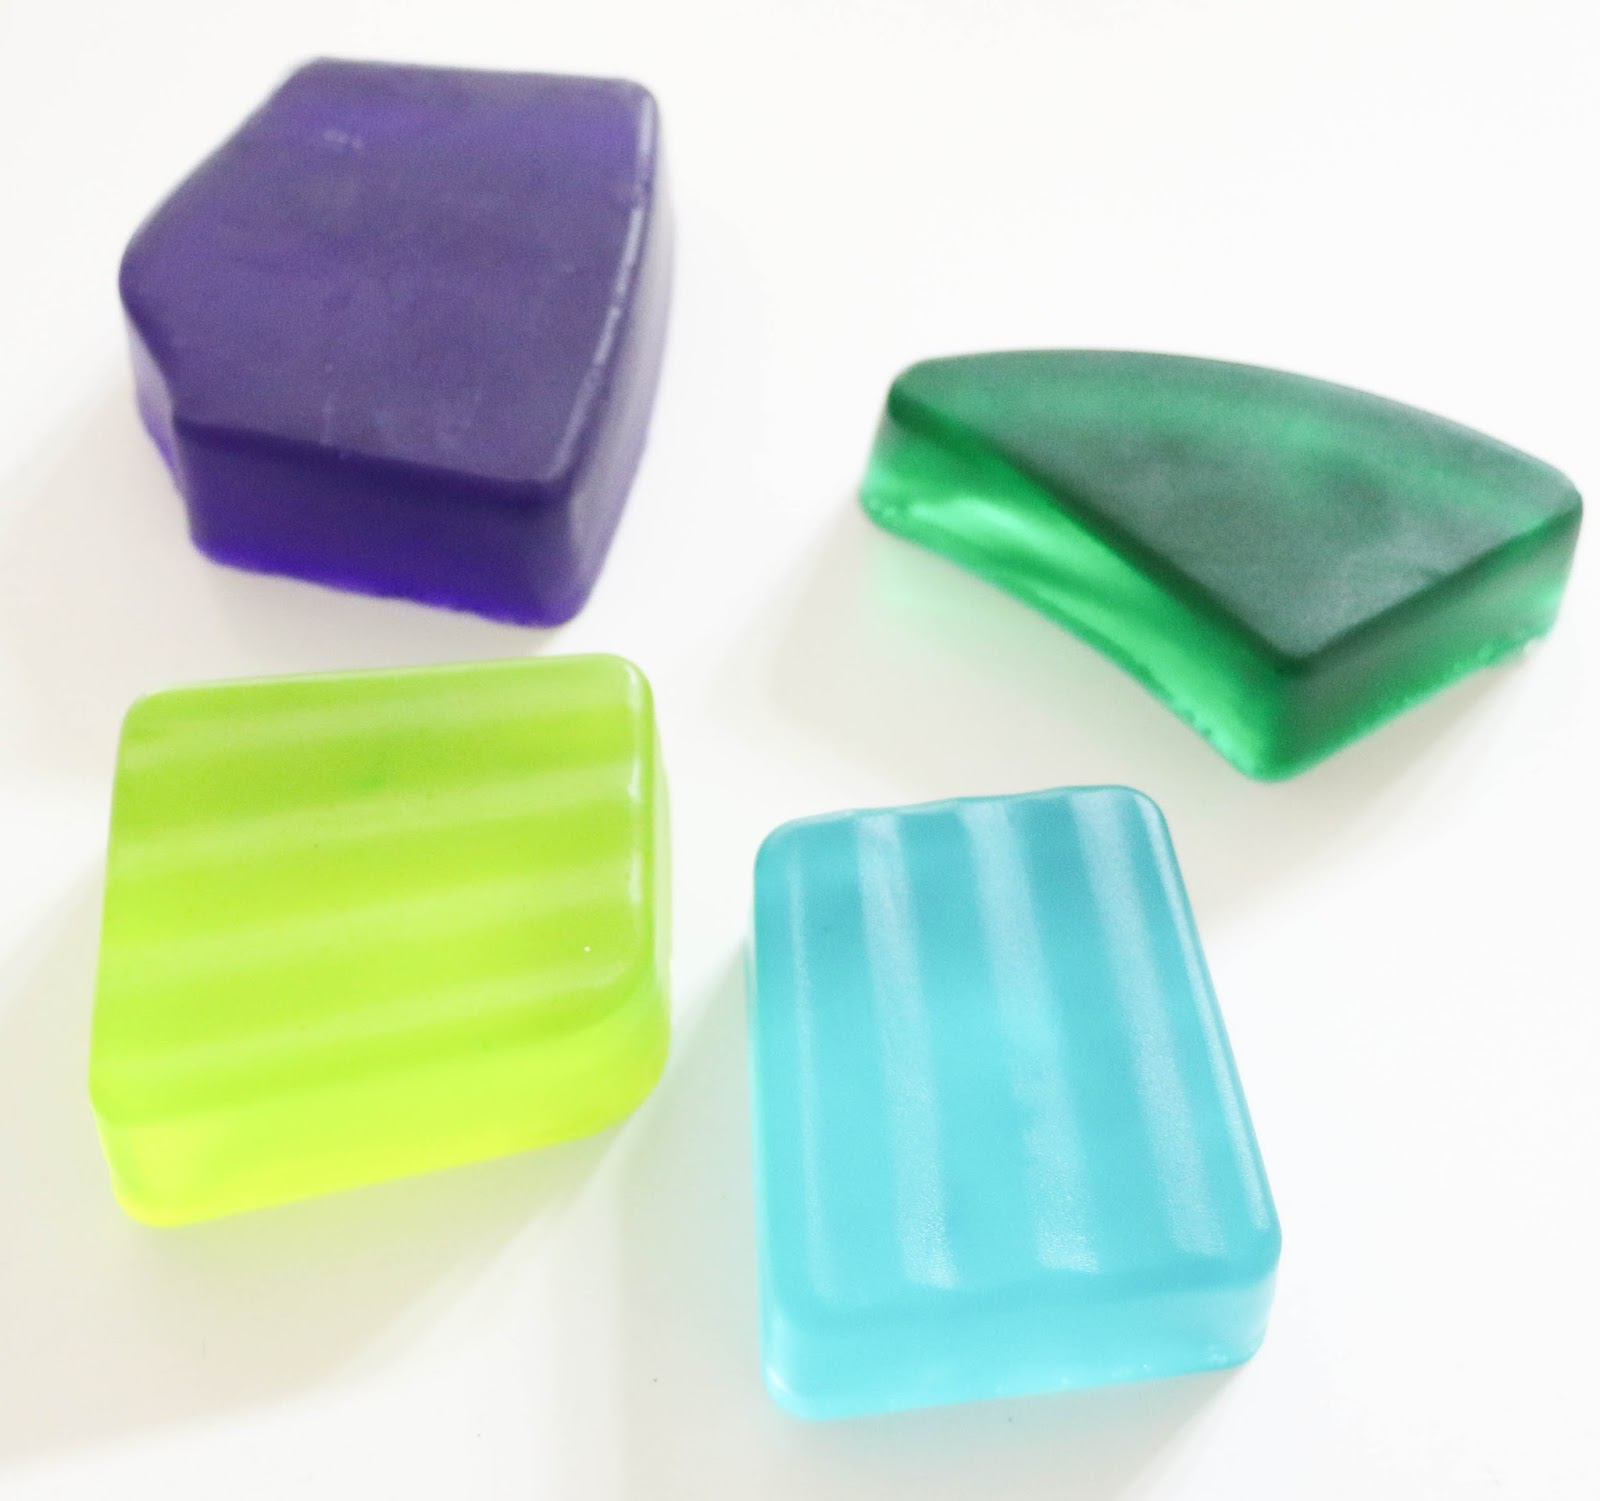
Now you will let it sit and harden. This will take about 30 minutes to an hour depending on the thickness and size of your mold. Once hard, you can remove your soap pieces.
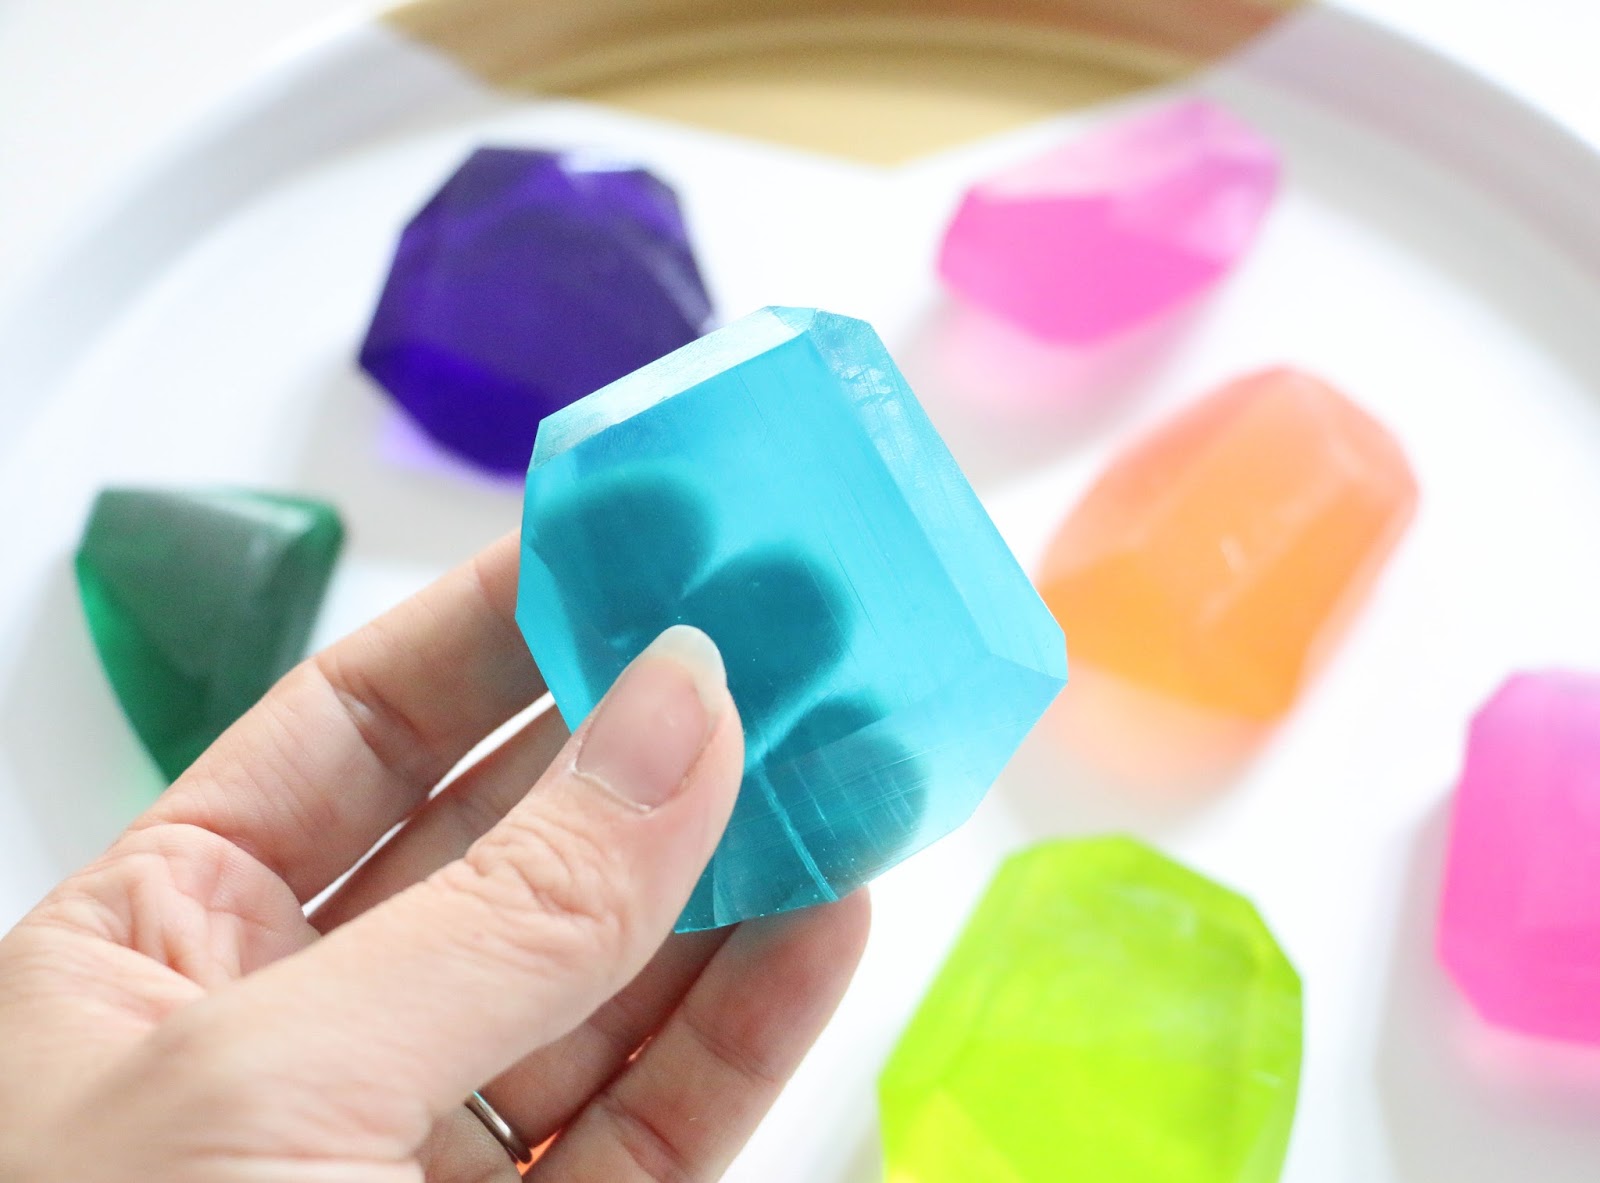
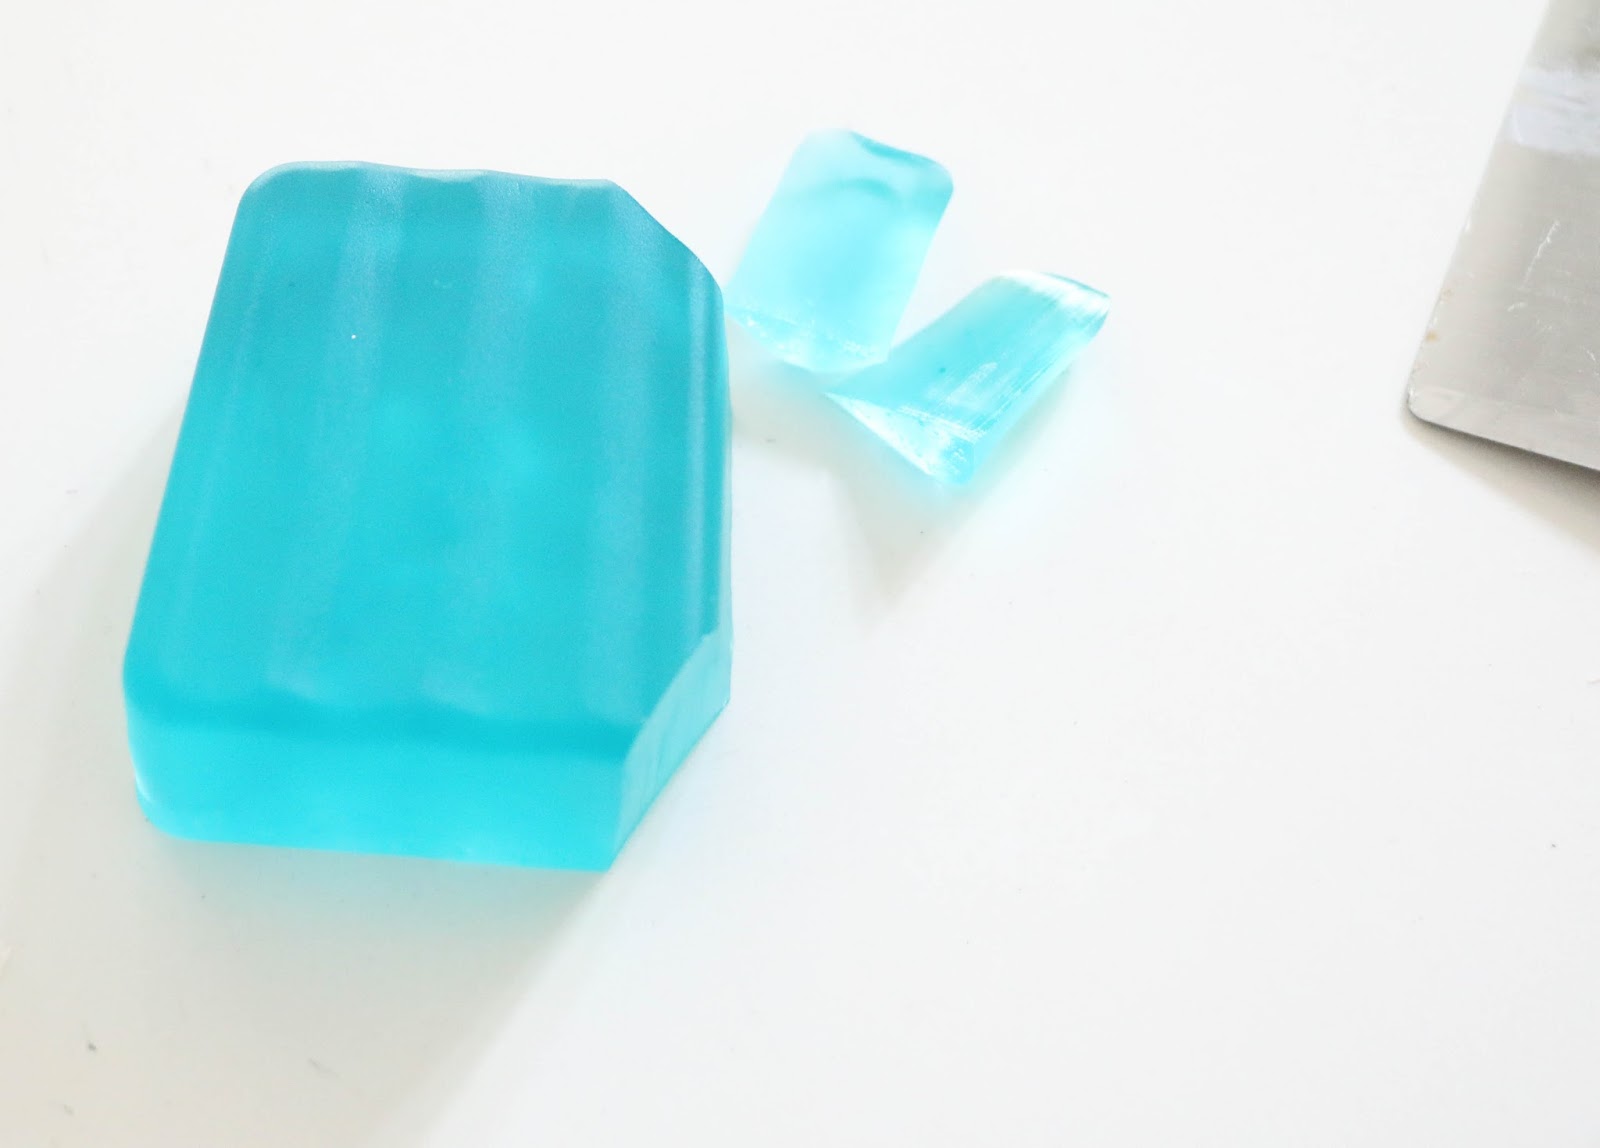
To create your faceted shapes, you will now use your knife to slice of the edges and corners at different angles to create a free form faceted shape.
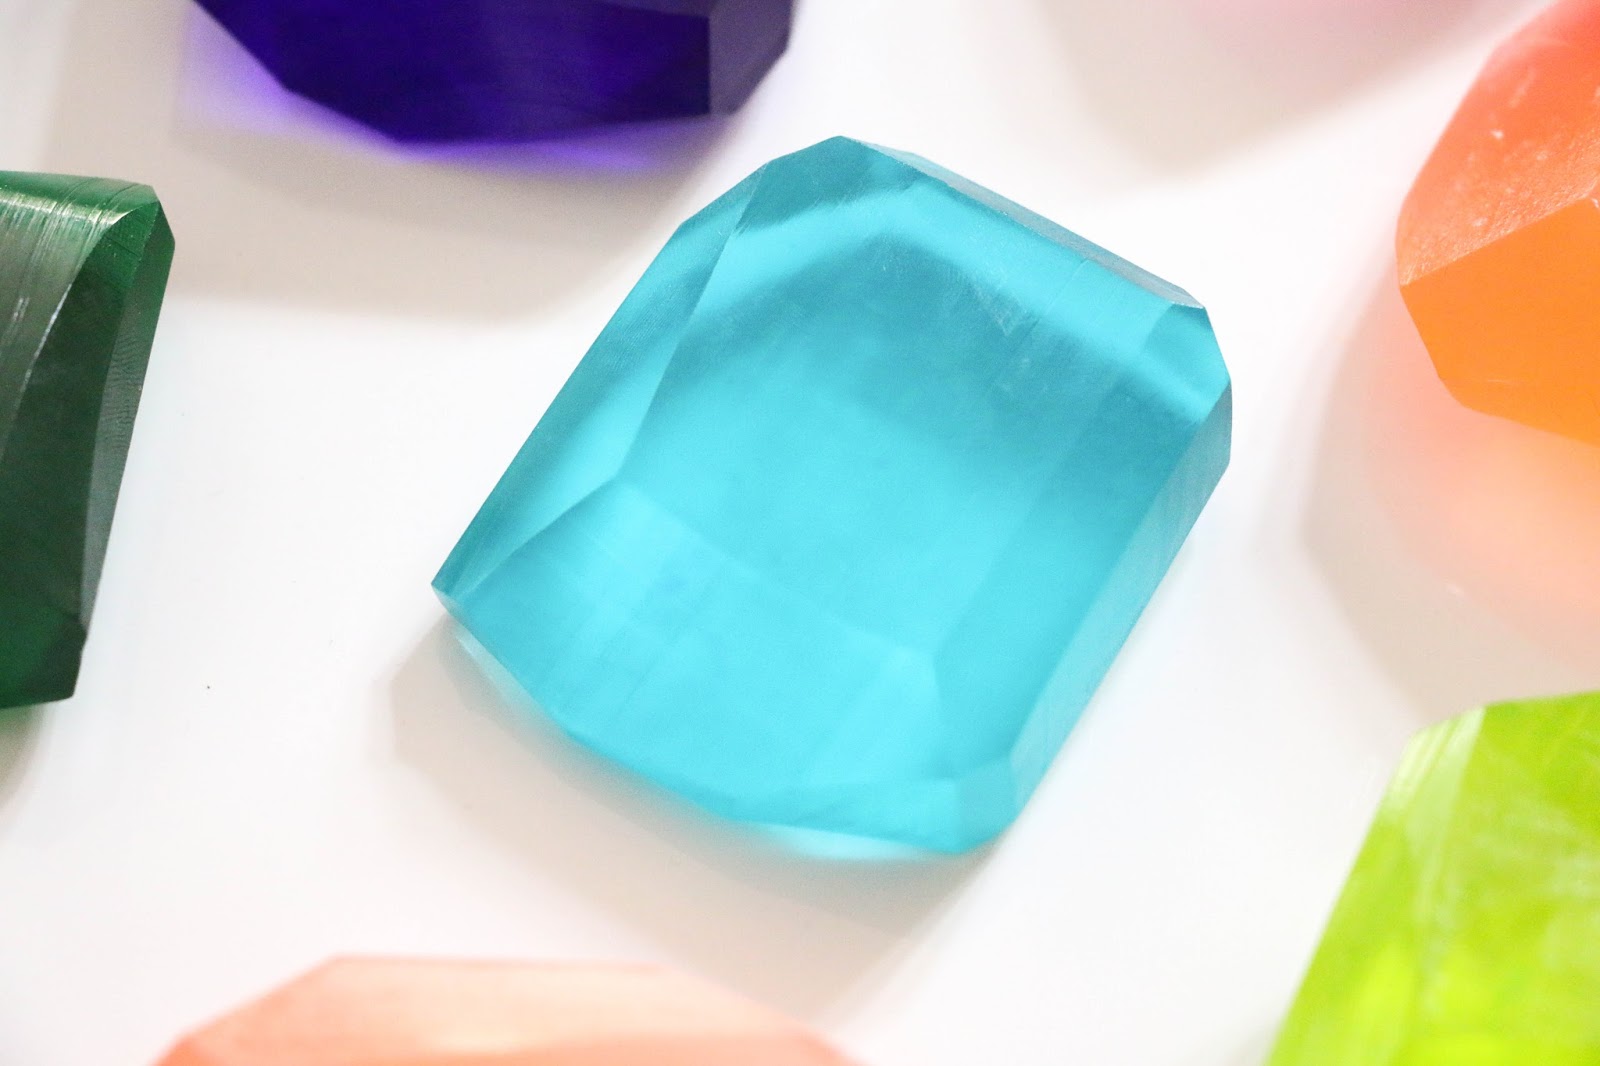
Once you have sliced every side and angle, you will have something that looks a little like this.
Now repeat with all your bars, and you will have created a nice little collection of jewel soaps that you can display and use in your bathroom or wrap up in plastic and give to friends. These would also make awesome party favors since they don’t cost much but are big on impact.
Now wasn’t that easy?! And look how cute!


February 8th, 2016 at 3:52 pm
Fabulous! I've never made soap before (more of a liquid soap gal myself), but I absolutely LOVE these!
February 8th, 2016 at 4:04 pm
Thanks! It really is very simple with the premade melt and pour soap base! Glad you love this project!
February 9th, 2016 at 2:24 am
Love these! These are gorgeous!! Such a clever idea
March 13th, 2019 at 10:18 am
Hi. Do I need to spray my mold with any thing before pouring? Also if I pile them into little buckets as gift will they melt at my party? Stick together?
Thank you
March 13th, 2019 at 9:09 pm
Nope, no need to spray the mold. If you find the soap sticking to the mold after it sets, just pop it in the freezer for 15 minutes and it should come out easier. There shouldn’t be a problem displaying them in buckets, they won’t stick together unless it is super hot. But they might sweat a little if it’s humid. So you may want to consider wrapping them in plastic wrap.