


I went with a custom color match to some wall vinyl that I had, because I loved the teal color and knew that it would work perfectly in my space. I purchased one quart of the teal paint ($15), a new short handled angled paint brush (you can never have too many of these in my opinion) for $5, and some plastic mixing cups ($2). I already had the painters tape, white paint (left over from the guest bathroom), and red mixing bucket. So the total investment was only $22! Not bad for such a dramatic change.

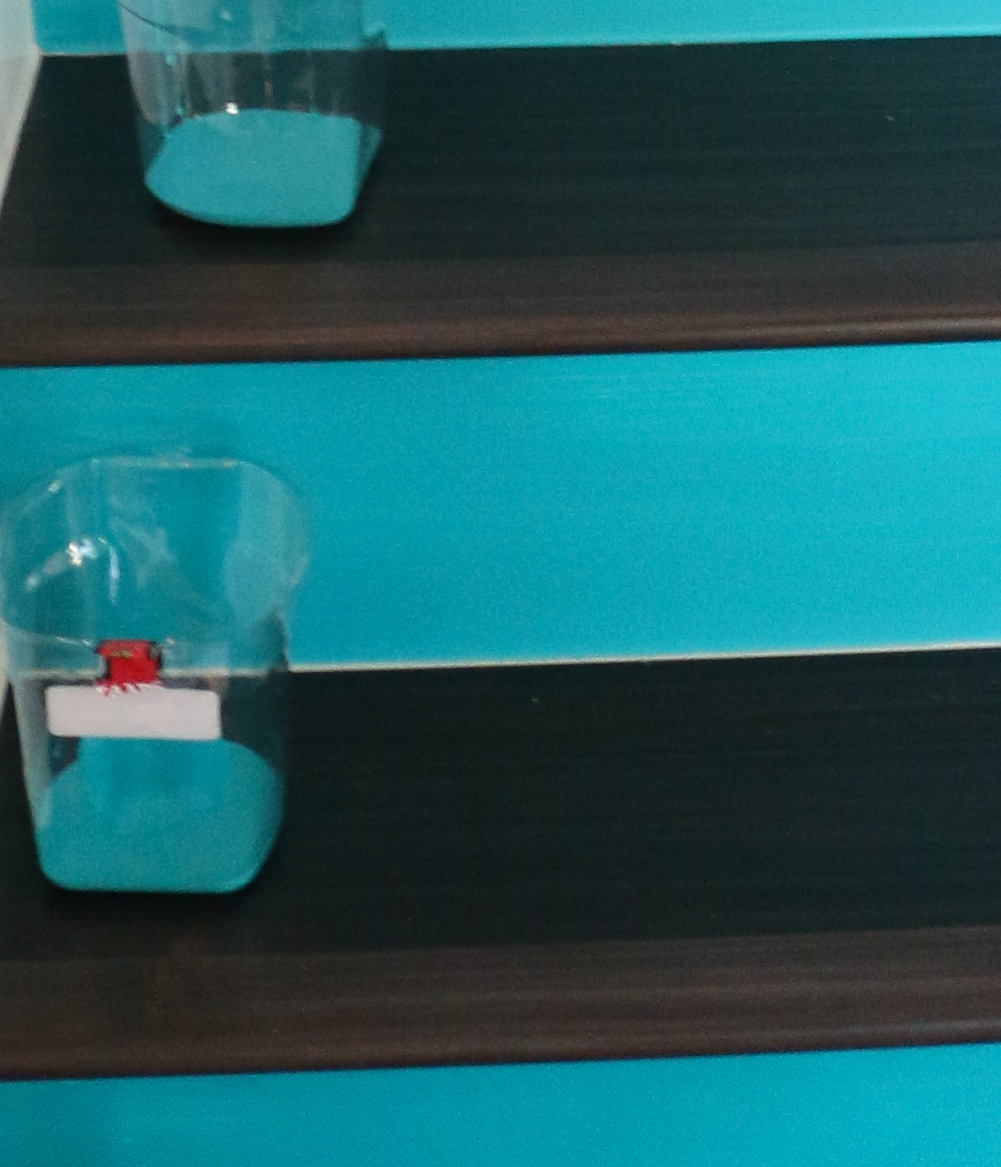
I first started by taping off the stairs, but after my first couple, I realized that the tape was preventing me from entirely covering the white riser with paint, so I ditched the tape and just went free hand. The angle brush really helps with this process, but if you don’t feel comfortable enough cutting in, go ahead and keep the tape. You can sort of see the white line here in this zoomed in shot.
Now on to the painting. I started with the first stair riser in the original teal paint color straight from the can. I ended up having to do two coats on each riser, so I went through and painted each riser with the first coat, mixing the paint as I went, and then went back and painted the second coat on each riser with the paint I had already mixed.

After the first coat I poured a couple cups worth of the teal paint into the red painting cup and added about 1/2 cup of white paint. I used paint stir stick to mix the paint together until I had my new color. I used a paper towel to wipe the excess paint from the first step off my brush and painted the 2nd step. Then, I poured about a cup of this paint color into the first plastic mixing cup liner and placed it on the 2nd step. Now it was time for more white paint. I added another 1/2 cup of white paint to the rest of the teal paint mixture in the red cup and mixed again until well combined. Then it was time for the 3rd step to get painted (after removing the paint from the brush with another paper towel). After the first coat I poured 1 cup of the teal paint into another plastic mixing cup and put that on the 3rd step. I continued this process all the way to the top of the stairs, where the top step had the lightest paint color in the red cup. I added more white the last two steps in order to get a lighter color for a more ombre effect.
Once the first layer was dry, I washed my paint brush and started over painting the second coat on each riser using the premixed paint in the cups. Then it was time to let it dry. All in all it took about 2 hours from start to finish. I was actually able to complete the entire project during sons nap, so it was not only affordable, but quick too.

When we first moved in to this house last year, these stairs were carpeted and there was tile on the floor. It is fun to compare the photos to see the whole transformation. Now I just can’t wait to do something about the banisters and hand rails.


May 31st, 2019 at 9:34 am
[…] Image via: wohnidee , akailochiclife […]
August 25th, 2019 at 12:29 am
[…] Download Image More @ akailochiclife.com […]
October 28th, 2019 at 10:18 am
Love this! Quick question… did you put any kind of varnish or “protection” coat over your paint? I’m worried all my hard work will get kicked and scuffed… How is it holding up?
many thanks,
Joy
May 9th, 2020 at 9:00 am
[…] A Kailo Chic Life | VinylicStickersShop | VinylicStickersShop | Brit&Co | Leroy Merlin France | Amber B Design […]
March 25th, 2023 at 10:07 am
I love what you did here. It looks like you have a second string of steps to the upper floor. Did you repeat this on those as well and if so, did you start dar.and go light once more?
March 25th, 2023 at 3:20 pm
I didn’t. Those are still white. 😬