


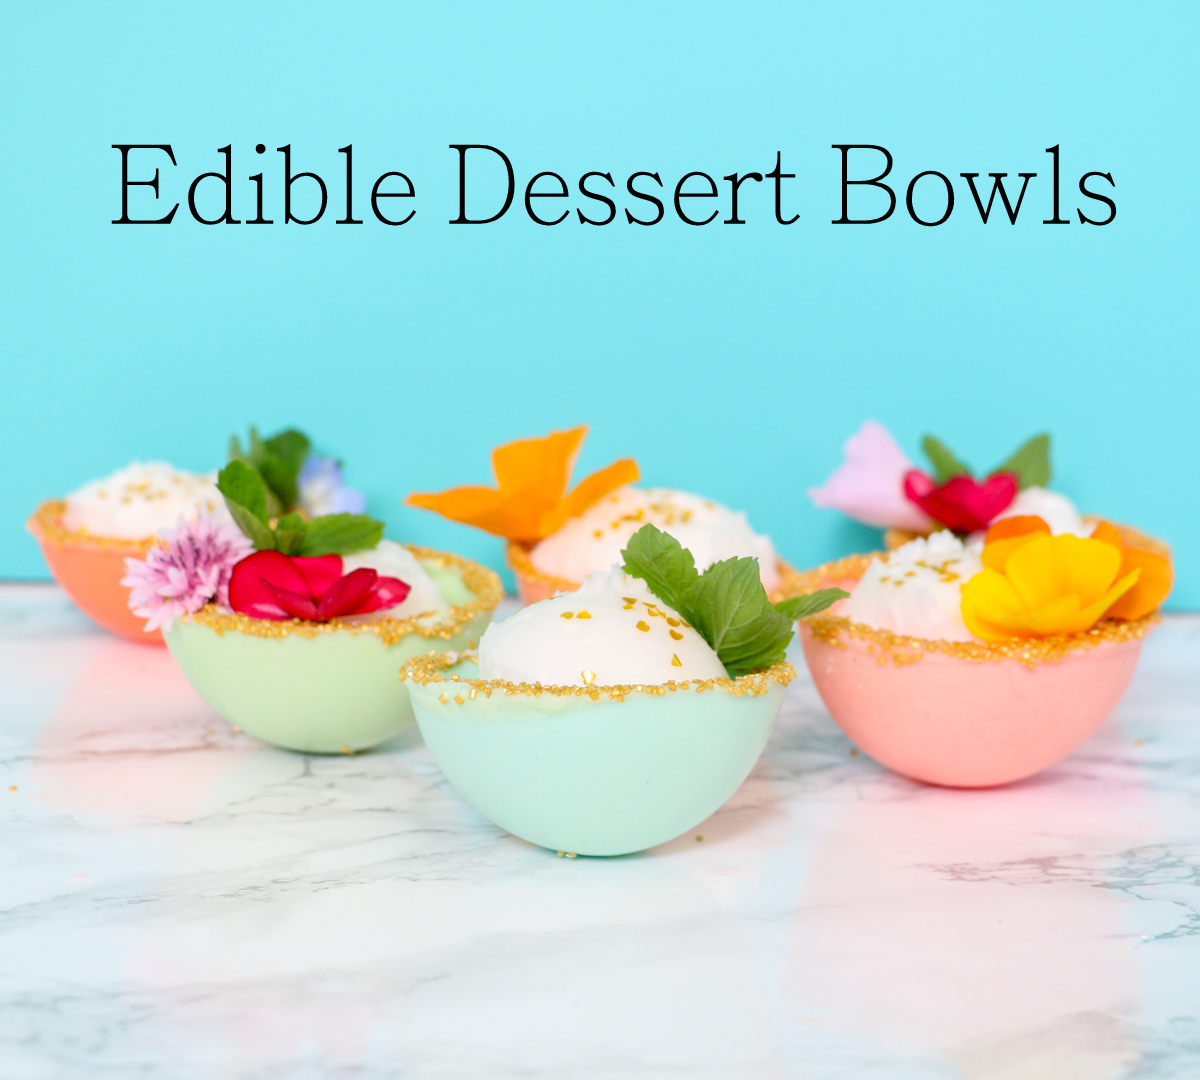

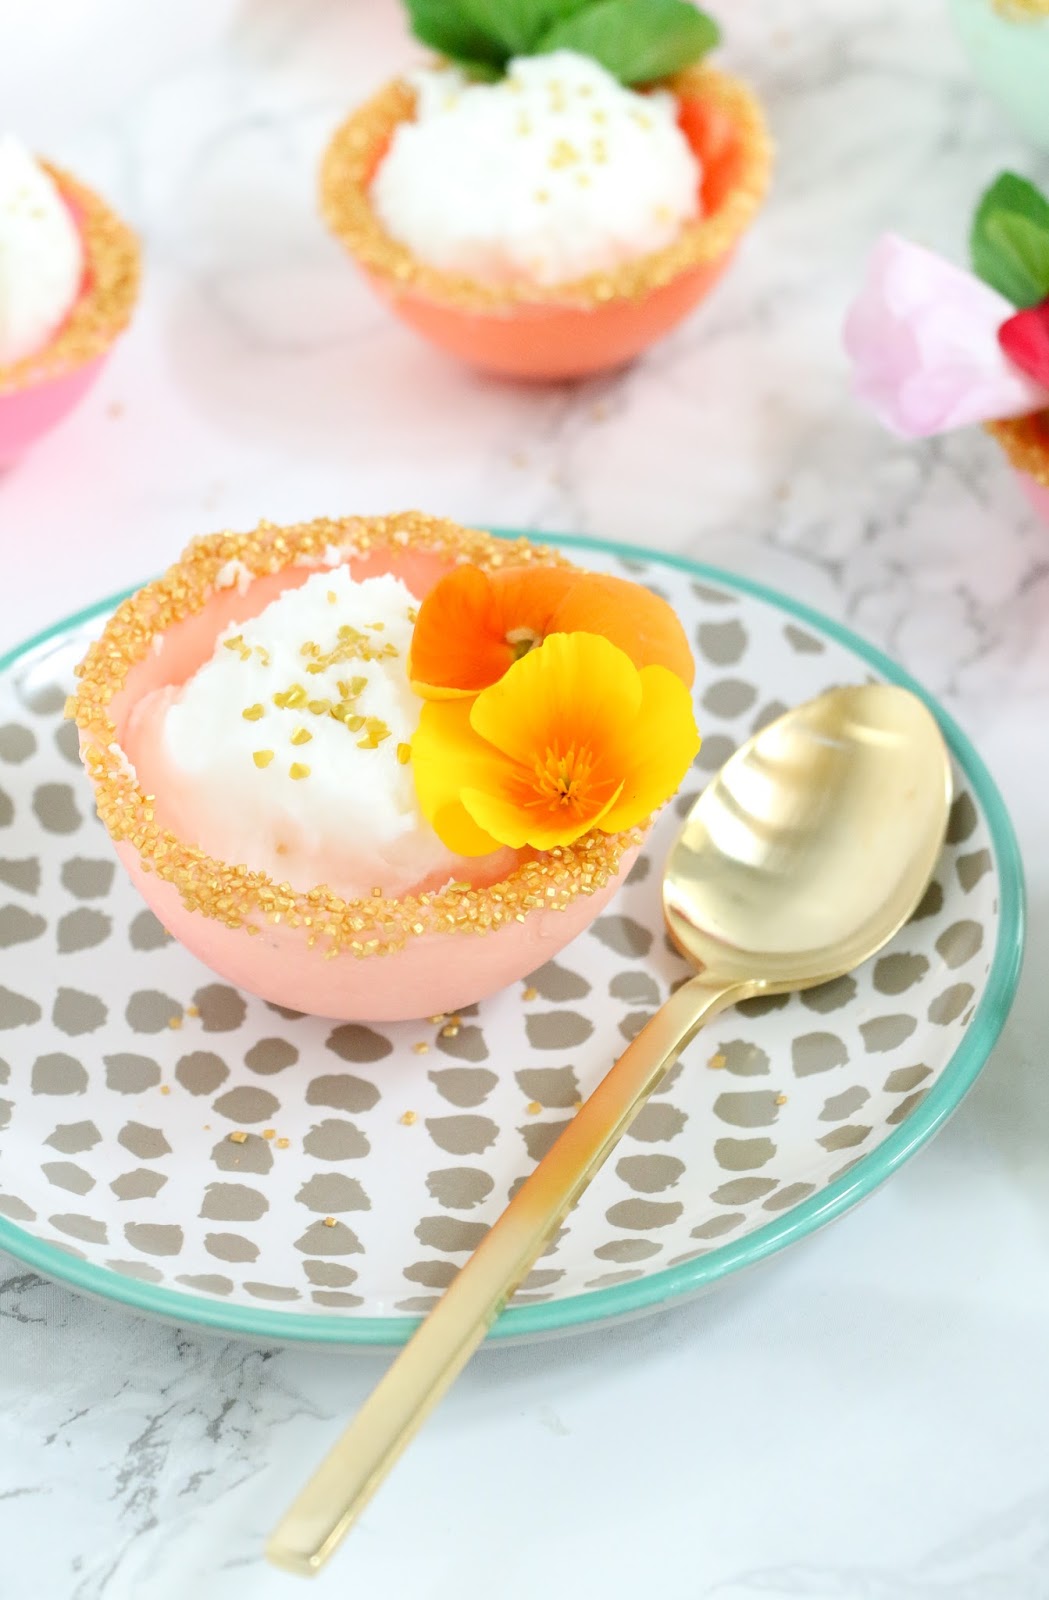
Aren’t they just the prettiest things you have ever seen? And those sparkly gold sugar rims? Yum! Now, you maybe familiar with candy melts or coating chocolate that you can buy already colored at the craft and hobby store, and you can totally use those to create these edible bowls, but I wanted a very specific color palate of pastels, so the store bought ones just wouldn’t suffice. Follow along to learn how to color your own white chocolate coating using regular food coloring and how to make these delicious edible bowls.
- Half circle silicone mold (I used a clear plastic one, but this one
works too)
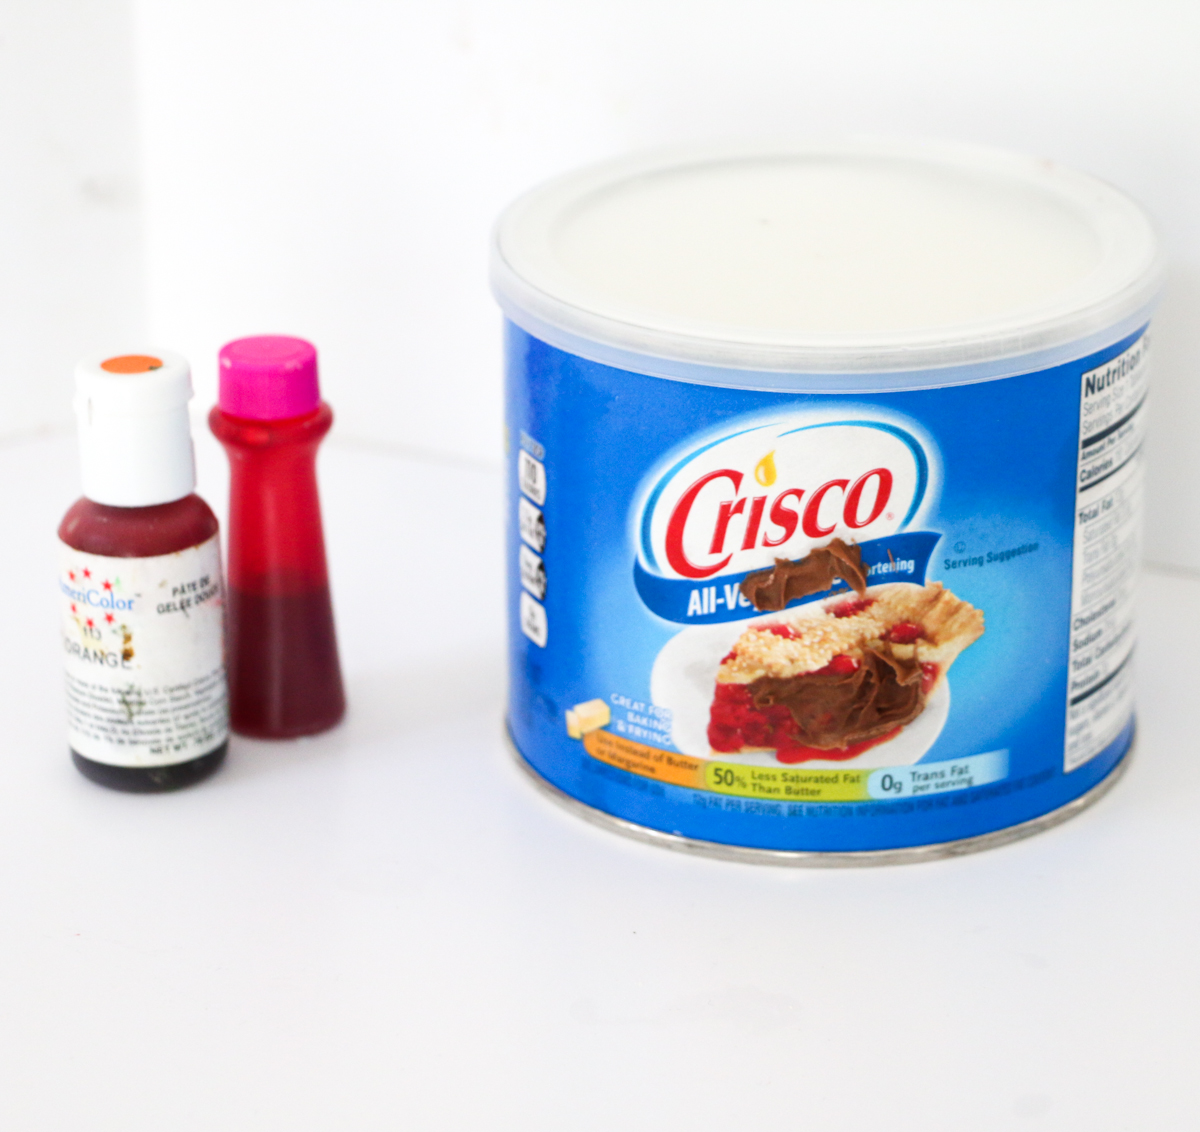
- White chocolate coating
- Gel food coloring
- Shortening
- Gold Sugar Sprinkles
You will begin by mixing up your chocolate coating colors. First mix a small amount of shortening in a small bowl and then add a few drops of your desired food coloring color. Mix until the shortening is fully mixed with the food coloring. This will let the color mix with the chocolate without causing the chocolate to seize due to the water content in the food coloring.
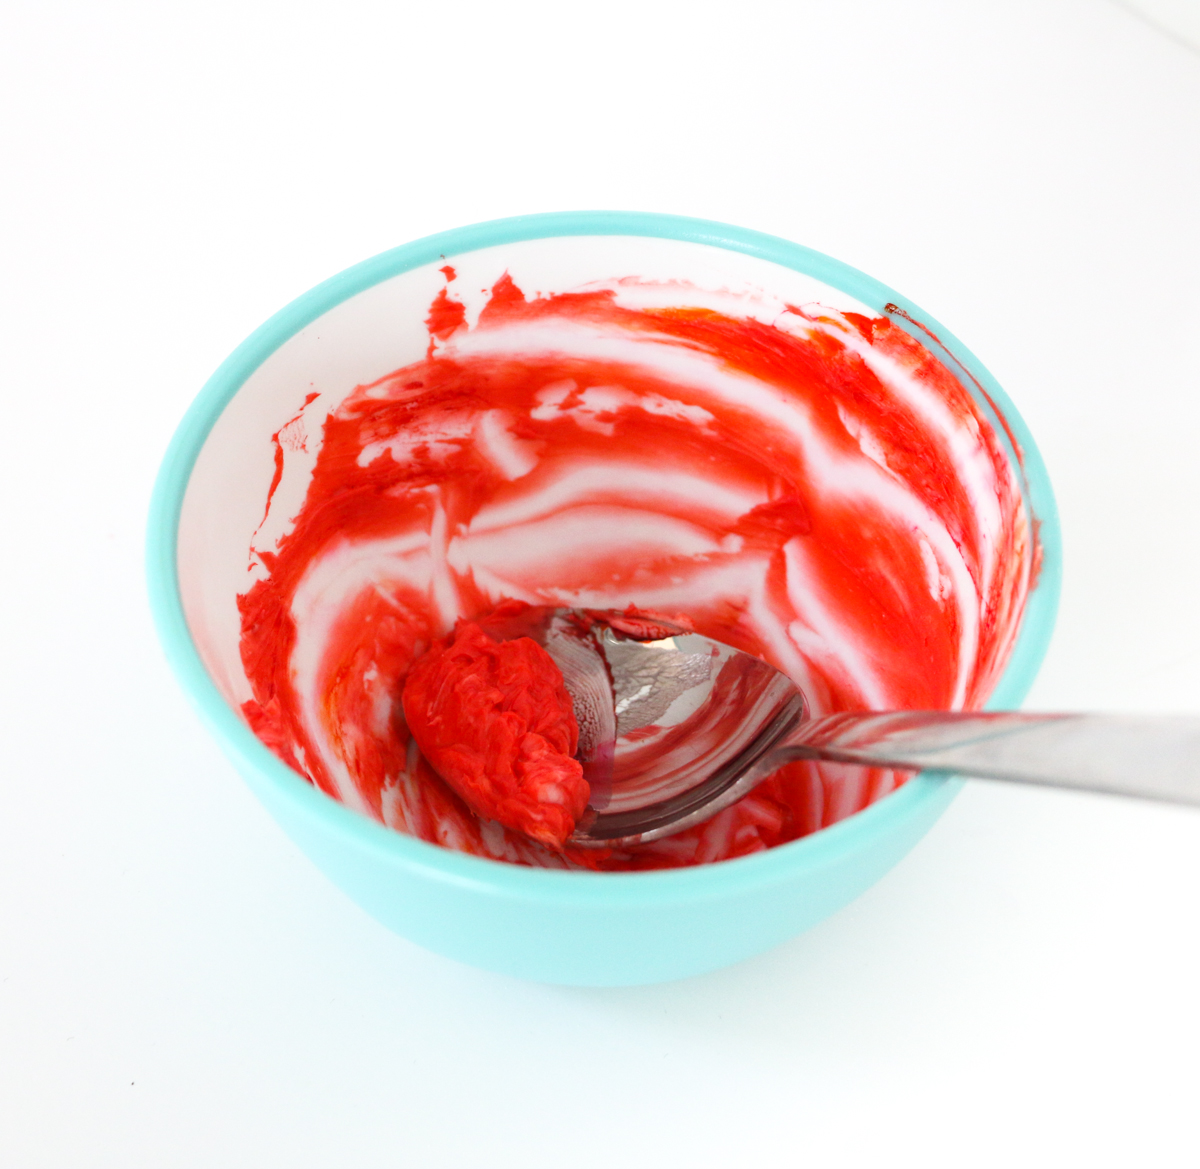
Now melt your white chocolate coating in the microwave in an microwave safe bowl until just melted and then slowly add a bit of the food coloring mixture at a time to the chocolate to get your desired pastel color. Note that this method works well for a light colored chocolate. If you add too much of the food coloring mixture to the chocolate, it will begin to seize, so no bright vibrant colors for this technique. But the pastels are more than pretty!

Once you have your colored chocolate, simply spoon a bit of the chocolate into your mold and use the back of the spoon to coat the inside of the mold up to the edges. You will want to make sure that your chocolate is at least 1/8 inch thick all around so that it will hold its shape. If you find that the chocolate keeps slipping down the sides of the mold and thinning out, just wait for it to harden then come back with more chocolate to thicken it up a bit. Once your chocolate looks thick enough, place the mold in the fridge for 10-15 minutes to set the coating chocolate, then remove and un-mold. You should have something a little like this.
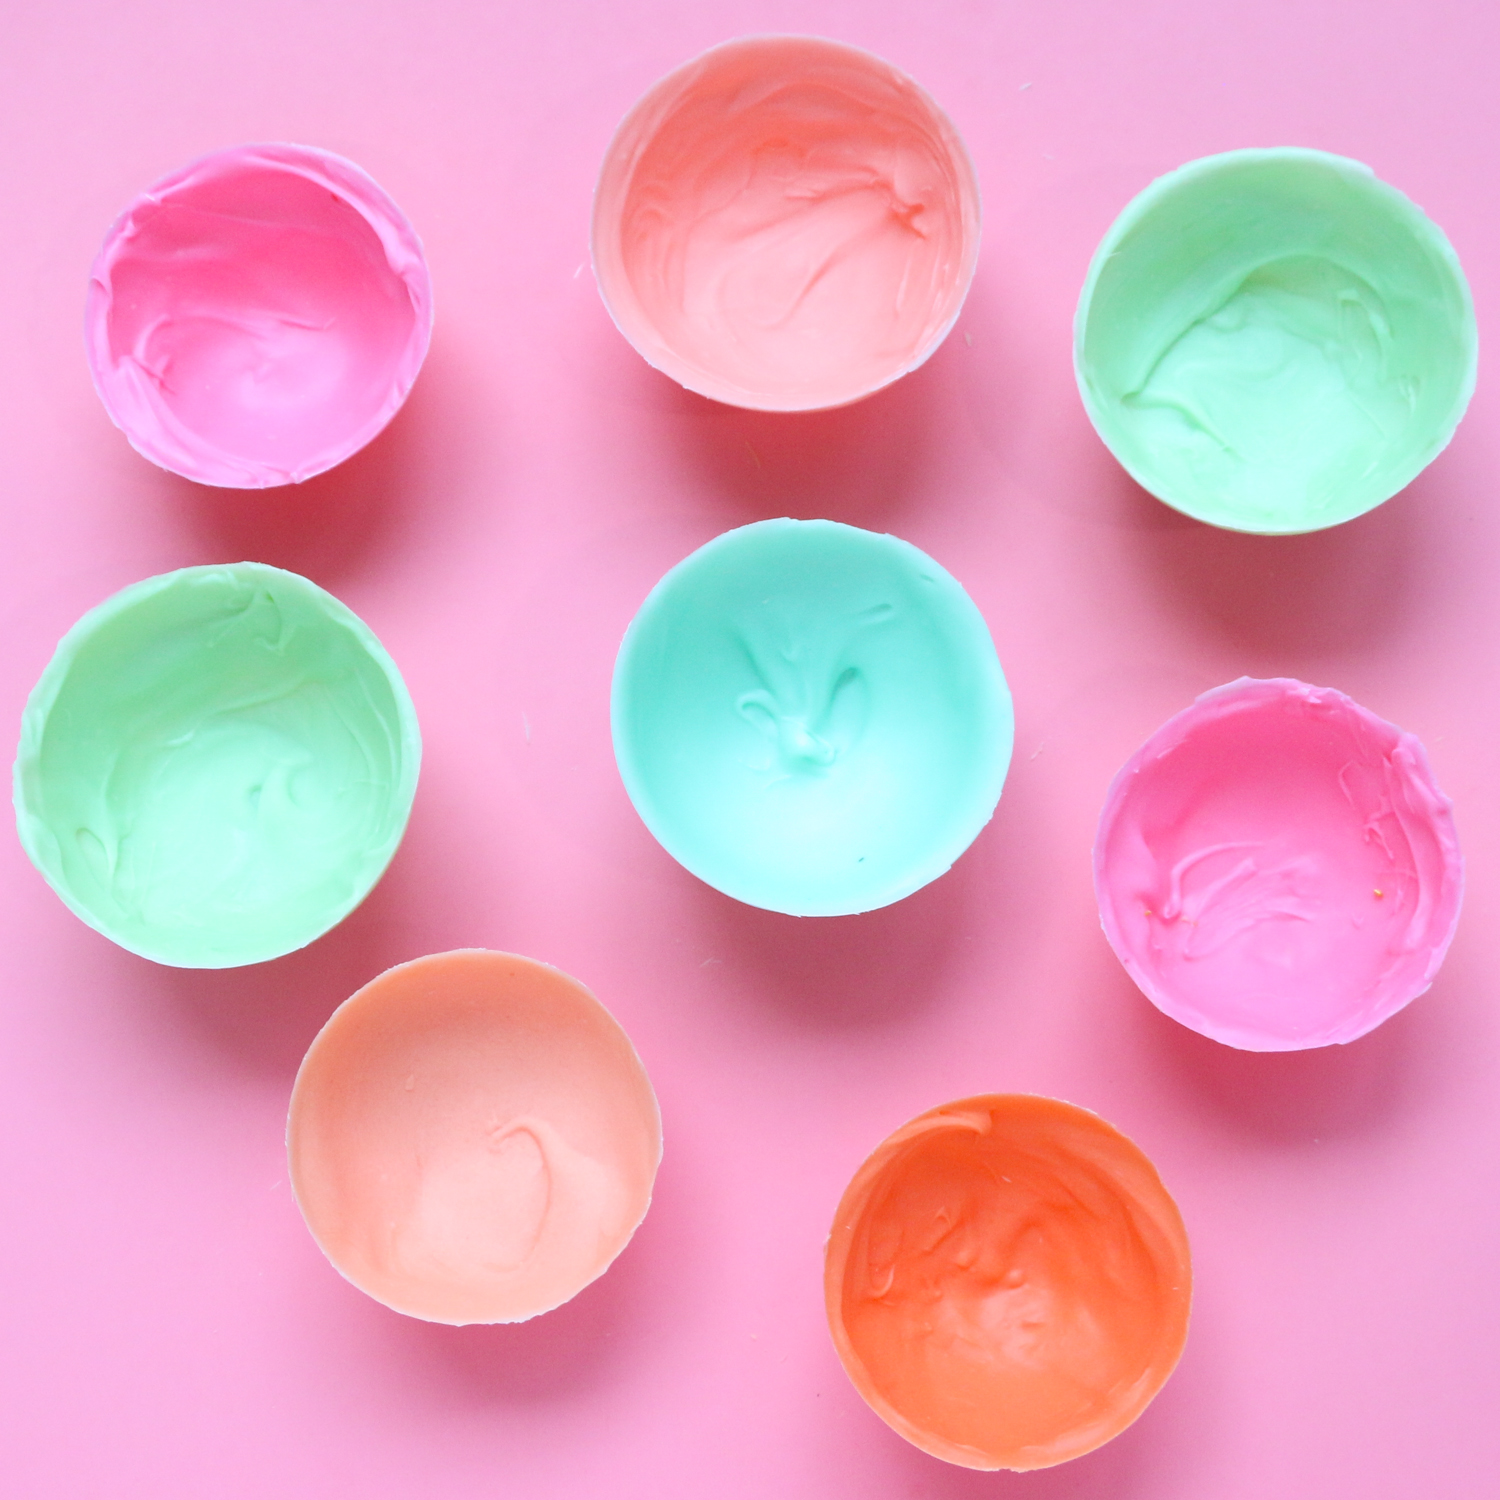

A bowl shape on one side and the other a nice smooth dome. Now it is time to add the gold, glittery touch. Melt the chocolate in your bowl again and dip the top rim of the chocolate bowls into the melted chocolate and then into a plate of the gold sugars. Let dry.


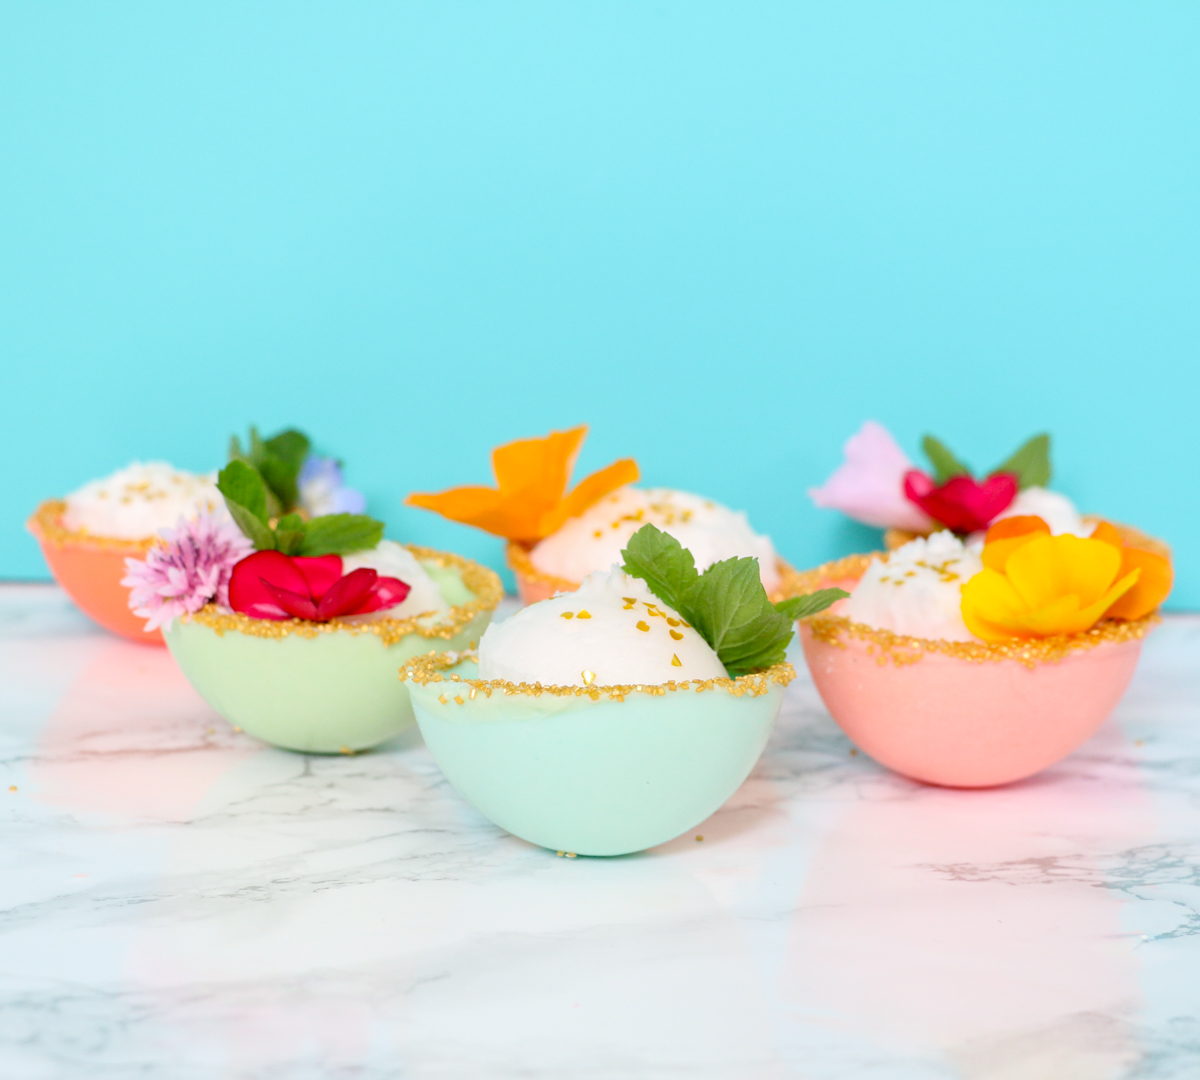
Now all that is left is to fill the bowls with whatever dessert you desire. Ice cream with mint and a few flowers perhaps?
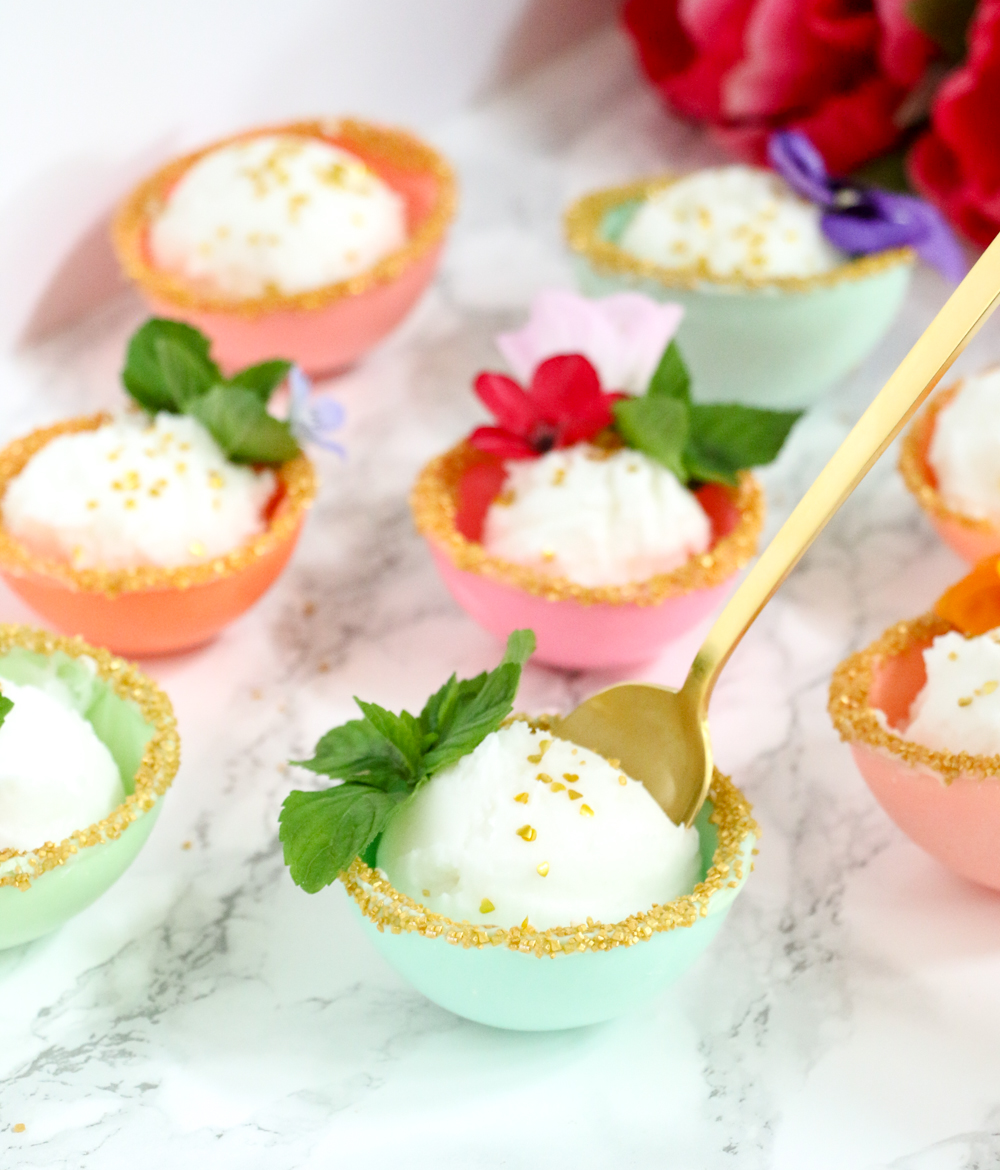

Wouldn’t these just be perfect for a spring tea? Or perhaps a bridal shower? Customized to the wedding colors of course! Whatever the filling or occasion, they are sure to be tasty!


April 27th, 2016 at 4:26 pm
I'm the Editor of Fun Family Crafts and wanted to let you know that we have featured your edible bowl project! You can see it here:
http://funfamilycrafts.com/edible-dessert-bowls/
If you have other kid-friendly craft tutorials, we'd love for you to submit them. If you would like to display a featured button on your site, you can get one from the right side bar of your post above. Thanks for an awesome project idea!
April 27th, 2016 at 7:02 pm
Thank you so much!