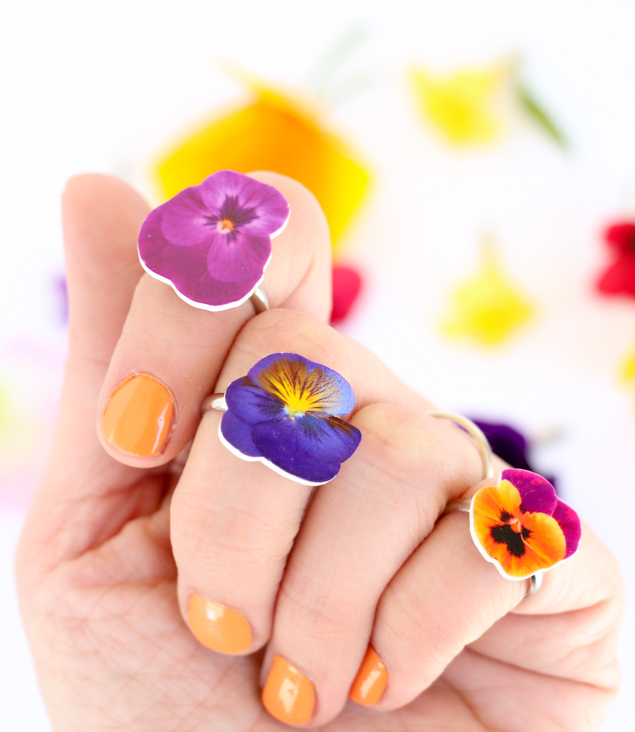
You may have noticed that I like flowers. I love real flowers, but I am also a fan of fake flowers (don’t hate) and even flower crafts. Back when I used to do craft shows I used to sell the cutest wildflower rings using Shrinky Dinks. Yep! That childhood craft supply that we all loved to watch shrink up in the oven. Today I will share my secret for making your own little flower rings.
Can you believe how adorable these are? They are so simple
to make and can be customized to your favorite color and flower. Follow along below for the full tutorial.
to make and can be customized to your favorite color and flower. Follow along below for the full tutorial.
The Supplies
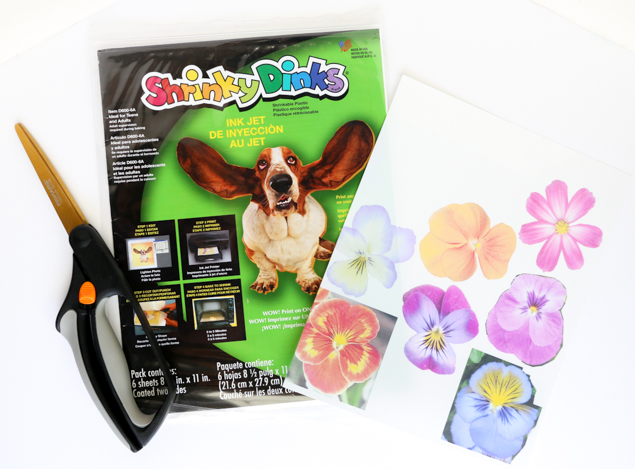
- Shrinky
Dink Paper for Ink Jet printers - Image
of flower of your choice in your favorite color. Pansy and viola flower
pictures work best. I just google image search for flower pictures that I
like. - Blank
rings with pad - Jewelry
glue or epoxy (can be found in the jewelry making section of the craft
store) - Ink
jet printer, computer, oven, and scissors
Begin by sizing your picture to about 2.5″ wide by
2.5″ tall give or take half an inch. You don’t want to distort the flower
image, so as long as it is appx. 2-3″ in diameter, you are good. Turn the
transparency of the picture to 30% (you want only about 70% of the full opacity
because when the image shrinks it will darken and the color will be more
saturated). If you have a photo editing program, you can arrange several flower
images on one letter sized document and then print them out on your shrinky
dink film.
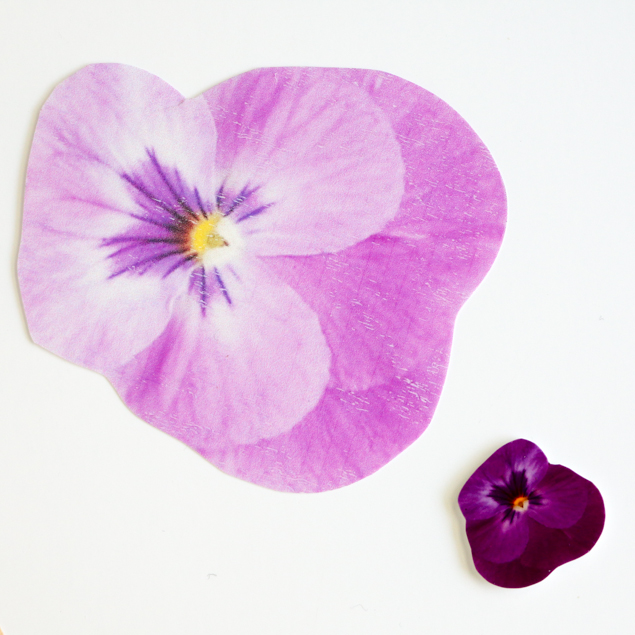
Preheat your oven to 320°F and then use your scissors to cut
the images of the flowers out. Lay the flowers on a piece of white paper on a
cookie sheet, image side up, and bake until the shrink paper stops curling and
lays flat. The shrinking time will vary, but takes about 3-4 minutes.
the images of the flowers out. Lay the flowers on a piece of white paper on a
cookie sheet, image side up, and bake until the shrink paper stops curling and
lays flat. The shrinking time will vary, but takes about 3-4 minutes.
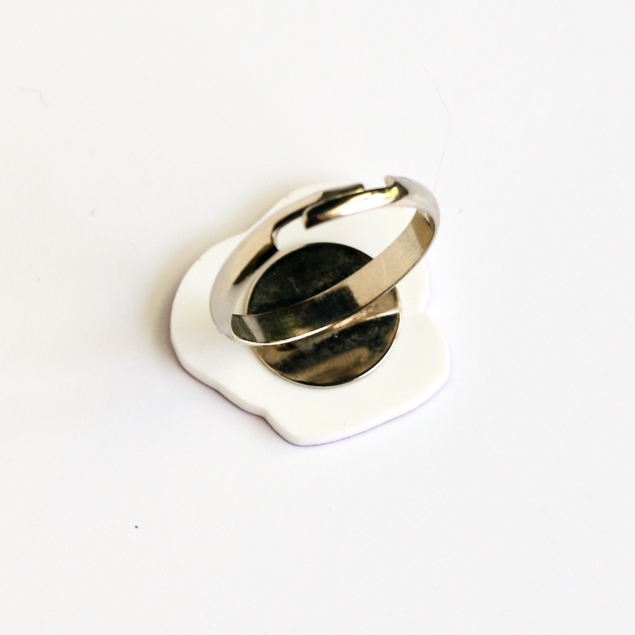
Let your flower cool and then use your jewelry glue to
attach the flower piece to the ring pad.
attach the flower piece to the ring pad.
Repeat. Repeat. Repeat. Until you get tired of making flower
rings. But trust me, you won’t!
rings. But trust me, you won’t!
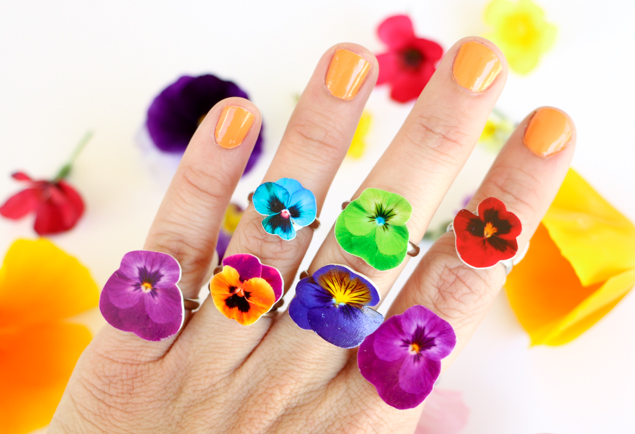
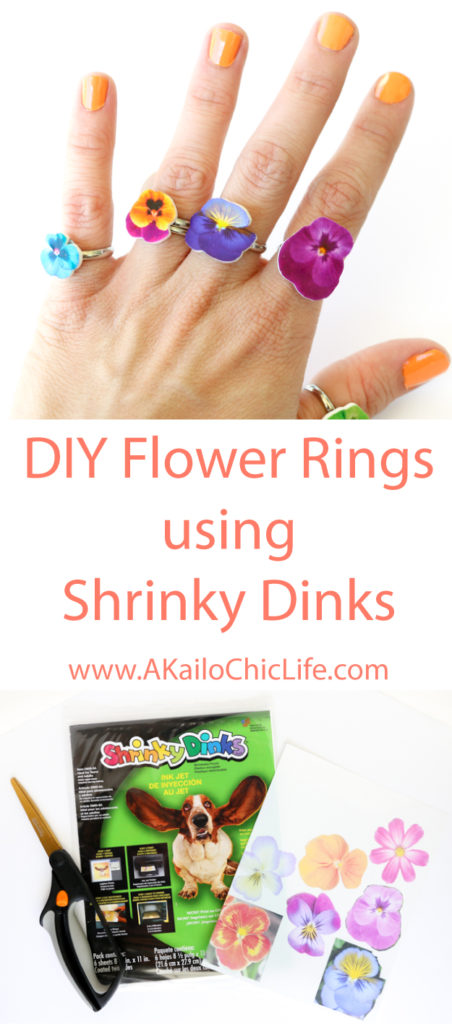
See, I could wear one on every finger and be happy. It’s
like a bouquet of flowers on my hand! But seriously, these dainty little rings
are perfect for spring and I am sure that your friends would love to make a few
too!
like a bouquet of flowers on my hand! But seriously, these dainty little rings
are perfect for spring and I am sure that your friends would love to make a few
too!
August 15th, 2016 at 12:47 pm
loved these. Haven't made any Yet, but am going to try.. Thanks..