


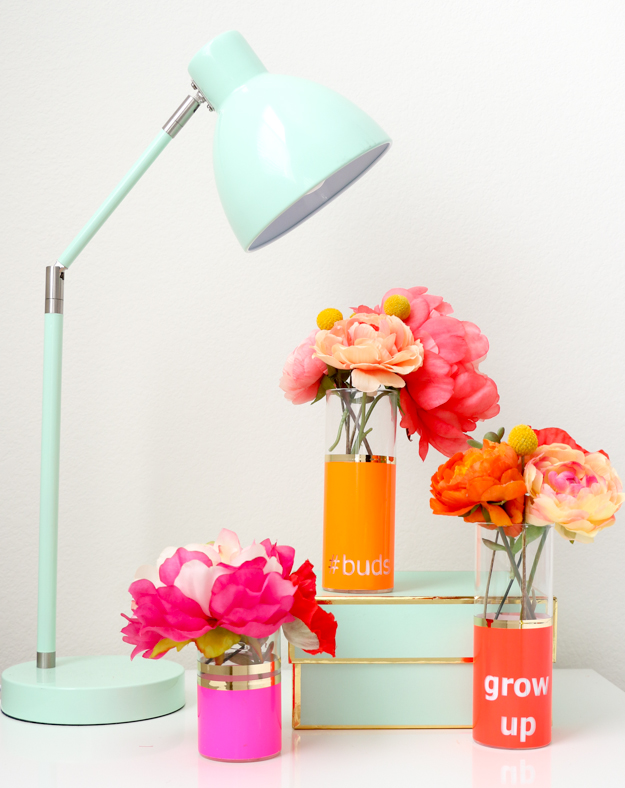
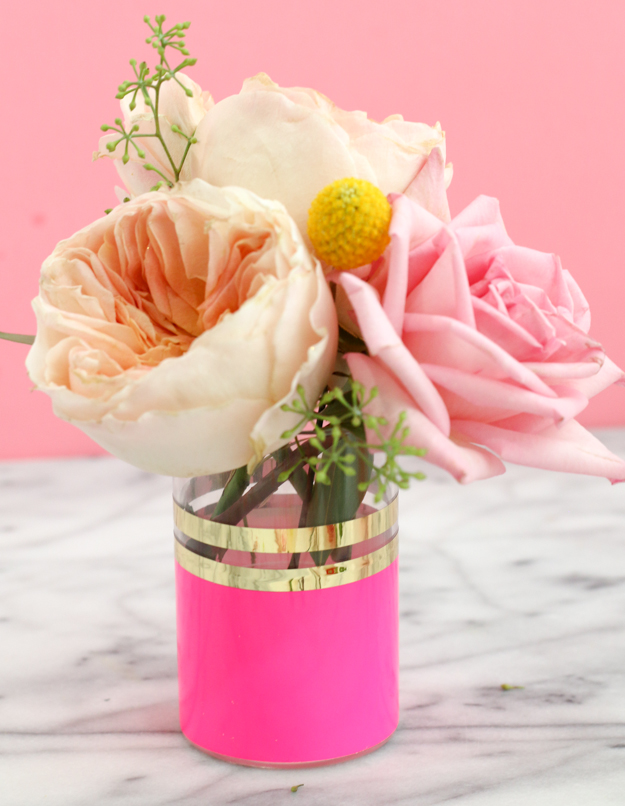
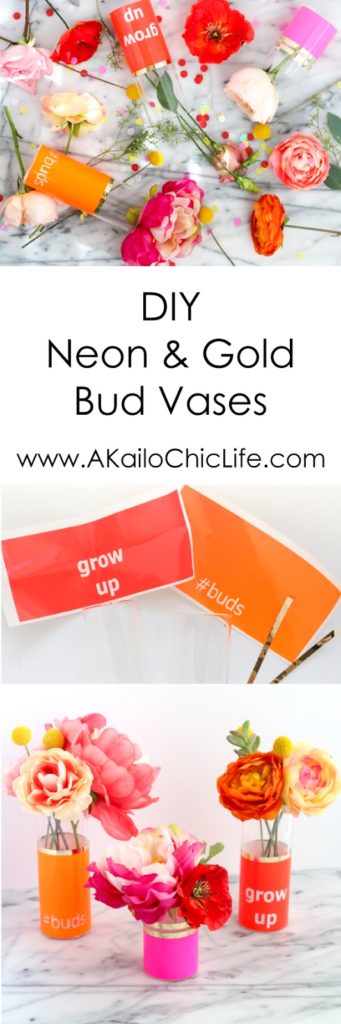
Well, I may have gotten older, but my love of neon colors is still going strong. The only difference now is that I use the colors in my home decor and crafts instead of on my outfits. Don’t believe in the power of neon colors? Then read on so that I can convince you of their awesomeness. Especially when in bud vase form and paired with a hint of gold!
- Neon adhesive vinyl
- Silhouette Gold Foil Vinyl
- Vinyl transfer tape
- Silhouette machine and Silhouette Studio
- Plain cylindrical glasses (you want to make sure that there is no taper in the glass or else the vinyl won’t wrap correctly)
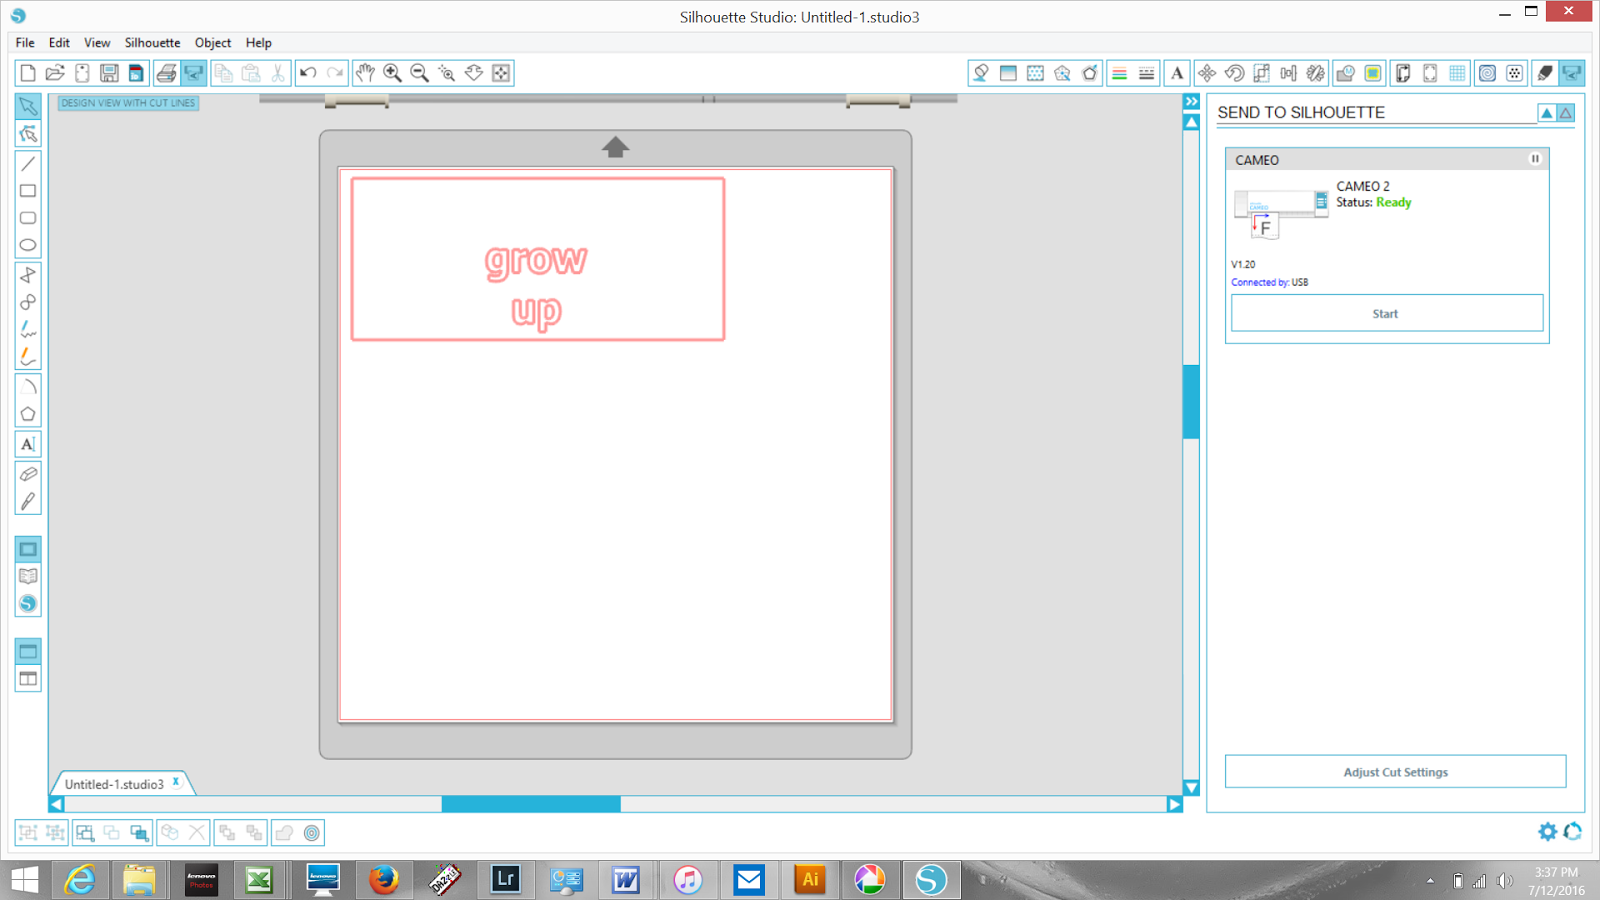
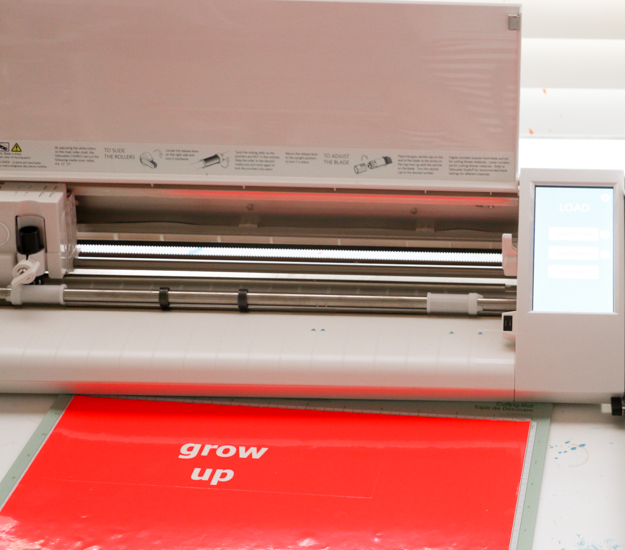
Begin by measuring the diameter of your glasses. Mine were 7.5″, so I created a 7.5″ by 3″ rectangle in the Silhouette Studio software. Pick out the word or phrase you want for my vase as well as the font and type it and center it in the middle of the rectangle towards the bottom. You want to make sure that the words will be able to be seen on the glass and not wrap too far around each side, so measure the length of the front of your glass and size the words to this measurement. Now it is time to load and cut your vinyl.
After weeding you should have something a little like this:
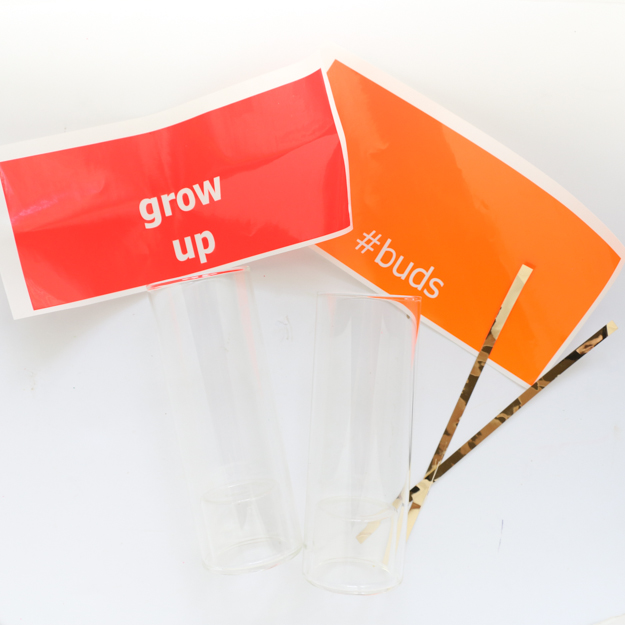
You can also use your machine to cut 1/2″ by 7.5″ (or whatever you glasses diameter is) strips of the gold vinyl.
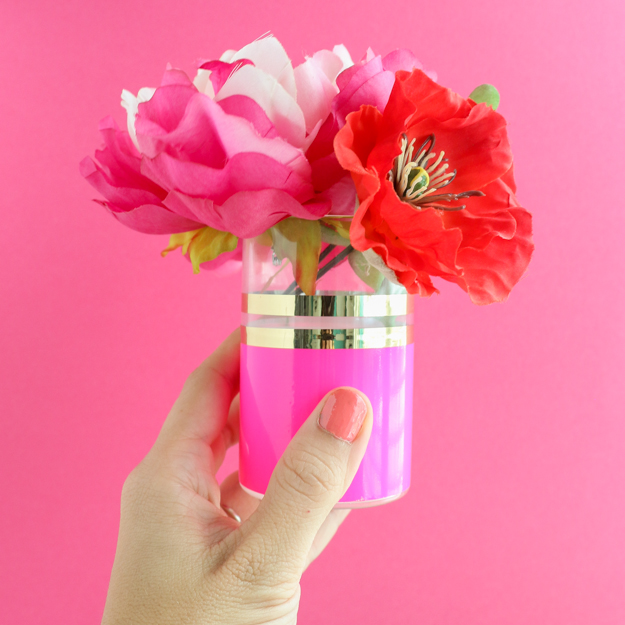
Now comes the difficult part. I tried using transfer tape to move the vinyl onto the glass as well as just lifting the whole vinyl piece up and attaching it without using the transfer tape and the transfer tape is definitely the way to go. So, adhere a piece of transfer tape to your vinyl piece and remove from the paper backing. Start on one edge and slowly wrap your glass with the vinyl smoothing out any air bubbles as you go. Once fully wrapped, gently remove the transfer tape. The final step is to peel off your gold vinyl and wrap it around the top edge to give it a finished look.
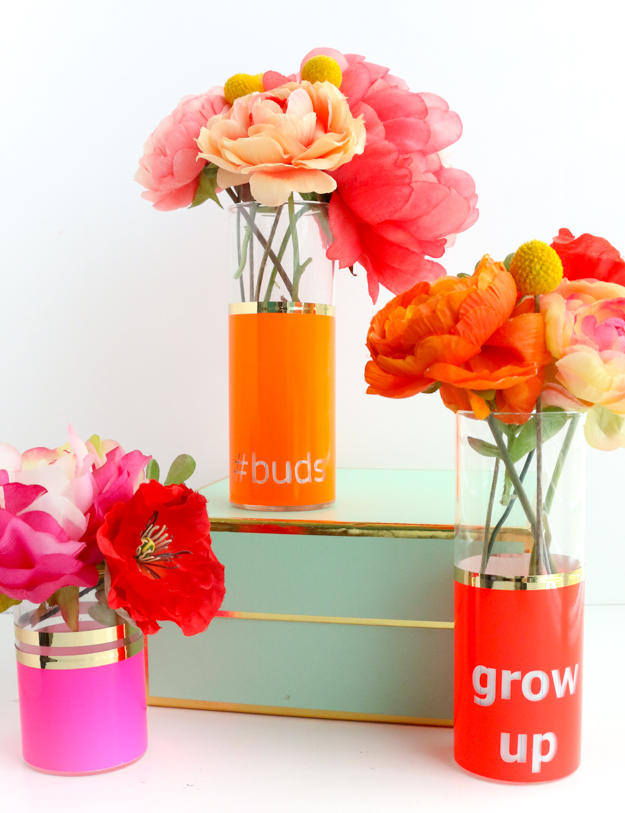
Repeat with your other glasses. You can use any phrase you think of to personalize the glasses. Some of my favorites are #flowers, best buds, grow, petals, and #boss. Or you can use the same method to cut your vinyl rectangle without words and just add a few cutout gold vinyl details instead like triangles or polka dots.
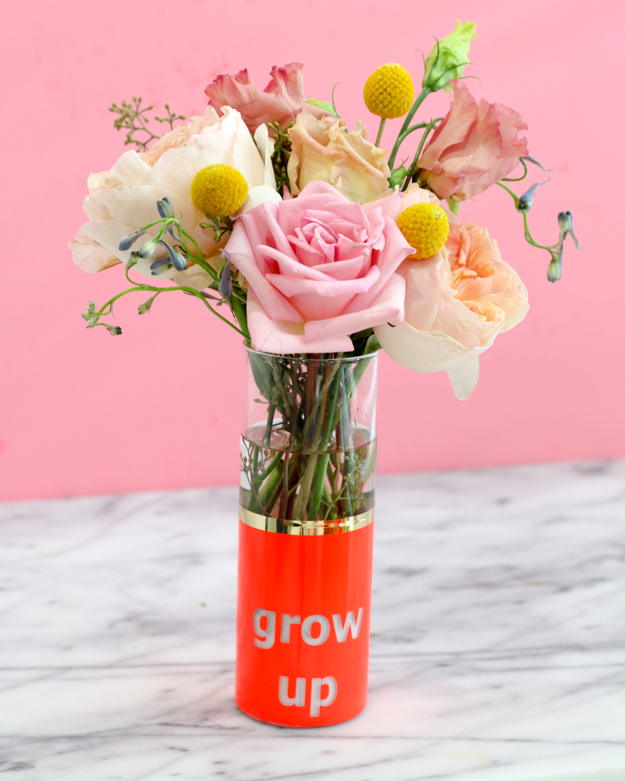
Have I convinced you of the awesomeness of neon yet? What phrase do you think would be fun for a bud vase? Now it’s time to find more ways to incorporate neon into my life!
Special thanks to Silhouette for sponsoring this post and providing me with a Silhouette Cameo. All opinions, ideas, and craftabilties are my own.


July 14th, 2016 at 5:10 pm
Love these vases so much – what a great Silhouette project to try! I've been terrified of using vinyl, but I may suck it up and try this one!
May 16th, 2017 at 7:45 pm
Can these vases be washed with the vinyl on them?
May 16th, 2017 at 7:46 pm
Yes, you can hand wash them.
January 23rd, 2019 at 6:06 am
[…] akailochiclife.com […]
May 8th, 2020 at 2:41 am
[…] Lernprogramm […]