Hey! Guess what? It’s my birthday! Yep, that’s right, and this birthday girl is celebrating by sharing a super cool project! These DIY patterned hexagon coasters turned out awesome, and I had to share them with you. Read on to make your very own using the Silhouette cut files I created . Get out your vinyl and let’s celebrate my birthday with colorful patterns (and maybe some cake?)!
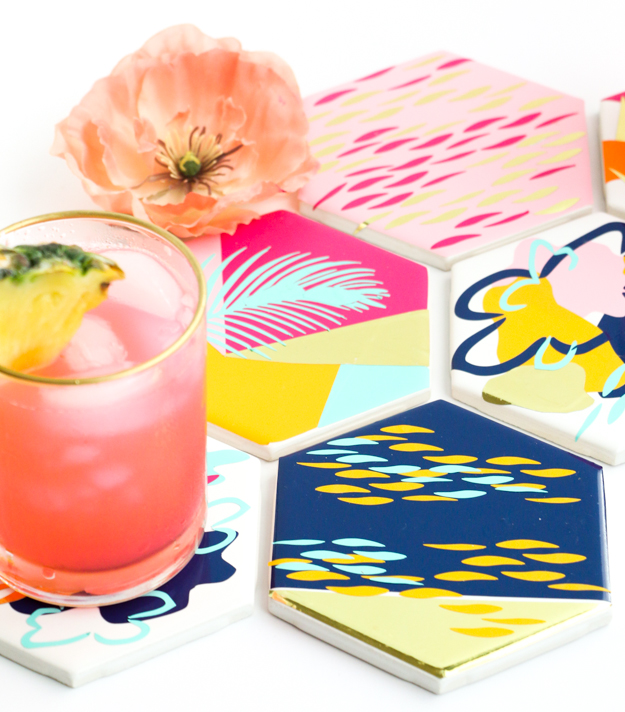
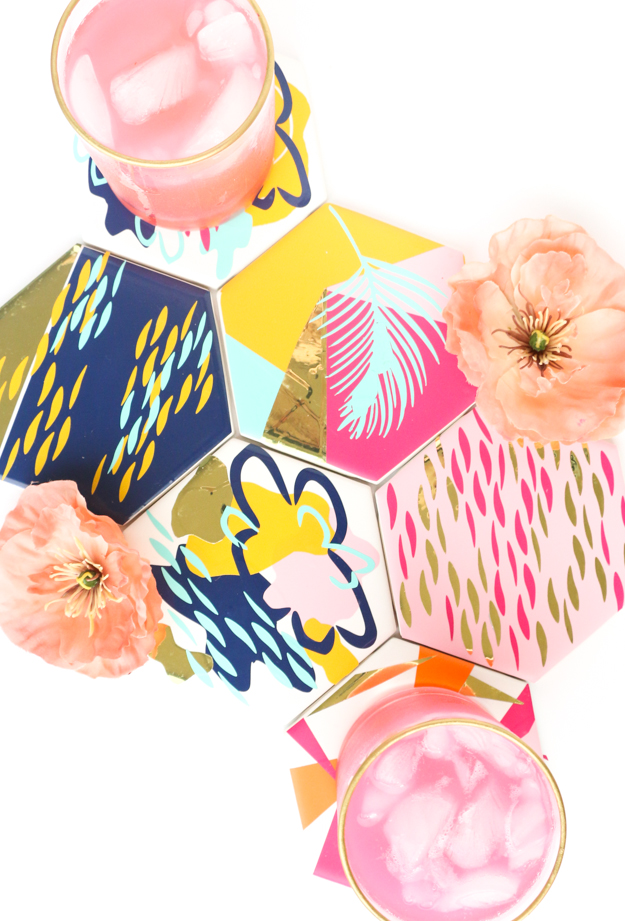
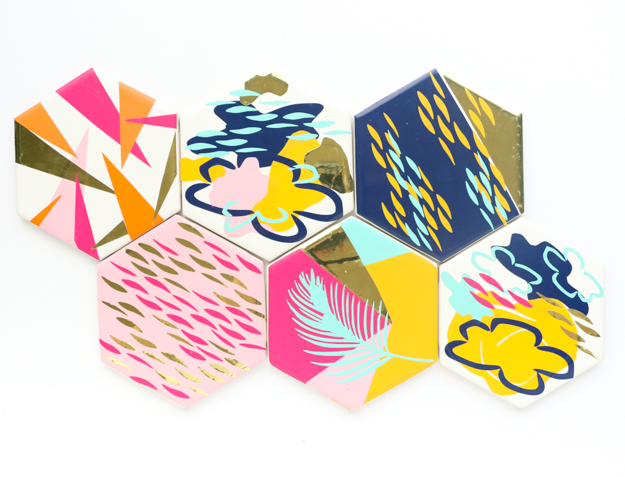
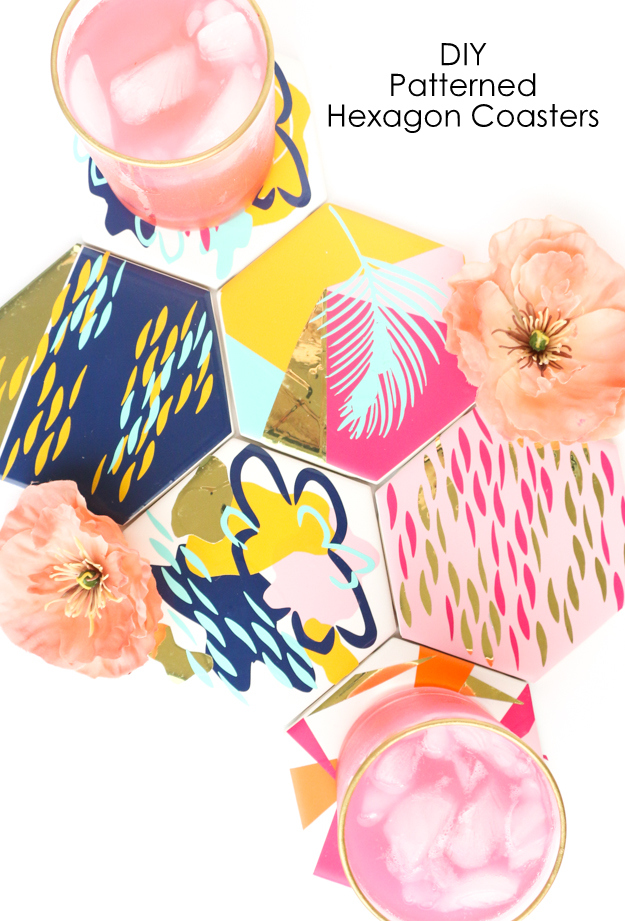
Creating the patterns for these was a lot of fun. Some of the designs (like the triangles) I created by hand-cutting the vinyl and placing it around the hexagon tile. The more intricate designs were cut using my Silhouette Cameo.
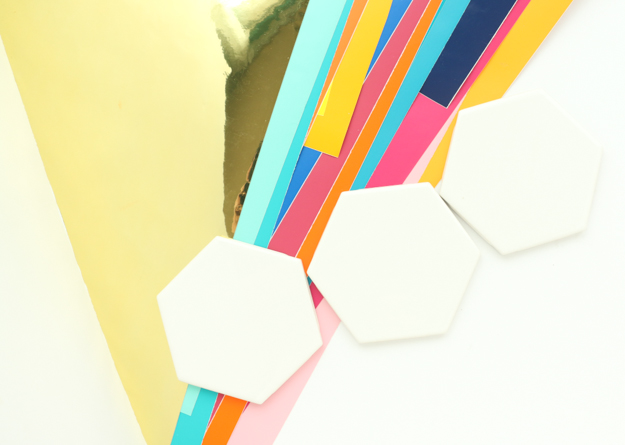
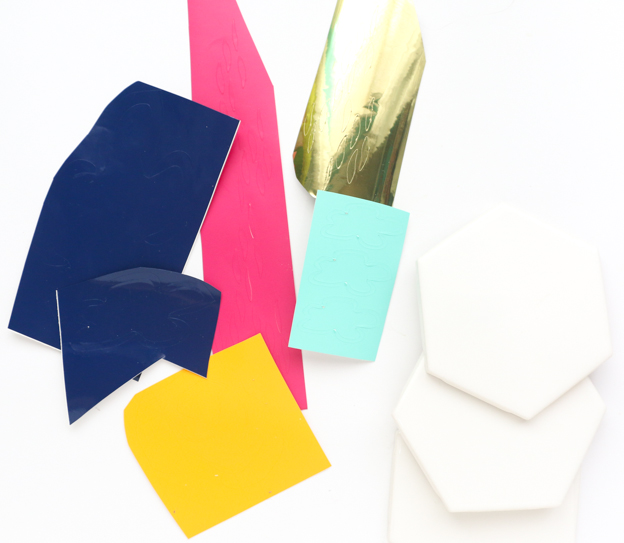
- Colorful permanent adhesive vinyl and masking transfer paper
- Metallic gold adhesive vinyl
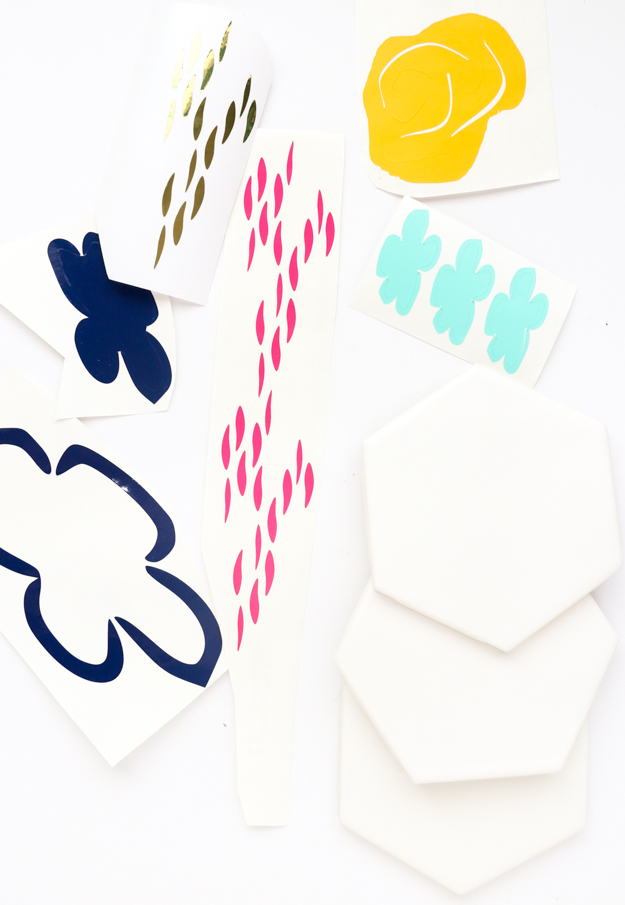
- These silhouette cut files – oblong shapes, palm leaf, abstract flower
- Silhouette cameo and cutting blade
- Scissors
- White Hexagon Tile
- Optional – roll of cork contact paper and Shellac spray coating
I found these white hexagon tiles at Home Depot for $0.48 each and the colorful vinyl came from Expressions Vinyl for only $2 for a 12″ by 24″ piece! Clap your hands and say ‘super affordable crafting supplies’!
As I mentioned before, you can just hand-cut different sized triangles out of vinyl with scissors and adhere them to the coaster in a random overlapping pattern to create the triangle design.
For the navy with yellow/turquoise oblong dots and the light pink/dark pink/gold oblong print, hand-cut the base colors and adhere them to the tile like you would stickers. Then, use the oblong print cut file to trim out the oblong shapes with the Silhouette Cameo using the ‘vinyl’ cut setting. I removed the negative space vinyl and used masking transfer paper to transfer all the pieces onto the coasters.
For the more patterned looks, you can use a combo of hand cut free-form shapes, the abstract flower, and the oblong shapes. Simply overlap various colors and sizes of these shapes onto the coaster base until you get a pattern you like.
For the last coaster, hand-cut overlapping colors, then overlay them with a Silhouette cut palm leaf, using the masking to transfer the design.
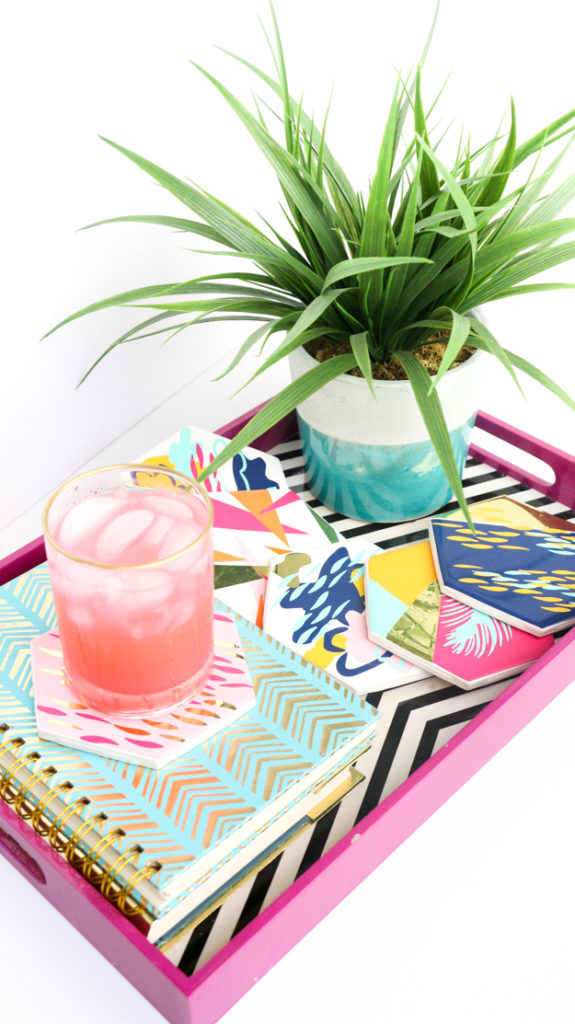
Play around and see what you like. Customize the colors and patterns or even create your own design in the Silhouette studio. Once your coasters are ready, trace the hexagon shape onto the back of cork contact paper, cut it out, and adhere it to the back of the tile to give them a cushy underside. The vinyl is water proof and I haven’t had issues with it staying in place, but if you want to give the coasters an added layer of protection, spray them with a bit of clear Shellac to seal them in.
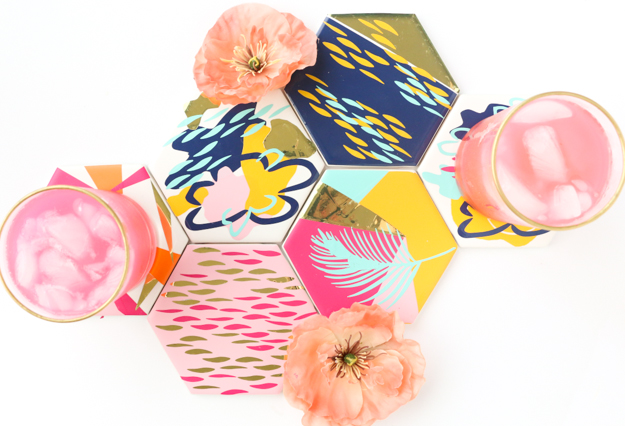
This is a great project for the entire family to try out (my young kids loved it!). You’ll end up with some cool accent pieces for your house or some handmade gifts to give away!
Special thanks to Silhouette for sponsoring this post and helping keep the creativity coming!

August 11th, 2016 at 6:53 pm
These are so fun and colorful! Love all of the patterns you chose!
http://www.thebeautydojo.com
August 13th, 2016 at 9:56 pm
These are adorable!
Xx Taylor
http://lightscameracatwalk.com
August 21st, 2016 at 2:11 pm
Thanks Taylor!
January 9th, 2020 at 12:28 am
[…] Tutorial […]