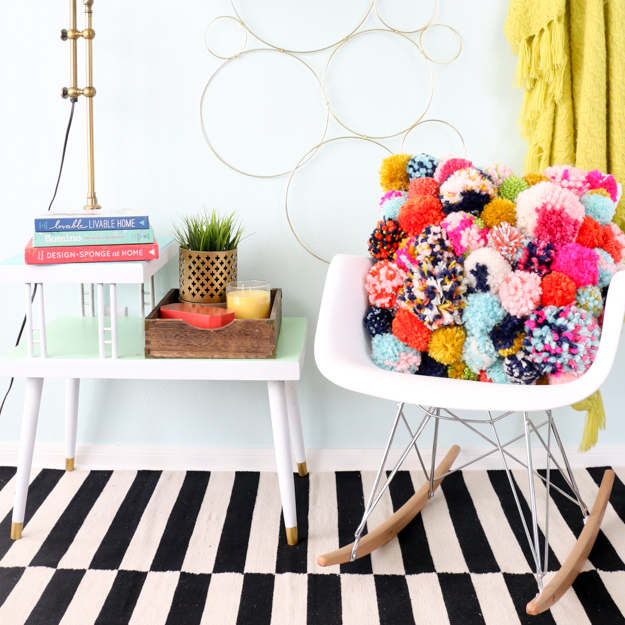
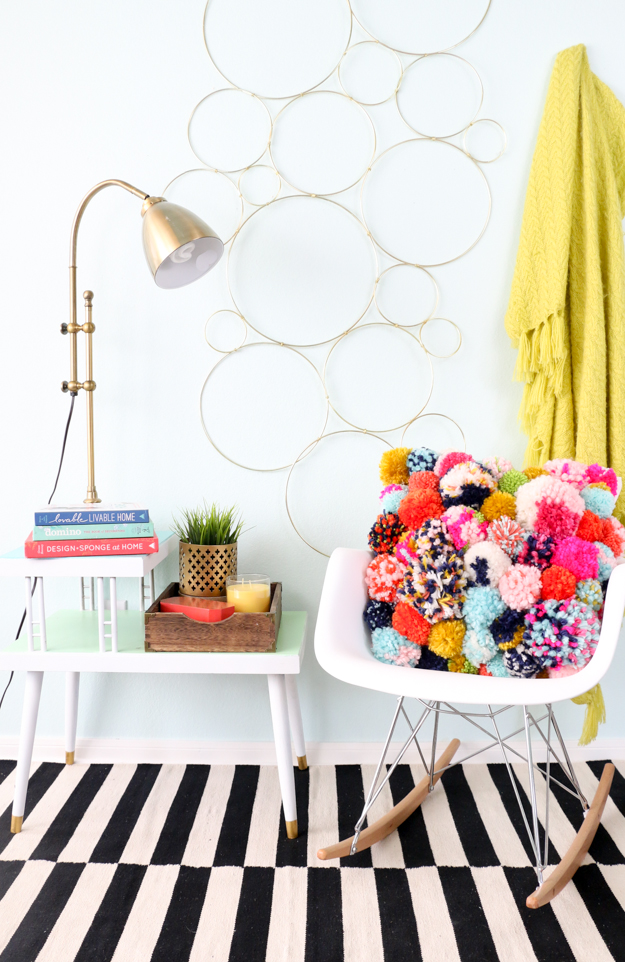
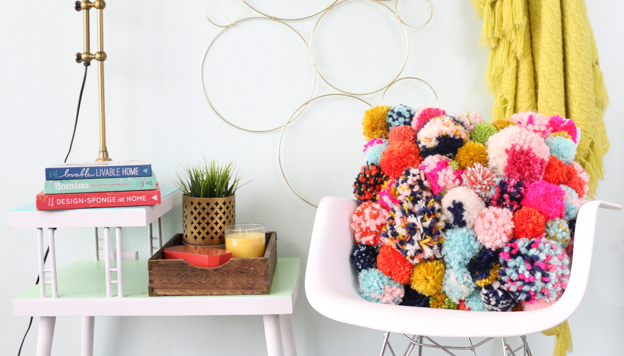
Cool fall weather is going to be here before you know it, so it’s time to get started on your fall decor DIY projects. I have been obsessed with yarn pom poms for quite a while, and when I started to think about how I wanted to decorate for fall, I knew I wanted to incorporate a few colorful pom poms into my decor this year. That’s when I thought, ‘why limit myself to just a few? Why not cover an entire pillow with yarn pom poms?’ That’s just what I did, and the resulting pillow is definitely a statement piece.
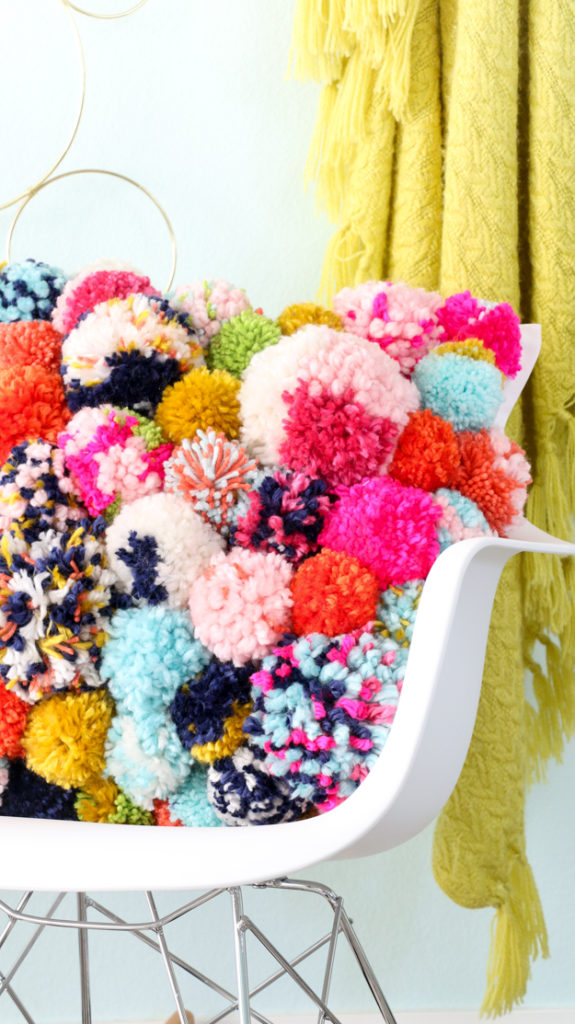
Isn’t it just so fun and colorful? The yarn pom pom’s give the pillow a cozy warm feel, but the bright vibrant colors are perfect for a colorful fall look. This is one project that is super simple to do, but does take a bit of time. Follow along after the break for the details.
The Supplies:
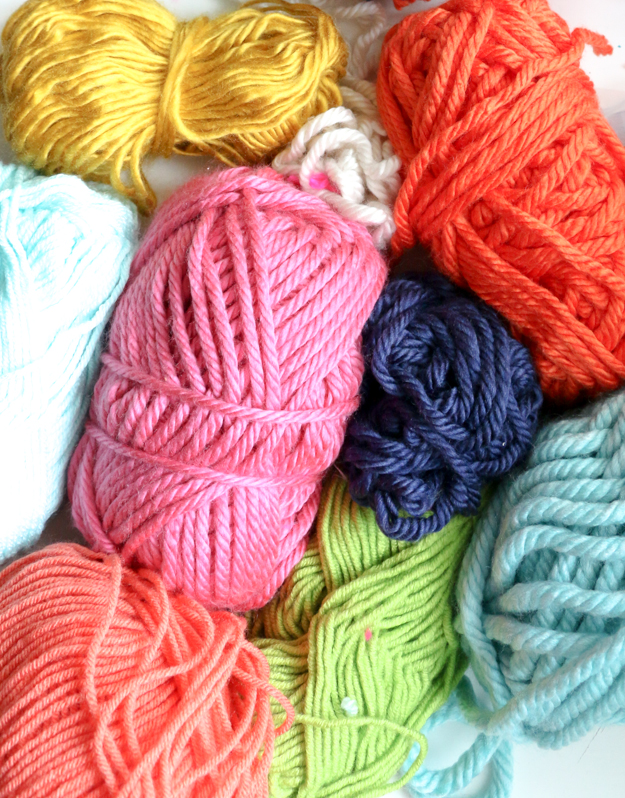
- Chunky Colorful Yarn
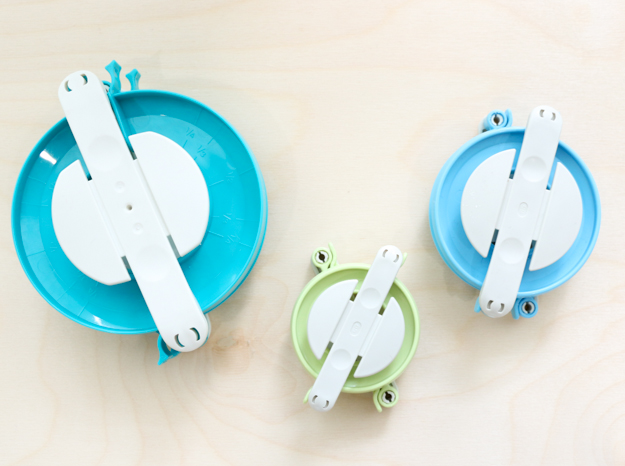
- Clover Large Pom Pom Maker
( I used these two plus the extra large one)
- Hot Glue gun and glue
- Plain pillow case and insert (or make your own pillow case using white fabric)
- Scissors
I used a number of my favorite colors of yarn for this pillow, but feel free to use the colors you like best. This is a great project for using up leftover pieces of yarn that you have from other projects too.
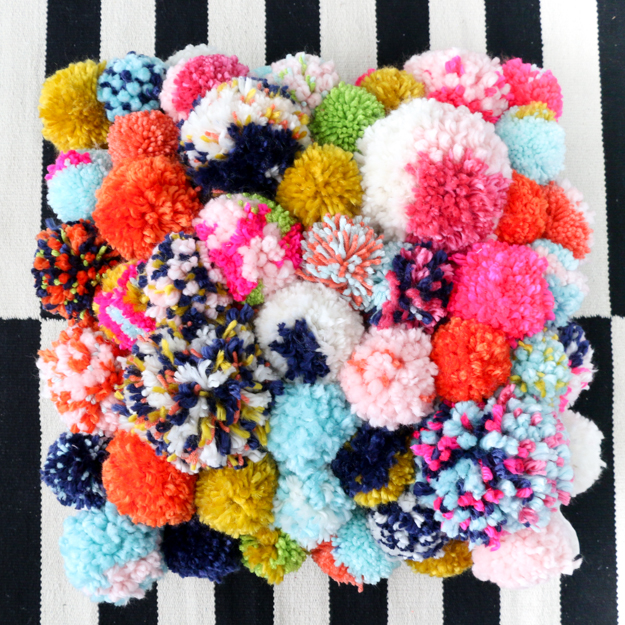
The number of pom poms you will need depends on the size of your pillow, but my pillow was 24″ by 24″ and I ended up needing roughly 50 pom poms of varying sizes. To make the pom pom making process easy on yourself, I would really encourage the investment in a pom pom maker (or 3). This project was the first time I used one and I was surprised how much easier it made the pom pom making.
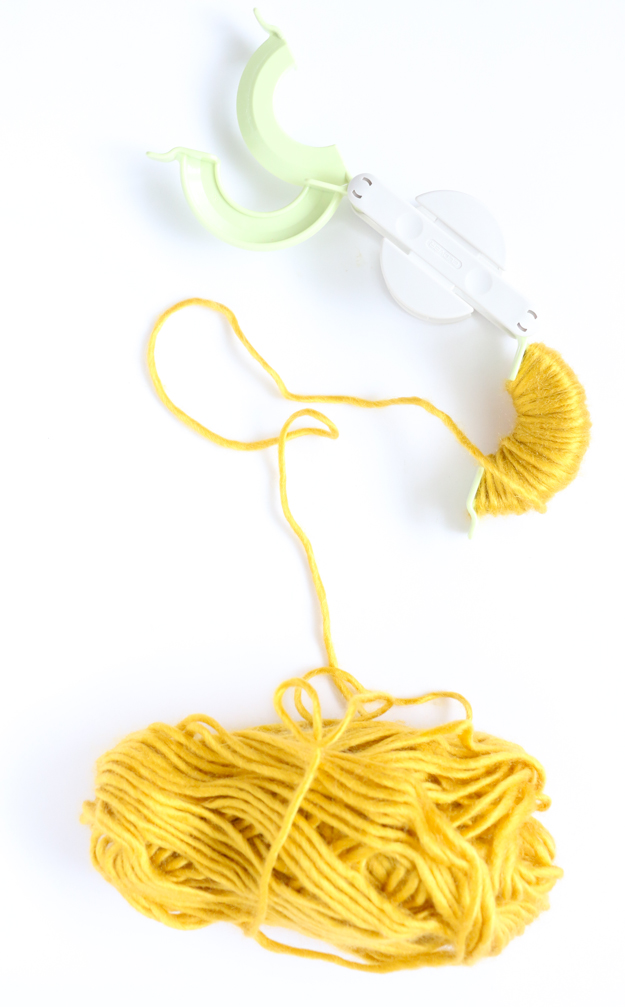
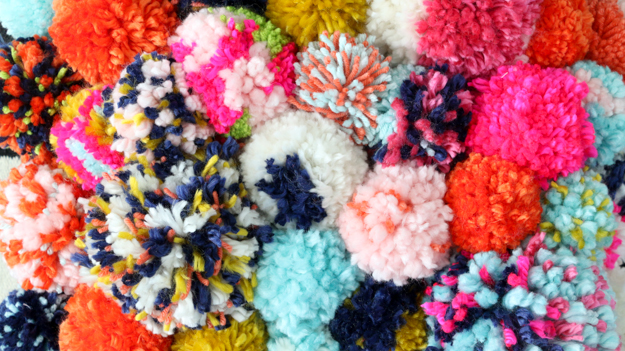
Simply open the pom pom maker and begin wrapping your yarn around each side as shown above. When full, close the flaps and cut your yarn down the middle. Then tie a piece of yarn around the middle of the pom pom maker and open to release your pom pom. The final step is to trim up the pom pom to create your round shape. Now repeat this process 50 more times! You can make all solid color pom poms or vary it by adding several colors of yarn to one pom, or make a two one with one yarn color on one side and one color on the other. I love the variation of the pom poms and think it gives the pillow lots of visual interest.
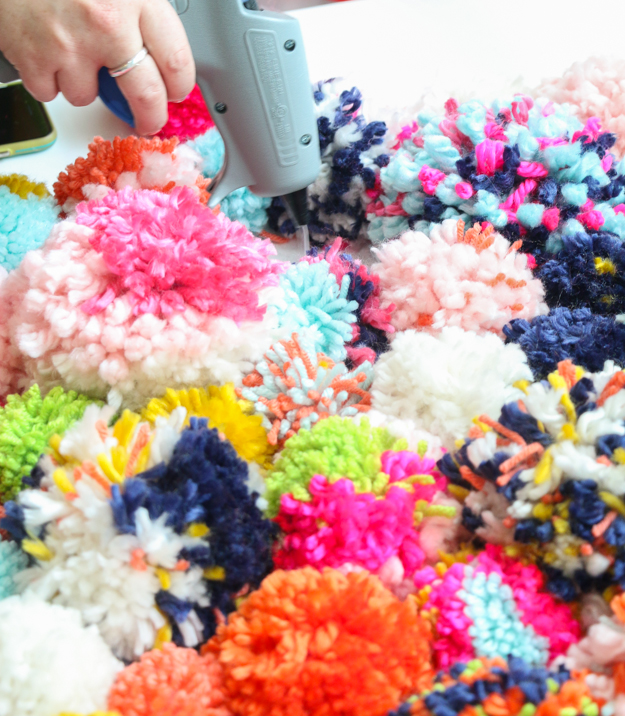
Once you have all your pom poms made, use your hot glue gun to glue the pom poms to the pillow. Add a large blob of glue and then spread the pom pom open a bit and adhere it to the pillow as close to the center of the pom pom as possible. If you glue it on so that the glue is just on the outer edge of the pom pom, the pom pom can loosen easily and get pulled off. But by spreading the pom pom open a bit a gluing it as close to the center as possible, the pom pom will stay firmly attached.
Work your way around the pillow covering every part of the front of the pillow case. You may need to glue the pom poms to each other a bit to cover every spot. Once done, let your glue completely cool, then you are ready to display your work of yarn art proudly.
Although it is time consuming, this is a great project to do while catching up on your favorite shows. And the time input is totally worth it for such an amazing statement piece.
P.S. Love this pillow? Then you should also try our Pom Pom Clutch tutorial!


September 25th, 2016 at 4:34 pm
This makes for a good statement piece. totally love it!
September 25th, 2016 at 4:36 pm
Thank you! It really does!
September 26th, 2016 at 9:30 pm
This is happening on my couch
September 26th, 2016 at 9:35 pm
Yes! Do it!
September 27th, 2016 at 12:37 am
it's not much of a diy if it involves a tool that practically no one has… I wish you would teach how to handmade the pompoms
September 27th, 2016 at 1:08 am
Thank you for your input. You can find numerous tutorials online for making Pom Poms without a Pom Pom maker if you search on google or Pinterest. I wanted to share the idea of using these Pom Poms for creating a pillow more so than how to make a Pom Pom. Plus since this pillow requires so many Pom Poms, I would really suggest investing the couple of dollars to get a Pom Pom maker. It will save your sanity!
October 9th, 2016 at 10:43 am
I use the cardboard method. However, I've been eyeing those pom pom makers for a while. I think it's time to make the investment. Great response btw.
May 4th, 2017 at 10:27 pm
They are super cheap at Joanns… or amazon…. really worth it
November 15th, 2016 at 3:14 am
Is there a way to not use hot glue to attach the poms? Like with a sewing machine, or hand sewing?
November 15th, 2016 at 3:26 am
Yes, you can hand stitch them on with yarn and an upholstery needle. Just make sure you stitch through the center of the pom pom so that you grab a hold of the center piece of yarn and not just the fringe pieces.
April 26th, 2017 at 7:37 pm
This is so colorful and bright. Love it 🙂
July 10th, 2017 at 4:20 am
Could I use Fabric Fusion in place of hot glue?
July 10th, 2017 at 4:42 am
If you have small Pom poms, I'm sure it will work. The large poms need a bit more glue to get them to stick and pull off.
March 20th, 2018 at 1:32 am
[…] Source: A Kailo Chic Life […]
May 15th, 2018 at 10:38 am
[…] Image and Tutorial: A Kailo Chic Life […]
July 14th, 2018 at 4:44 pm
[…] via akailochiclife.com […]
July 27th, 2018 at 3:10 am
[…] A Kailo Chic Life […]
November 13th, 2018 at 5:10 pm
[…] Via A Kailo Chic Life […]
December 1st, 2018 at 10:34 am
[…] You can have regular pillows decorating your room, or you can have pom pom pillows, which truly stand out. What you need to do is make a ton of different yarn pom poms, then glue them all to your plain pillowcase until you’re satisfied. via akailochiclife […]
January 13th, 2019 at 5:14 am
[…] start working on an awesome project like this super fluffy pom pom pillow outlined step by step on A Kailo Chic Life! Besides how soft the finished product is, we adore the way this project lets you use up yarn of […]
March 1st, 2019 at 2:49 am
[…] akailochiclife […]
April 27th, 2019 at 6:31 am
[…] akailochiclife […]
June 14th, 2019 at 6:03 pm
[…] Pom pom throw pillow by A Kailo Chic Life: […]
June 20th, 2019 at 2:18 am
[…] Tutorial: akailochiclife […]
November 30th, 2019 at 3:39 am
[…] akailochiclife […]
January 25th, 2020 at 4:28 am
[…] 1. DIY Fluffy Pom Pom Pillow […]
April 9th, 2020 at 12:01 pm
[…] You can have regular pillows decorating your room, or you can have pom pom pillows, which truly stand out. What you need to do is make a ton of different yarn pom poms, then glue them all to your plain pillowcase until you’re satisfied. via akailochiclife […]
May 30th, 2020 at 4:15 pm
[…] Fuente: A Kailo Chic Life […]
July 1st, 2020 at 7:07 am
[…] You can have normal pillows that decorate your room, or you can have pom pom pillows that really stand out. What you need to do is make a ton of different yarn pom poms and then stick them all onto your simple pillow case until you are satisfied. about akailochiclife […]
July 25th, 2020 at 3:21 am
[…] akailochiclife […]
July 25th, 2020 at 11:59 am
just flip a chair wraap the wool around the legas till theirs about 30 thick then tie them every couple of centimeteres then cut them in between the ties super easy batch of pom pom created
August 5th, 2020 at 4:45 pm
[…] Quelle: Ein Kailo Chic Leben […]
August 12th, 2020 at 5:52 pm
[…] Credit: akailochiclife.com […]
November 24th, 2020 at 4:51 pm
[…] Source: from akailochiclife […]
December 1st, 2020 at 9:52 pm
[…] Tapestry Wall from amazon Amaonm Chinese Style from amazon Cozy Pom Pom Pillow from akailochic life DIY Geometric Wall Decor from ruffled blog DIY Flower Wall Hanging from the learnerob server […]
December 28th, 2020 at 9:01 pm
[…] akailochiclife […]
January 7th, 2021 at 6:11 pm
[…] Cozy Palm Pillow – These are super unique, comfortable, vibrant, pillows that will brighten any room. These can be made in your color of choice. You will need thick yarn, a clover large pom-pom maker, a hot glue gun, a plain white pillow cover, pillow insert, and scissors. If you are making these to sell, I recommend just making your pillow. It will be much cheaper. […]
February 12th, 2021 at 8:44 am
[…] Tutorial: akailochiclife […]
May 8th, 2021 at 3:39 am
[…] Credit: akailochiclife.com […]