


I have had this idea for a typography candle holder floating around in my brain for months. After I made my typography vase and saw how much you all loved it, I knew a candle holder would be next on my list. But time always seemed to get the best of me, and I didn’t get around to making it until now. I wanted to make my candle holder out of concrete, but after a failed attempt, I found the next best thing, faux concrete paint. Yep, paint! This paint is awesome and looks just like the real deal. That is until you pick up the piece and see how light weight it is. Win!

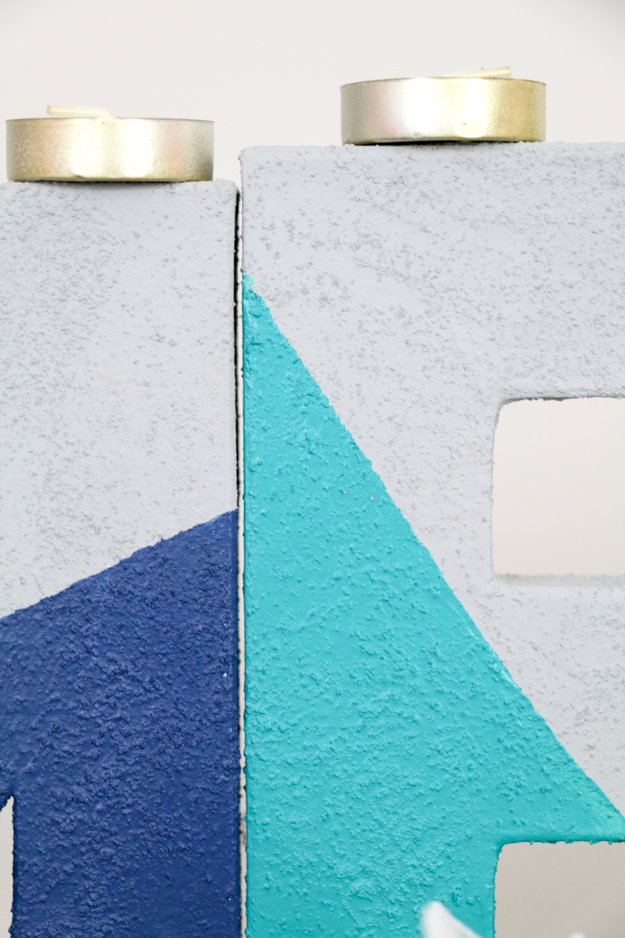
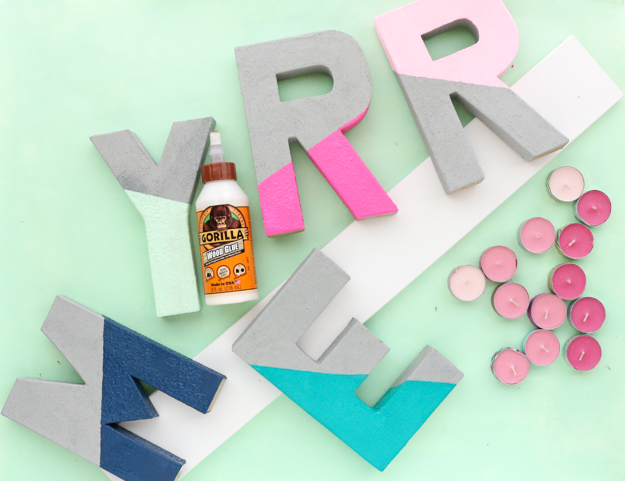

See all of that texture? That is just the paint! Pretty cool huh?! Follow along for the full tutorial on making your own typography candle holder.
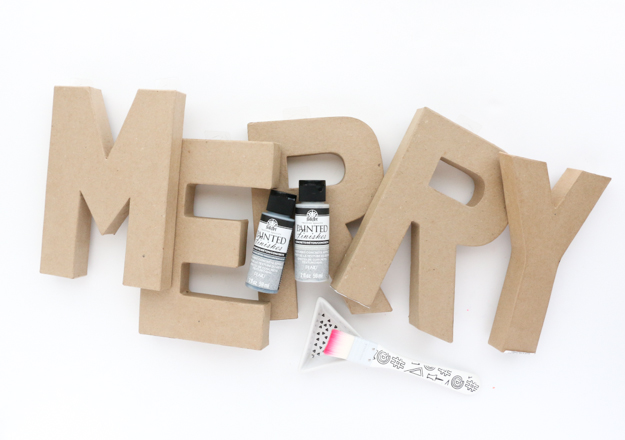
- Paper Mache Letters
- FolkArt Painted Finishes Faux Concrete Paint
(one bottle will cover 5 letters)
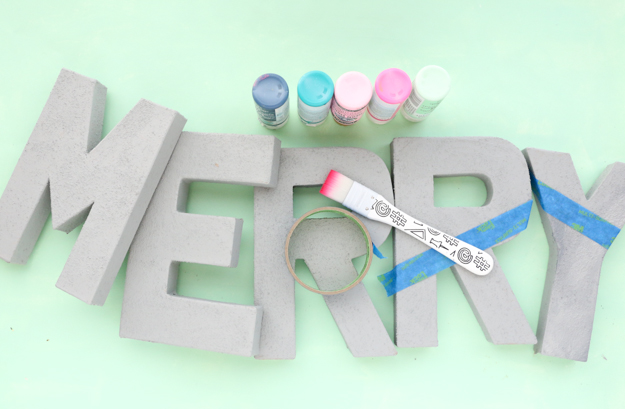
- Acrylic Craft paint
- Painter’s tape
- Wood Glue
- 1 by 4 piece of white primed wood
- tea lights
- Paint brush
Begin by using the faux concrete paint to paint your letters. The texture is built right in to the paint, so all you need to do is paint it on. The pack comes with two shades of gray, one for the base coat and one for added dimensional details, but I just used the lighter color.
Once the letters are painted and dry, tape off asymmetrical pieces of the letters with the tape and paint the bottom or top section with your acrylic paint. This step is optional, but I liked the color block look.
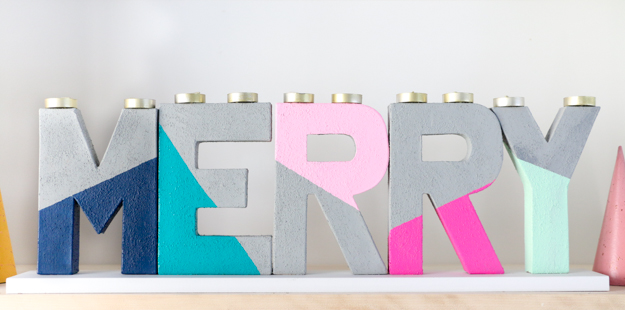
Once the letter’s are painted, remove the tape and let dry. Now you will cut your piece of white primed wood board to size (you want it to be 2-3″ larger on each side than the letters when they are all aligned). Use the wood glue to glue your letters to the board. This will give the letters stability and prevent the whole thing from falling over. Which would be especially dangerous with lit candles on top!
Let the glue dry over night and then you can glue on mini tealights to the top of the letters. Again, we don’t want anything falling off when lit! If you are afraid of the using real candles on top, you can always opt for LED flameless tea lights instead.
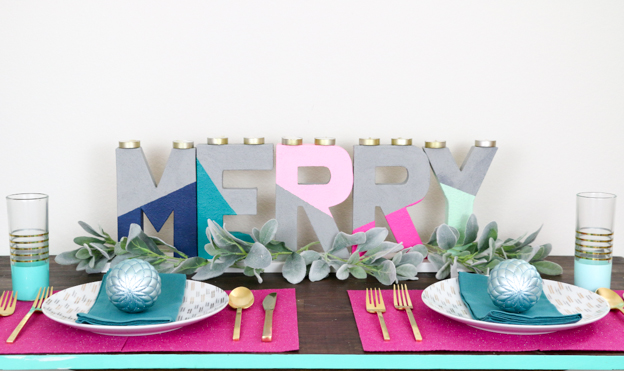
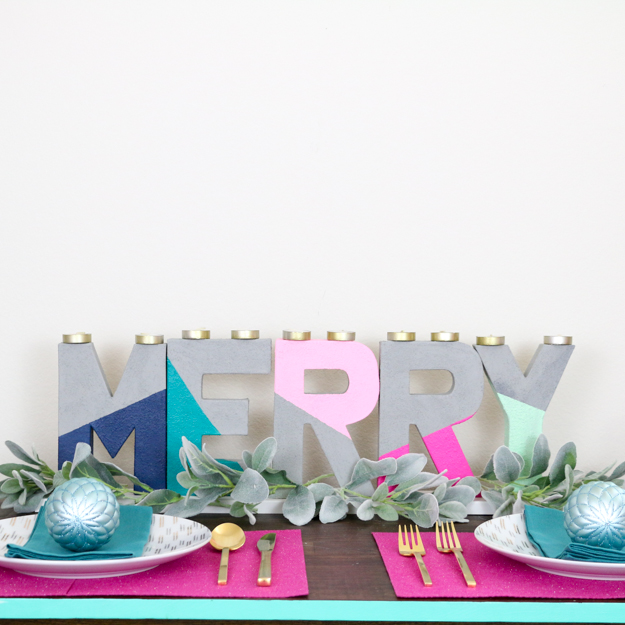
This candle holder looks exceptionally pretty as the centerpiece on your holiday table. All I did was add a few faux leaves around the base to balance the hard concrete look, and the centerpiece was complete.
As with the typography vase, you are only limited by your imagination with this candle holder. The colors and word you choose is totally up to you. So, that being the case, what word would you choose?


