This post is sponsored by DecoArt and their line of new Artist Acrylics. All ideas and creations are my own. Thanks for supporting the brands that keep the crafty times coming!
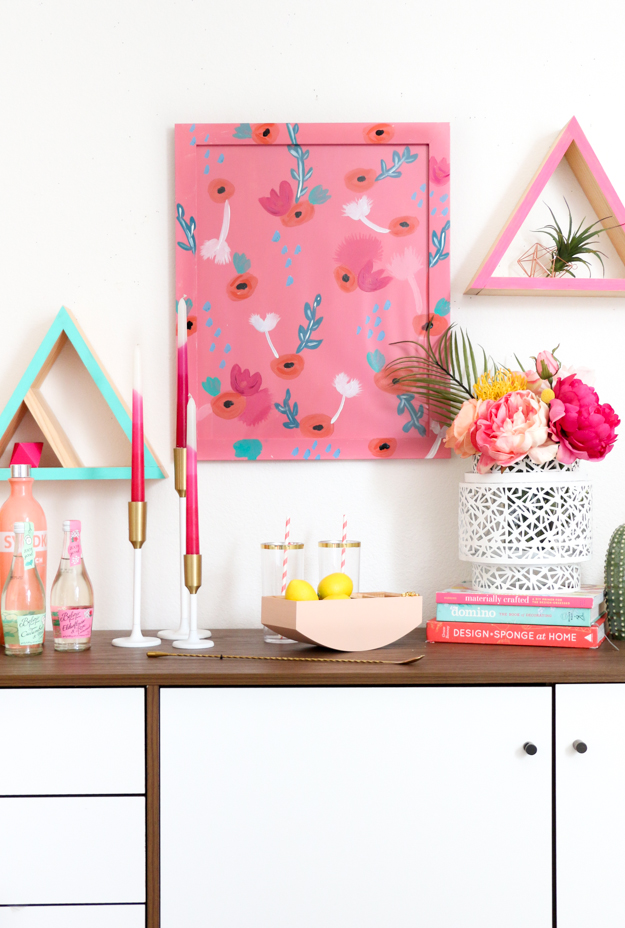
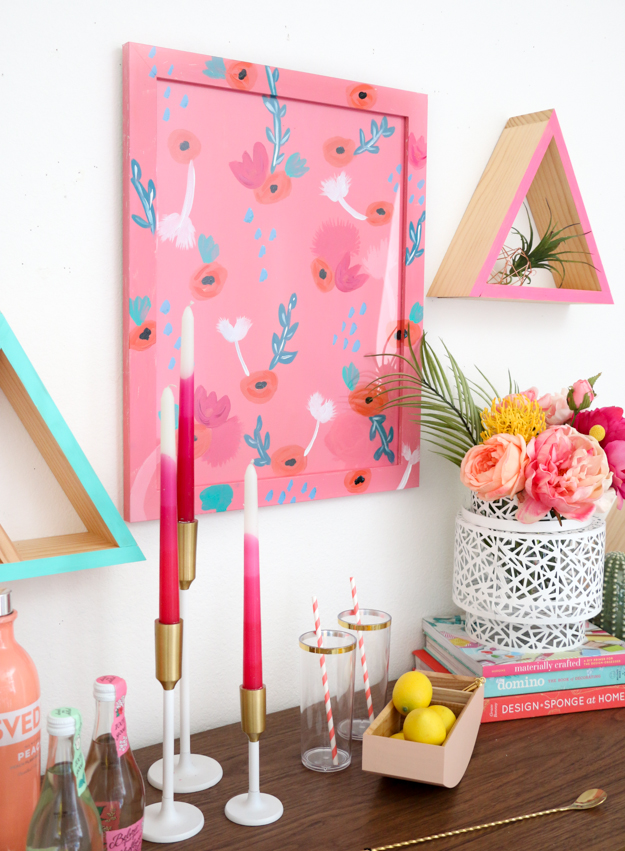
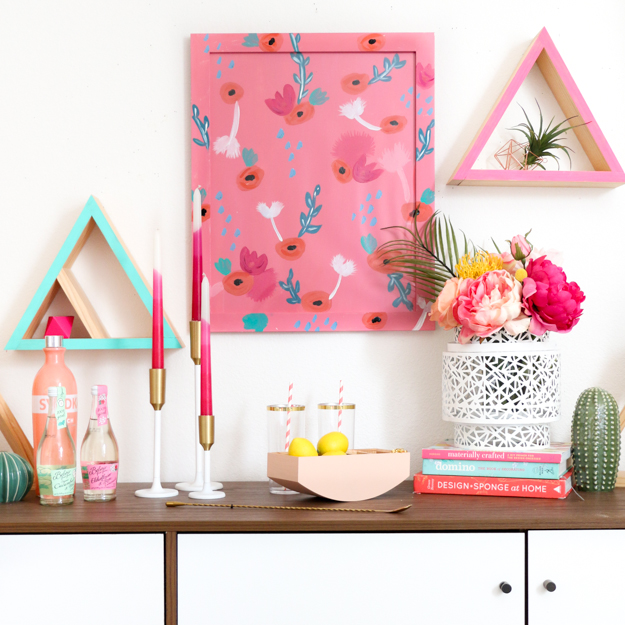
If you all have been following along for even a week, you may have suspected my love of colorful prints and patterns runs deep. As in I am not afraid to mix and match and have 10 different patterns in one room of my house. So it was only natural that I would eventually try my hand at creating my own patterns and prints. So I busted out my new Deco Art Premium Acrylics and got to work painting a pretty pattern that I wouldn’t mind hanging on my wall. But of course I can’t leave well enough alone, so I decided to paint the frame in the same pattern and created the most awesome pattern on pattern piece of art ever!
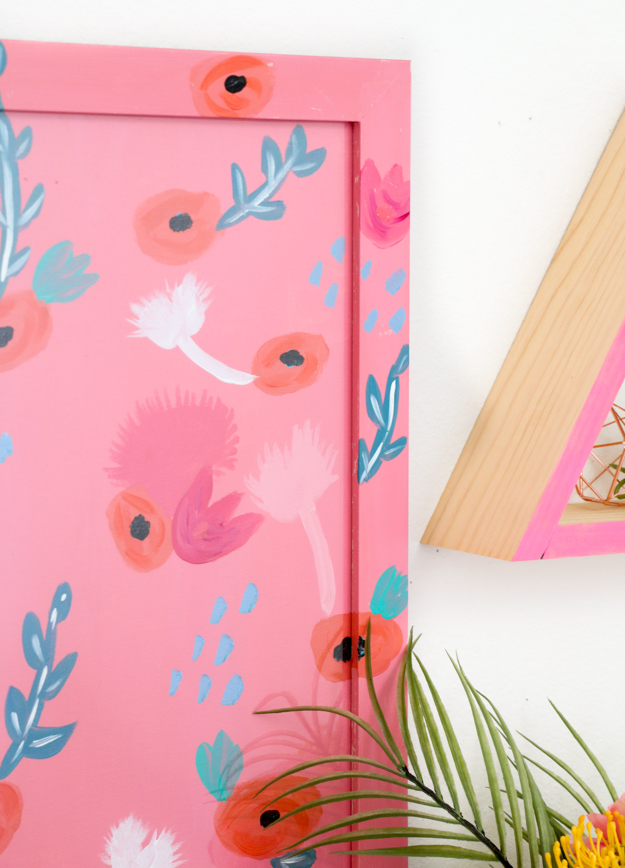
See how the pattern extends right past the canvas and onto the frame itself?! It’s almost like an optical illusion of pattern on pattern goodness and I am going to share how to do you yourself!
Supplies:
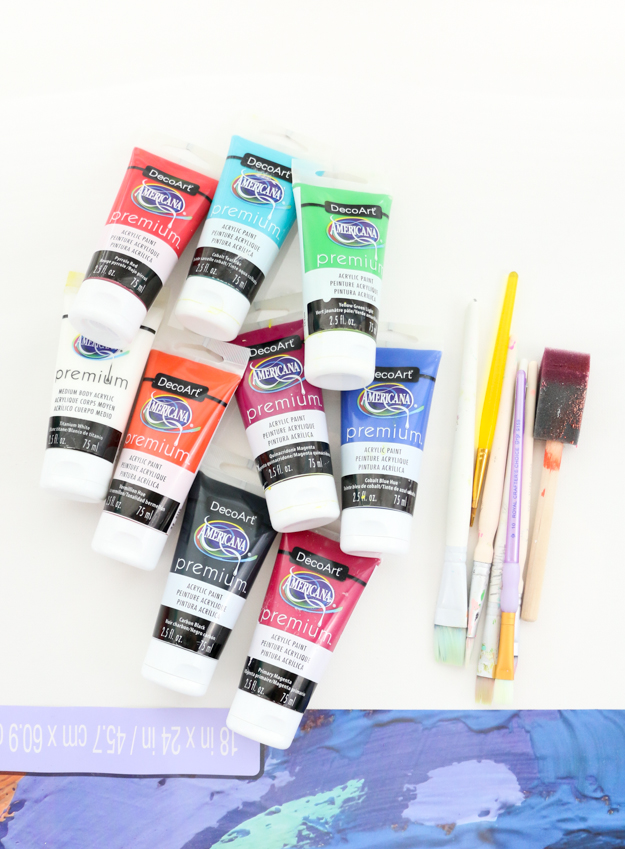
- Deco Art Premium Acrylics (also available at Joann Fabric and Craft Stores)
- Large stretched canvas
- Paintbrushes of various sizes
- Raw wood picture frame slightly smaller than your canvas
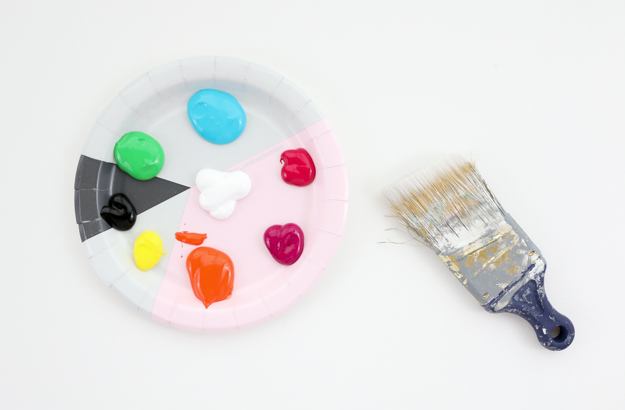
- Mixing plate or palate
Begin by choosing your color palate for your piece of art. Joann Stores carries 16 primary colors from the line, so you can mix the perfect shades for your piece of art, but don’t have to have 100+ bottles on hand. For this hoarder, this is a great space saving (and budget saving) solution!
I decided to create my own colors by mixing their orange (vermillion hue), pink (primary magenta), white (titanium white), turquoise (cobalt teal hue), and black (carbon black) to create the palate for my floral art. I may have also squeezed out a few other colors for my second piece of art (an abstract brushstroke piece).
Now that your paint is ready, it’s time to start on your art. To begin, place your frame on top of your canvas and paint both the background color of your pattern. I went with a pretty pinkish coral color.
Then I went in with my various shades of orange, blue and pink and starting paint my art making sure to let the floral pattern extend onto the frame. I loved these artist acrylics because they are a medium bodied paint which meant that the coverage was great and they went on so smoothly.
Once your piece is to your liking and you are ready to call it done (and it is dry of course!), trace around the exterior of the frame and use an X-acto knife to cut the canvas down to size. You may need to cut about 1/2″ to an 1″ inside your traced lines to make sure the art fits inside the frame. Then just frame your art and hang it on the wall!
You may be able to tell that I used the piece of glass in front of the art to give it a slightly different sheen from the frame, but you can also forgo the glass for a more seamless look.
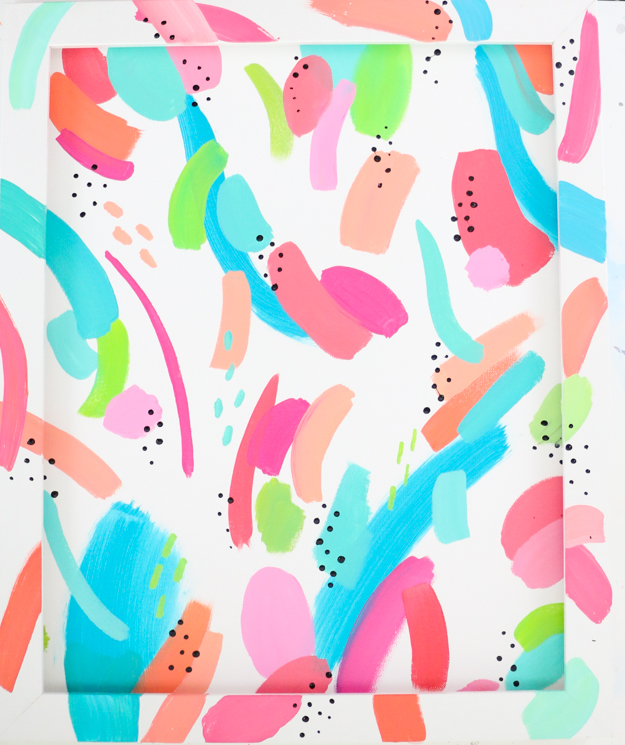
And here is a sneak peek at my second piece of art that I made using an abstract brush stroke pattern.
As you can see, I doesn’t matter how you paint your art piece, the added interest of the pattern extending onto the frame, makes it so much more amazing!
So, what do you all think of this painting technique? Are all the art galleries going to start displaying art in matching frames?


June 1st, 2017 at 12:49 pm
Fab idea, I'd love to grab some chalk markers and use it as a notice board for my craft room x
June 27th, 2017 at 4:32 am
That would be cool too!
June 2nd, 2017 at 2:02 am
These turned out great and I love how it turned out.
June 27th, 2017 at 4:33 am
Thank you!
June 5th, 2017 at 3:05 am
What beautiful, whimsical, bright creations! I have a 3'x5' bulletin board in the breakfast nook of my kitchen, I'm thinking I might try this on cork and see what happens!
June 27th, 2017 at 4:33 am
Fun! Be sure to tell me how it works for you!