Supplies:
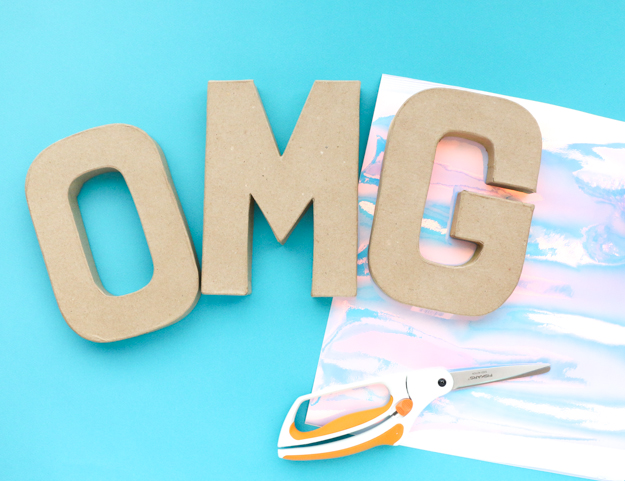
- Paper Mache Letters
- Holographic Vinyl
- Black Thin Line Sharpie
- Ruler
- X-acto Knife
- Squeegee or credit card
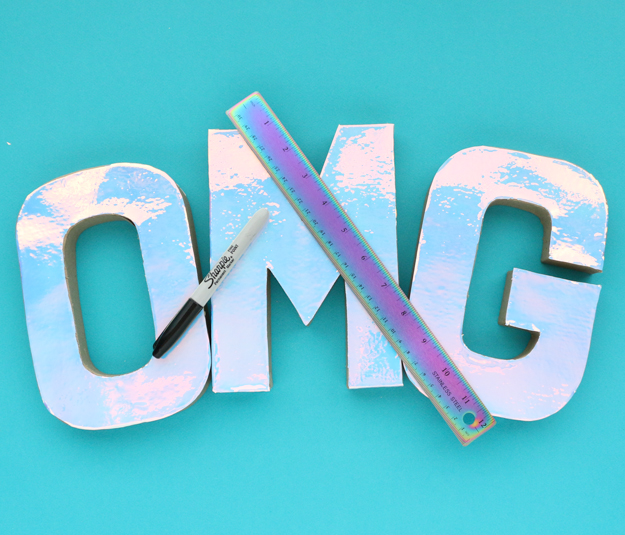
Flip over the vinyl and use the credit card or squeegee to rub the vinyl onto the letters. Then, using your X-acto knife on a surface you don’t mind getting cut up a bit, trace around the letters to cut out the vinyl.
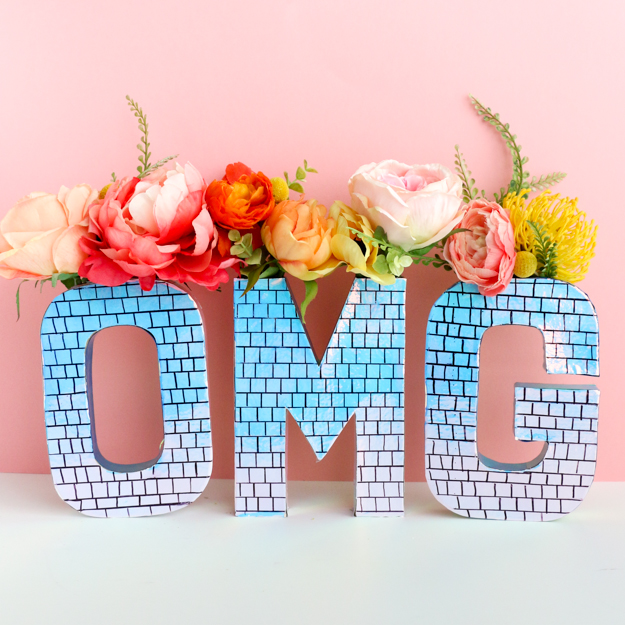
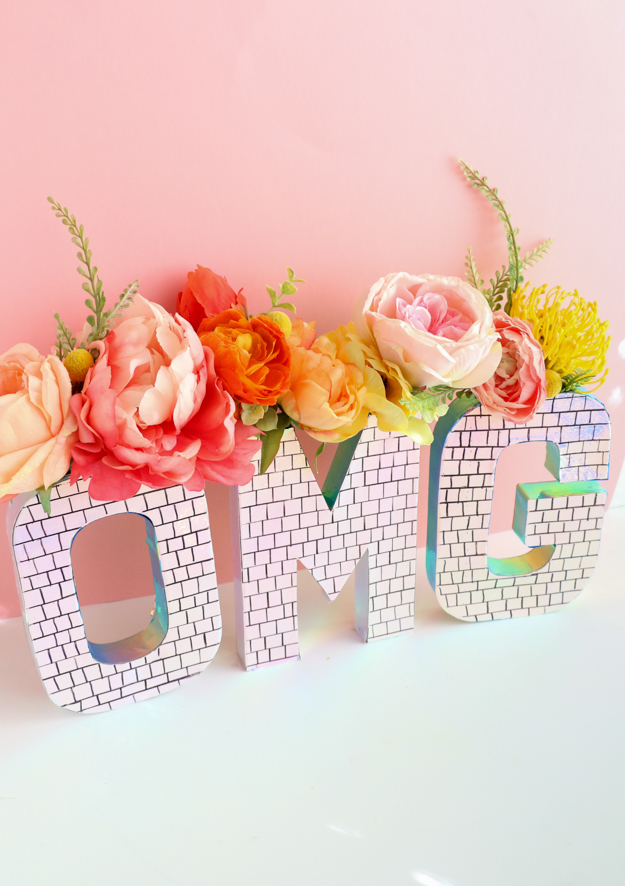
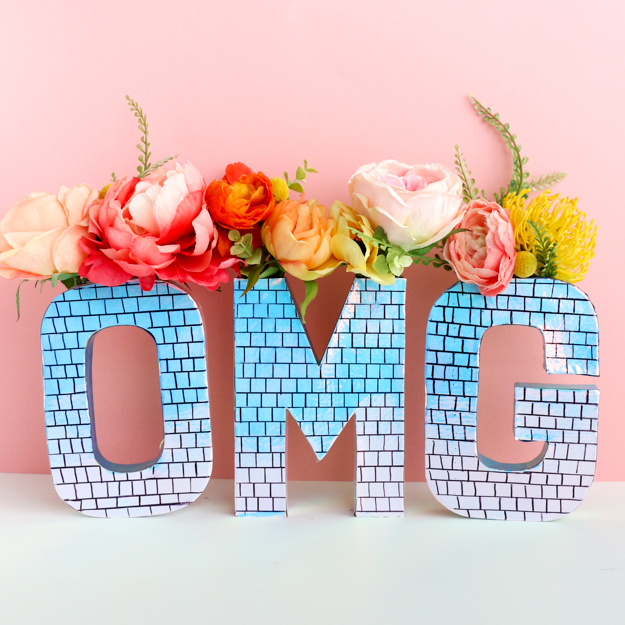
At this point you could totally leave the letters as is for a purely holographic look, or use the sharpie and ruler to trace small square “mirrors” on the letters. Just make sure to off set each row of mirrors from the previous one so that it looks more like a real disco ball. If they are all lined up it will look more like a grid than a disco ball.
Once you have all your letters “mirrored”, cut out a rectangular shape from the top of each letter to open it up and remove the inside cardboard support pieces. Next, cut 1″ strips of the vinyl and adhere them around the outer edges of the letters.
The final step is to add a few heavy rocks to the inside of each letter to weight the bottom so they can stand up easier. Then you can add fresh flowers with those little water tubes on the ends or faux flowers into your new disco ball OMG vase!
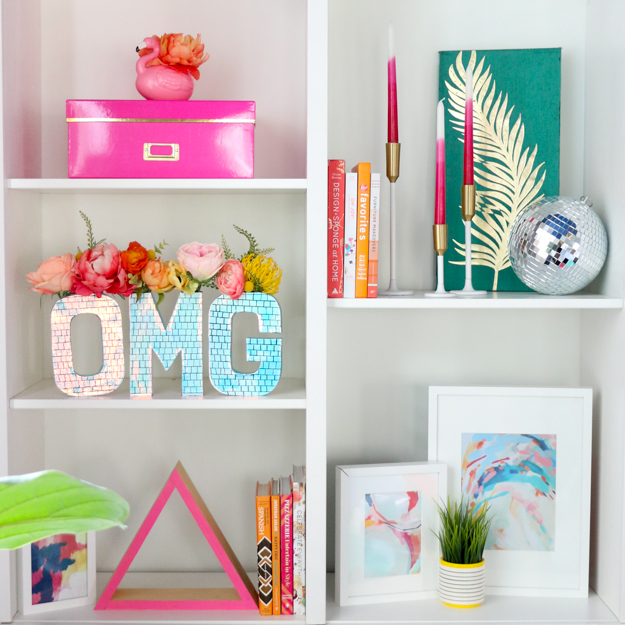
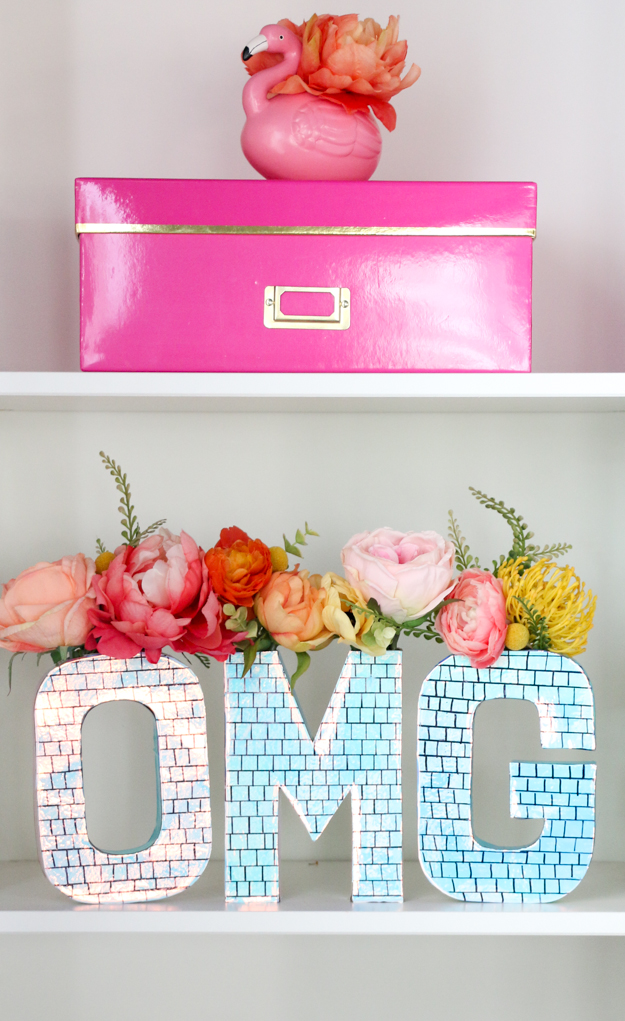
OMG! I am so in love! And that holographic vinyl is just perfect for this project. However, you could definitely use silver or gold foil vinyl as well for a fun look. I am just a major fan of the holographic look and how it changes color depending on the angle at which you look at it from.
So, what word would you choose for your disco ball vase?




August 18th, 2017 at 1:24 am
So cute!!! And it really does like easy. Definitely going to copy these this weekend. I'm thinking YAY – I say it so much may as well incorporate it into the decor
August 18th, 2017 at 1:27 am
Oh Awesome! I do love to say YAY all the time too! Can't wait to see yours!