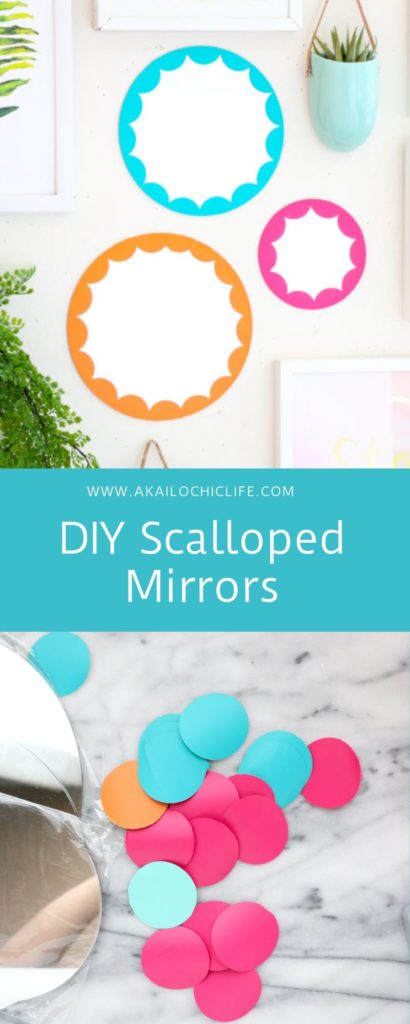
This post, DIY Scalloped Mirrors, is sponsored by Consumer Crafts and originally appeared on their blog. Thank you for supporting the brands that help me keep the crafts and DIY projects coming!
I have no less than 4 gallery walls in my house, but I love to hang more than photos in a gallery wall. Sometimes I add greenery in a hanging planter, or little knick knacks that I think are pretty, and sometimes I add a mirror. These easy DIY scalloped mirrors are the perfect addition to a gallery wall and come together in less than an hour. What’s not to love about that?!
Materials for DIY Scalloped Mirrors:

Begin by cutting circles out of your vinyl using the large circle punch. I found that the quicker you punch the circle, the cleaner the edges will be when working with the vinyl.

Now you will simply use the circles like stickers and remove the paper backing and attach them to the edge of the mirrors leaving half of the circle hanging off the edge. Place the vinyl circles all the way around the edge of the mirrors overlapping them slightly as you go.

Once all your vinyl circles are on the mirror, you can flip the mirror over and use the scissors to cut off the extra vinyl hanging off the edge. Then repeat with a few different colors and sizes of mirrors to create a mini collection.

Once your mirrors are made, use a few pieces of removeable mounting tape to secure them to your gallery wall.
 I love that not only is this project simple to do, but it really makes these mirrors pop. And don’t feel limited to using this technique on just craft mirrors. You can cut out different shapes from vinyl to decorate the edge of any mirror. How pretty would a giant version be over your fireplace or in your bathroom? Maybe even try marble patterned contact paper instead for an upscale look!


