This post, DIY Mountain Range Paper Organizer, is sponsored by Consumer Crafts. Thank you for supporting the brands that keep me crafitng and creating projects for you!
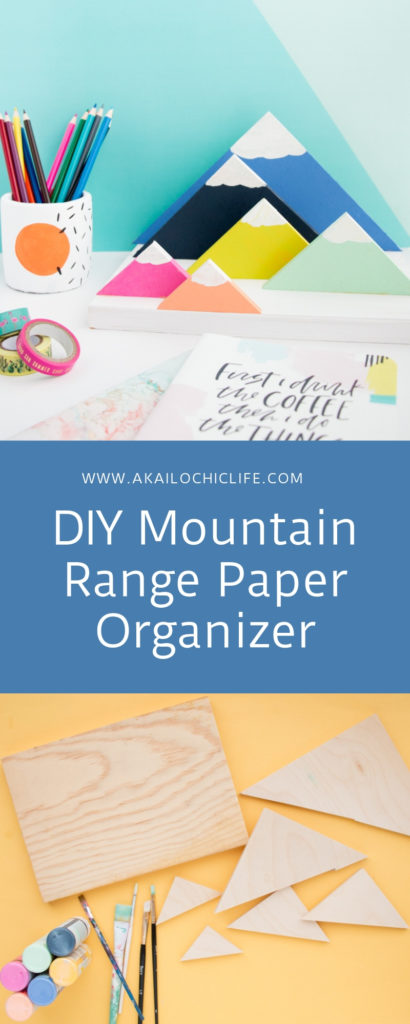
Anyone else struggle with keeping their office organized? Or is that just me? I have tons of bins for craft supplies, but I can never seem to contain my growing pile of papers. Luckily for me, making your own paper organizer is easy as 1-2-3. This DIY mountain range paper organizer is made from painted wood triangles and a little bit of wood glue. But look how fun it is on a desk organizing all the things! This would also make a super cute homework or book organizer for a kids room, don’t you think?

Supplies needed to make your own mountain range organizer DIY:
Begin by using the utility knife and ruler to draw and cut various sized triangles out of the basswood. Since the wood is so thin and light, you can easily score and cut the wood with the utility knife. You will need 6 triangles of various sizes and one larger piece that measures 10″ by 6″.

Once your wood is cut, paint your mountains. You can use different colors of acrylic paint like I did, or stick to all one color. The choice is yours!

Once the triangles are painted, let them dry, then add the white snow caps.

Once that paint has dried, use wood glue to attach the mountains to the white painted base. You want to space out the mountains so that the spaces between then can hold a section of papers. Then let the glue dry overnight to cure.


Once the glue has dried, your mountain range desk organizer DIY is ready to use!
The best thing about this organizer is that it looks adorable both empty and when in use!


