


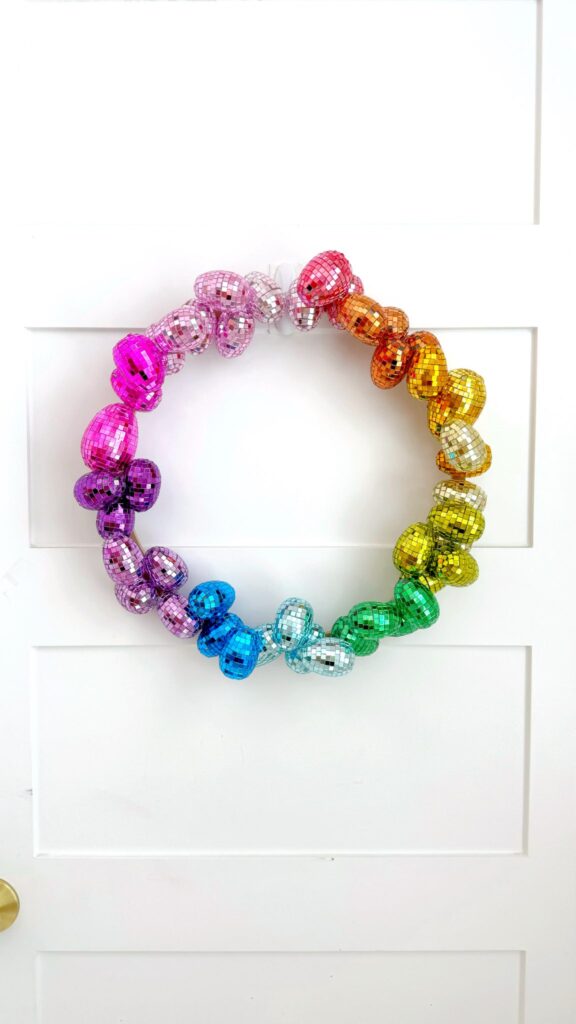
Raise your hand if you’re ready to take the rainbow disco look into spring! If you’ve worked with disco tile before, then this couldn’t be easier. If not, no fear—I’m going to walk you through it. By the end, you’ll have a gorgeous sparkly wreath to adorn your door for Easter. Plus, this DIY rainbow disco ball egg wreath is the perfect use for those old plastic eggs you have lying around. Click here to see the full DIY video!
You can grab some colorful disco-tile Easter eggs from a craft store or dollar store. Or, if you want to customize your colors, you can create your own disco ball rainbow eggs using my tutorial below. When you’ve got all of your eggs disco-fied, it’s time to turn them into a showstopping wreath by hot-gluing them to a wooden wreath form.
Supplies:
Instructions:
Step 1: If you’re going to make your own disco Easter eggs, simply take your plastic eggs and adhere the disco tiles all over. It helps to do them in long strips.
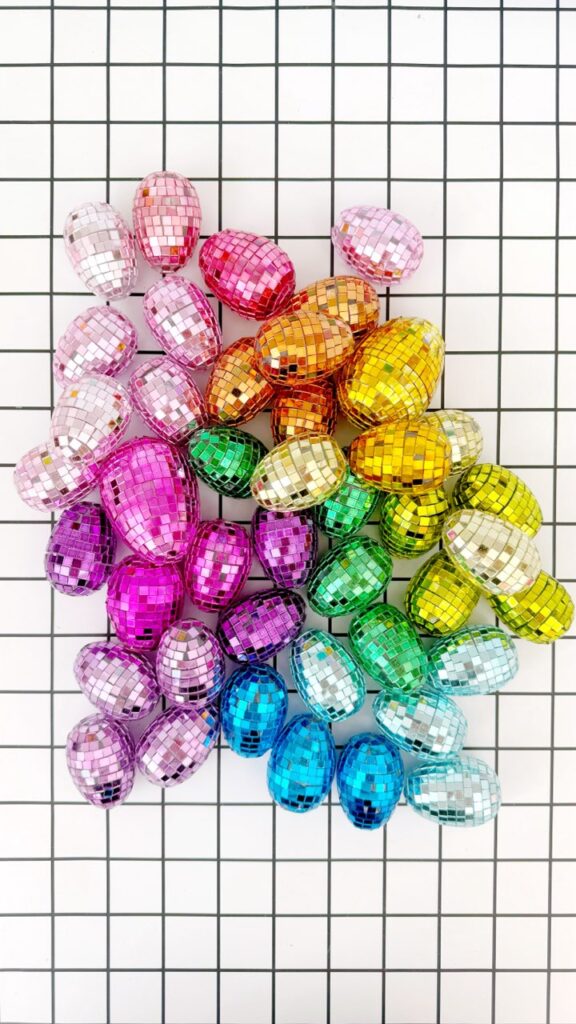
Step 2: Dye your eggs using the alcohol inks and a sponge. This is the part where you get to choose what colors you want in your rainbow. You can go classic ROYGBIV, choose all pastels, or even stick to a smaller color palette like blues and greens.
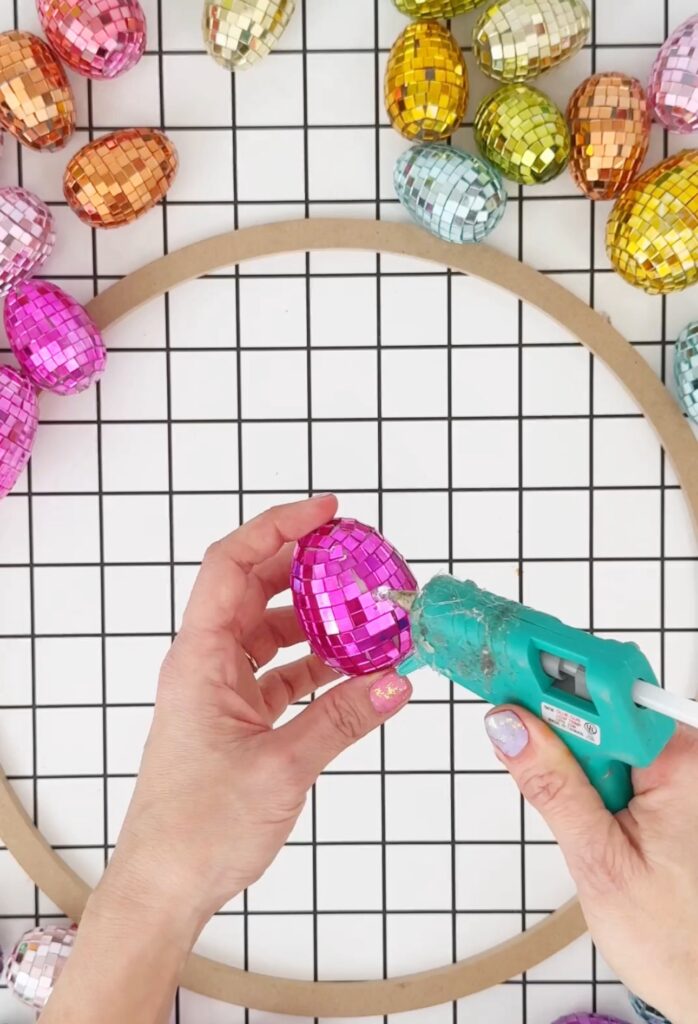
Step 3: After your eggs have dried (at least an hour), it’s time to glue them onto your wreath. You will want to remove a few of the tiles from the back where you will be attaching the egg to the wreath. Otherwise, the hot glue will pull off the tiles and your eggs will fall. Use your hot glue gun to adhere the eggs all the way around the wreath. I like to rotate them so they are positioned at different angles to give the wreath dimension.
Once your hot glue has set, your wreath is ready to hang! Happy Easter!


