


The disco ball trend continues! As we’re gearing up for summer here in Texas, I thought of one of my favorite summer treats and how cute it would look in disco ball form. Lucky for you, I’m going to show you how to make these DIY disco ball ice cream cones. Or you can buy the finished version directly from my shop! Notice that the little cherry stems double as a photo holder, making these a great gift for Mother’s Day, graduation, or teacher gifts.
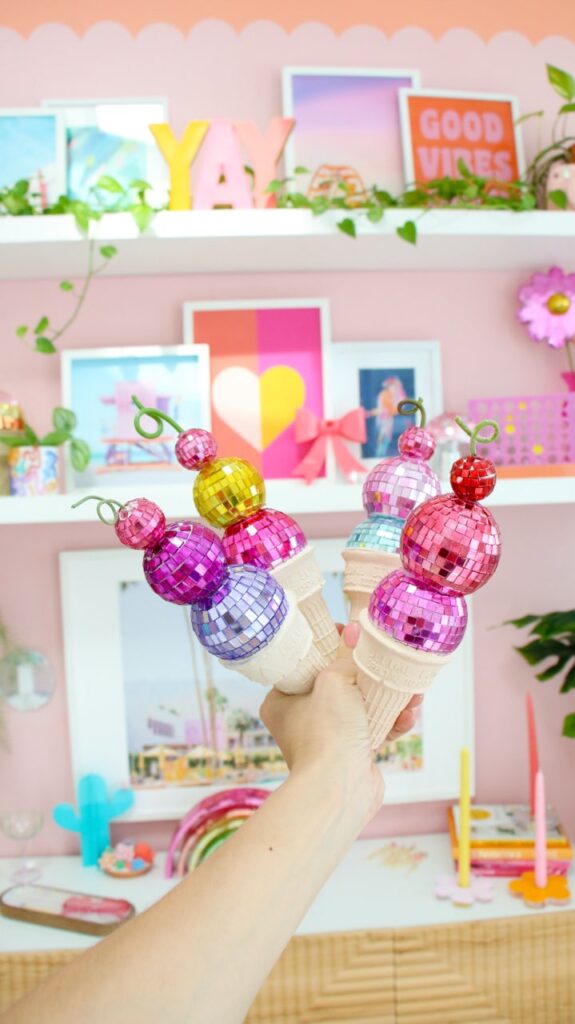
I used plaster of Paris in an ice cream cone silicone mold, along with disco balls dyed with alcohol ink to create these adorable disco ice cream cones. I topped them off with a floral wire stem. Here’s a link to the full DIY video.
Supplies:
- Plaster of Paris
- Brown craft paint
- Ice cream cone mold
- Disco balls in two sizes
- Craft knife
- Hot glue gun
- Alcohol inks
- Floral wire
Instructions:
Step 1: Follow the package instructions on the plaster of Paris, adding a small amount of brown craft paint in. Place the plaster of Paris in your ice cream cone mold. Place one of the larger disco balls on top and let harden. Remove from mold.
Step 2: Use a sponge to paint your “ice cream” and “cherry” with alcohol inks in the colors you want.
Step 3: Use your craft knife to create a flat surface on the bottom of your second disco ball, then attach it to the first disco ball with hot glue.
Step 4: Use hot glue to attach the disco ball cherry to the top of your ice cream cone. Then twist the floral wire into a stem shape and glue it to the top.
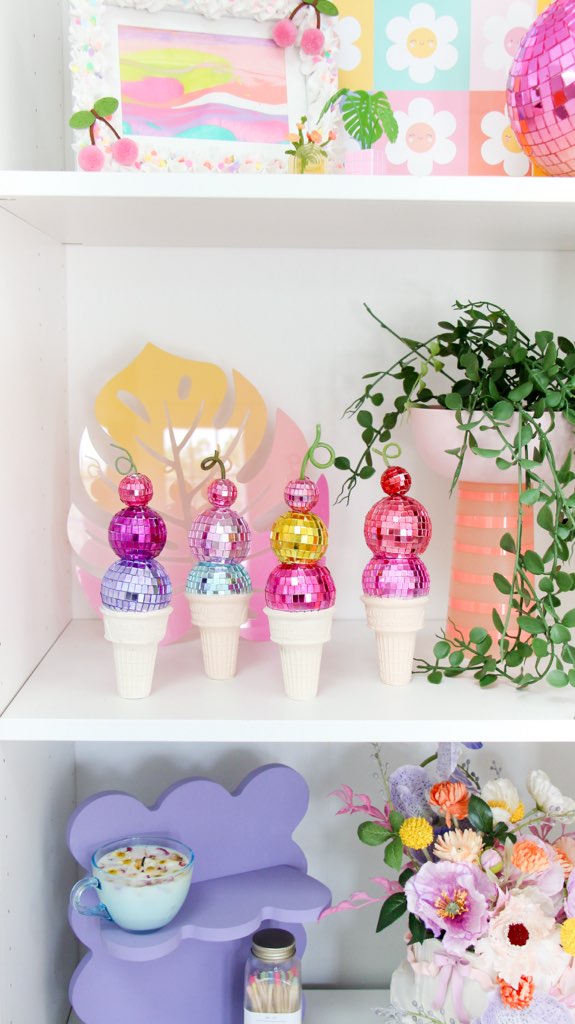
Now you have the cutest summery gift for anyone on your list. Just add a special photo to make it personal.


