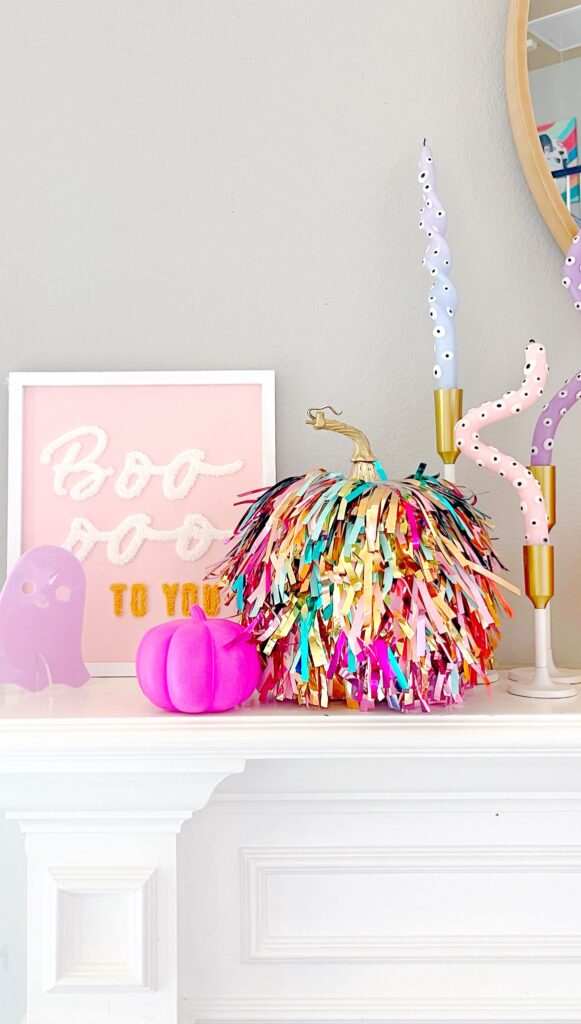
Are you stoked to start fall and Halloween crafting? This little DIY will take you right from early August all the way through All Hallow’s Eve – and maybe even into Thanksgiving! I took a rainbow mylar fringe backdrop (you can purchase your own from my shop!) and cut it into smaller pieces that I used to adorn a faux pumpkin. This is such a great way to get some more use out of an older pumpkin that might be looking a little worse for wear. Or hit up your local thrift store to find some on the cheap!
I am imagining a whole shelf filled with rainbow fringe pumpkins of different sizes. How cute would that be?! Check out the full DIY video here.

Here’s how to make your own.
Supplies:
- Faux pumpkin
- Mylar fringe backdrop kit
- Clear packing tape or hot glue
Instructions:
Step 1: Cut the mylar fringe into 6” strips.
Step 2: Tape each section down the middle, fold it in half, and attach it with clear packing tape or hot glue to a fake pumpkin starting at the bottom and working your way up.
Now you have the perkiest pumpkin on the block! Keep following for more fall and Halloween crafts.