


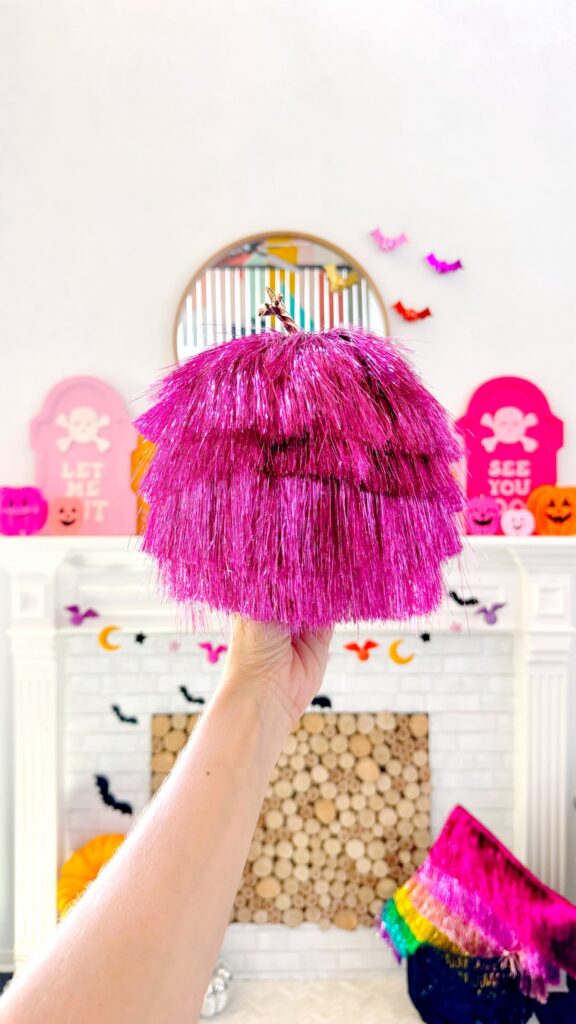
I’m back with another no-carve pumpkin idea for you! These DIY fringe pumpkins can be crafted in no time. They’re customizable to your chosen decor colors. (Shimmery rose gold? Of course! Pastels? Heck yeah! Rainbow? Yes, please!) Plus, the light pink is also a bit of an Easter egg for all of my fellow Swifties (IYKYK). So let’s get started on some sparkly fringe pumpkins! Here’s a link to the full DIY video.
You can grab a pack of the fringe from my shop – one package can cover two small pumpkins or one large pumpkin. Choose your colors!
Supplies:
- Fringe
- Faux pumpkins
- Acrylic paint
- Hot glue gun
- Gold paint pen
Instructions:
Step 1: To create a seamless look, paint your pumpkin in a shade close to your fringe color.
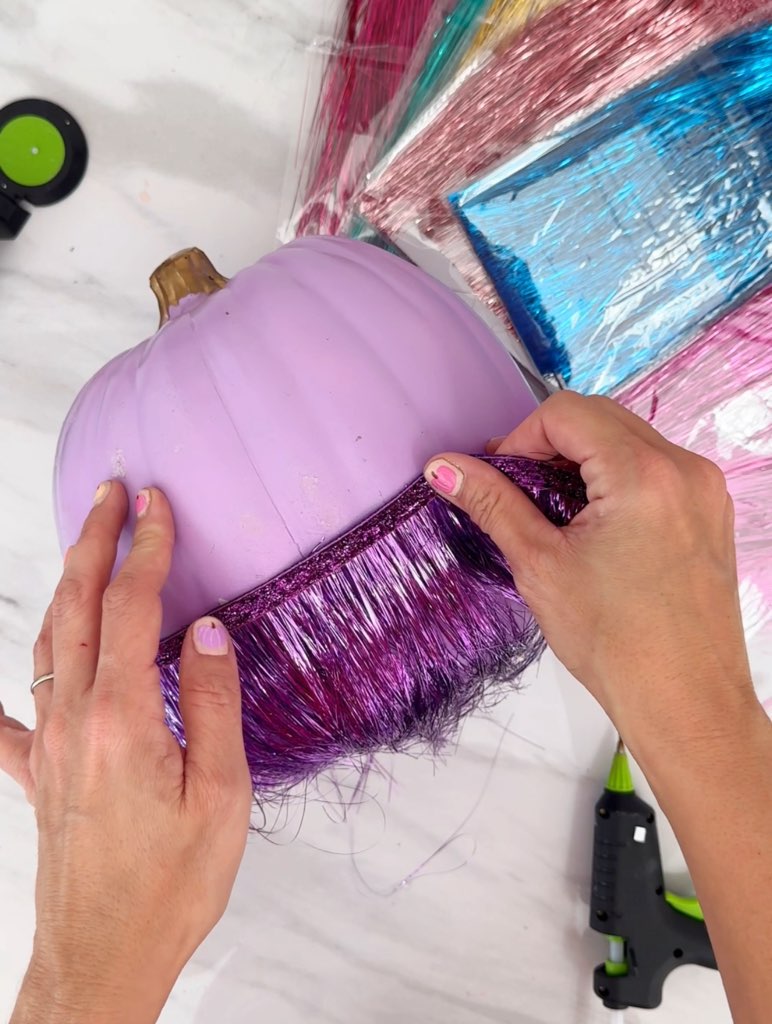
Step 2: Hot glue the fringe to your painted pumpkin, starting at the bottom. Start with a full-length section of fringe, gathering the fringe at the base and using a rubber band to secure it at the bottom.
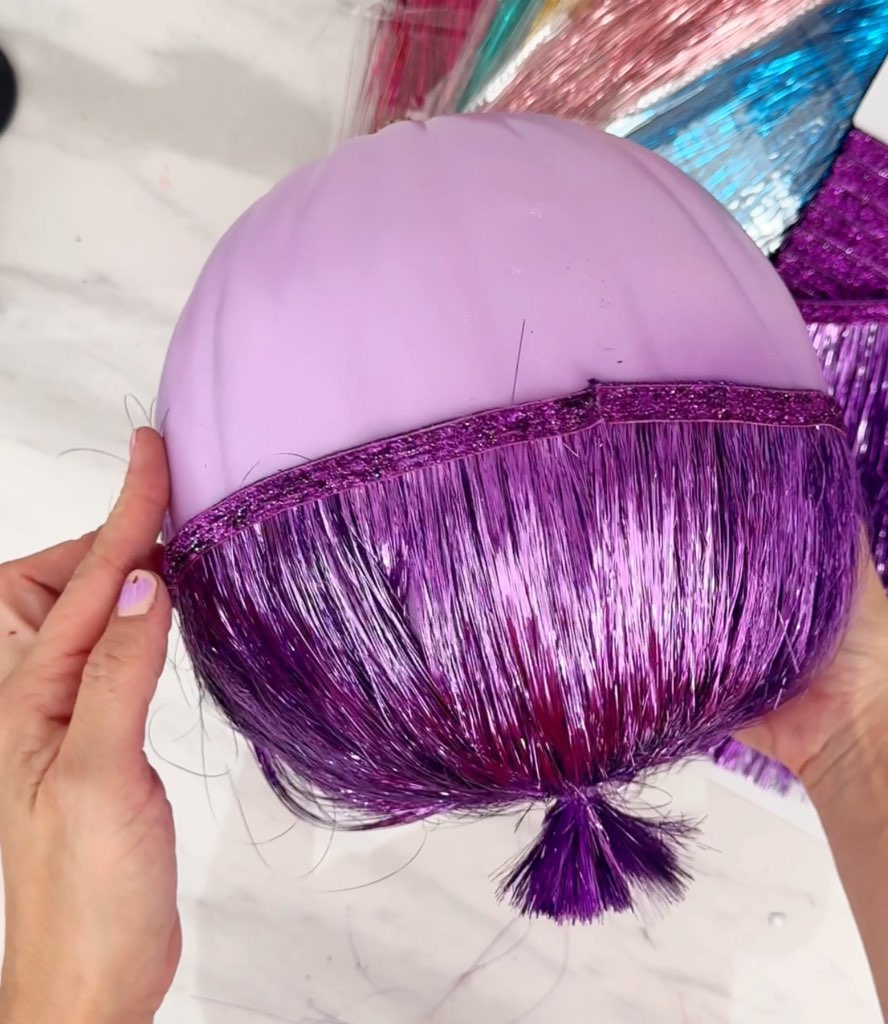
Step 3: Cut the remaining fringe down in length to about 2-3” and continue gluing strips around the pumpkin until you get to the stem.
Step 4: To give that sweet finishing touch, paint the stems gold and trim the fringe as needed.


