


If you’re on the lookout for a no-carve pumpkin craft AND you don’t want to have to go out and buy a ton of supplies, this is the DIY for you! I whipped up these ink-transfer marbled pumpkins with a few inexpensive household items. They turned out so pretty. Try this idea for a craft night or as an alternative to a pumpking-carving competition.
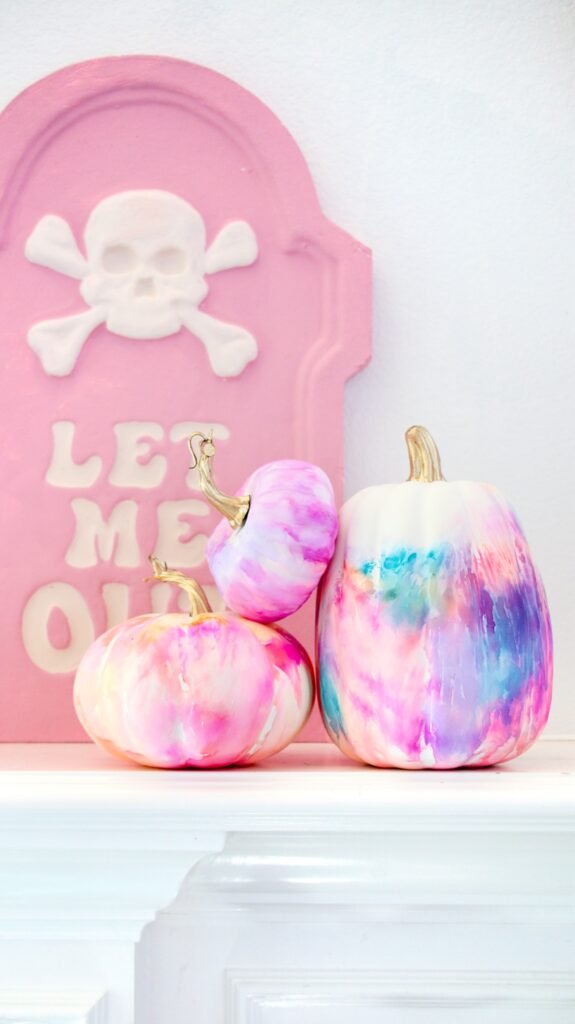
Okay, so are you ready to find out what I used to create these beautiful abstract marbled swirls? Markers. That’s right! I took a white trash bag and scribbled with markers in my favorite bright pastels, sprayed it with rubbing alcohol, and wrapped the trash bag around the pumpkin to transfer the ink. The results speak for themselves, right? Check out the full DIY video to get a look at the technique.
Supplies:
- White foam or raw ceramic pumpkins
- White trash bag, zipper bag, or plastic wrap
- Markers (permanent and washable markers both worked)
- Rubbing alcohol in a spray bottle
Instructions:
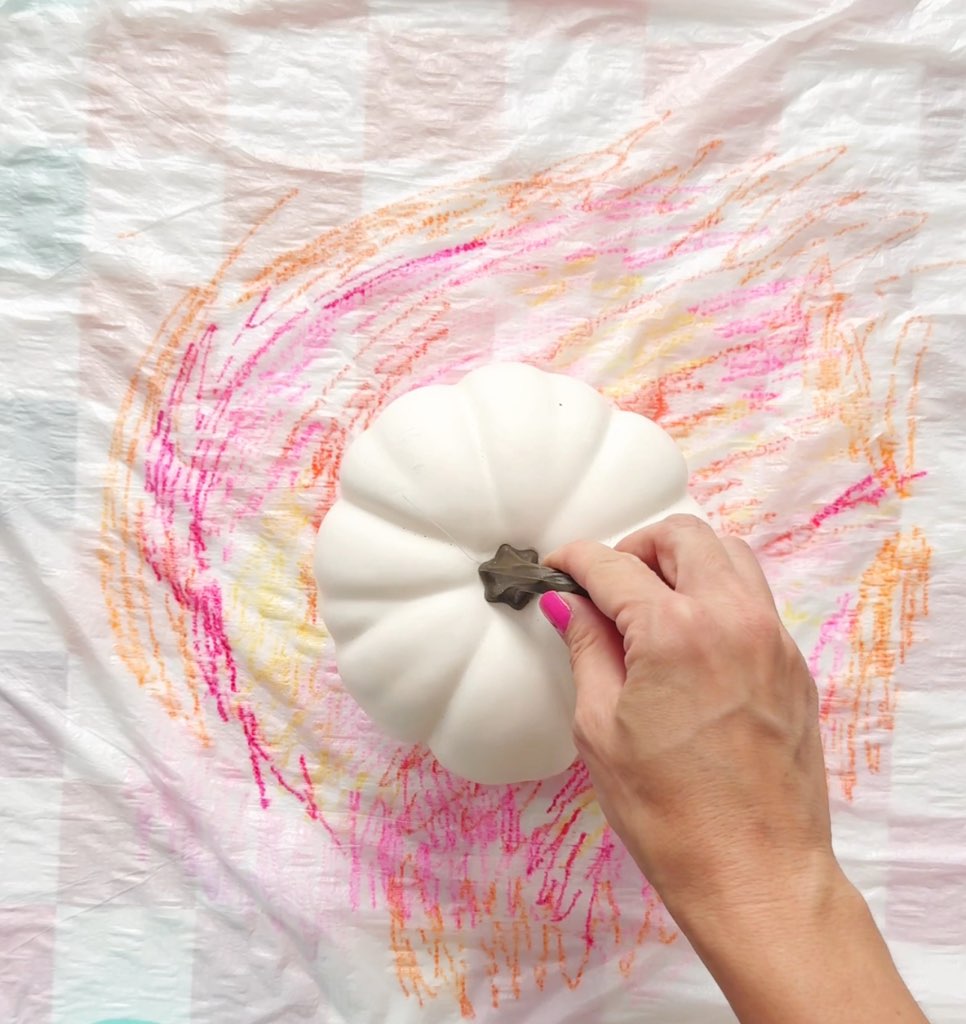
Step 1: Spread out your trash bag or plastic wrap and color your design. Make sure you use enough surface area to cover the whole pumpkin (or however much of the pumpkin you want covered).
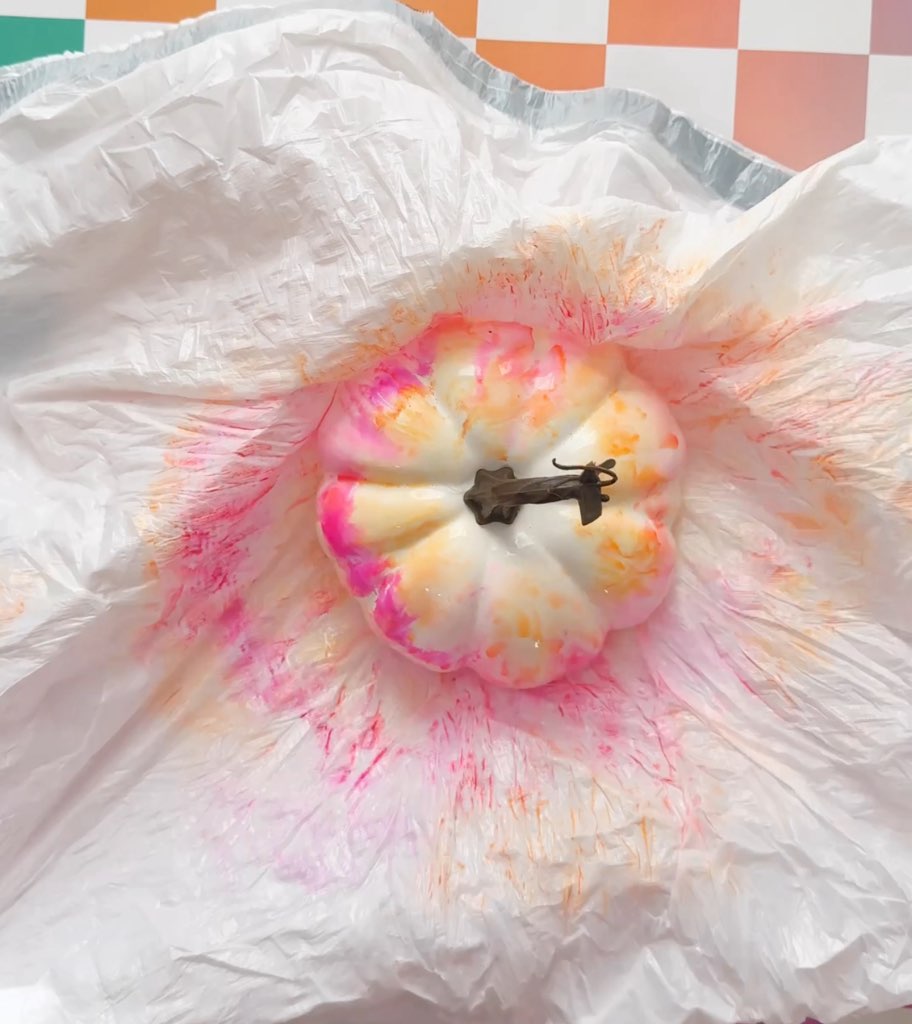
Step 2: Spray the design with rubbing alcohol and wrap the plastic around the pumpkin to transfer the ink.
Step 3: Remove the plastic and let the ink dry for a few minutes.
Step 4: Color the stem gold with a paint marker if you desire.
So are you ready to try out this technique?


