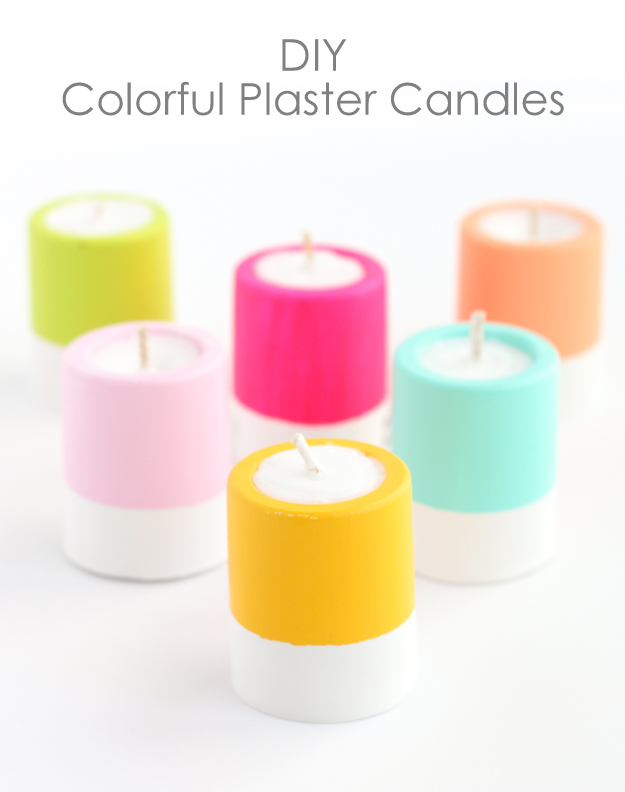
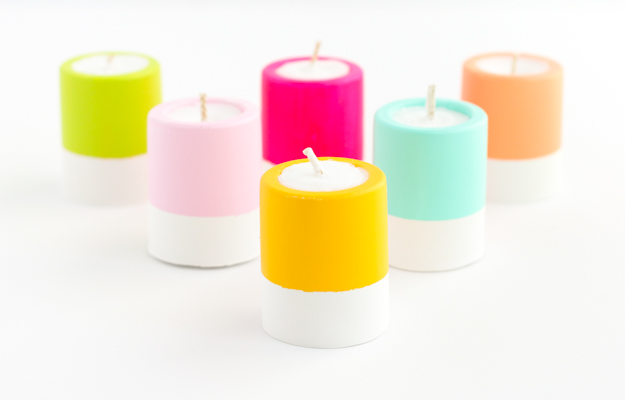
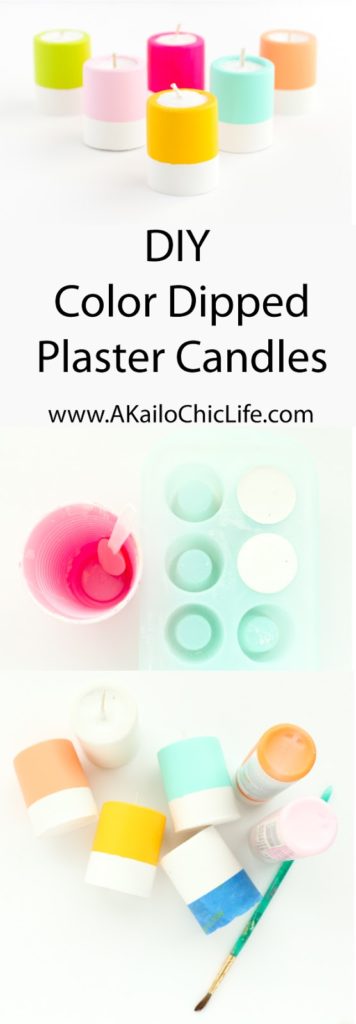
While I loved the pastel look of the powdered tempra paint technique, I wanted my candles to be vibrant, so I used acrylic paint to paint a portion of the plaster after the candle holders were made. Follow along below for the full tutorial on how to make your own colorful plaster candles.
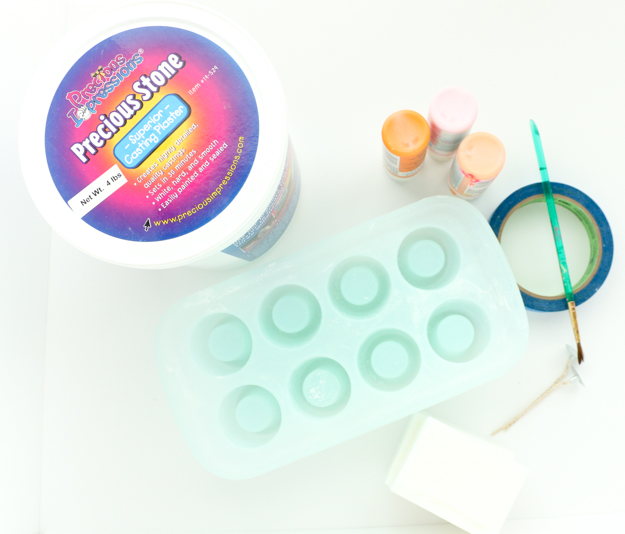
The Supplies:
- Casting Plaster
- Shot Glass Mold
- Acrylic Paint
- Painter’s Tape
- Paintbrush
- Plastic cup and spoon
- Candle Wicks
- Wax Flakes
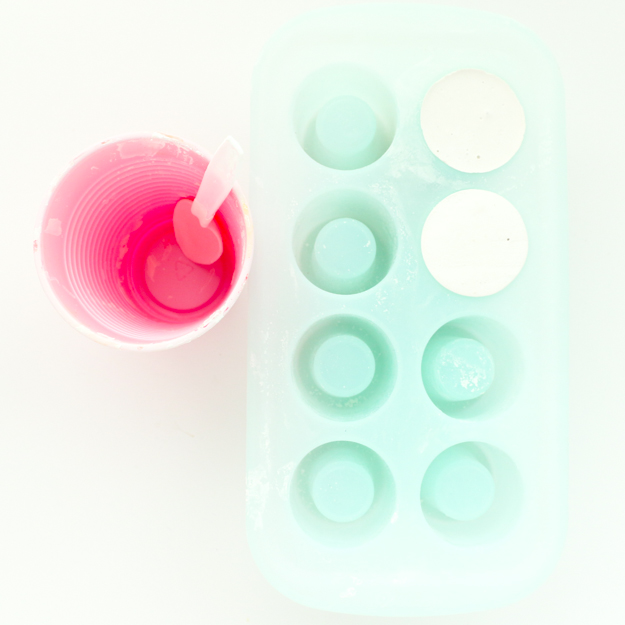
Begin by mixing your plaster according to your package directions and pour it into your shot glass mold. Once the mold is filled, gently tap the mold on the table to remove all the air bubbles. Then let sit for at least 30 minutes for the plaster to cure. My mix called for a 30 minute cure time, but follow the directions for cure time from your plaster mix container.
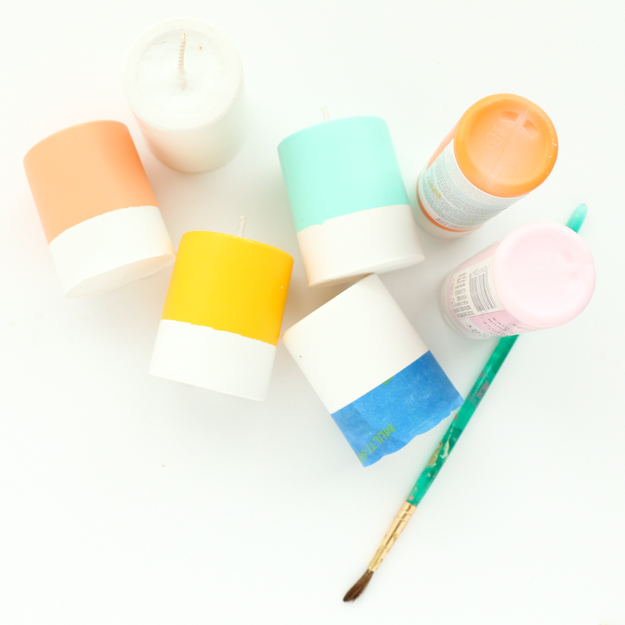
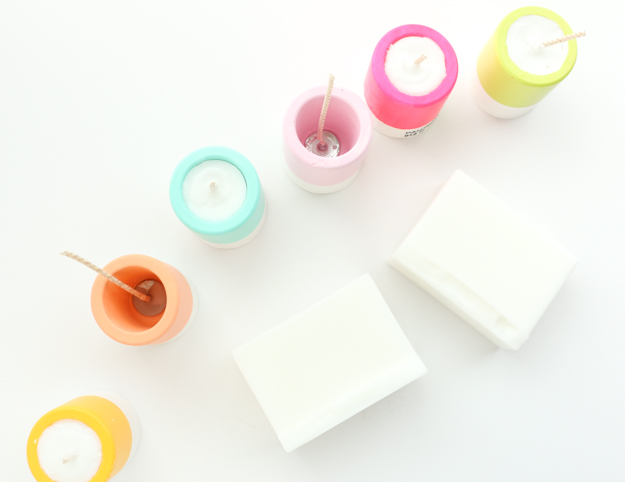
Once the plaster is cured, remove the pieces from the mold and tape off the bottom portion and paint with your acrylic craft paint. Don’t forget to paint the top rim and inside too!
Once the paint is dry, add your wicks and melt your candle wax in a double boiler (a metal bowl over a pot filled with 1″ of water). Once the wax is melted, use a spoon to fill the plaster cups. Then let the wax cool back to room temperature.
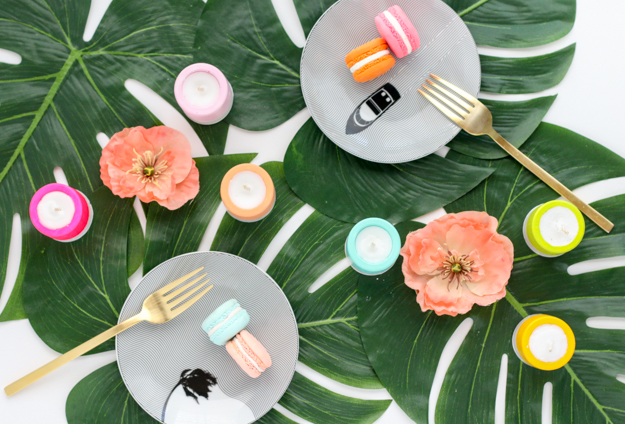
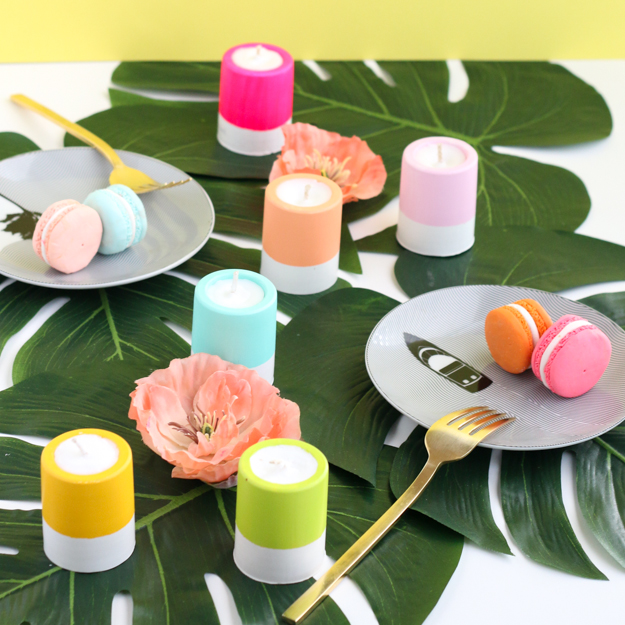
That’s it! Now your candles are ready to light or display anywhere you please. You can even add a few drops of lemongrass or citronella oil to your candle wax when it is melted to make your own citronella candles! How perfect is that for these last few weeks of summer?!
August 19th, 2016 at 7:39 pm
So pretty! Thank you for sharing!
October 30th, 2019 at 2:45 pm
[…] A Kailo Chic Life […]