


 |
|||
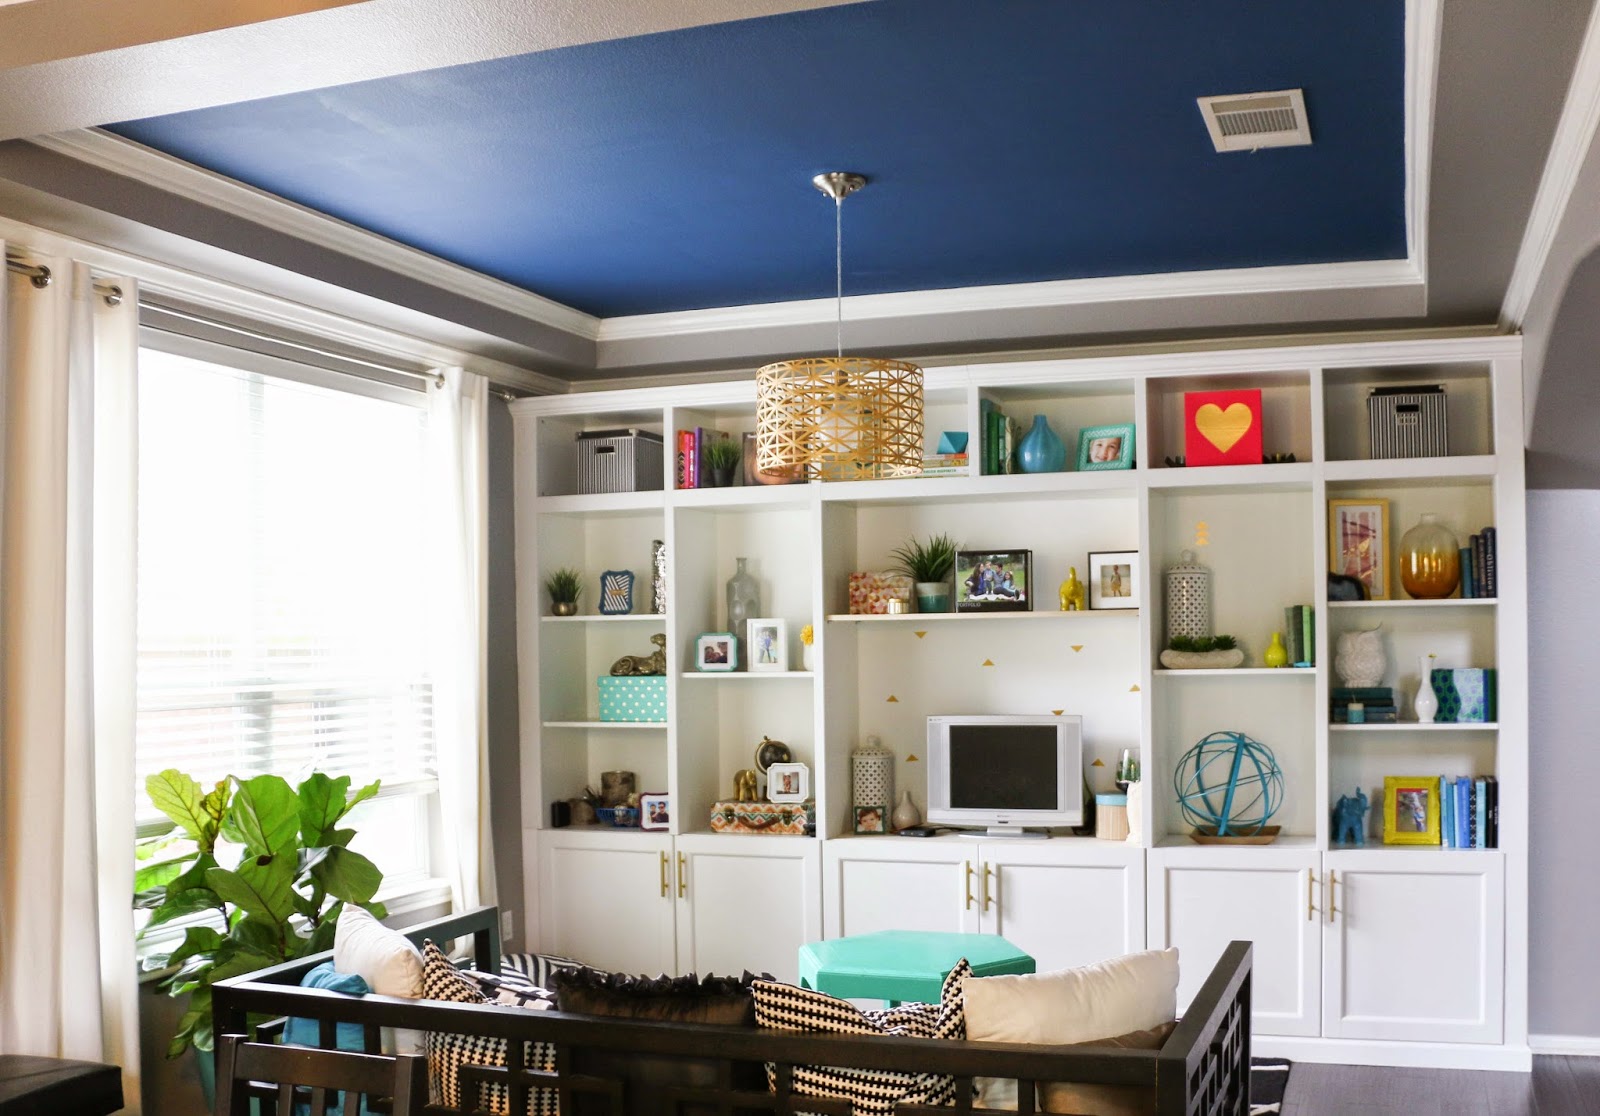
| Formal Living Room After |
 |
| Formal Living Room Before |
That red wall that you see in the back is the wall where the built-ins are now. The red portion of the wall was a 7″ recessed
arched panel. Because this space had the recessed arch, my
husband and I went back and forth thinking of ideas on how to fit
built-ins there. In my mind it was the perfect spot and you see them first thing when you walk in the front door, so no other place would do. Normally you would build them against a flat wall.
Easy peasy. Our first
thought was to tear out the arch way so the built-in units
would fit nicely against the wall and not overlap the tray ceiling. But, after a few test holes in the drywall to see what was back there, we found out the entire arch was plywood. We realized it would be way more work to try to cut that out than just building a stud support system for the arch so that the
Besta units had something to sit flush against and be secured to.
Unfortunately
I don’t have photos of the process since we constructed this before I
started blogging again, but I will walk you through our process.
We used two by fours to create two rectangular frames that fit in the
recessed panel and came out far enough to be even with the pieces of wall on either side
of the panel. We attached these frames to the studs in the wall so that the units would now have something to attach to in the back. Here is my pitiful drawing of what the space looked like with these new support pieces. The X’s are where we attached the supports to the studs in the wall.

Next
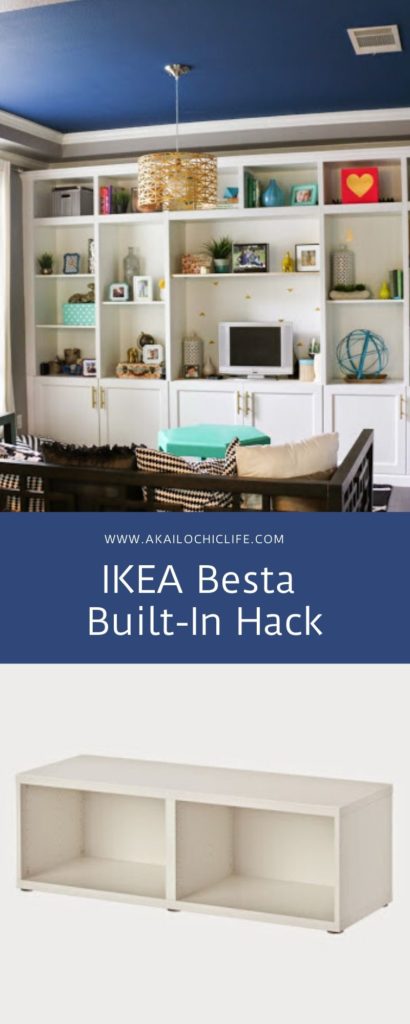
came the Besta units. After researching tons of Ikea built-in hacks
using both Bestas and Billys, I decided to go with the Besta units
because I liked the bottom door options better on those. But this meant
two things. One, was that when the doors were added to the bottom of the
Besta units, the doors were flush with the ground and there wouldn’t be a place
to add baseboard trim to make the units look built-in. To remedy this, we built a base out of two by fours for the Besta units to sit on. It was pretty much a rectangle the same width as all of our units with mid supports where the edges of each Besta would sit. This raised them off the ground enough that the doors could open easily and we could put trim along the bottom. The other issue with the Besta units is that the widest unit that they have is only about 24″. That meant there wouldn’t be room for our TV. An Ikea hack was needed!
To get the double wide Besta for the center of the built-ins, I purchased these two pieces from Ikea:
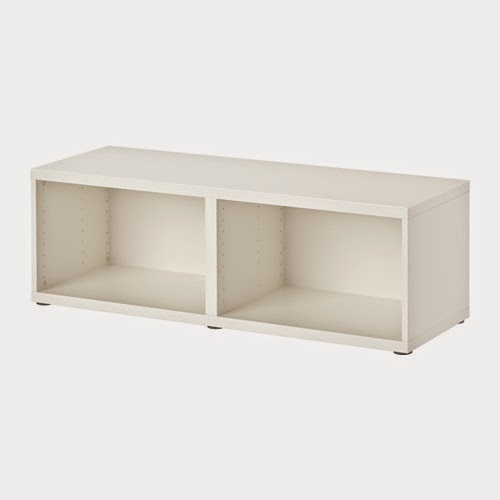 |
| 47 1/4×15 3/4×15 ” – $50 |
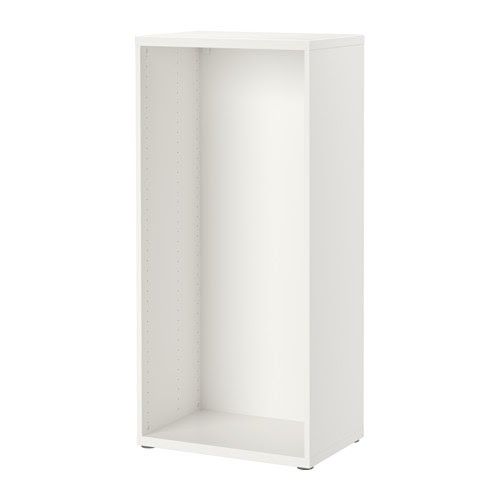 |
| 23 5/8×15 3/4×75 5/8 ” – $75 |
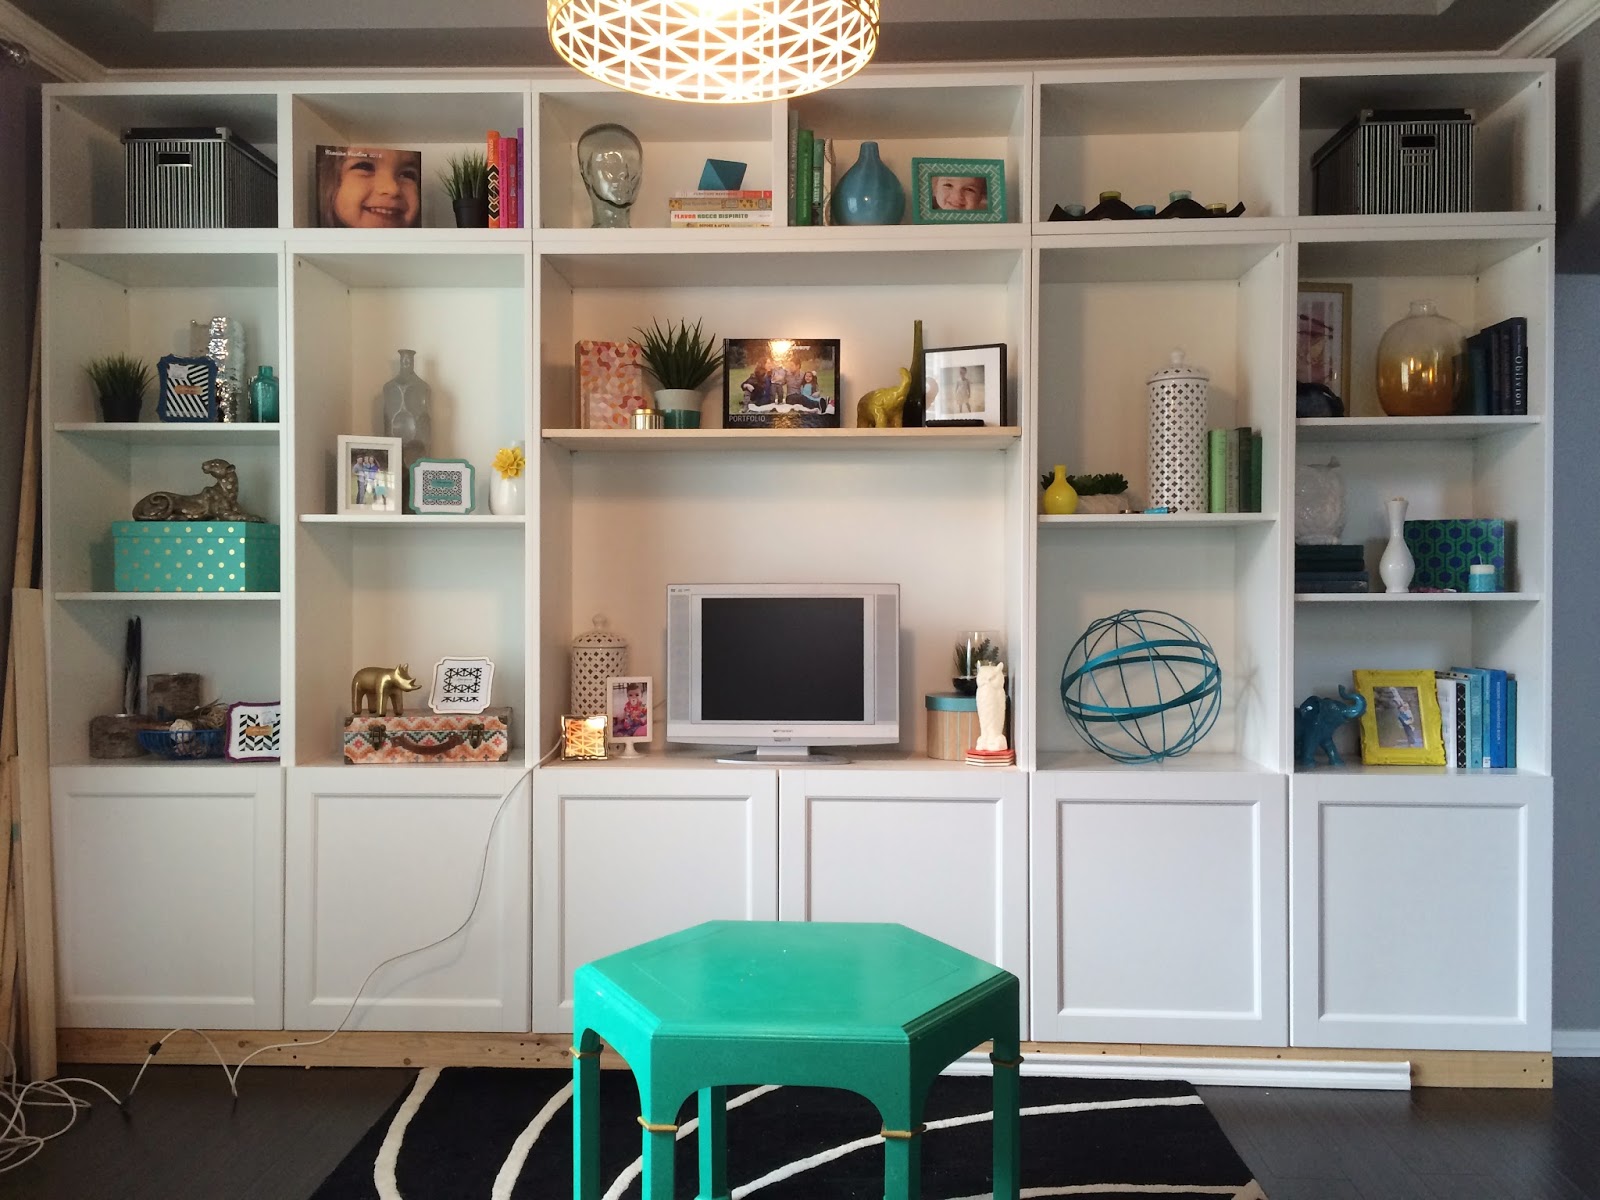
I then used the top pieces from the double wide unit and the side pieces from the tall unit to create the large center piece. Now that I had the frame, I had to find a backing for the new large unit and some shelves since the backing and shelves that came with the two units were not large enough. This meant a trip to Lowes. The measurements of the new hacked unit were 47 1/4″ by 75 5/8″, so I needed a white back panel that would be large enough to fill that space. Luckily, Lowes has a white hardboard panel that was about 1/4″ thick and 4′ by 8′. I purchased that panel along with two pieces of aspen wood for the new shelves. At home I cut the shelves to size and routed out little spaces for the shelf brace pieces to fit. I then cut the hard board to my 47.25″ and 75.625″ dimensions using my Dremel Saw Max. The last step in this hack was to cut away a portion of the back groove in the Besta where the back panel went because my 1/4″ panel was a little bit larger than the opening in the Besta. But once that was done, the panel slid in and the shelves got added and the hack portion was done. You can see this unit in the middle here. (I know this is a lot of confusing detail, but just look how pretty!).
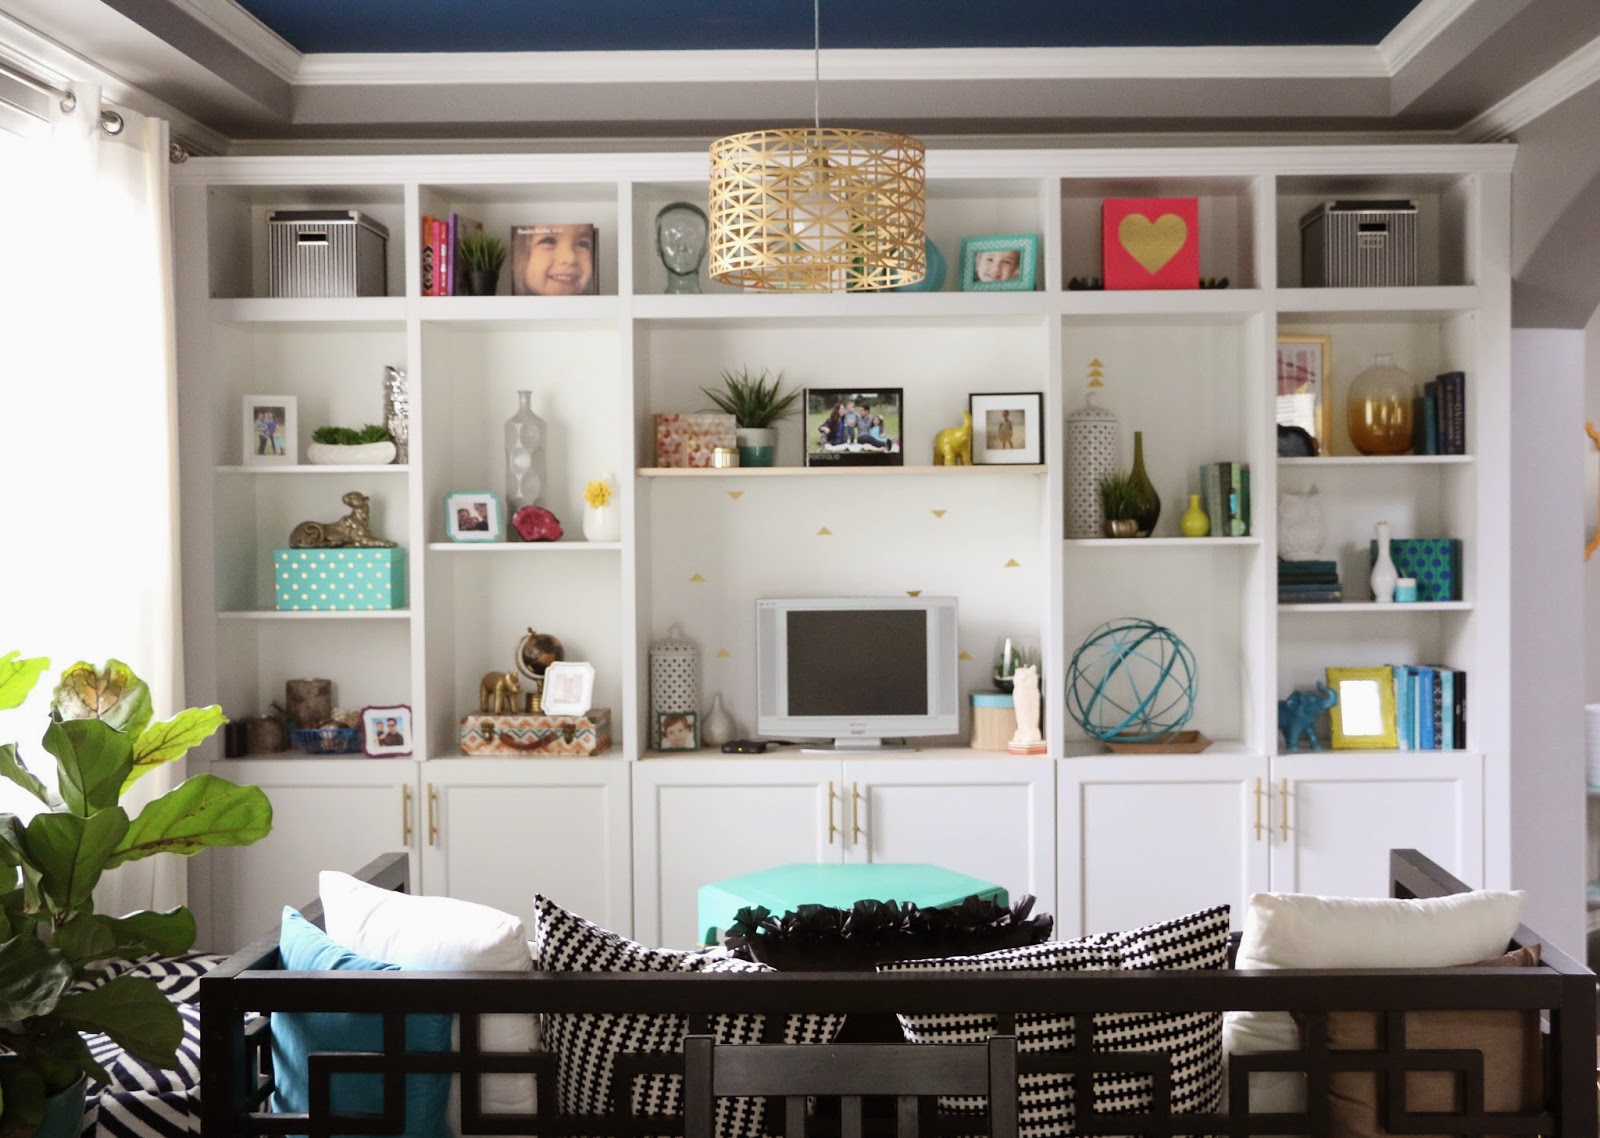
Once all the other Besta units were assembled (there are three more of those short, wide units at the top, and four more of the tall but skinny units on the bottom). I set them in place on top of my 2 by 4 base that I created. The bottom units went first and were attached to the wall and new stud panel we created in the recessed arch with some L-brackets. Then the top units were added and attached to the wall with more L-brackets.
I cut a hole in the bottom portion of the hard board in the TV unit piece to access the outlet and cable line and the cords just come up between the shelf and the back hard board piece.
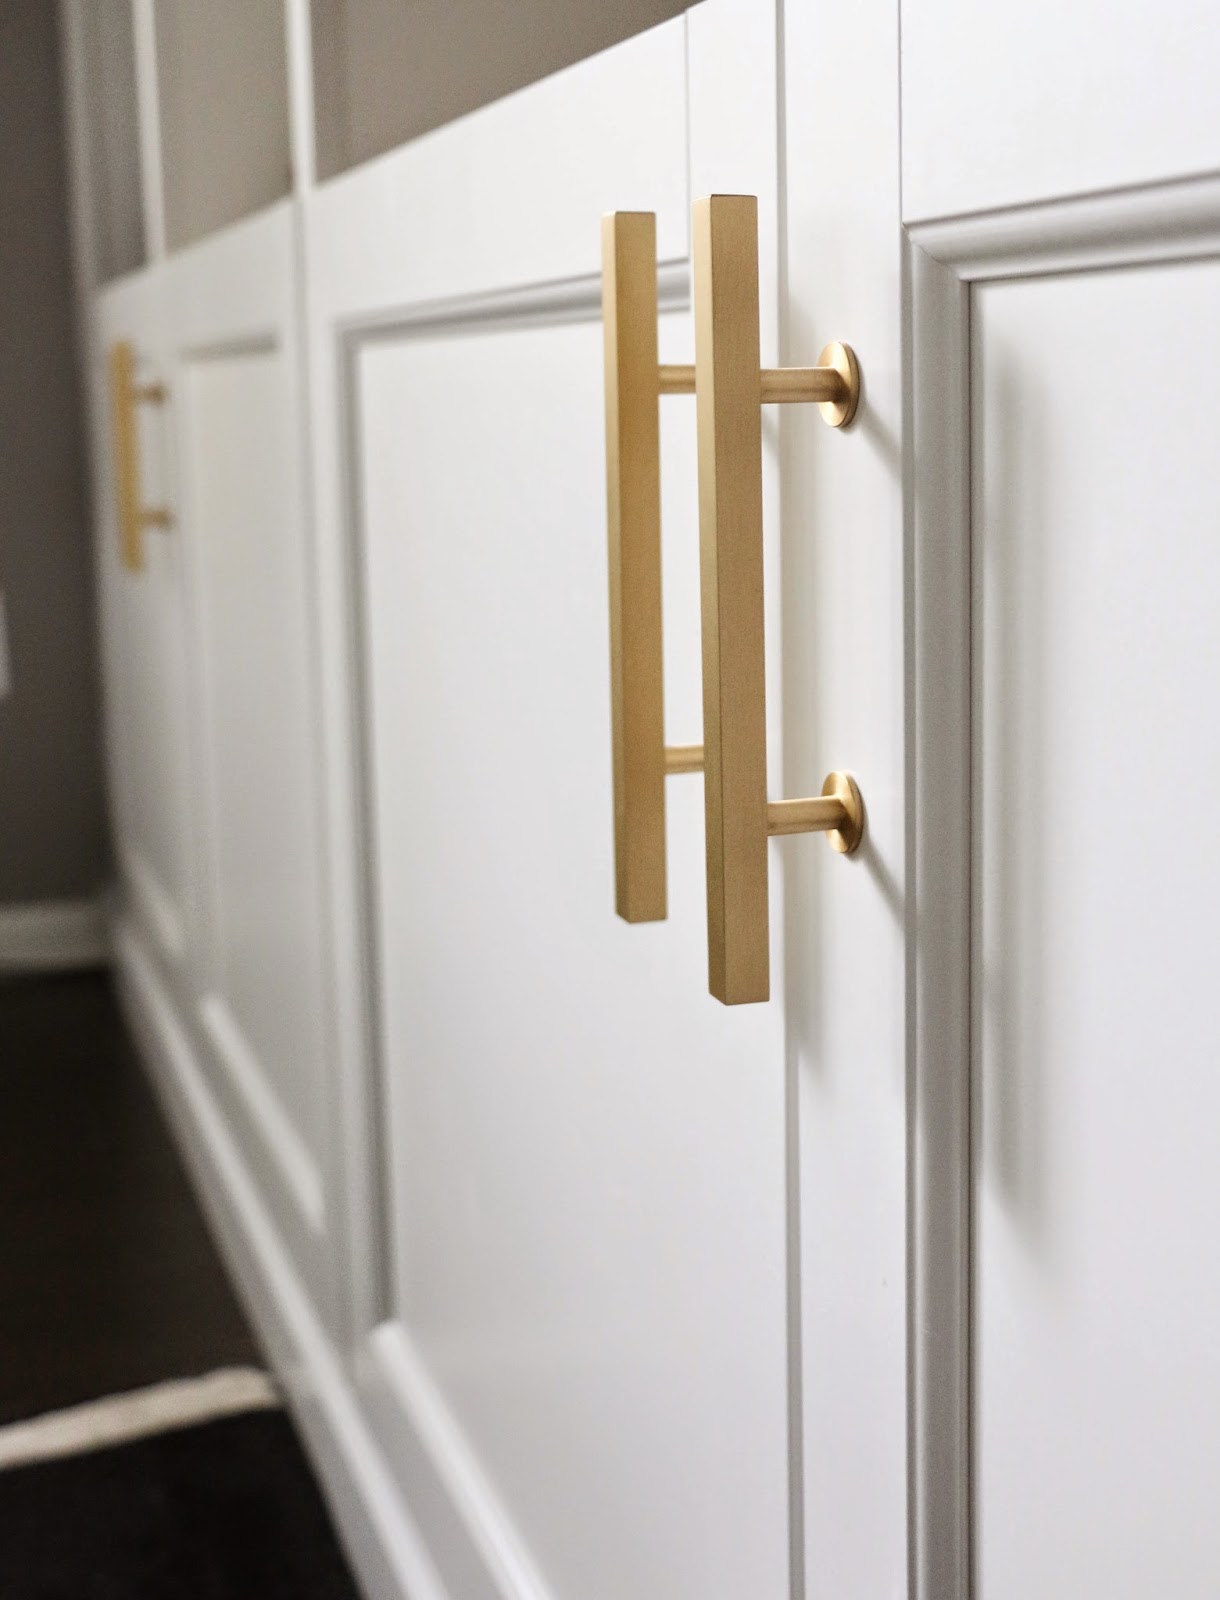
The final step was adding the doors, hardware, and trim. For the doors I went with the Hanviken door (looks like a plain shaker style door) and for the hardware, I splurged and got rectangular brass pulls by Lewis Dolin at the Hardware Hut for $14 each. I think they look good and add some unique character to a plain Ikea piece. Here is a similar Amazon option.
Now for the trim. I purchased crown molding to match my existing crown in this room, but it was impossible to find matching baseboard trim, so I just went with the closest I could find. I also purchased some primed MDF pieces in the correct size to go over the gaps where the units touched. I needed some 1″ for the sides and some 1.5″ pieces for the tops where the units touched each other and some
2.5″ pieces to fill in the gaps between the
units and the wall. Here you can see the units assembled and up on the 2 by 4 base. Notice the lines/gaps where the units touch and the space between the wall and the far sides of the unit.
I used a brad nail gun to attach the trim, the crown, and the baseboard to the unit. For the side pieces, I attached a small piece of 1 by 2 to the wall at the studs so that I had something to attach the mdf trim between the wall and the side of the built-in.
After all the trim was cut and nailed on, I used caulk to fill in the nail holes, gaps between the trim pieces, and the extra shelf holes. The final step is to paint the primed mdf trim to match the Besta paint, but I haven’t done that step yet. I will let you know when I do and what method works the best.
Hopefully this post wasn’t too confusing. It was a long process that took a couple of weeks for us, but I am so thrilled with the results! And I think once I add everything up, it cost less than $1000 for a super custom looking built-in wall. The short version: built frames to attach to the back, built a frame for them to sit on, put them all in place, secured them, put on molding and trim, put on handles, and caulked the gaps.
This was the first time we tried something this epic, so if you’ve got a similar project that you’re kind of dreading, just make sure you take your time and measure everything out accurately. Also, think the whole project through (how will this attach to this? where will this fit? what will cover up this gap?) before you get started. We’ve had plenty of projects that we got knee-deep in only to realize we forgot/missed/measured badly and had to backtrack. That’s part of the process, but mapping it out as best you can beforehand can save you some potential headaches.


October 12th, 2015 at 3:23 pm
I love this! I'm thinking of doing something very similar in our playroom. I'm SO glad I found this tutorial! Question: What is the whole height of your piece? I'm trying to decide if I need to go with the 75" tall Besta Frames instead of the 50"…
October 12th, 2015 at 7:43 pm
I replied on Instagram too, but just in case. I used two units stacked on top of each other. The based is the 75" tall one and then I used the smaller 15" one on top. I just realized that I told you that last one wrong on instagram. Oops!
October 12th, 2015 at 6:47 pm
Hi! What color paint did you use to match the Hanviken doors? We are embarking on a similar project soon…
October 12th, 2015 at 7:44 pm
I actually haven't painted anything yet. The primed mdf trim matches pretty well, and I have been dreading the whole painting process. So far it has held up well and matches pretty seamlessly to the ikea pieces.
January 15th, 2016 at 1:14 pm
Hello! This is beautiful! I'm wondering if you ever got around to the painting piece of it, and what you did. We want to make a window seat with Besta, but are worried about paint matching.
January 15th, 2016 at 1:37 pm
Hello Tamra!
I actually never did! The primed trim boards actually match really well, so I just left them as is. I felt that if I started trying to paint them I would end up with brushstrokes and it wouldn't look as good as it does now. Maybe one day I will get the courage to paint them. However as far as paint matching goes, you can always take a piece of the besta in to Lowe's or Home Depot and they can do a color match to the piece so that you have the closest color possible. I also think a satin finish would match the plain white Besta finish.
July 5th, 2016 at 6:45 pm
Thanks for this! How does the unit look from the side? Can you see where you attached the trim or were you able to fill that in with caulk and not notice?
July 5th, 2016 at 8:14 pm
I actually attached a full piece of white wood board to the side of the unit so that it looks like one solid piece.
August 13th, 2016 at 7:20 pm
Did you add trim to the doors? If so what did you use?
August 13th, 2016 at 7:52 pm
I diddnt actually. These were one of the door options from ikea.
October 3rd, 2016 at 5:33 pm
Hi Kara! I just built a large wall unit using your hack as a guide! It turned out great but I have a question about the tall cabinet frames on the sides and the shelf that sits at the top of the door. I attached the doors to the frames and used one of the Besta shelves, but the shelves are not deep enough and there is a big gap between the door and frame shelf. Did you create your own shelf?
October 3rd, 2016 at 5:37 pm
If you switch the sides you installed the shelf brackets on (move the brackets from the left to the right and vice versa), then the shelf will sit all the way forward with the gap at the back. That is what I did anyway. Not sure why they make the shelves like that!
October 3rd, 2016 at 5:41 pm
Ok I'll try that- thanks!!!
November 21st, 2017 at 4:36 pm
Hi this looks great! I am looking to do something similar and god tip on the 2×4. I don’t think they make that cabinet front any longer?
Stefanie
November 21st, 2017 at 4:39 pm
Hi I love this and great tip on the 2×4. I don’t think they make this cabinet door front any longer, which I am bummed about because of course they are what I was looking for….any suggestions. I am looking to do a wall unit that is similar but I don’t need it to go all the way to the ceiling. Almost 3/4 up the wall. Thank you!
November 21st, 2017 at 4:42 pm
Maybe you could get a plain door front and add trim to it?
May 21st, 2018 at 4:09 pm
[…] Ikea Besta Built-In Hack from akailochiclife.com […]
November 6th, 2018 at 7:13 pm
[…] BESTA built-ins by A Kailo Chic Life pop with a blue ceiling! Oh, and seeing how she rearranges her decor over and over with the seasons […]
August 27th, 2019 at 7:44 pm
[…] Download Image More @ akailochiclife.com […]
March 23rd, 2020 at 9:53 pm
So glad I found this! Can you explain how you did the MDF on the side of the bookcase to fill in the gap between bookcase and wall? I’m trying to figure out how the cabinet doors are still flush since it looks like they’re flush with the mdf that was added. Also, the right side of mine will be exposed, so I guess I need to add a solid board along that side so it looks uniform. It seems like from the comments, you did the same, so I’m just curious how that board and the MDF and the cabinet doors are all working together!
March 31st, 2020 at 8:25 am
Once I assembled and connected all the shelving pieces, I simply used liquid nails to glue trim boards on top of the unit seams. For the side piece between the unit and the wall I added a piece of 1 by 2 along the wall that was the same level as the Besta units, then used the liquid nails to attach the trim piece to cover the 1/2″ section of the side of the besta and the 1 by 2 on the wall. The final step was to caulk all the seams of the trim and paint it so that it looked uniform and not like a bunch of cut trim pieces.
September 5th, 2020 at 11:51 am
Can you tell me what size the bottom cabinets are?
September 28th, 2020 at 8:10 pm
They are appx. 23″ wide and 15 3/4″ deep and maybe 2.5″ tall.
September 23rd, 2020 at 2:09 pm
Random question coming 5 years after you completed this project! I’m going to use the Besta units to build a set of bookcases/built-ins in my basement. I want to use 6 of the tall 15-3/4″ deep units for the bookcases and I want to add doors to the bottom of each one – like you did. My question is – are those interior shelves that form the top of each of the bottom sections? Meaning the surfaces where you have that turquoise metal ball resting and what looks like pictures and books on the left-hand side?
September 28th, 2020 at 8:05 pm
Yes! They are just the interior shelves.
September 30th, 2020 at 7:34 am
[…] Credit: akailochiclife.com […]
November 17th, 2020 at 1:45 pm
[…] BESTA-Einbauten von Ein Kailo Chic Leben Pop mit einer blauen Decke! Oh, und zu sehen, wie sie ordnet ihr Dekor neu immer und immer wieder […]
January 2nd, 2021 at 3:01 pm
Tackling something very similar. I’d love more detail about tackling the “gaps where the units touched”. Specifically, I understand how that works at the level above the cabinets, but how does it align with the cabinet area? Is the mdf trim you added the same depth as the cabinet doors so the entire unit now has a flush front (cabinet doors and trim are flush)?
January 22nd, 2021 at 10:04 am
Yes, the trim I added to the front where the units touched was the same depth as the doors, so now they are all flush. Before the trim the doors stuck out 1/2″ from the units.
February 14th, 2021 at 3:40 pm
[…] Credit: akailochiclife.com […]