Craft It – Ombre Perler Bead Hexagon Wall Hooks

filed under

So apparently this week is all about the ombre. I have had these fun perler bead wall hooks under the works for a few weeks (just needed time to finish them up), and it just happens that they were ready this week. So after this I you may be ombre-d out, but they are cute, so I hope you don’t mind!

Use colorful Perler beads to create ombre hexagon wall hooks. Fun kids craft or teen bedroom decoration idea

Use colorful Perler beads to create ombre hexagon wall hooks. Fun kids craft or teen bedroom decoration idea

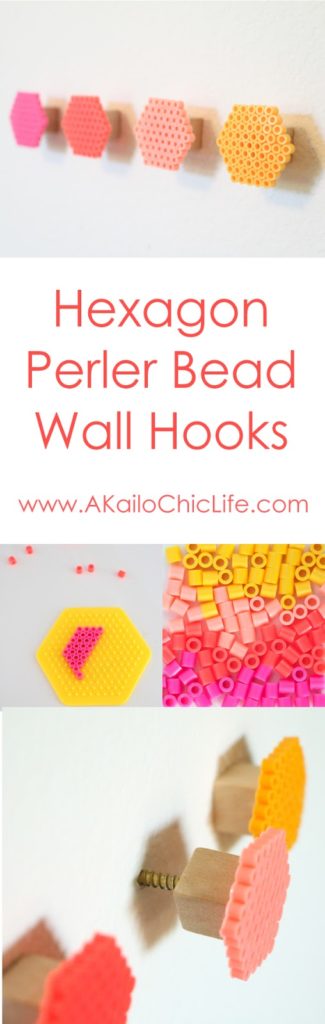
My kids recently got into perler beads and after seeing all the fun colors they came in, I knew they were just begging to be used in a craft project. I had recently made my door knobs turned wall hooks for the guest room and had hooks on the brain, so I used some fun ombre pink to orange perler beads to make a set of hooks for my daughters room.

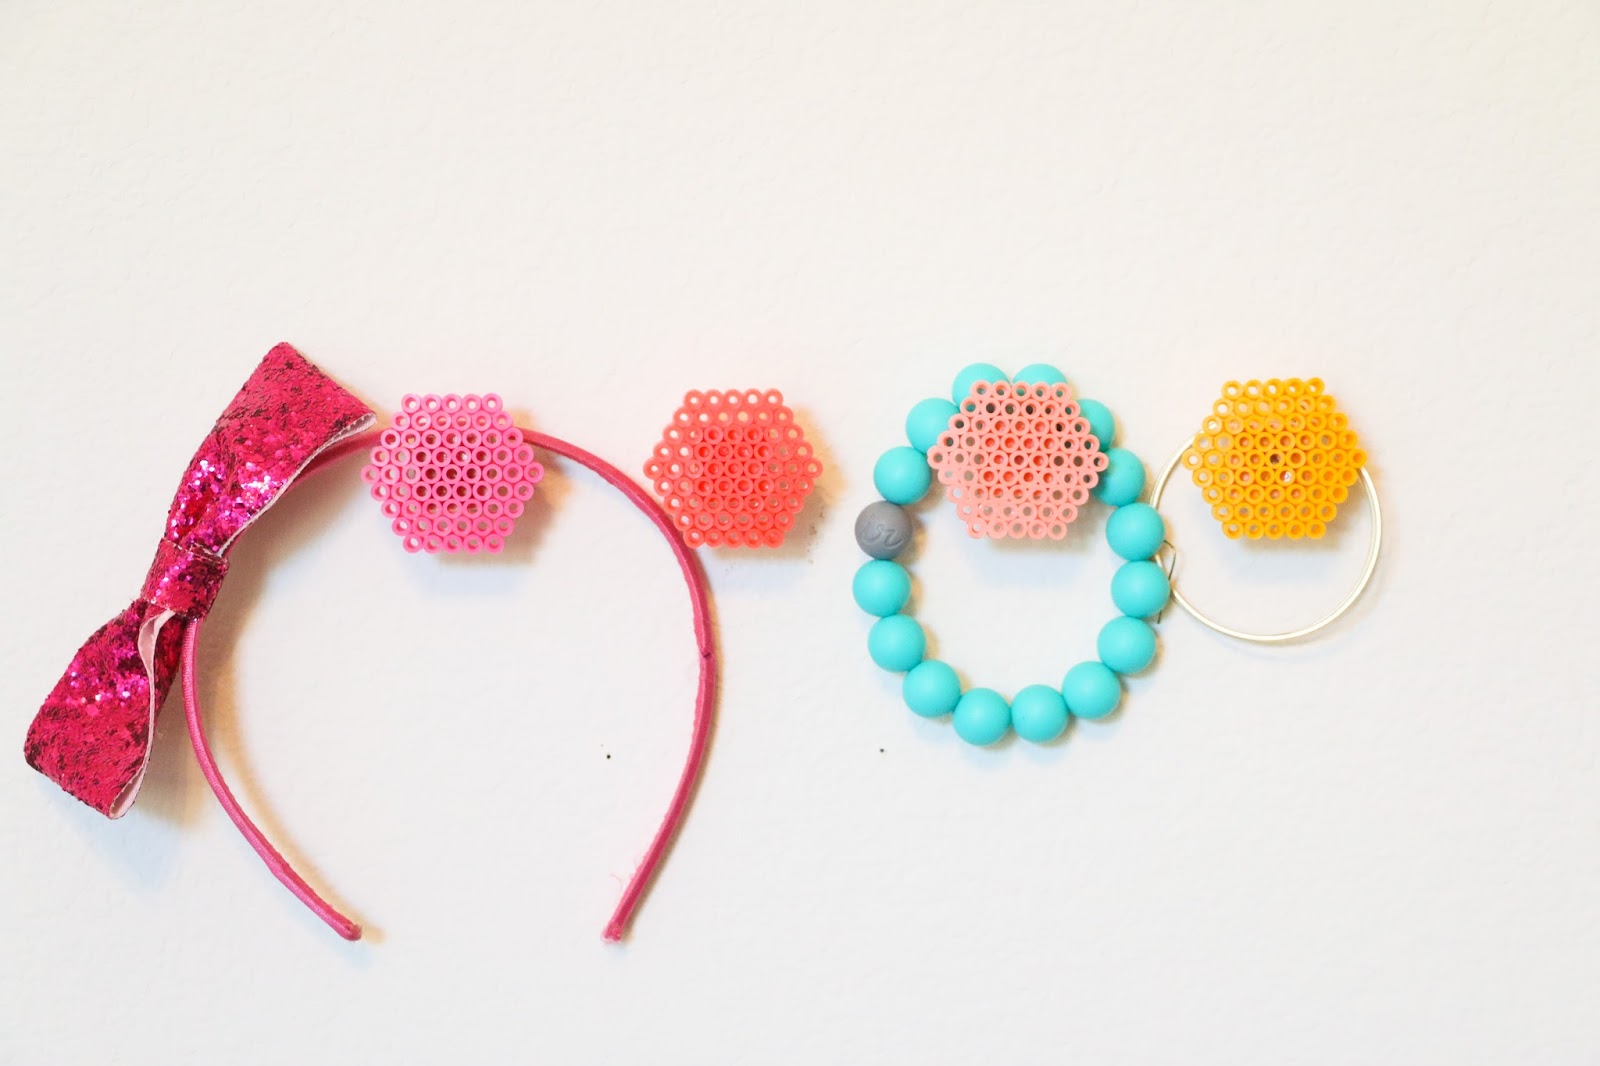
First I chose my colors (that was a no brainer since these are the colors I have used in her room). I then used the hexagon perler plate to create a small hexagon 5 perler beads wide along the edges. I didn’t want the perler bead piece to be too large that it would get the in way of the actual function of the hooks.

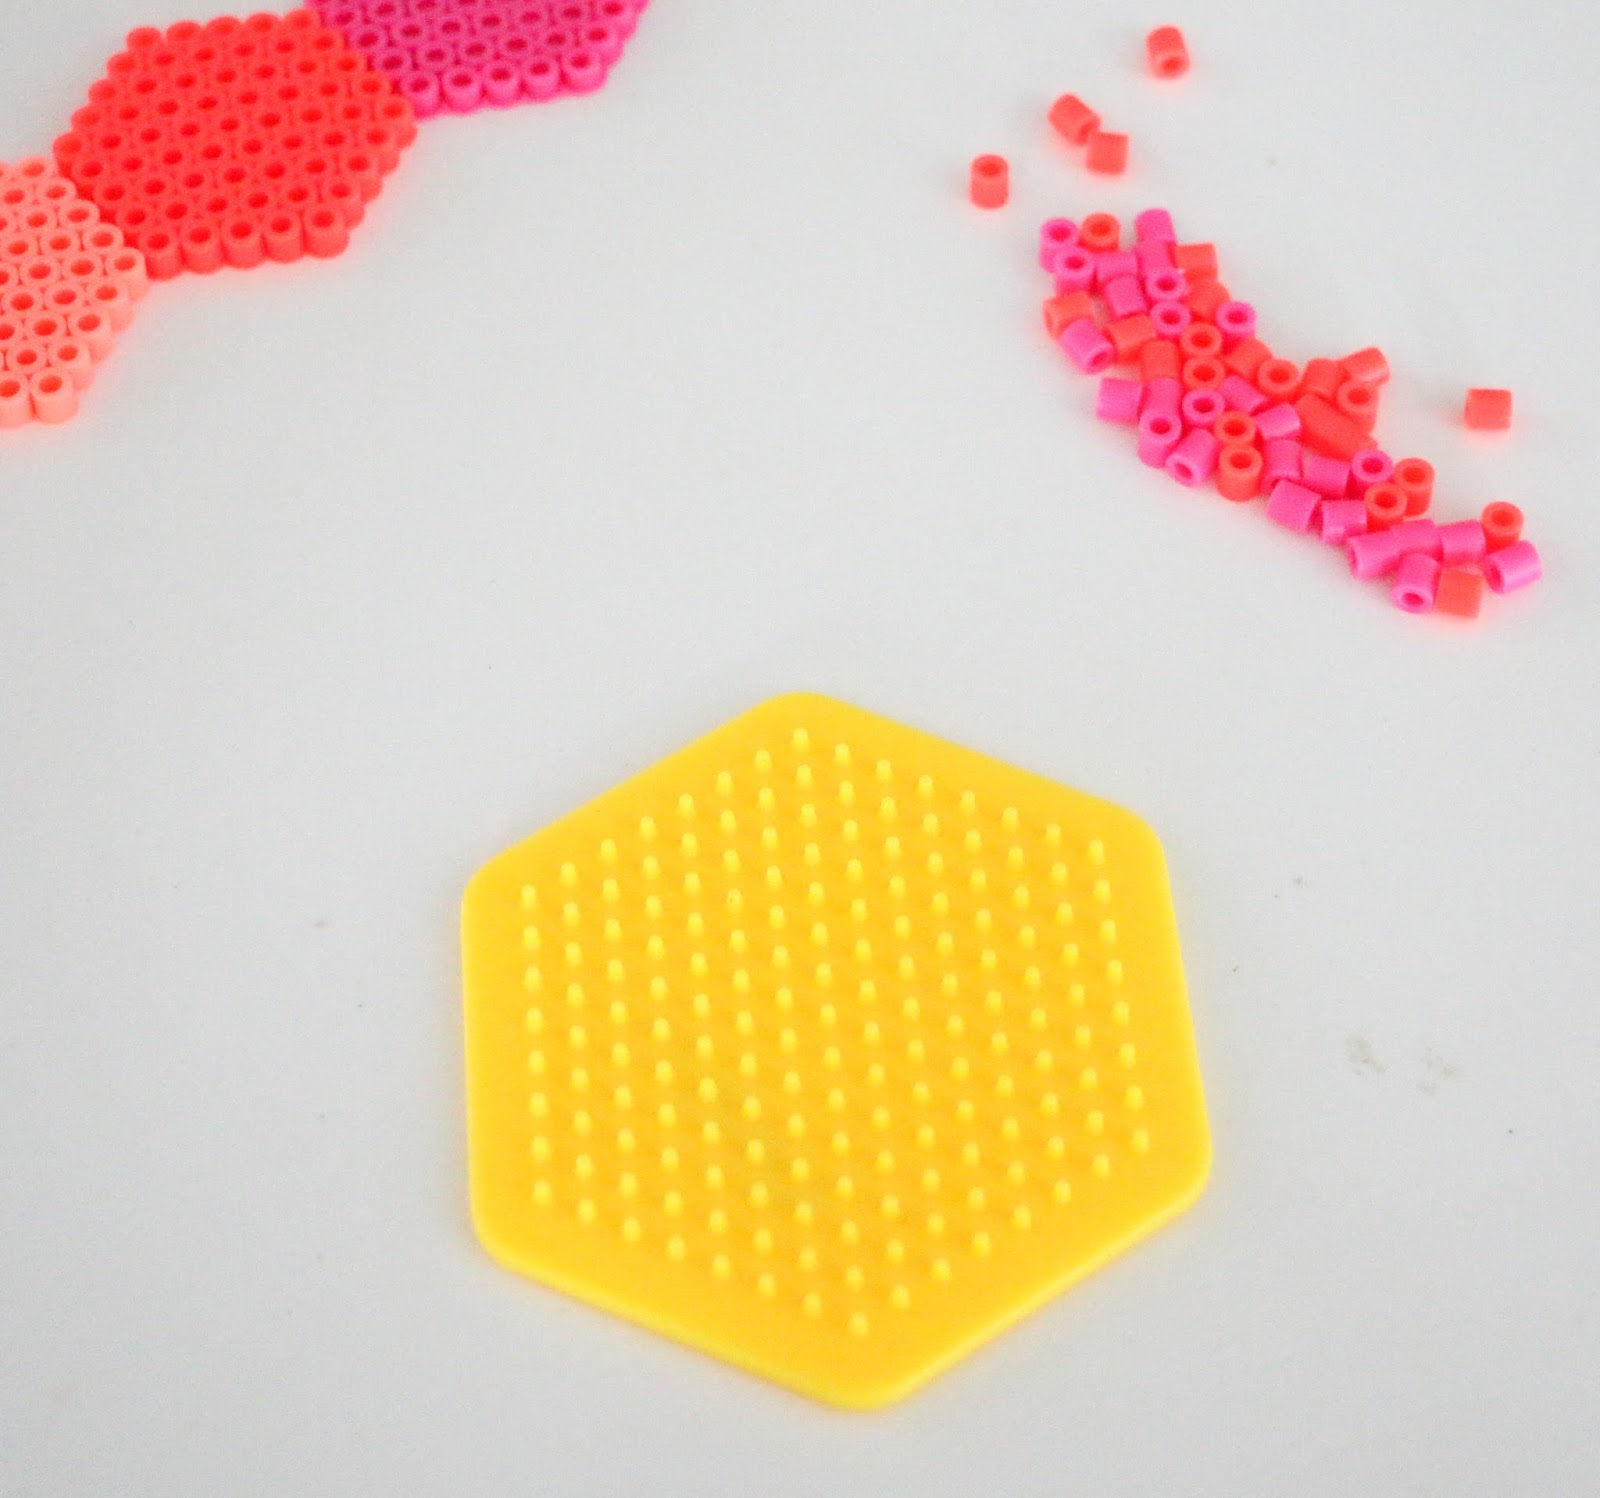
I created the colorful hexagons one color at a time and ironed them according to the package directions making sure not to let them melt too much, but enough that they were held together firmly.

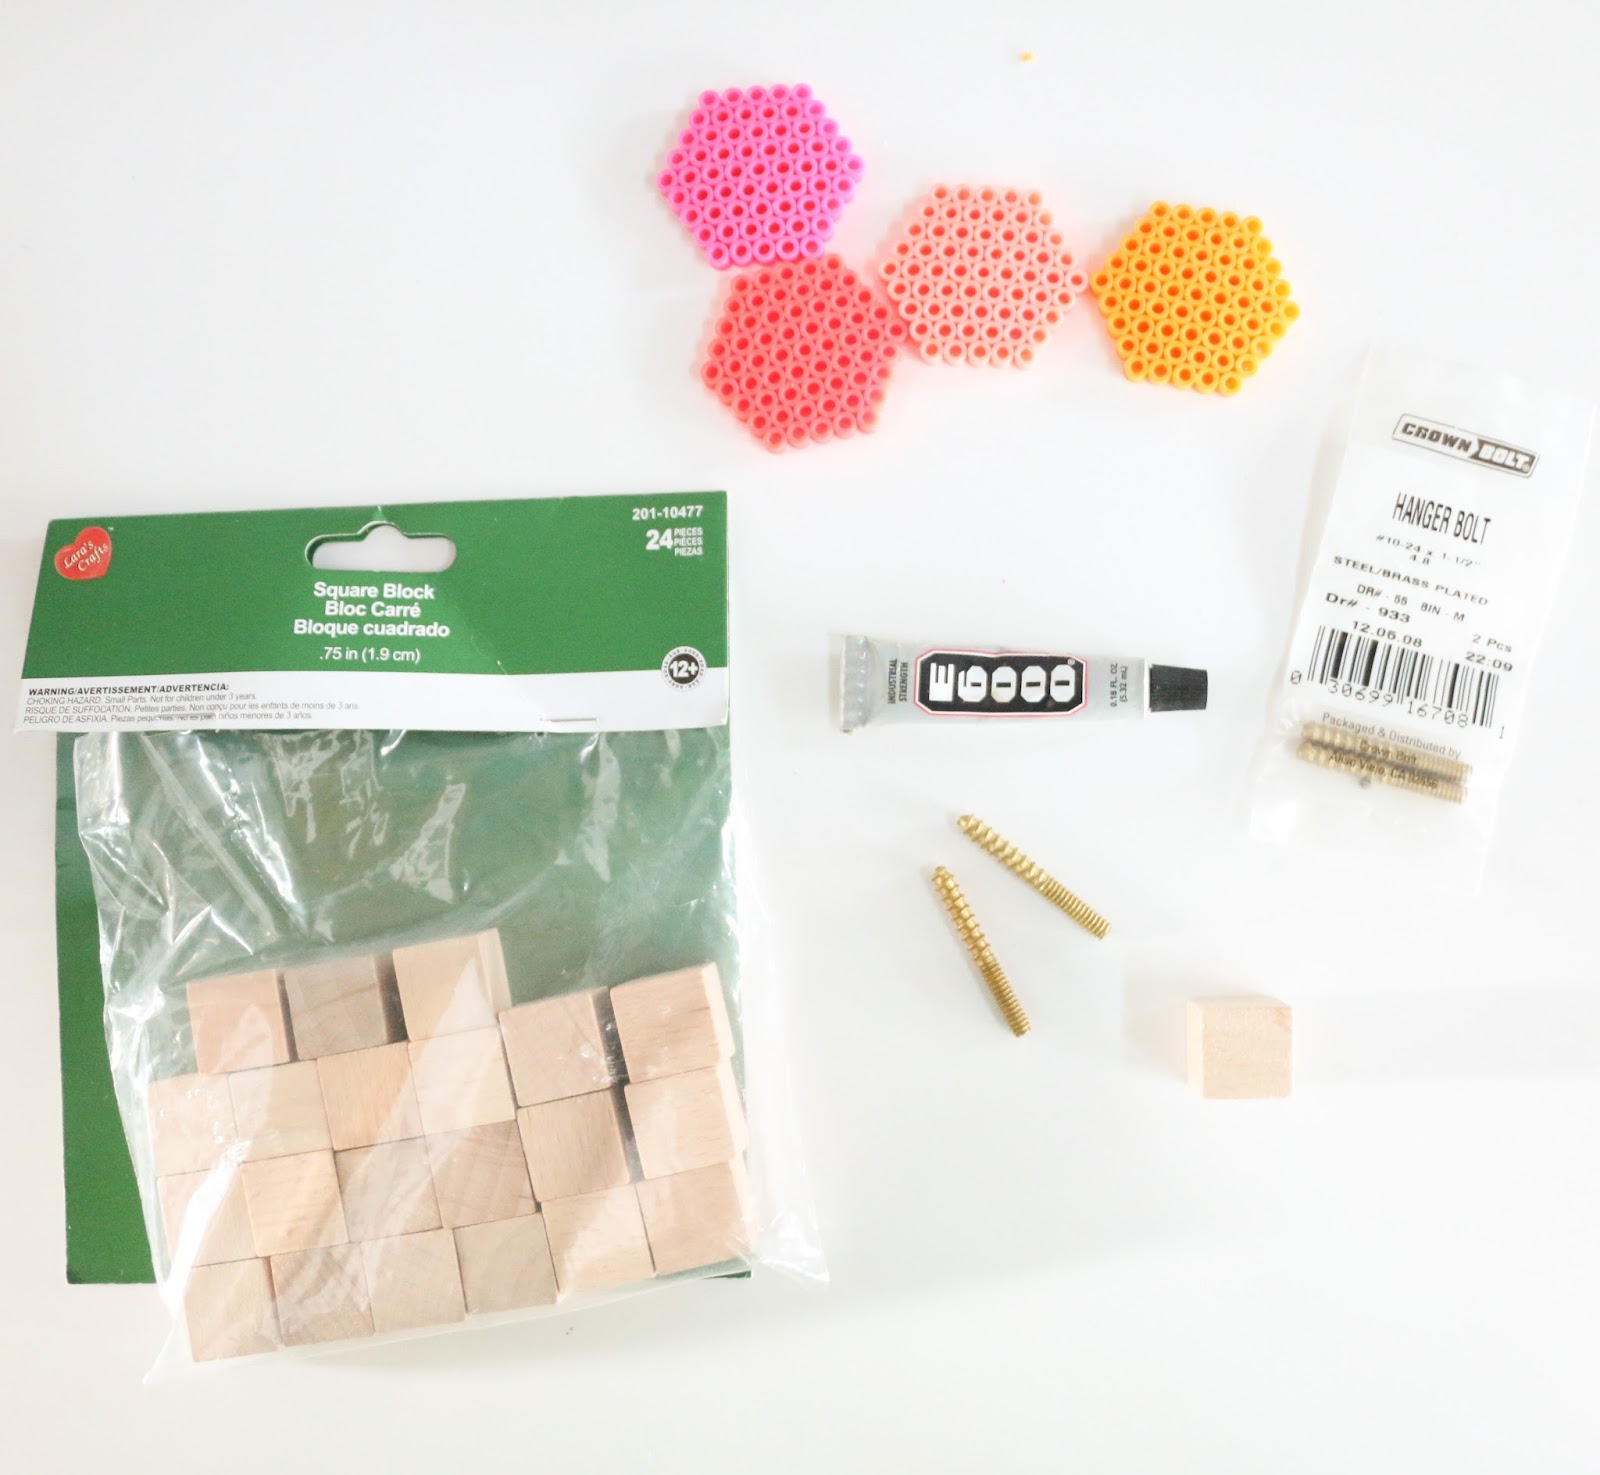
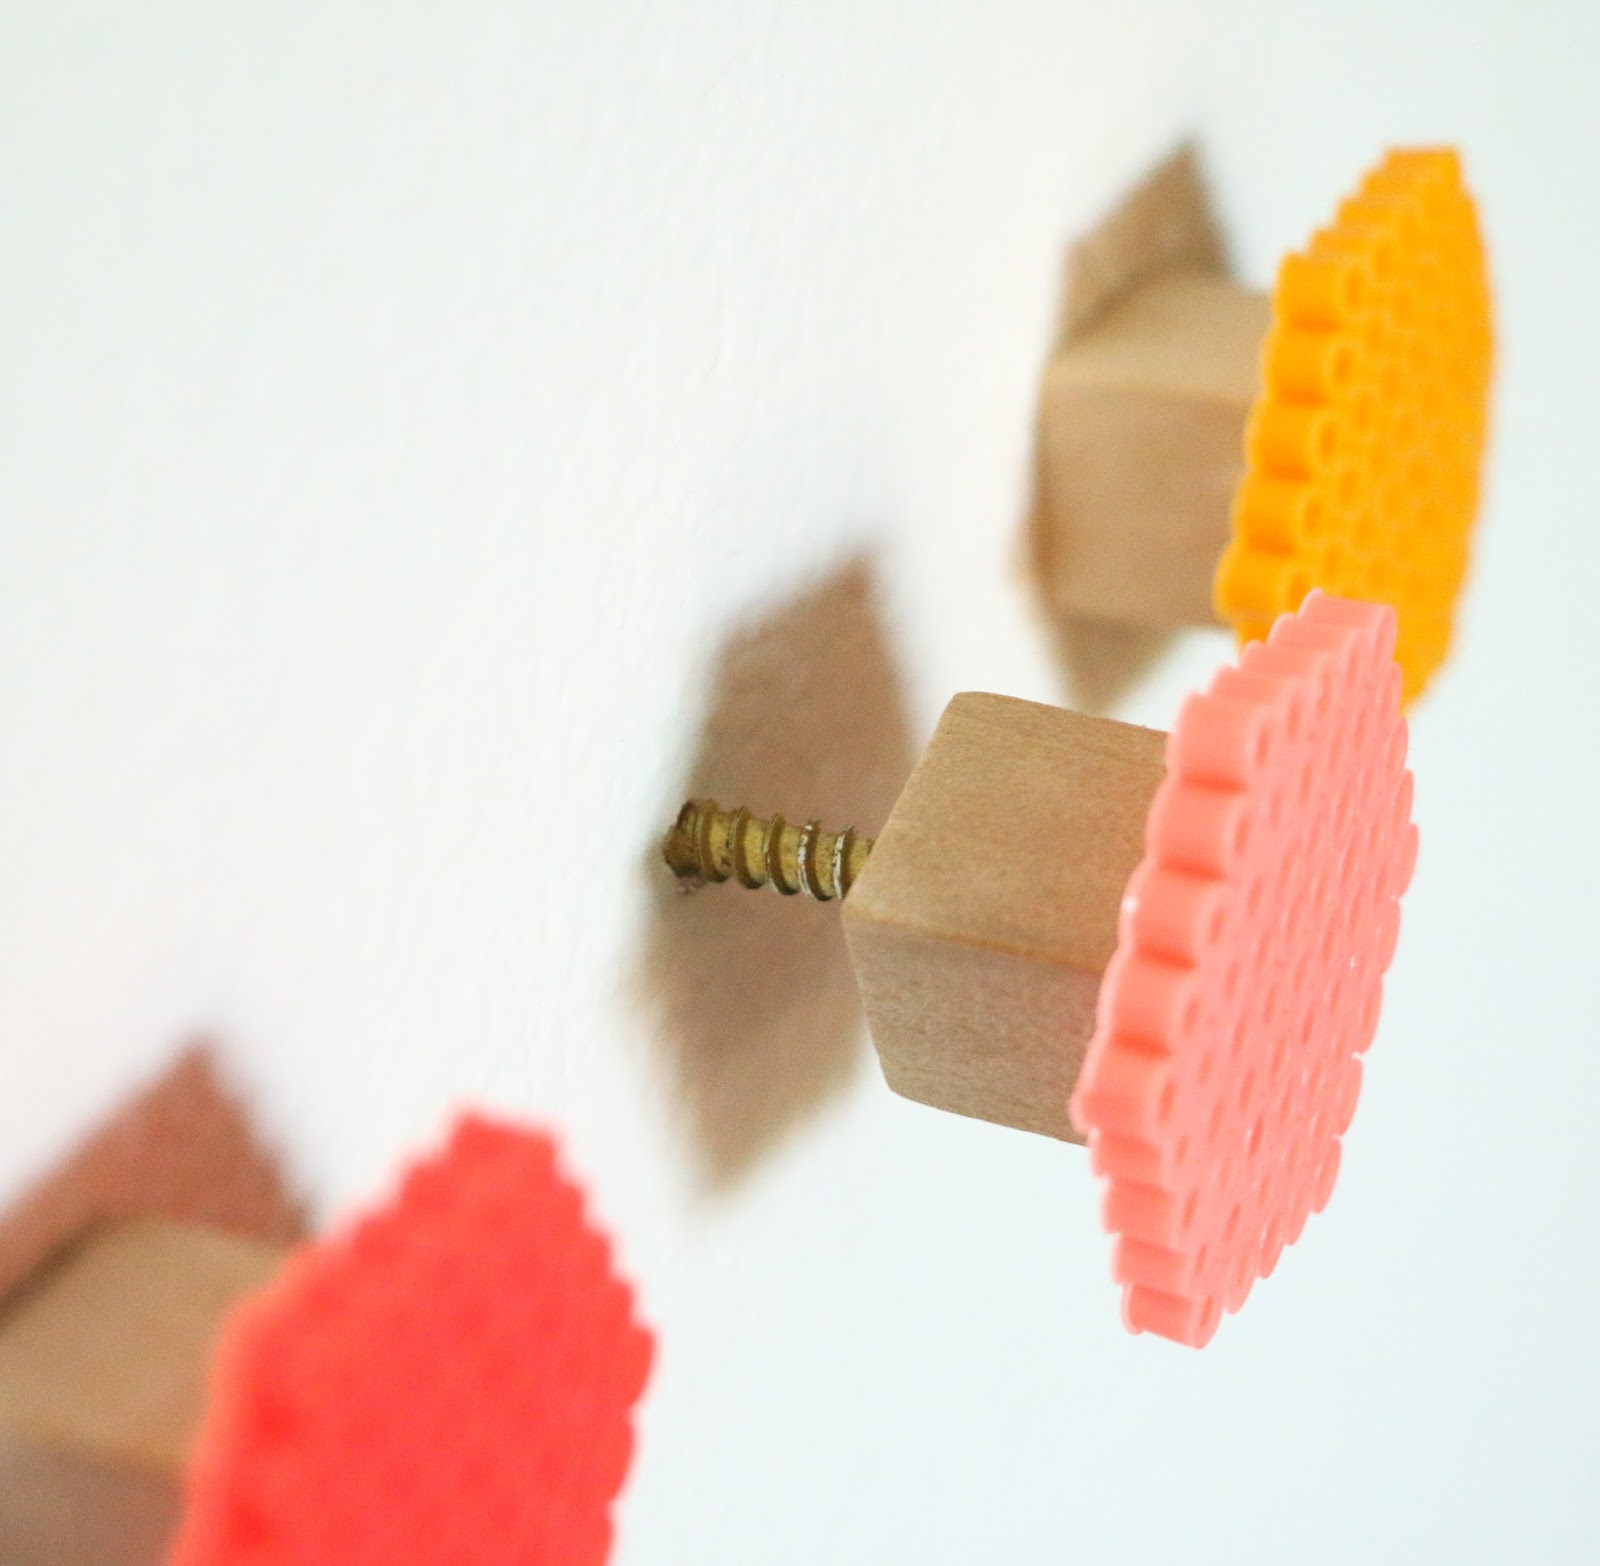
Once I had my hexagon perler bead pieces, it was time to create the hook base. I used some pieces of craft wood blocks that I picked up at Michaels craft store, some half bolt half screw specialty pieces from Home Depot and some strong glue (I started with the E6000, but ended up using some Alene’s jewelry and metal glue because the E6000 wasn’t strong enough).

The first step was to drill a hole in the wood blocks slightly smaller than the bolt end of the screw. I then  used my pliers to thread the bolt through the hole.
Once the wood block had the bolt end firmly in place, I used my glue to attach the perler hexagon pieces and then left them to dry.

 Once dry, I drilled small pilot holes in the wall where I wanted the hooks to be and then gently screwed them into the wall. 
Now my daughter has some fun colorful hooks to hang her jewelry, headbands, and hair elastics. This project is so simple that she was actually able to help make the perler bead pieces her self (I helped with the ironing). The fun thing is you are not limited to plain colored shapes. These hooks would be fun in any pattern your kids (or you) can think of and then just follow the directions to turn them into hooks once your beads are ironed and cooled. 


Leave a Reply

Your email address will not be published. Required fields are marked *

A KAILO CHIC LIFE 2017

ALL RIGHTS RESERVED

site credit