Supplies:
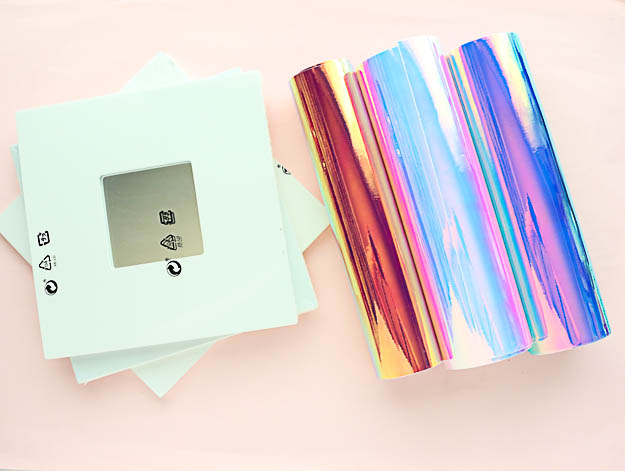
- Holographic Vinyl
- Large framed mirror (these Ikea ones were perfect because the frame is so wide)
- X-acto knife
- Scissors
- Squeegee
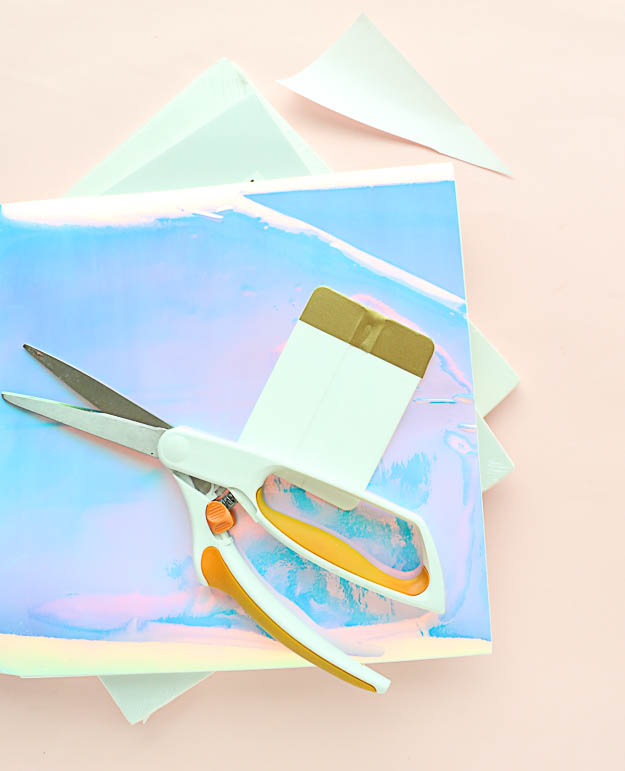
I wanted a color blocked look for my mirrors, so I began by trimming the vinyl down to the size of the mirror and then cut off a piece at an angle to create the color blocked effect. Once your vinyl is cut, peel back a portion of the paper backing and cut it off. Then lay your vinyl on top of the mirror lining up the edges and start to adhere the exposed vinyl from the corner down.
Use the squeegee to smooth out the vinyl as you go. Once you have that corner adhered, slightly peel back the paper backing again and then use the squeegee to rub the vinyl onto the mirror while pushing down towards the unstuck side. If you work slowly like this, the paper backing will slowly peel away as you press downwards eventually leaving you with a perfect, bubble free holographic mirror.
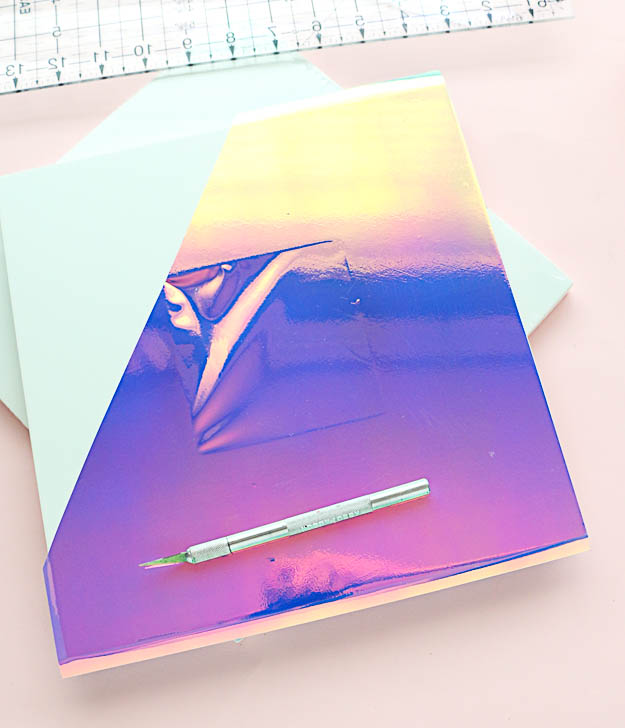
The last step is to use the X-acto knife to trim off the extra vinyl covering the mirror and any extra that is hanging off the sides.
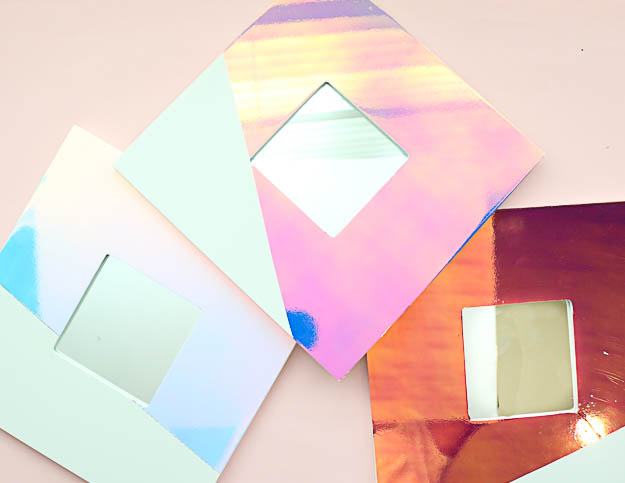
As you can see in all these photos the holographic vinyl changes colors depending on how the light is hitting it and what it is reflecting.


August 14th, 2017 at 3:05 am
Oh my goodness – that holographic vinyl looks amazing! I'll have to get my hands on some! Thanks for the tip-off 😀