If you have never played around with roving before you are missing out. The fluffy texture and bright colors make it a fun medium to work with. Of course you can needle felt with it or even do large crochet pieces, but I like thinking outside the box. After using a bit of my stash to cover some pumpkins for Halloween, I tried to think of other items that needed a little fluffy roving treatment. That is were these letters came in! DIY typography wall art with roving yields large fluffy letters that can spell out any word or saying you want and in any color you need. Plus, it is so much easier than yarn wrapped letters and gives off such a unique look. I mean how fun would these be in your kids name for above their bed? Or for a wedding backdrop? So many options!

Aren’t they unique looking?
Materials to make your own DIY Typography Wall Art with Roving:
- Paper mache letters (these are 12″ ones)
- Colored wool roving (about 2 ounces per 12″ letter)
- Hot glue


The process is pretty straight forward luckily because I failed to take any real process pictures. But you simply want to spread out the roving a bit and then wrap it around the letters using the hot glue as needed to secure it in place.

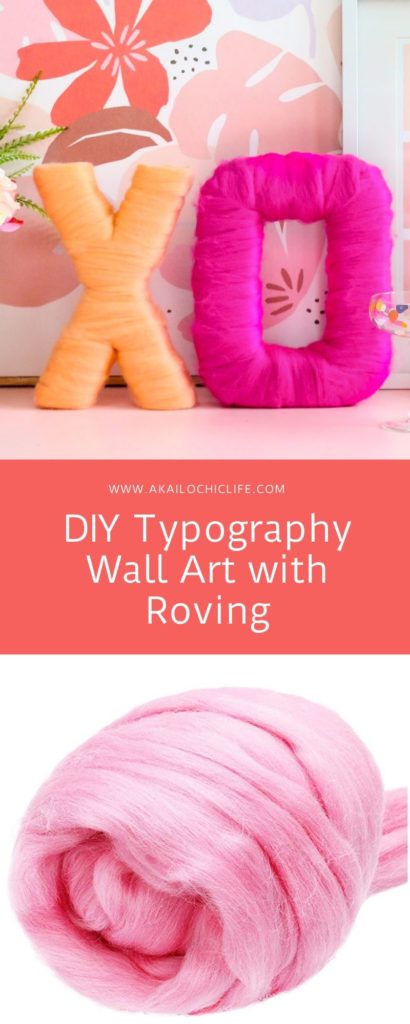
Spreading out the roving will help to eliminate some of the “lines” in the roving so that you end up with a smoother fluffy letter versus a more rope wrapping look. Once the letters are covered and the roving is secured with hot glue, you can glue on hooks to the paper mache to letter under the roving to hang them on the wall, or simply display them standing up on a shelf.

I went with XO in shades of pink and peach for my letters so that I can use them for Valentine’s decorations, but I think this concept would work well for so many different applications, don’t you?