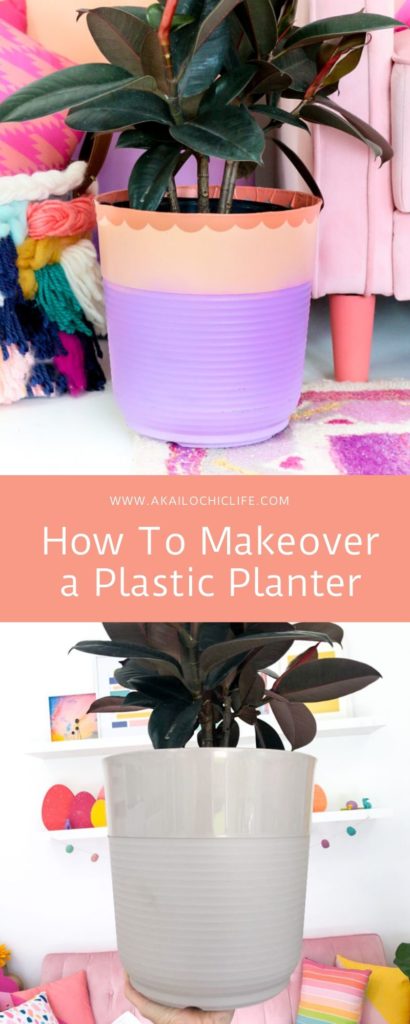
I recently added a few plant babies to my hoard! One of which was a rubber plant that came with it’s own cheap plastic planter. Instead of just throwing it away, I figured why not give it a makeover? So below I am sharing how to makeover a plastic planter that comes with a plant you buy from the store.


See how cute it is now? What was once plain gray and boring is not super cute with tons of personality!
Materials to Makeover a Plastic Planter:
- Planter
- Spray paint for plastic
- Spray varnish or Shellac
- Adhesive vinyl
- Vinyl cutter
Begin by spray painting your planter in your choice of colors. Remember that a few light coats is best when spray painting to avoid drips. Once your spray paint is dry, give the planter a coat of varish to seal in the spray paint and avoid chipping.

Once the varnish is dry, use your vinyl cutter to cut out 2″ circles. Stick these to the top edge of the planter to create a scalloped look.


The last step is to either cut off the top portion of the vinyl that sticks out over the edge of the planter, or simply fold them in.

Boom! Instant upgrade! Feel free to customize this technique to fit your color scheme. Although I love color, I think a black and white version would be CUTE! Or an emerald and light pink version!
For more ideas of how to makeover a planter, be sure to check out these cactus painted planters here and these leopard print ones here.
