


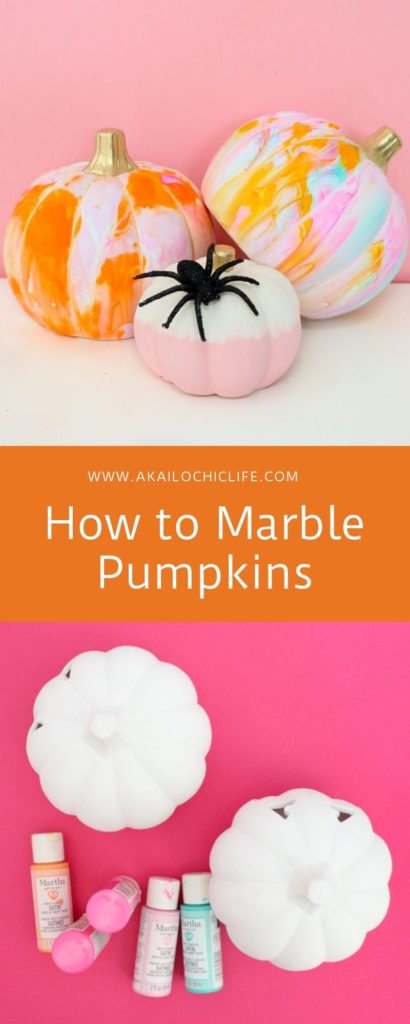
As the fall season approached, I tried my best to rack my brain for ideas on new ways to decorate pumpkins. It gets difficult because there have been hundreds of different pumpkin decorating tutorials created by talented crafters over the past 10 years. But so far you all are loving my abstract art pumpkins and color blocked pumpkins I came up with this year. But today I am going to share how to marble pumpkins! You may recall the marbled planters I shared back in May. I just applied the same technique to ceramic pumpkins and created these fun and colorful marbled guys.
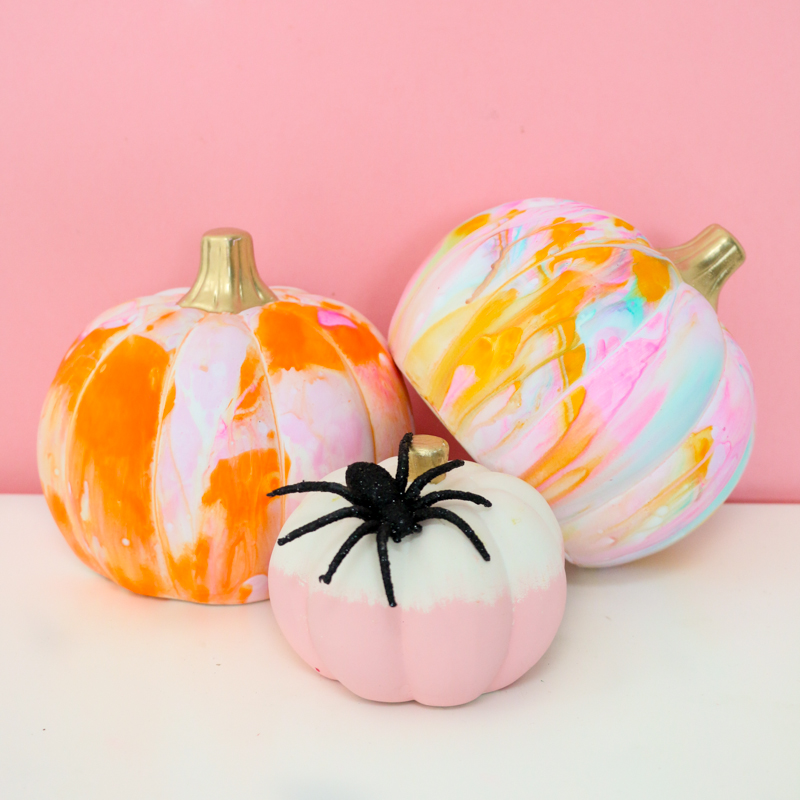
Now I will admit that I struggled a little bit getting these pumpkins to look exactly how I wanted. But they still turned out cute. The biggest issue I ran into was that I thought these pumpkins were raw unfinished ceramic, but they actually had a little bit of a coating on them which prevented the paint from adhering how I wanted. This the drips on the right pumpkin. But hey, you live and learn and craft and fail. It’s all part of the game! But now you can learn from my mistakes and make sure to get real unifinished ceramic pumpkins!
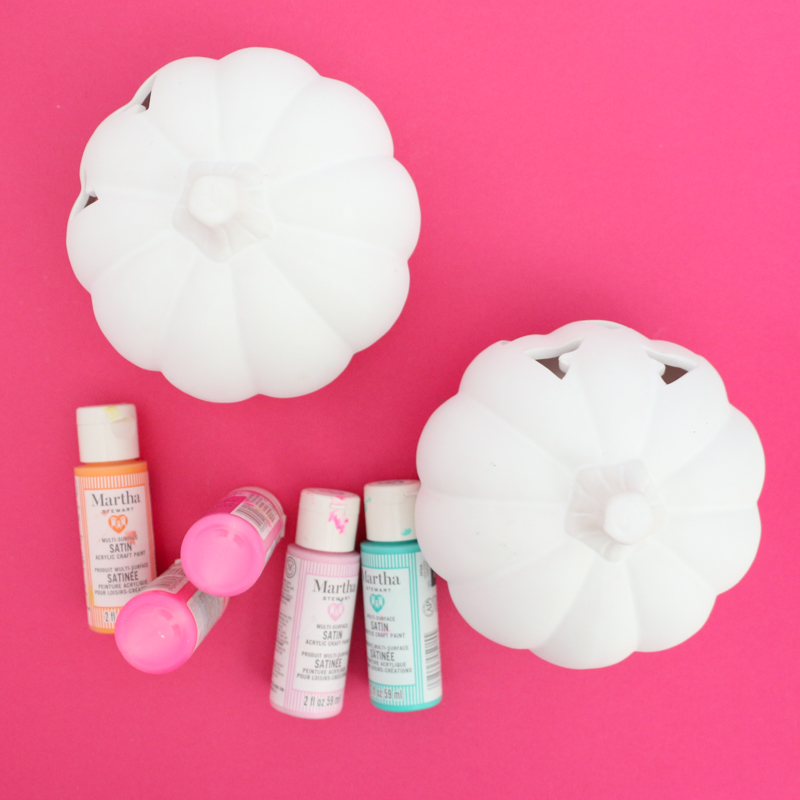
Materials to make marble pumpkins:
- Unifinished ceramic pumpkins
- Acrylic craft paint (the Martha Stewart brand works best)
- Sta-flo liquid starch
- Narrow but deep mixing bowl
- Disposable cups
- Popsicle sticks
- Gold paint pen (optional for stems)
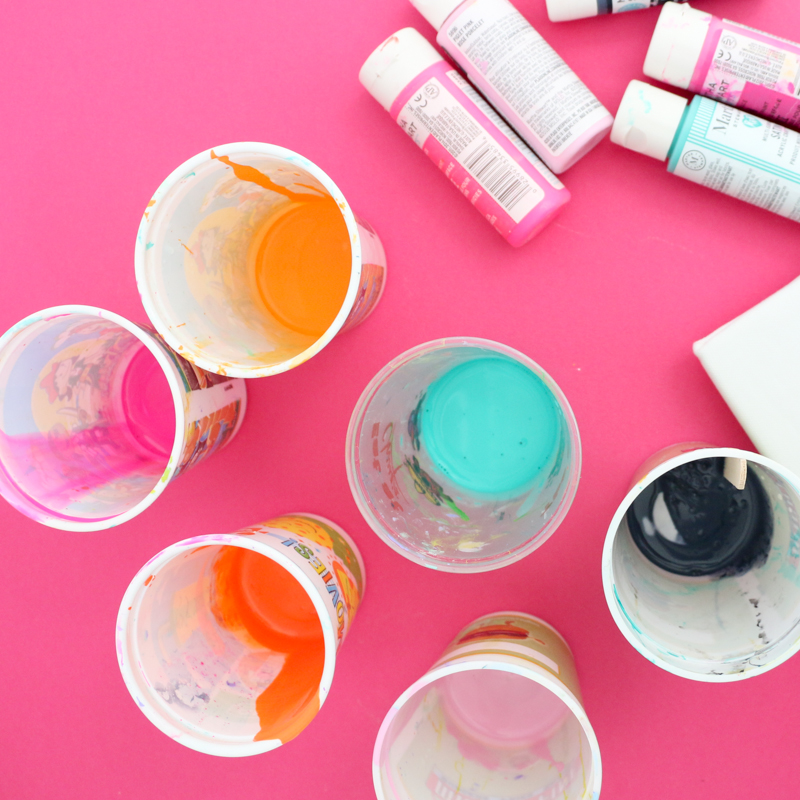
Begin by adding a small dollop of your paint to each cup (one color of paint per cup). Then add an equal amount of water and mix to thin out the paint.
Next, add the liquid starch to the bowl and use the popsicle sticks to drop bits of paint on the surface of the starch.
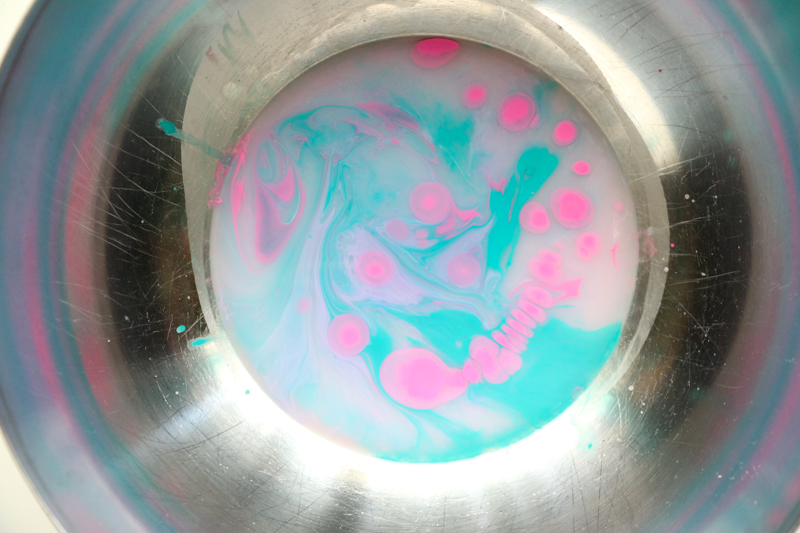
Once you have all your colors added, use a popsicle stick to swirl the paint a bit to create a marbled look. Next, turn your ceramic pumpkin over and dip it into the starch until it is covered, the remove. Turn it right side up and place it on a paper towel to dry.
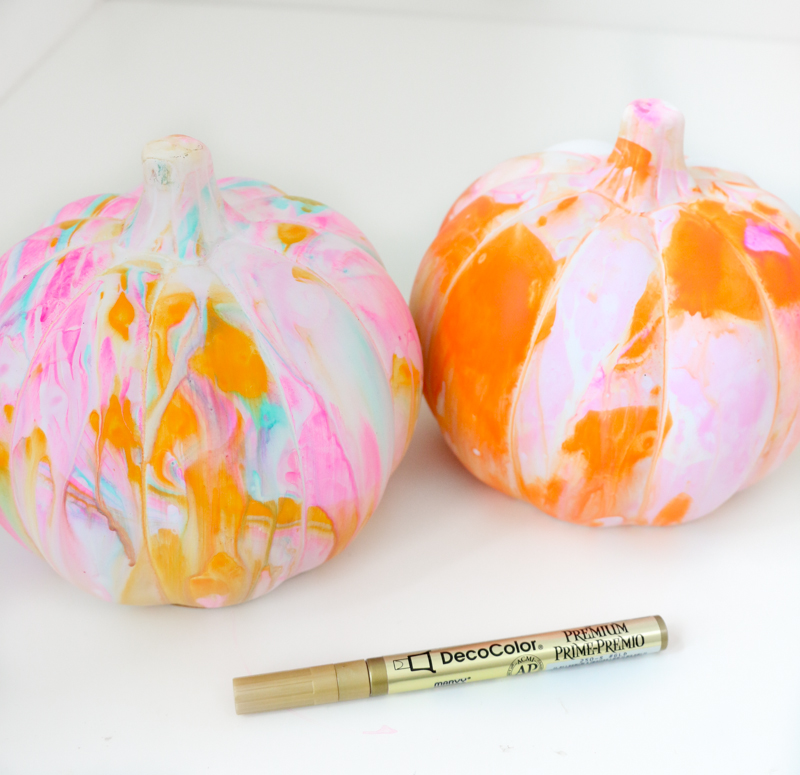
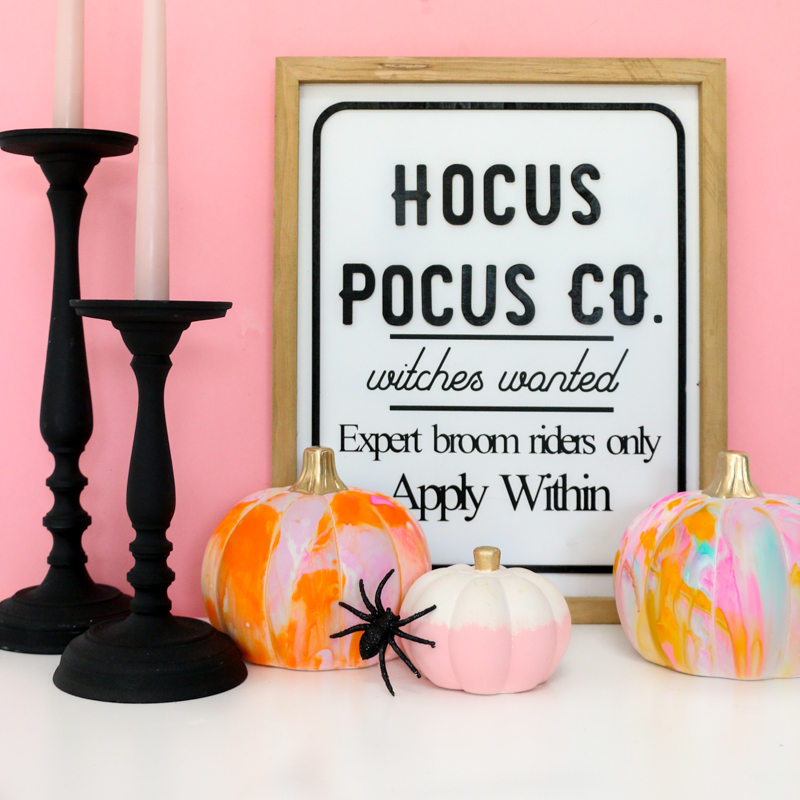
Once dry, use the paint pen to paint the stems gold. Then your pumpkins are ready to display!
The whole marbling process can get addicting, so I recommend grabbing a few extra pumpkins! I linked to ones in the materials list that are perfect for this project, but I also found a few in the Target dollar spot that would work too. Unfortunately I found both of these after I made this project with the incorrect ones!


September 27th, 2019 at 8:50 pm
Wondering if this would work on cotton curtain panels?
October 1st, 2019 at 8:52 am
Possibly if you used a fabric paint. But you can’t wash the starch out of the fabric until after the paint and starch dry or else the paint will just wash out as well.
August 16th, 2020 at 8:15 pm
Can you reuse the staflo If you remove the top colors and put other colors in it? Or do you have to use new staflo each time?
August 19th, 2020 at 8:59 am
You can mix the colors into the staflo to create a clean surface. This will work for a few cycles of new colors, then it will start to tinge the Staflo brown/greenish because of all the paint mixed in and it will be time for a fresh batch.